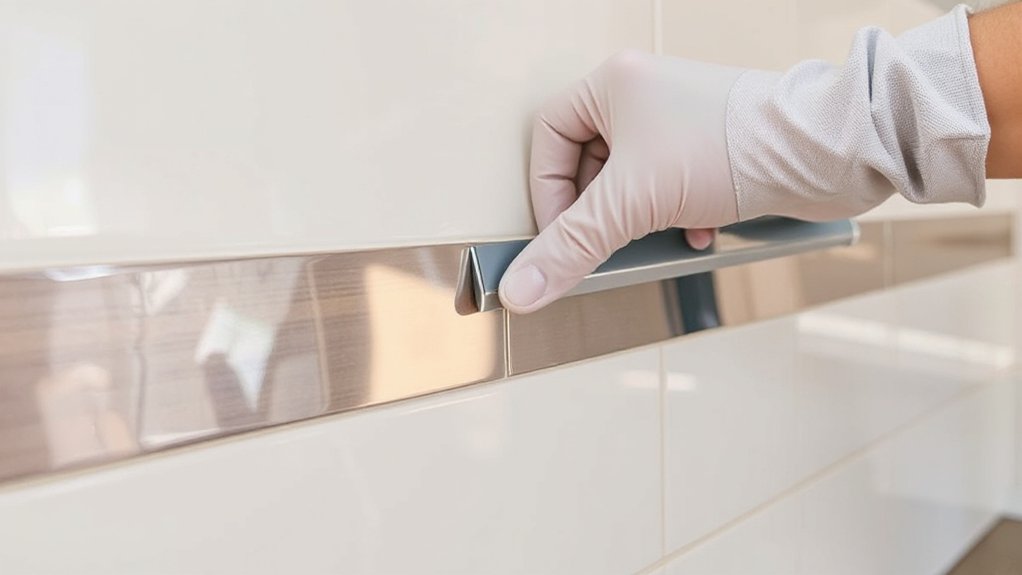

Installing a peel-and-stick backsplash is a fast, budget-friendly upgrade you can do in a weekend. Start by cleaning and priming the wall so the panels grip well, then measure carefully and cut to fit around outlets. Peel and press the panels from top to bottom, using a level to keep lines straight and a smoothing tool to remove air bubbles. Seal edges and seams, wipe away any residue, and enjoy a refreshed look—plus you’ll discover more tips as you keep exploring.
Key Takeaways
- Prepare the wall by cleaning, repairing cracks, and priming glossy surfaces for optimal adhesion before applying panels.
- Measure precisely and cut panels with a sharp knife, trimming slightly larger for outlets and switches.
- Align panels carefully, press from top to bottom, and remove air bubbles with a squeegee or credit card.
- Seal edges and seams with flexible, mold-resistant sealant to prevent moisture infiltration.
- Verify alignment under different lighting, clean the surface, and plan for ventilation during installation.
What Peel-and-Stick Backsplash Is Good For
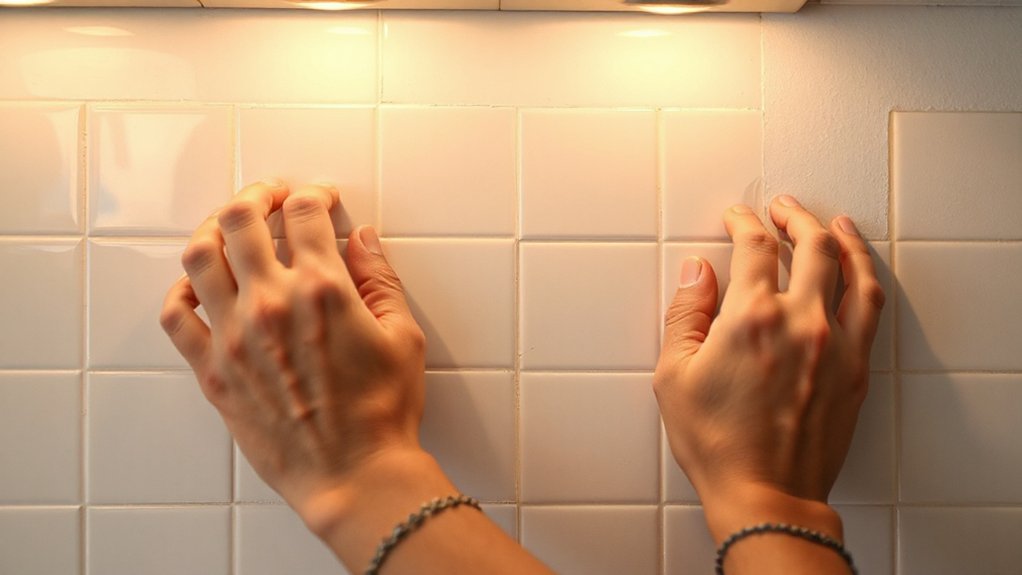
Peel-and-stick backsplashes are great for quick updates and budget-friendly renovations. You’ll find them ideal when you’re aiming for a fast, mess-free refresh in kitchens or baths. They excel at creating decorative accents without the commitment of tile installs, so you can experiment with color, pattern, or texture without breaking the bank.
These backsplashes suit renters, DIY beginners, and remodels that don’t require structural changes. You can change them with the seasons or as your style evolves. They’re versatile enough to nod to historical styles with period-inspired patterns, then swapped out as trends shift.
Keep in mind proper surface prep and alignment for a clean look. Ultimately, they balance practicality with aesthetic versatility, delivering impact at a low cost.
How Peel-and-Stick Backsplashes Work
You install peel-and-stick backsplashes by preparing the surface, aligning the panels, and pressing them firmly into place. The backing is typically a self-adhesive film that bonds to clean, smooth walls with minimal mess.
When you measure and cut, you create clean edges and avoid gaps that could trap moisture. Peel back a portion of the liner gradually to maintain alignment as you press down, using a template or level to guarantee straight rows.
Color coordination matters; match or contrast patterns to your cabinetry and countertops for cohesive looks. As you work, you’ll notice the thin profile preserves cabinet clearance.
This system offers style versatility, letting you swap designs easily if you want a refreshed vibe without major remodeling.
Choosing Peel-and-Stick Materials for Your Kitchen
When you choose peel-and-stick materials, start by comparing material types and styles to match your kitchen’s look and function. Consider adhesion and durability to guarantee a lasting install in busy spaces.
Think about how the finish coordinates with cabinets, counters, and hardware. Keep aesthetics in mind to balance bold patterns with subtle textures that unify the room.
Material Types and Styles
Choosing the right peel-and-stick material for your kitchen starts with a quick materials overview. For material types, you’ll find options ranging from faux tile and stone looks to solid-color sheets and textured finishes.
Material variety lets you match your cabinets, countertops, and overall vibe without committing to real stone or ceramic. Consider vinyl, PVC-free options, and printed patterns that mimic marble, subway tile, or brick.
When evaluating styles, focus on scale, sheen, and edge design—grid patterns for a traditional kitchen, continuous sheets for a modern, seamless look, or mosaic-inspired textures for character.
Durable, easy-to-clean surfaces resist splashes and fingerprints. Pair your choice with the room’s lighting to enhance depth, color, and perceived warmth.
Style options should align with practical, daily use.
Adhesion and Durability
Are you getting the most durable peel-and-stick backsplash possible for real-world cooking? The key is choosing materials with strong adhesion and proven longevity. Look beyond color and texture to the backing adhesive formula and surface compatibility.
For adhesion, verify that the product is rated for kitchen use, heat exposure, and occasional splashes. Check installation requirements—proper cleaning, dry surface, and firm pressure during application pay off in higher adhesion strength.
Durability factors include heat resistance, moisture tolerance, stain resistance, and the ability to withstand cleaning agents without peeling. Consider thickness and abrasion resistance for busy areas.
Finally, choose products with explicit warranty coverage and real-world user reviews. With the right combination, you’ll minimize replacement and maintenance while maximizing performance.
Aesthetics and Coordination
Aesthetics matter as much as adhesion, because even the strongest backsplash won’t serve its purpose if it clashes with your cabinets, counters, and overall style. When choosing peel-and-stick materials, prioritize how color coordination and texture contrast work in your space. You want a cohesive look that enhances existing tones without overpowering them.
Consider how finishes reflect light and how patterns repeat across surfaces for rhythm.
- Favor colors that echo your cabinetry or countertops for unity
- Mix textures subtly to add depth without busy visuals
- Test samples in your lighting to verify true color and texture
Color, Pattern, and Finish: Matching Your Style
Color, pattern, and finish set the mood for your kitchen, so pick options that harmonize with existing elements and your daily routines. You’re aiming for cohesive color harmony, so choose hues that echo cabinets, counters, and lighting. If you prefer a bold contrast, limit it to one focal area to avoid visual overload.
Pattern matching matters: align backsplash motifs with major textures in the room, like grout lines or subtle veining in countertops. Consider scale—small rooms benefit from lighter, simpler patterns; larger spaces can handle more intricate designs.
Finish choices should complement metal hardware and appliance finishes, avoiding clashes between glossy and matte surfaces. Finally, test samples at different times of day to ensure your selected color, pattern, and finish stay true under varied lighting.
Tools and Supplies for Peel-and-Stick Backsplashes
To install peel-and-stick backsplashes smoothly, gather the right tools and supplies before you start. You’ll want a sharp utility knife, a metal ruler, and a squeegee or credit card for removing air pockets. Have a level, a masking tape, and a soft cloth handy for alignment and cleanup.
Keep a utility blade sharp, and use a straightedge to avoid uneven cuts.
Historical context informs you that these products evolved for quick installs and less mess, while environmental impact matters when choosing materials and disposal options.
- Sharp knife and straightedge for precise cuts
- Squeegee and cloth for bubble-free adhesion and finish
- Level, tape, and spare blades for accuracy and maintenance
Prep and Surface Repair for Best Adhesion
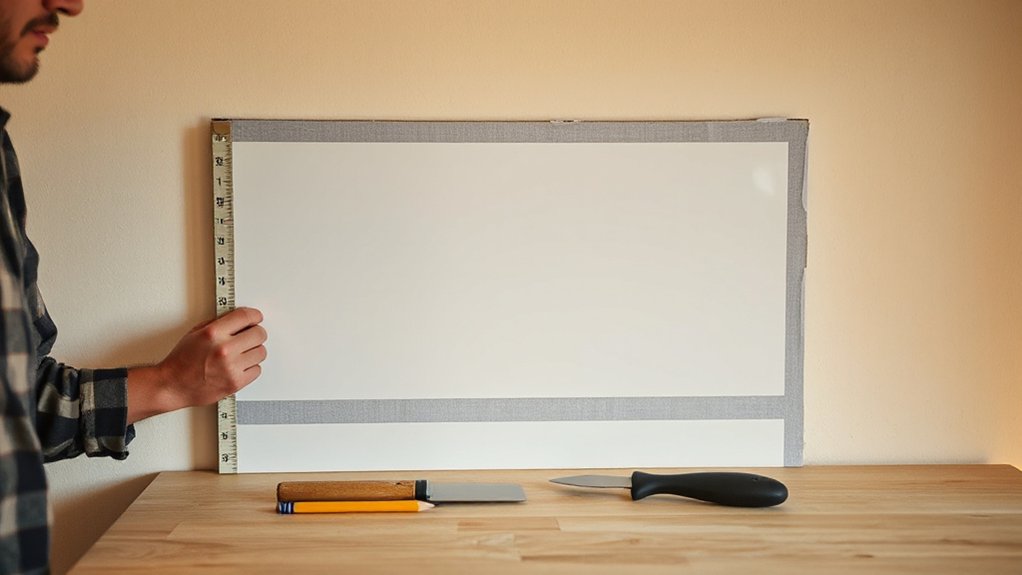
Before you apply peel-and-stick panels, prep the surface thoroughly to guarantee the adhesive sticks and lasts. Begin by cleaning with a degreasing cleaner to remove soap film, oil, and dust, then rinse and dry completely.
Inspect for cracks, peeling paint, or loose wallpaper; repair these areas with a 100% acrylic spackling compound and a thin skim coat, sanding smooth once dry. If you find bumps or texture, lightly sand until the surface is even, then wipe away dust.
Prime glossy or slick substrates to improve adhesion. Avoid design trends that encourage shortcuts—proper prep beats aesthetics.
Align panels only after a flawless base is achieved, since installation mistakes often show through. With a solid foundation, your backsplash sticks firmly and looks professional.
Clean and Repair the Wall Before Install
Start by washing the wall to remove grease, dust, and soap film, then rinse and dry completely. You’ll inspect the surface for flaws and repair as needed to guarantee a solid bond.
If the wall has wall texture, smooth any rough patches with a patching compound and sand lightly for an even finish.
Check paint compatibility to avoid peeling later; if the existing paint isn’t compatible, remove loose paint and reseal with a primer suited to the substrate.
Fill gaps around imperfections and seal cracks before applying the backsplash tape. A clean, repaired wall improves adhesion and eliminates air bubbles.
- Confirm surface smoothness before laying sheets
- Match primer to existing paint for the best bond
- Refinish damaged areas to prevent future peeling
Cutting and Fitting Around Outlets and Switches
Use a sharp utility knife or trim tool to cut cleanly around the plate boxes, making precise, shallow passes to avoid gouging. For outlets, trim slightly larger than the box so you can tuck the excess under the faceplate if needed.
When you reinstall, verify that the switch plate sits flush and no adhesive blocks the screws. Outlet trimming and switch cover adjustment keep the surface seamless and secure, minimizing gaps and bulges.
Step-by-Step Adhesive Application Process
To apply the adhesive evenly, start by aligning the backsplash sheet with your layout marks and pressing it firmly onto the wall from top to bottom.
Next, work from the center outward, smoothing with a plastic spreader to push air out and guarantee full contact. Maintain steady pressure for 20–30 seconds after each section to set the bond and minimize gaps.
If you notice misalignment, gently re-seat the sheet before the adhesive cures.
Design inspiration guides your placement, while awareness of installation challenges keeps you proactive about edge alignment and seam consistency.
- Center-first alignment secures balance
- Smooth, deliberate motions prevent bubbles
- Recheck edges and seams before final set
How to Prevent Wrinkles and Air Bubbles
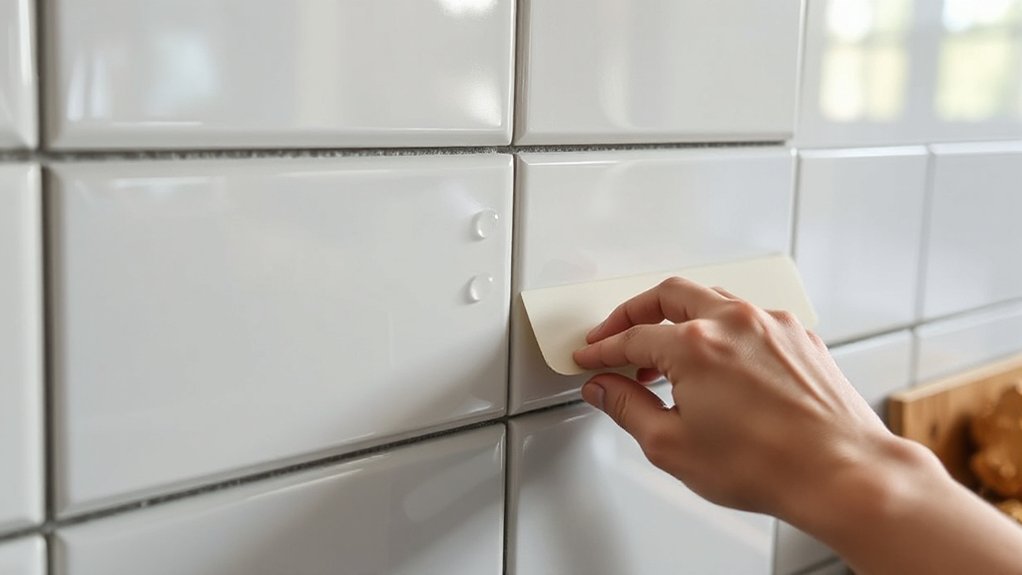
To prevent wrinkles and air bubbles, start by addressing them as soon as you notice them.
Remove any air bubbles carefully with a leveling tool. Use steady pressure to smooth out wrinkles, working from the center outward.
Keep a clean, dry surface and recheck edges to guarantee the adhesive seats evenly.
Remove Air Bubbles Carefully
Air bubbles can ruin a peel-and-stick backsplash, but you can prevent wrinkles by handling the sheet carefully as you apply it. When you notice a bubble, push it toward the edge with steady pressure and a smoothing tool, then re-seal the side. If a bubble remains, lift gently from the edge nearby, re-adhere, and smooth again. Avoid tearing or stretching the material during removal techniques and reapplication.
- Work from the center outward
- Re-seal with light, consistent pressure
- Recheck seams after each section
Air bubbles vanish with methodical smoothing and controlled lifting if needed. Stay patient and decisive: small misalignments are easier to fix early. This approach keeps the finish clean and minimizes long-term wrinkles.
Smooth Wrinkles With Tools
Even with careful placement, wrinkles can pop up, so you’ll want to smooth them out with the right tools. Start by gently peeling back the edge near the wrinkle and re-aligning the sheet, then press from the center outward.
Use a clean, smooth squeegee or microfiber roller to work air toward the edges with steady, overlapping strokes. For tight curves or corners, switch to a plastic spreader or a soft cloth to push wrinkles flat without tearing adhesive.
Maintain consistent pressure to avoid new creases and promote uniform adhesion. Focus on wrinkle prevention by addressing small folds early, not later.
Practice proper tool techniques: keep blades away from the surface, work slowly, and verify with a glance from multiple angles.
Sealing Edges and Seams for Longevity
Properly sealing the edges and seams of your peel-and-stick backsplash prevents water damage and keeps the panels looking seamless. You’ll boost longevity by focusing on two key tasks: edge sealing and seam sealing.
Use a flexible, mold-resistant sealant along outer edges and where panels meet. Smooth any excess for a clean finish, then wipe away residue before it cures. Keep air flow minimal to avoid trapping moisture behind the tape.
- Edge sealing ensures perimeter protection and a neat border
- Seam sealing blocks moisture infiltration at joints
Maintain a consistent seal as you clean and recheck.
With these steps, you improve durability, resist peeling, and maintain a polished, professional look. Edge sealing and seam sealing are essential for lasting adhesion.
Troubleshooting Common Installation Issues
If you run into gaps or peeling, start by rechecking Surface Prep Essentials and how you prepared the wall and panels. Make certain Adhesive Application Tips were followed.
Reapply only where the texture or contamination caused performance issues. We’ll tighten guidance on prep and application to prevent future failures and keep your backsplash secure.
Surface Prep Essentials
Surface prep sets the foundation for a durable peel-and-stick backsplash, so start by cleaning and sealing the work area. You’ll remove dust, grease, and old adhesives, then skim any rough spots. A smooth, dry surface improves decorative accents’ appearance and keeps adhesive strength consistent across edges and corners.
If you spot moisture or paint flaking, address it before applying the panel to avoid lifting later.
- Clean thoroughly with a mild degreaser, then rinse and dry completely.
- Sand glossy finishes and fill gaps for a uniform substrate.
- Prime where recommended to maximize adhesive strength and evenness.
Keep tools ready, work in a dust-free zone, and recheck the surface after a brief test panel.
Adhesive Application Tips
You should press firmly while you roll from the center outward, staying consistent with pressure to avoid gaps. If bubbles appear, work them toward the edge with a smoother or wedge tool rather than peeling back the sheet repeatedly.
Clean edges as you go to guarantee full adhesion, and trim carefully with a sharp utility blade.
Consider color coordination in your patterns so joins stay discreet, and test a small area first to verify tack before committing.
Use design inspiration from samples to position panels evenly, then seal seams with light pressure.
Finally, allow the adhesive to set fully before handling.
Maintenance Tips to Extend Backsplash Life
Regular maintenance keeps your peel-and-stick backsplash looking new longer. To extend life, establish a simple Cleaning schedule and stick to it, especially in areas prone to splashes.
Clean gently with a soft cloth and mild soap; avoid abrasive pads that could scratch the surface. Inspect edges monthly and reseal where adhesive contact loosens, depending on usage.
- Schedule routine wipe-downs after cooking to prevent residue buildup
- Check seams and corners for lifting and reapply adhesive as needed
- Plan periodic Sealant application if recommended by the product manufacturer
Keep a small kit handy for quick touch-ups, and document any maintenance tasks. By staying proactive, you preserve appearance and adhesion without interrupting daily use.
Real-World Kitchen Install Ideas
Think through real-world kitchen layouts and spot areas where peel-and-stick backsplashes shine, from islands to ranges. I’ll share practical tips for choosing patterns and textures that hold up under heat, moisture, and daily cooking.
Let’s explore ideas that fit real kitchens, using simple, durable options that you can implement with confidence.
Real-World Kitchen Ideas
Peel-and-stick backsplashes offer quick, budget-friendly updates that you can tackle in a weekend. Real-world ideas focus on practicality, so you’ll mix style with function, choosing layouts that fit your space and daily routine.
You’ll notice how simple placements can transform countertops and drawers, with minimal mess or tools. When you plan, prioritize surfaces that you actually use, like behind the sink or stove, for maximum impact.
Eco friendly options and budget friendly materials help you stay green without overspending.
- Reusable patterns that coordinate with existing cabinets
- Materials sourced from sustainable suppliers
- Maintenance-friendly finishes that wipe down easily
Practical Peel-And-Stick Tips
Once you plan your peel-and-stick install, focus on practical tips that save time and guarantee a clean, durable result. Start by prepping the surface: clean, dry, and free of residue, then lightly sand glossy areas for better adhesion.
Measure twice, cut once, and use a straightedge to avoid jagged edges. Align panels with a level, and press firmly from the center outward to remove air pockets.
Temperature matters; apply when walls are between 60–85°F to improve adhesive grip. For looks, experiment with Creative patterns to balance visual flow without gaps.
Consider Color combinations that complement cabinetry and countertops, using darker tones for contrast or lighter shades for brightness.
Peel slowly at edges if adjustments are needed, and seal seams with a minimal, clear bead to reduce tension.
Peel-and-Stick vs. Traditional Tile: Which to Choose
When deciding between peel-and-stick and traditional tile, consider your project goals, budget, and DIY comfort level. Peel-and-stick shines for quick updates, small budgets, and redo-friendly options, while traditional tile offers long-term durability and a classic, high-end look.
Your choice affects color schemes and design inspiration, so align with how you want the space to feel over time.
- Peel-and-stick: fast install, flexible updates, lower upfront cost
- Traditional tile: lasting resilience, wider mortar/grout choices, higher skilled effort
- Hybrid approach: mix patterns or accents to balance price and durability
If you crave bold color schemes or a modern vibe, peel-and-stick can deliver immediate impact; for timeless elegance, tile remains a solid long-term investment.
Choose based on practicality, not just aesthetics.
Safety and Ventilation When Installing
Before you start any backsplash project, you should plan for safety and ventilation to protect yourself and your space. You’ll work with adhesives and occasional solvents, so keep a window or door cracked for airflow and turn on a ventilation system if you have one.
Read and follow the adhesive manufacturer’s safety data and wear eye protection, gloves, and a mask if fumes are present.
Clear the work area of clutter, secure cabinets, and unplug nearby outlets when cutting or scoring.
Maintain fire safety by keeping a small, accessible extinguisher nearby and avoiding open flames.
After finishing, ventilate for several minutes and store leftovers as directed.
Respect ventilation systems and limits to minimize risk and odors.
Cost Guide for Peel-and-Stick Backsplashes
Peel-and-stick backsplashes can be a cost-effective upgrade, but prices vary based on material, size, and installation needs. When budgeting, expect lower costs for vinyl or composite sheets and higher for textured or patterned options.
You’ll save on labor if you prep surfaces well, but factor in waste and trimming needs.
Eco friendly options exist, often using recycled materials or low-VOC adhesives, which can influence price slightly but improve long‑term sustainability.
Installation challenges like curved corners or uneven walls can add time and costs, so plan for modifications or alternative layouts.
- Compare material warranties and durability
- Calculate adhesive and trimming extras
- Consider eco-friendly options vs. standard materials
Quick-Finish Checklist for a Sunday Afternoon Install
You’ll start by confirming your prep work essentials and gathering the exact tools you’ll need for a smooth Sunday install.
Next, follow surface preparation steps carefully to guarantee the backsplash sticks firmly and looks tidy from edge to edge.
Finally, use quick finishing tips to seal gaps, trim edges, and wipe away any fingerprints for a clean, ready-to-show result.
Prep Work Essentials
Prep work sets the stage for a smooth install, so grab a quick checklist and knock out the essentials first. You’ll save time later by prepping the space, tools, and materials with intention. Focus on layout, measurements, and a clean surface to guarantee alignment stays true throughout the project.
- Gather tools and adhesive, plus a utility blade and smoothing tool
- Clear countertops, protect nearby surfaces, and confirm levels
- Pre-inspect for humidity, temperature, and ventilation to avoid curl or edge lift
As you plan, imagine how garden decor and outdoor lighting could influence your final look in the kitchen or powder room. Keep contingencies ready and work in a controlled sequence for a clean, durable finish.
Surface Preparation Steps
To set you up for a smooth install, start with a clean, dry surface and a precise layout. Begin by inspecting walls for full adhesion; fill gaps or cracks with compatible filler and let dry. Wipe surfaces with a mild cleaner, then rinse and dry completely. Remove dust with a microfiber cloth, ensuring no fibers cling to the wall.
Shield adjacent areas and test a small section with the peel-and-stick tile to verify adhesion on glossy or textured finishes. Plan your pattern before cutting; minimize waste by measuring twice. Consider design trends to guide placement, and factor budget considerations for trimming pieces.
Keep blades sharp, cut away from you, and handle sheets with even pressure to avoid air pockets. Finish by applying pressure across the full sheet for a lasting bond.
Quick Finishing Tips
Finish up your peel-and-stick backsplash by keeping things simple and steady. As you finish, you’ll want to verify you’ve got neat edges and even alignment, since wall texture can affect final appearance.
Check the adhesive strength by pressing panels firmly, especially near corners and outlets, to prevent lifting over time. If gaps appear, smooth them with a light hand, don’t force the material.
Wipe away any adhesive residue right away to avoid staining.
- Align panels before pressing to maintain consistent spacing
- Press firmly along full panel height to maximize adhesive strength
- Clean as you go to prevent residue and ensure a crisp finish
Frequently Asked Questions
Can Peel-And-Stick Backsplash Damage Paint or Drywall Over Time?
Peel-and-stick backsplash can damage paint or drywall over time if moisture seeps behind it. Guarantee paint compatibility and monitor humidity. Use proper ventilation, clean surfaces, and verify drywall safety before installation to minimize risks and repairs.
Are There Heat-Resistant Options for Behind Stoves and Ovens?
Heat-resistant options exist; yes, you can choose sturdy materials. Material durability matters here, so select heat-tested backsplashes designed for ovens and stoves. You’ll protect surfaces, resist scorching, and keep installation practical, precise, and persistently reliable.
How Long Does Initial Adhesion Last Before Full Cure?
Initial adhesion lasts a few hours to days before full cure; expect about 24–72 hours for solid bonding. During the curing timeline, avoid moisture and heat exposure, and check adhesion longevity with light use until fully cured.
Can I Remove and Reposition Sheets After Partial Application?
Can you remove and reposition sheets after partial application? Yes, but proceed cautiously. During the removal process, work slowly to avoid tearing, then use repositioning tips to realign. You’ll preserve adhesion while correcting misplacements.
Do Peel-And-Stick Backsplashes Support High Humidity Areas?
Yes, some peel-and-stick backsplashes offer moisture resistance for humid areas, but check moisture resistance ratings and surface compatibility before installing. Make certain the wall is dry, clean, and suitable; otherwise performance may degrade in high humidity.
Conclusion
Peel-and-stick backsplashes are approachable, affordable options that won’t overwhelm your space. If you’re craving a refresh without the fuss, this method can save you time and mess. Just prepare the surface, follow directions, and apply with a steady hand. You might encounter a minor learning curve, but your kitchen will thank you with a cleaner look. When in doubt, opt for a simple, forgiving pattern. A pleasant update awaits—without pretending it isn’t a little work.