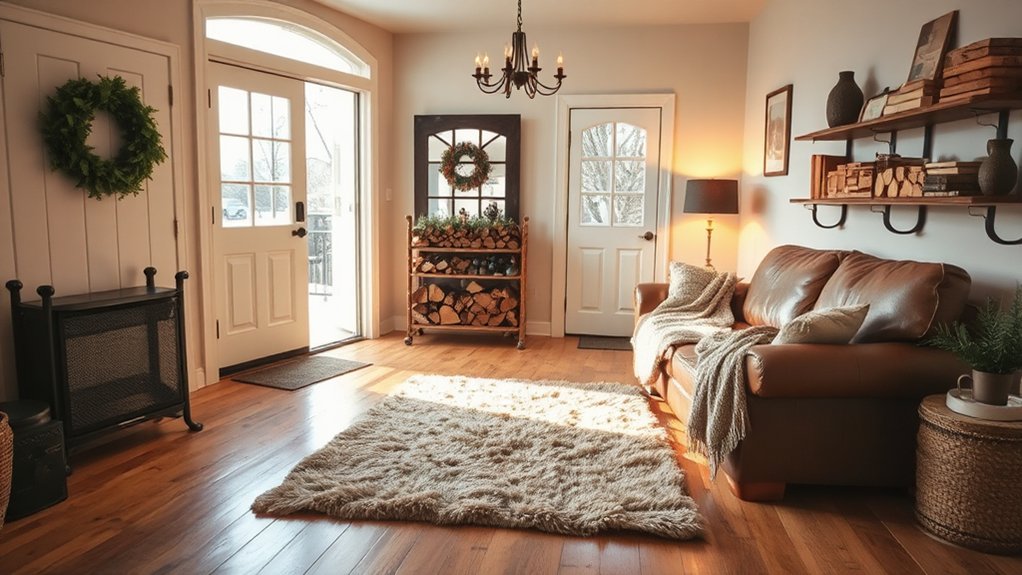

To prepare your home for winter, start by locating draft spots around doors, windows, outlets, attic hatches, and crawlspaces, then seal leaks with weatherstripping, caulk, foam, or gasket inserts. Test drafts with a candle or tissue, and upgrade attic insulation to recommended levels. Prioritize sealing around ducts, pipes, and utility penetrations, while protecting hoses, outdoor spigots, and water meters. Add simple maintenance like furnace tune-ups and programmable thermostats—plus a straightforward emergency plan. More steps await to boost comfort and savings.
Key Takeaways
- Seal drafts around windows, doors, outlets, attic hatches, and crawlspaces to stop cold air intrusion.
- Insulate attics, basements, and rim joists; add vapor barriers and seal ductwork to improve efficiency.
- Test and maintain heating systems; replace filters, calibrate thermostats, and use programmable settings for comfort and savings.
- Weatherproof exterior connections: disconnect hoses, insulate pipes, protect hose bibs, and winterize sprinklers.
- Prepare for emergencies: stock a winter kit, map a plan, keep pathways clear, and ensure CO and smoke detectors are functional.
Define Your 1-Weekend Winter Readiness Plan
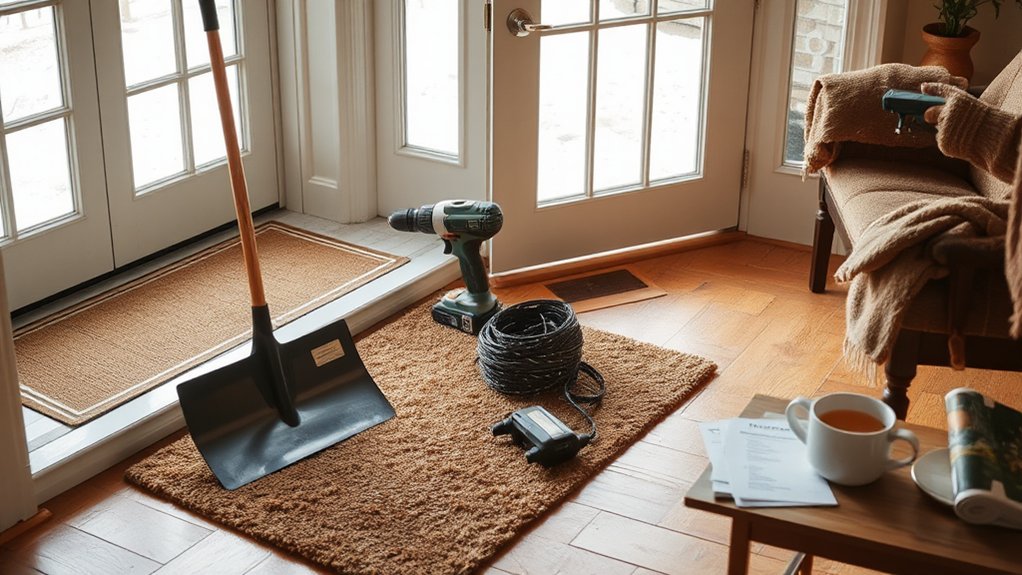
To define your 1-weekend winter readiness plan, start with a clear target: what needs to be done by Sunday evening to keep your home safe and comfortable. You’ll map tasks into two blocks: essential safety and steady comfort.
Begin with insulation checks, weather-stripping of doors and windows, and a tuned thermostat schedule. Secure gutters, drain outdoor taps, and test smoke and carbon monoxide detectors.
Move to practical aesthetics: align Home decor with practical warmth—add draft blockers, throw blankets, and energy-efficient lighting.
In parallel, refine interior design choices for efficiency: arrange space to maximize heat retention, seal attic access, and declutter to improve airflow.
Finish by documenting responsibilities, setting reminders, and reviewing costs. This plan delivers a focused, actionable path for a cozy, safe home.
Find Draft Spots: How to Spot Leaks Fast
Start by locating draft gaps around doors, windows, and outlets so you can feel where cold air sneaks in.
Check common leak points like the attic hatch, fireplace dampers, and crawlspace to spot obvious leaks fast.
Use this quick scan to prioritize sealing tasks and reduce heat loss.
Spot Draft Gaps
Start at exterior doors: seal gaps with weatherstripping, adjust sweeps, and make sure the threshold blocks air flow.
Move to windows—press a hand around edges while closed; add foam or caulk where you detect movement.
Check electrical outlets, switches, and attic hatches; foam gaps or install gasket inserts to reduce concealed air routes.
Use a simple candle test or tissue near suspected seams to confirm drafts before sealing.
This approach emphasizes draft detection and leak identification, giving you precise corrections without overhauling surfaces.
Keep records of spots and fixes for future winters.
Check Common Leaks
Common leaks show up where leaks are easiest to miss: around windows, doors, utility penetrations, and attic access. You’ll identify leaks by feeling for drafts, listening for whistling, and checking for condensation.
Once you locate them, you’ll caulk gaps and seal with weatherstripping to stop air from sneaking in. This approach is faster than full-scale renovations and immediately improves comfort and efficiency.
- Find drafts quickly by inspecting seams and penetrations, then caulk gaps where you feel air.
- Prioritize doors and windows first, then attic access and utility gaps to stop heat loss.
- Recheck after sealing, then monitor for new drafts to ensure you’ve identified leaks effectively.
Seal Windows and Doors for the Season
Start by inspecting all window and door seals for cracks, gaps, and torn weather stripping so you know what to fix first.
Replace worn weather stripping and seal any gaps to stop drafts and save heat.
This sets the foundation for overall energy efficiency as you complete the rest of the season’s preparations.
Inspect Seals and Gaps
To seal out drafts, inspect all windows and doors for gaps and cracks, then address them promptly. You’ll detect hidden trouble spots and stop drafts before they worsen.
- Seal gaps around frames with appropriate caulk or gasket material to stop draft leaks.
- Check weatherstripping for wear; replace it to maintain a tight seal and reduce heat loss.
- Inspect thresholds and sills, adding weatherstrips or sweeps where needed to prevent cold air intrusion.
Focus on practical fixes you can do in a weekend. Don’t overlook small cracks, as they compound draft leaks over time.
After sealing, recheck pressure points by feeling for cold spots, and test by closing doors and windows firmly. This keeps your home warmer and more energy efficient.
Install Weather Stripping
Installing weather stripping is the next practical step after sealing gaps. You’ll improve energy efficiency and curb drafts by thoroughly sealing windows and doors.
First, assess all operable edges for persistent leaks, then choose the right material—foam for gaps around frames, vinyl or rubber for hinges and sashes. Clean surfaces to guarantee adhesion, and cut materials to fit precisely without compressing.
Apply tape for gaps you can’t butt joint, and install compression weatherstripping where frames meet moving parts.
Test each seal by closing the door or window and loading it with a light draft. Recheck periodically, especially after seasonal shifts.
This simple upgrade reduces draft prevention issues and helps your heating system work more efficiently.
Insulate Attics, Basements, and Crawl Spaces
Insulating your attic, basement, and crawl spaces reduces drafts and heat loss, saving you money and increasing comfort. To maximize efficiency, target key areas with proven methods and durable materials.
- Attic insulation: add or upgrade insulation to meet recommended R-values, seal gaps around ductwork, and vent properly to prevent moisture buildup.
- Basement sealing: seal cracks, install vapor barriers where needed, and address dampness with proper drainage to stop cold air intrusion.
- Crawl space control: encase in a moisture barrier, insulate rim joists, and reduce air transfer from the living space above.
Together, these steps cut drafts, improve comfort, and support long-term energy savings during winter.
Pre-Season Heating Maintenance Checklist
With the attic, basement, and crawl space sealed and insulated, you’re ready to focus on keeping your heating system reliable all winter. Begin with a quick visual check: look for loose connections, frayed wires, and corroded components.
Replace dirty filters every 1–3 months, and clean blower housings if accessible. Schedule battery replacements in thermostats and check that outdoor unit clearances meet equipment specs.
Calibrate the thermostat to match room temperatures, ensuring it cycles correctly and avoids short cycling. Inspect ignition systems or pilots for clean, steady operation.
Test carbon monoxide detectors and ensure fresh air intake paths aren’t blocked. Keep a log of maintenance tasks and note any unusual noises or fluctuations in heat output.
Prioritize thermostat calibration and fuel efficiency to sustain comfort with minimal waste.
Schedule a Furnace or Boiler Tune-Up
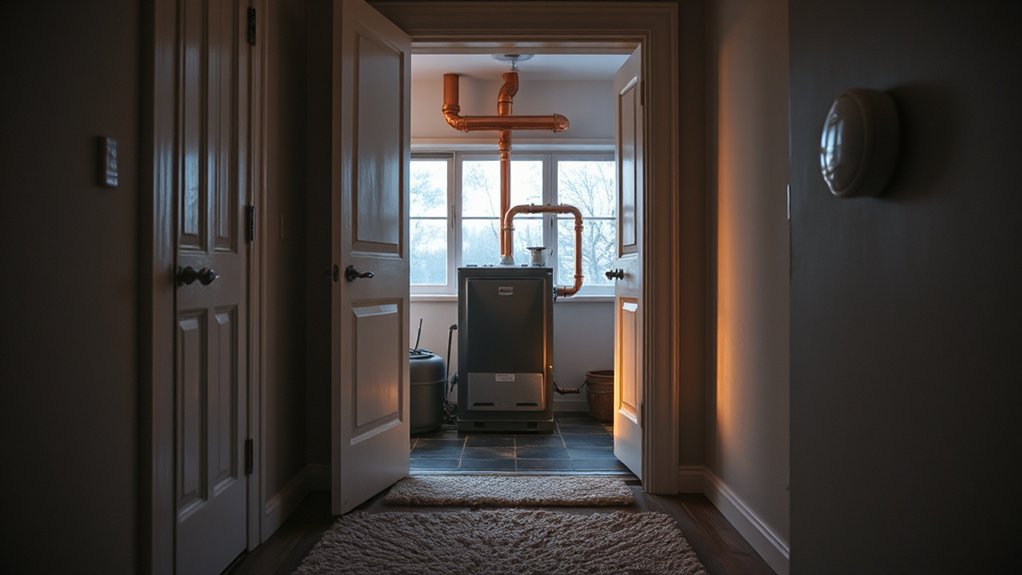
- Have a pro inspect burners, heat exchanger, and venting for ideal furnace efficiency and safe operation.
- Verify thermostat, pressure, and safety switches so boiler safety is maintained and heat delivery is reliable.
- Replace or tighten filters, lubricate moving parts, and test alarms to prevent sudden failures during cold snaps.
Protect Pipes From Freezing and Bursting
Want to keep pipes from freezing? Start with proactive planning. Locate exposed plumbing, especially in unheated areas like basements, attics, and garages. Install Pipe insulation on any exposed pipes to slow heat loss and reduce the risk of freezing. Use foam sleeves or wrap insulation designed for plumbing; seal gaps where cold air can contact pipes.
Keep interior temperatures steady; open cabinet doors under sinks to let warm room air reach pipes, but beware of pets. Let faucets drip slightly during extreme cold to relieve pressure if a pipe freezes. Seal cracks and vents to minimize drafts that chill pipes.
For frost protection, install insulation near outdoor faucets and water meters, and drain exterior hoses before winter. Regular checks prevent bursts and costly damage.
Prepare for Power Outages With Backup Plans
Power outages can strike without warning, so start with a practical plan you can follow in the moment. You’ll stay safer and more comfortable by preparing now and reviewing your steps during calm weather. Build a simple kit, designate a room with a door, and know how to conserve heat if heat drops.
1) Create a one-page emergency plan with contacts, a flashlight, batteries, and a charged power bank for critical devices.
2) Prioritize heat, water, and lighting; use alternate heat sources only with ventilation and safety in mind.
3) Practice your plan monthly, including shutting off nonessential circuits to protect appliances and prevent surges.
Emergency preparedness and power outage planning keep you resilient and ready.
Fine-Tune Thermostat Zoning for Comfort and Savings
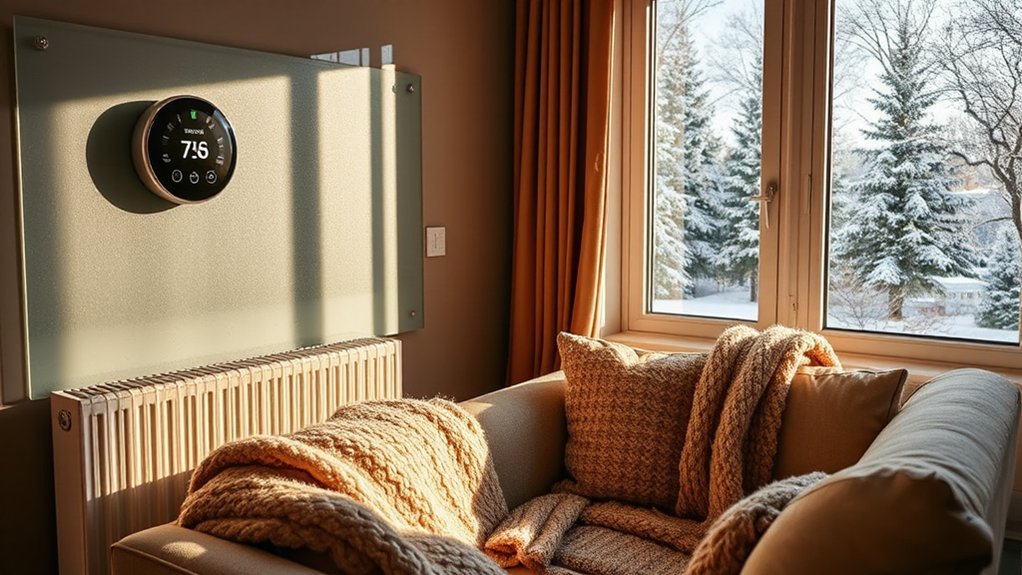
If you’ve got your outage plan in place, it’s time to tighten how you heat your home. Fine-tuning thermostat zoning boosts comfort and cuts costs.
Start with Thermostat calibration to guarantee accurate readings; a misread 1–2 degrees can waste energy. Set baseline temperatures that reflect occupied spaces, then implement zone control to direct warmth only where needed.
Use a multi-zone system or smart thermostats with room sensors to balance heat between living areas, bedrooms, and the hallway. Schedule shifts that match daily activity—lower temps when rooms aren’t in use, raise them before you return.
Keep doors closed to preserve engineered zones, and avoid large swings that stress equipment. Regularly review weather and occupancy changes to maintain efficient, even comfort.
Weatherproof Outdoor Water Connections
- Disconnect hoses and drain residual water, then store hoses indoors to prevent cracking.
- Install frost-proof or angled shutoff valves for outdoor faucets, minimizing exposed piping.
- Insulate exposed pipes with foam sleeves and seal gaps to deter cold air intrusion.
Additionally, protect hose bibs with covers and winterize sprinkler lines if you have them.
Schedule a quick inspection of exterior spigots for leaks or cracks, and repair promptly.
With these steps, you reduce burst risks, keep water access functional, and extend the life of your outdoor faucets during harsh conditions.
Control Humidity for Comfort and Mold Prevention
Controlling humidity isn’t optional in winter—it’s essential for comfort and mold prevention. Keep indoor relative humidity around 30–50%.
Use a dehumidifier or ventilation when rooms feel damp.
Lower excess moisture now to protect your walls, furniture, and health all season.
Humidity Levels Matter
Humidity levels can make or break winter comfort and mold resistance. You’ll keep spaces healthier by watching indoor humidity and practicing moisture control, especially in high-traffic rooms and bathrooms.
Too much humidity invites condensation; too little dries out skin and fuels static. Use a humidistat to maintain 30–50% indoor humidity for comfort and structural safety.
Ventilate damp areas after showers, and seal leaks that funnel moisture indoors.
- Maintain consistent humidity with a reliable humidistat
- Improve moisture control via exhaust fans and proper insulation
- Monitor readings after heating cycles and weather shifts
Prevent Mold Growth
When you prevent mold, you must keep humidity in check and guarantee good airflow so moisture doesn’t linger. Start by measuring indoor humidity; aim for 30–50%. Use exhaust fans in kitchens and baths, and run a dehumidifier in damp spaces during winter.
Seal leaks around windows, doors, and pipes to stop cold, moist air from seeping in. Improve airflow by opening interior doors and using ceiling fans on low. Wipe condensation from windows and surfaces daily, and address any water intrusion immediately.
Clean and dry damp laundry promptly, and avoid drying clothes indoors if possible. Regularly inspect basements and crawl spaces for damp spots.
Practicing mold prevention and moisture control protects air quality and building integrity.
Improve Lighting and Appliances for Winter Efficiency
One quick win for winter efficiency is to upgrade lighting and appliances to match the season’s needs: switch to LED bulbs, install smart controls, and run high-efficiency devices to cut heat and energy waste.
- Lighting upgrades: choose warm LEDs, motion sensors for hallways, and dimmers to control brightness without wasting energy.
- Appliance efficiency: select ENERGY STAR models, stagger usage, and maintain seals on refrigerators and ovens to minimize heat leakage.
- Smart integration: program schedules, remotely monitor consumption, and automate peak loads to reduce overall energy use without sacrificing comfort.
This approach lowers heat output from lighting, improves thermal performance, and keeps your home cozy while trimming bills.
Create Your Simple Winter Maintenance Checklist
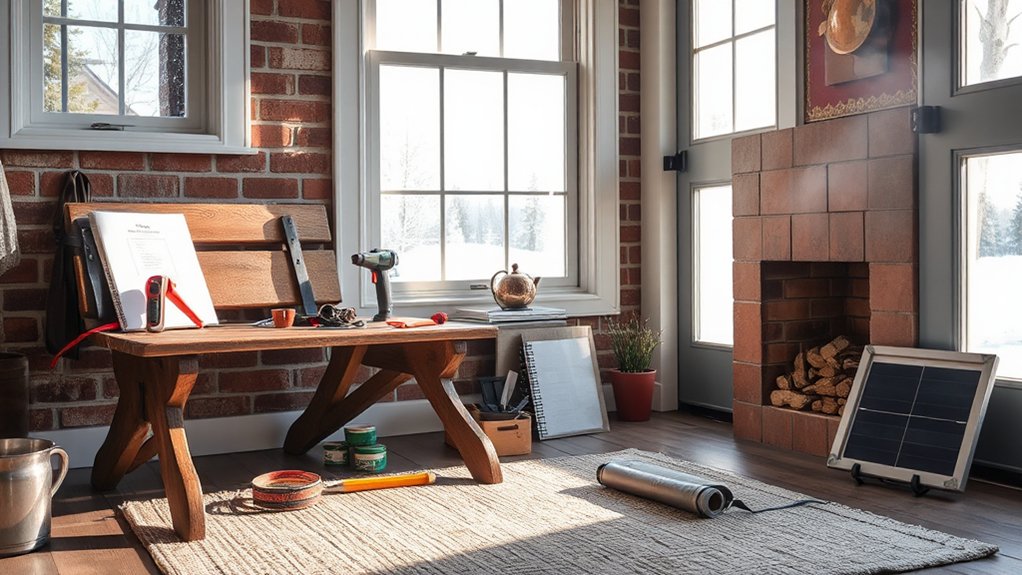
Create a simple winter maintenance checklist to keep your home ready for cold months. Start by checking the roof and gutters.
Then inspect the heating system.
And seal gaps around windows and doors.
Use this order to guide quick, repeatable tasks that prevent costly winter surprises.
Check Roof and Gutters
Start by inspecting your roof for loose shingles, damaged flashing, or signs of wear that could lead to leaks once snow or rain starts. Then check gutters and downspouts for obstructions, sagging sections, or loose fasteners, because blocked drainage can cause ice dams and water intrusion. Perform a focused gutter cleaning to ensure water flows freely away from the structure.
Schedule a Roof inspection if you notice curling edges, exposed nails, or waviness in the sheathing.
- Clear debris from gutters and rinse with water to verify flow.
- Inspect flashing around vents, chimneys, and skylights; reseal as needed.
- Look for uneven roof surface or trapped moisture; address promptly before storms.
Inspect Heating System
Before winter hits, verify your heating system is ready to perform. Start with a quick visual inspection: soot-free flame, no rust, clear vents, and a clean furnace area free of clutter.
Change or clean filters to protect airflow and efficiency. Schedule a professional service if you’re unsure about the blower, burner, or heat exchanger; a tune-up boosts reliability and heating efficiency.
Test the thermostat by setting a fixed temperature and confirming the system responds promptly. Check for unusual noises or odors during startup.
Inspect ductwork for obvious gaps or disconnected joints—seal later if you find leaks.
Note thermostat placement: keep it away from drafts, direct sunlight, or heat sources to maintain accurate readings and consistent comfort.
Seal Windows and Doors
Sealing windows and doors quickly cuts drafts and lowers heating bills. You can tighten the envelope now with practical checks that endure through cold snaps. Focus on effective methods that don’t require major renovations.
- Inspect and improve window insulation by adding weatherstripping or caulk where gaps appear. Consider insulating blinds or drapes for extra warmth.
- Check door weatherproofing. Apply door sweeps and exterior sealant to block leaks around the threshold and frame.
- Test for drafts by running a candle along edges. Address stubborn leaks with foam backer rods or appropriate sealant for lasting comfort and reduced heat loss.
Budget-Friendly Upgrades That Pay Back
Boosting your home’s efficiency doesn’t have to break the bank; small, strategic upgrades can deliver solid returns come winter. You’ll focus on cost-effective improvements that reduce heat loss and lower bills.
Start with insulation improvements in attic and rim joists, which curb drafts without major remodeling. Replace attic fans with a thermostat-controlled unit to avoid unnecessary cooling in colder months.
Install programmable thermostats to fine‑tune temperatures, boosting energy savings while staying comfortable. Consider sealing electrical outlet gaps and upgrading to energy-efficient LED lighting, which compounds savings over time.
Add weatherstripping to doors and vents to minimize air leaks. Prioritize high-impact upgrades with quick payback—each step boosts cost effectiveness and total comfort, making winter more affordable without sacrificing performance.
Quick Weekend Winter Tasks You Can Do Now
With a weekend clocking in at just a few hours, you can make meaningful progress on winter readiness. These quick tasks fit a tight schedule and prevent bigger headaches come freeze-time.
- Tidy and inspect entryways, sealing gaps around doors, and stash holiday decorations neatly to reduce tripping hazards and drafts.
- Check indoor plants for adequate light and moisture, rotate positions if needed, and group them to conserve heat without overwatering.
- Test your small heater and carbon monoxide detector, replace batteries, and clear nearby clutter to keep pathways safe.
Bonus: run a quick weather check, stock a compact emergency kit, and set timers for short power-saving breaks. You’ll feel prepared without overcommitting.
Frequently Asked Questions
How Soon Should I Start Winter Prep?
You should start now. Plan early, so seasonal insulation goes in before heavy weather hits, and assemble an emergency kit. Proactively inspecting doors and pipes saves stress, money, and cold disappointment when winter arrives.
Which Tool Kit Is Essential for DIY Fixes?
A basic tool kit essential for DIY fixes includes a hammer, screwdriver set, pliers, tape measure, utility knife, level, flashlight, and adjustable wrench. Tool kit essentials enable quick DIY repair tips and empower you to tackle projects confidently.
Can Indoor Humidity Cause Frost Damage?
Yes, indoor humidity can contribute to frost damage, especially through excessive indoor condensation. Manage humidity by ventilation and humidity control, run exhaust fans, use a dehumidifier, and fix leaks to reduce moisture that fosters frost-related issues.
Is DIY Furnace Maintenance Safe for Beginners?
Okay, yes, DIY furnace maintenance isn’t for beginners. You should proceed with furnace safety in mind and use DIY troubleshooting only for minor checks; otherwise call a pro. Don’t risk gas leaks or carbon monoxide dangers.
What Are Cheap Weatherproofing Methods?
Cheap weatherproofing methods include insulation upgrades and sealant application. You’ll cut drafts, save on bills, and stay warmer. Focus on attic gaps, doors, and windows, seal cracks, and add affordable insulation where heat escapes most effectively.
Conclusion
You’ve got this. With a one-weekend plan, you’ll spot leaks, seal drafts, and lock in warmth before winter hits. Prioritize attic, basement, and crawl spaces, then tune your heating and lighting for efficiency. Use the quick maintenance checklist and budget-friendly upgrades to stretch every dollar. Stay proactive: a proactive home is a shield against harsh weather. Think of your home as a warm trusty steed ready to gallop through winter’s bite.