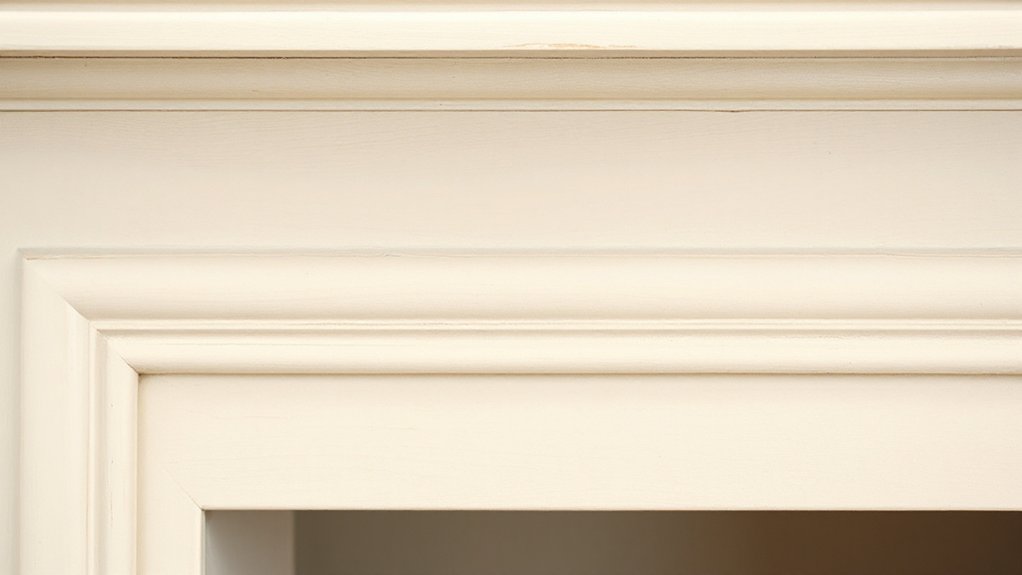

Over time, you’ll update and decorate your living room, gloss the woodwork, paper the walls. However, the surrounds on your Victorian, Edwardian and Georgian fireplaces sometimes get neglected.
To paint your fireplace surround, start by thoroughly cleaning, inspecting, and lightly sanding the surface, then repair any cracks and seal porous textures with a masonry bonding primer. Choose paint and primer suited to brick, tile, stone, or wood, and apply in thin, even coats. Use sharp edges, masking tape for clean lines, and let each coat dry fully before the next. Finish with a durable top coat and maintain with gentle care—you’ll pick up additional expert tips as you proceed.
Key Takeaways
- Clean, inspect, and lightly sand the surround; patch damage and seal porous surfaces with a masonry primer for better adhesion.
- Use stain-blocking or bonding primer on repaired or difficult areas (bare concrete, brick, or old paint).
- For brick, tile, or textured surfaces, seal with masonry primer and use thin coats to avoid pooling and lap marks.
- Apply even, thin coats of paint with appropriate brushes/rollers; back-butter large tiles and maintain crisp edges with tape or masking.
- Allow full curing, ventilate, and perform targeted touch-ups for uniform color and finish.
Prep the Surface Before You Paint the Fireplace Surround
Before you paint, prepare the surface for adhesion and a smooth finish. You’ll start by cleaning the fireplace surround with a mild detergent to remove dust, soot, and oils, then rinse and dry completely.
Inspect for loose material, peeling paint, or efflorescence; sand those areas until the base is uniform. Use a tack cloth to wipe away residue, ensuring the surface is dust-free.
If you’re dealing with glossy surfaces, lightly sand to create micro-abrade that grip can latch onto.
Prime where needed: a bonding primer on bare concrete, brick, or previously painted zones improves adhesion and reduces staining.
Plan your Color palettes and Decorative accents ahead of time, so you can align texture and sheen with the final look.
Let the primer dry fully before painting.
Choose Paint Types by Surface: Brick, Tile, Stone, and Wood
When you choose paint by surface, you’ll tailor your approach to brick and tile specifics for better results.
For brick, prep matters for even adhesion and color depth.
While tile demands proper adhesion tips to prevent peeling.
Keep these points in mind as you plan, so your finish lasts and looks solid.
Brick Surface Prep
To prepare brick for paint, start by cleaning the surface thoroughly to remove dust, soot, and efflorescence, then repair any damaged mortar joints with a compatible filler. You’ll want a solid, smooth base before you proceed with color.
Focus on achieving even tone through color blending and preserving the brick texture where you want it to shine. This prep sets the stage for durable, uniform adhesion and a clean final look.
- Clean with a stiff brush and mild detergent, rinse, and dry completely.
- Etch glossy surfaces lightly for better bite if needed.
- Fill cracks and loose joints with matching mortar filler.
- Lightly sand raised edges and feather edges for texture highlighting.
Tile Adhesion Tips
After prepping brick for paint, you’ll want to pick an adhesive approach that suits the surface you’re working with. For tile on a fireplace surround, choose a polymer-modified thinset or high-adhesion adhesive designed for porcelain or ceramic. Confirm the surface is clean, dry, and lightly etched to boost grip.
Use a notched trowel appropriate to tile size, then back-butter larger tiles to prevent hollow spots. Grout with a flexible, low-odor mixture once the adhesive cures.
If you’re painting over tile, select a high-adhesion epoxy or urethane primer before color coats. Consider color psychology to guide finish choices that complement the room’s mood and lighting.
Historical styles can inform grout color and tile patterns, aligning the update with the home’s heritage while maintaining durability.
Prime Before Painting the Surround
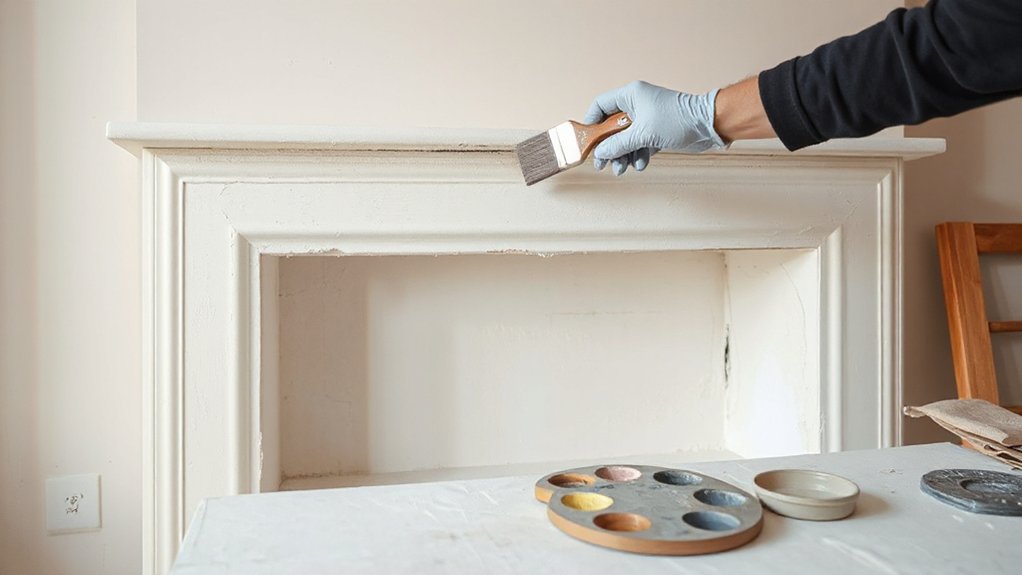
If you want a durable, smooth finish on your fireplace surround, priming first is essential. A quality primer seals the surface, improves paint adhesion, and prevents stains from bleeding through.
Choose a stain-blocking or bonding primer compatible with your chosen topcoat, and apply evenly in thin coats. Allow each coat to dry thoroughly before adding the next, then sand lightly for a seamless base.
1) Prep the surface with a clean, dust-free sweep before priming.
2) Apply primer with smooth, even strokes, covering edges and recessed areas.
3) Let the primer dry fully, then lightly sand to refine texture.
4) Choose a topcoat that supports color selection and texture enhancement without sacrificing coverage.
Clean and Repair Imperfections for a Flawless Finish
Start by prepping surfaces properly so paint sticks and looks even. Patch any cracks, dents, or gaps, then sand smooth before priming first.
This sets a flawless base for a durable, professional finish.
Prep Surfaces Properly
To guarantee a flawless finish, start by cleaning the surround thoroughly to remove dust, grease, and old finishes, since debris will prevent paint from adhering.
- Inspect for cracks, chips, and uneven surfaces; note areas needing attention.
- Wipe with a damp cloth, then a mild degreaser to lift residue.
- Rinse, dry completely, and remove any loose paint.
- Lightly sand glossy spots to improve adhesion, wiping away dust afterward.
Color mixing and tool selection matter here; choose a compatible primer if needed and select brushes or rollers suited to your material. Keep tools clean as you work to prevent texture flaws.
Prepare a color plan that matches the room, then test a small patch. This ensures uniform color and predictable results. Avoid overworking edges to maintain crisp details.
Patch, Sand, Prime First
Begin by inspecting the surround for cracks, chips, and dents, then tackle each imperfection with purpose.
Patch small gaps with a high-quality ready-match filler, smoothing flush with the surface. For larger cracks, use mesh or backing support before applying filler, then sand once dry.
Allow a full cure, then sand lightly with fine grit to feather edges.
Prime only where you repaired or where the underlying surface shows through; a uniform base improves adhesion and finish.
When color mixing, choose a base that matches your paint system and test a small area first.
Brush selection matters: use a synthetic brush for smooth, even coverage or a natural-bristle brush for textured profiles.
Apply even coats, let dry, and assess consistency before final color.
Pick Finish and Color to Match Your Style
When choosing a finish and color for your fireplace surround, think about how it will read with the room’s overall style and mood. You’ll want results that feel intentional, not accidental, so pick a finish that complements your hardware and textiles.
Focus on two aspects: finish options and color selection. Each choice should support the space’s tone and scale.
- Assess the room’s color palette and choose a finish option that anchors or lightens the surround.
- Match color selection to existing accents or create a subtle contrast for depth.
- Consider sheen level for durability and ease of cleaning in high-traffic rooms.
- Test samples on a small area to confirm warmth, contrast, and bloom under lighting.
Mask, Tape, and Protect the Room for Clean Edges
After you’ve picked a finish and color, it’s time to protect the room so clean edges aren’t sacrificed by splatters or bleed-through. Start with drop cloths over floors and furniture, and seal nearby ceilings if you’re using primer or solvent-based paints.
Tape off the mantel, any trim, and adjacent walls with painter’s tape, applying firm, even pressure to prevent bleed. Use edge guards or a rigid shield near corners to keep lines true.
Protect decorative motifs nearby by masking them independently so you don’t smudge them later. Place a damp rag at the tape edge to catch fine drips before they dry.
Plan color coordination by isolating the surround from the room’s color flow, reducing touch-ups later. Store brushes and trays away from heat sources.
Step-by-Step Technique for Clean, Crisp Lines
To achieve clean, crisp lines, set up a sharp edge along your taped border by running a fresh, firm pass with a high-quality angled sash brush loaded lightly with paint.
1) Load just the tip of the brush for controlled, thin strokes along the tape line to prevent bleed.
2) Maintain steady wrist motion, rotating the brush as you progress to keep a uniform edge.
3) Use color mixing to slightly tint near the border if needed, then seal the edge with a final, feathered pass.
4) Pause at corners to re-assert line integrity, letting each stroke set before continuing.
Color mixing and brush techniques combine here to deliver precision without scuffing tape.
How to Handle Difficult Textures: Brick, Tile, and Stone
Brick, tile, and stone textures demand a strategic approach: prep, abrade, and seal where needed to keep paint from pooling and corners from undersaturating. You’ll create a solid base by cleaning thoroughly, then lightly sanding glossy surfaces to promote adhesion.
Prime porous or difficult textures with a bonding primer designed for masonry, applying evenly to avoid streaks. Use thin coats of acrylic latex paint to reduce lap marks, letting each layer dry fully before the next.
For texture transformation, experiment with a slightly darker base and a lighter glaze to highlight depth, or blend colors on a sample board before committing to walls.
Color blending is key; work in small sections, feathering edges to avoid harsh lines and ensure a cohesive finish.
Drying, Curing, and Post-Paint Care Tips
Even after paint dries to the touch, give it time to cure fully before subjecting the surround to use or cleaning. You’ll protect your finish by avoiding heavy traffic and cleaners until the coating hardens. Then, inspect for uniform color and crisp edges, touching up only where needed.
1) Color coordination: choose a subtle sheen and hue that complements your room, letting the surround blend rather than shout.
2) Ventilation strategies: keep windows open and fans running during curing to minimize moisture and odors.
3) Cleaning cadence: wait for the recommended cure window, then dust with a soft microfiber, avoiding abrasive pads.
4) Maintenance habit: lightly wipe annually with a damp cloth and recoat if you notice wear or fading.
Troubleshoot Common Painting Problems and Quick Fixes
If you see peeling or dull spots, start with solid primer prep to lock in adhesion and color evenly.
For drips, use a quick fix by wiping, lightly sanding, and reapplying a thin coat to smooth the finish.
If the sheen is off or your coverage looks uneven, tackle it with targeted touch-ups and a light scuff prior to a final pass, following these points: Primer Prep Tips, Tackling Drips Quick Fixes, Uneven Finish Solutions.
Primer Prep Tips
Before you start painting, take time to prep the primer properly; this helps the finish cling and look even.
- Choose a primer aligned with your surface and paint type to prevent peeling and staining.
- Stir thoroughly until the consistency is uniform, avoiding lumps that trap air.
- Thin only as directed, then test on a small area to ensure adhesion and hide any underlying colors.
- Seal porous materials with a bonding primer, allowing proper drying between coats.
Color coordination and texture contrast guide your approach: pick a primer shade that balances the topcoat and emphasizes the surrounding brick or stone.
Keep application smooth, even, and under controlled conditions to prevent roller marks and outgassing.
Tackling Drips Quick Fixes
Drips happen, but they don’t have to ruin your finish. When a stray drop appears, act fast with a clean cloth dampened in mineral spirits or water, depending on your paint base. Wipe gently along the drip’s edge, then feather the surrounding area with steady, light pressure to blend it out.
If the stain remains, a light skim coat of the same color, brushed in the direction of the grain, restores uniformity without build-up. For persistent drips, sand the small region with ultra-fine paper and recoat once dry.
Use Color coordination to choose a slightly softened shade for touch-ups if needed. Master these Artistic techniques, and you’ll fix drips cleanly, preserving the surround’s smooth, professional look.
Uneven Finish Solutions
Uneven finishes can derail a project, but you can diagnose and fix them quickly with a structured approach. Start by identifying root causes—poor prep, mismatched sheen, or temperature swings—and tailor fixes accordingly.
Use proper surface sanding, even primer, and consistent brushing or rolling technique to restore uniform color and texture. When color coordination or lighting effects distort perception, adjust lighting and sample under the same conditions you’ll paint or view later.
Resolve sheen mismatches by selecting a single finish across the surround and testing with a small, controlled patch before full coverage. Keep edges crisp with painter’s tape and minimal overlaps.
1) Prep and patch to create a flat, porosity-free base
2) Match sheen and use controlled strokes for even coverage
3) Repaint in consistent lighting and verify color coordination
4) Cure, recheck, and adjust lighting as needed
Frequently Asked Questions
How Long Before Using the Room After Painting Is Finished?
You can re-enter once the paint is dry to the touch, usually 2–4 hours for fast-drying finishes; full cure takes longer. Drying time varies with humidity. To accelerate odor removal, ventilate well and use odor-blocking fans.
Can I Paint Directly Over Existing Sealants or Coatings?
Yes, but not safely. About 80% of coatings fail on improper sealant compatibility. You should check compatibility and perform surface preparation: clean, sand, and prime where needed before painting over existing sealants or coatings.
What’s the Best Temp Range for Oil- Vs Latex-Based Paints?
You’ll want oil-based paints between 50–85°F and latex-based between 50–90°F for best performance, maximizing paint durability and minimizing blooming. Make sure proper surface prep; color matching may shift with sheen, so test swatches first.
How Do I Fix Peeling or Blistering Paint on Brick?
First, you fix peeling or blistering paint on brick by power-washing, letting dry, then scrape, vacuum, and apply a bonding primer. Brick surface preparation matters; paint adhesion tips include slightly roughening and using breathable, masonry-friendly coatings.
Is There a Cleaner for Removing Stubborn Masonry Stains?
Yes. For masonry stain removal, you should test first, then use a commercial cleaning solution or a diluted bleach solution, scrub gently, rinse thoroughly, and repeat if needed. Use protective gear and follow product directions for best results.
Conclusion
You’ve got the know-how to transform a fireplace surround, step by step. Prep, prime, and paint with confident, steady strokes, then seal the deal with proper curing and care. If drips or texture hiccups pop up, fix them now and keep moving. Remember: slow, steady wins the race—practice makes perfect, especially with tricky brick or tile. With careful technique and the right finish, your fireplace becomes a polished focal point you’ll love for years.