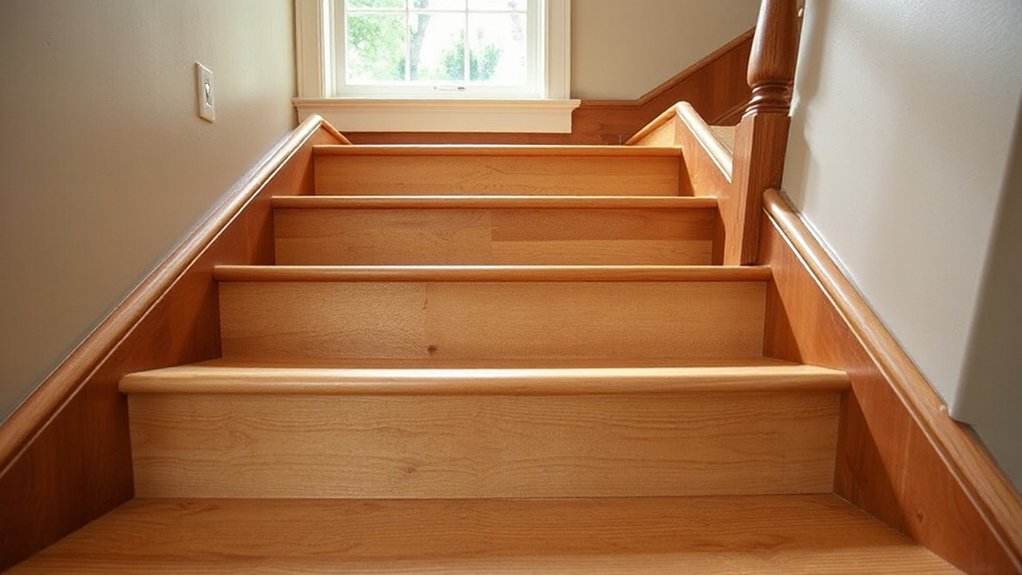

Upgrading old stairs with new treads boosts safety, longevity, and style, giving you a durable, cohesive look that modernizes your space. Start by choosing the right material—wood for refinishing flexibility, laminate for durability, or paint for quick updates—and plan for uniform nosing and proper fit with the stringers. Measure carefully, cut precisely, and secure treads with appropriate fasteners and a touch of glue to prevent squeaks. You’ll learn step-by-step prep, installation tips, and common pitfalls as you proceed.
Key Takeaways
- Choose durable tread materials (wood, laminate, or paint) based on traffic, moisture, and whether refinishing is needed.
- Measure total run, rise, and number of steps precisely to ensure uniform nosing and proper fit.
- Remove old treads carefully, preserve fasteners if reusable, and prepare stringers for secure seating of new treads.
- Use pilot holes, corrosion-resistant screws, and glue to prevent squeaks and gaps; align with handrails for code compliance.
- Finish edges and gaps consistently, seal transitions, and maintain safety with barriers and clean work surroundings.
Why Upgrading Stair Treads Is Worth It: Benefits and Goals
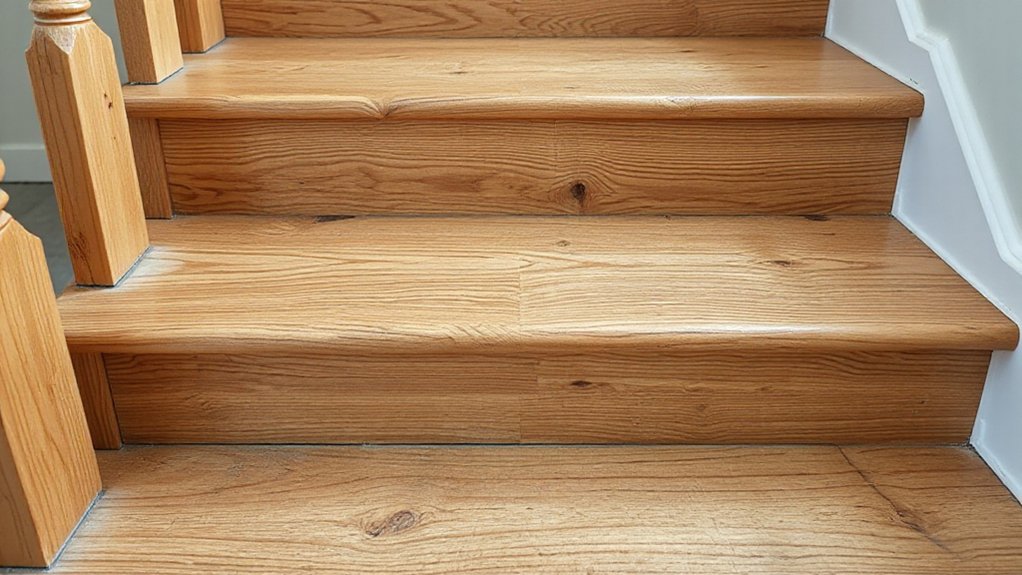
Upgrading stair treads is worth the investment for safety, durability, and aesthetics. You’ll reduce wear, slips, and noise while extending the stairs’ lifespan, making daily use more reliable.
Better treads improve footing, particularly on high-traffic stairs, so you feel steadier with each step. Beyond function, upgraded treads elevate your home’s look, aligning with your chosen staircase decor and reinforcing a cohesive interior style.
Durability matters here, as high-quality materials resist dents and staining, meaning fewer replacements over time. You’ll also minimize maintenance once you select durable finishes and proper installation techniques.
Consider how lighting enhancements can highlight new features, casting clean lines and emphasizing texture. Overall, the upgrade supports safety goals and boosts curb appeal without sacrificing practicality.
Choose Between Wood, Laminate, and Paint : Pros and Cons
When you choose between wood, laminate, or paint for your stairs, you’re balancing look, durability, and maintenance.
Wood offers longevity and classic warmth.
Laminate cuts costs and installation time.
Paint keeps options flexible with frequent updates.
Consider how each material handles traffic, moisture, and refinishing needs to decide what fits your stairs best.
Wood vs Laminate Longevity
Wood flooring generally lasts longer than laminate when exposed to heavy traffic and moisture, but the right choice depends on installation quality, room conditions, and maintenance.
You’ll compare durability by wear layer, substrate, and fastener quality, then weigh repairability and resale value.
In stairs, proper underlayment and precise fitting matter as much as the surface type.
Laminate resists scratches well and stays uniform, but it can’t be refinished like wood, so deeper gouges may force replacement.
Wood handles moisture better in some environments and can be refinished multiple times, extending life.
Consider traffic patterns, humidity, and stairwell condensation when deciding.
Also plan for functionality: incorporate staircase lighting and a practical handrail design to minimize wear around edges and improve safety over time.
Paint Pros and Cons
Paint offers a quick, affordable way to refresh stairs, but its suitability hinges on wood, laminate, or painted surfaces’ condition and exposure. You’ll weigh pros and cons to decide if paint fits your project scope.
Pros include speed, cost savings, and broad color choices that boost stair aesthetics. It hides minor surface flaws and can seal typed edges when applied properly.
Cons focus on durability concerns: chips, scuffs, and wear show quickly in high-traffic areas, especially on uncanceled grain or uneven treads.
Preparation matters: clean, sand, and prime; recoat with a durable finish; and maintain a steady hand for even coverage.
For longevity, anticipate refinishing sooner than you’d with wood or laminate.
In short, paint durability and stair aesthetics drive your long-term satisfaction and maintenance plans.
How to Measure Your Stairs for Treads and Risers
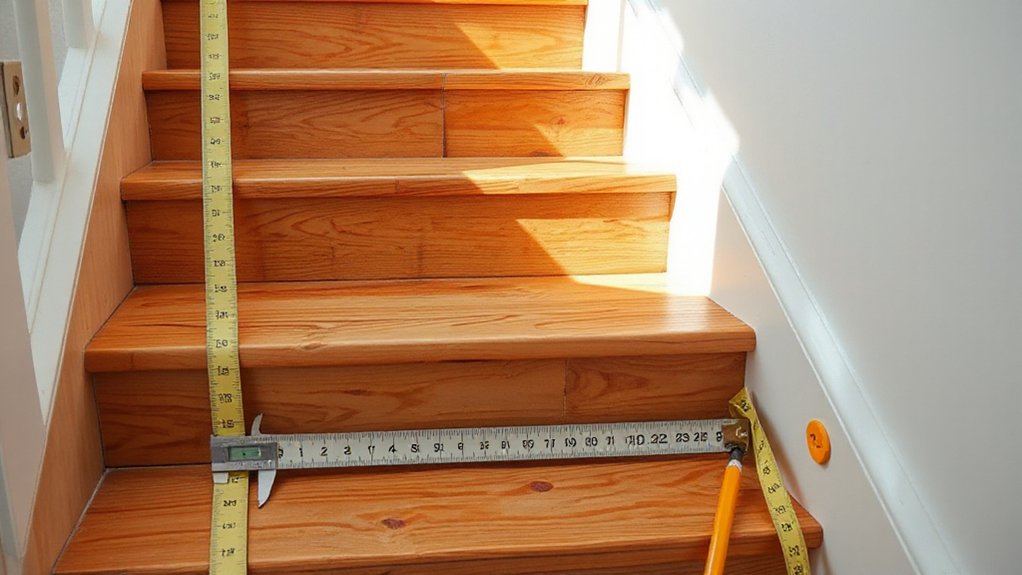
To measure for treads and risers, start with accurate strings: record total run, rise, and number of stairs for precise sizing.
Use a tape measure, a level, and a straightedge to capture consistent tread depth and riser height, noting any irregular steps.
We’ll cover ideal measurements, how to size treads and risers, and the best tools and tips to keep your results exact.
Ideal Stair Measurements
How do you determine the right measurements for treads and risers? Start with current code basics and your stairs’ actual run.
Measure tread depth from nosing to riser face, aiming for 10 to 11 inches as a practical range, and confirm riser height stays uniform, typically 7 to 7.5 inches.
Track total rise and run to verify steps align with entrances and handrails.
Consider landing dimensions to avoid illegal or uncomfortable progressions.
Use consistent nosing, avoiding sharp or rounded edges that create slip hazards.
If historic preservation matters, preserve original proportions where feasible while meeting safety standards.
For artistic customization, plan visual cues—consistent tread widths, tasteful riser color or texture gradients.
Prioritize precision, recheck twice, and document measurements for future reference.
Tread and Riser Sizing
Now that you know the code basics and your stairs’ run, you can size the treads and risers precisely. Start by confirming your total rise and the number of steps, then compute a comfortable riser height within code limits.
Use a consistent tread depth that aligns with your last stair’s proportions, aiming for a practical 10 to 11 inches if possible, but adapt to existing plinths and headroom.
Measure from finished floor to finished floor at the first and last step to verify consistency, and account for nosing, which affects usable depth.
Maintain staircase design harmony by choosing riser and tread dimensions that echo the home’s era, preserving historical accuracy while meeting safety requirements.
Record your dimensions for future revisions and inspections.
Measuring Tools and Tips
Gather reliable measurements by using the right tools and a methodical approach: start with a tape measure, a carpenter’s level, a stud finder, and a calculator or notebook to record numbers.
You’ll measure total width, run length, and tread depth at multiple points to catch irregularities. Note riser height from floor to first tread, and confirm consistency across steps.
Use the level to check plumb and square edges, then re-measure to verify. Record each stair’s unique values and label by location.
Don’t forget to account for decorative accents and how they affect clearances and finishing, especially near walls and banisters.
Plan for stair lighting to ensure safe measurements translate into precise installation.
Double-check gaps for snug treads, and adjust calculations before cutting.
Maintain organized notes for accurate, repeatable results.
What Tools and Materials You’ll Need Before You Start
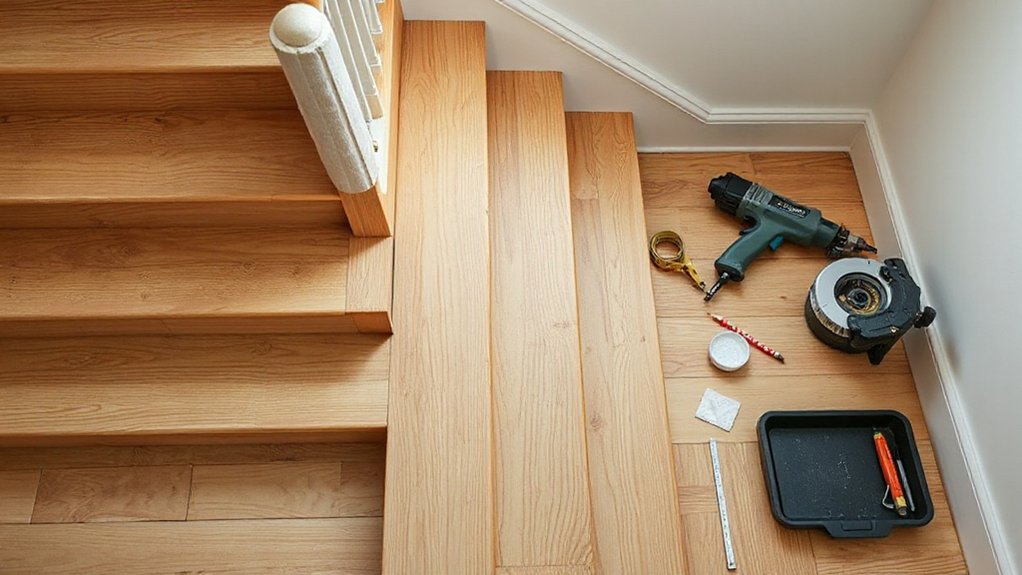
Before you start, assemble the essential tools and materials so you can work efficiently and avoid trips to the hardware store mid-project. You’ll need a measured set of basics: a circular saw or handsaw, a carpenter’s square, tape measure, pencil, chisels, hammer, level, clamps, and a cordless drill with bits.
For materials, choose your preferred treads, plywood or solid stock, and matching fasteners—coarse-thread wood screws, nails, and construction adhesive.
Don’t forget safety gear: goggles, gloves, and hearing protection. Have sanding supplies, a dust mask, and a stud finder on hand.
Plan for finishing: stain or paint, primer, brushes or rags, and a compatible finish.
Consider staircase decor elements and Custom balustrades options to guide your material and finish choices from the start.
Keep extras on hand for accuracy and a clean install.
Assess Stringers and Risers: Replacement Criteria
Stringers and risers are the backbone of your staircase, so inspect them carefully to determine if replacement is necessary. A solid assessment focuses on structural integrity, not cosmetic wear. Look for deep cracks, split or rotten wood, and loose attachments at both ends.
If the stringer shows notable flex, you’re facing a Stringer assessment that typically warrants replacement. For risers, check for looseness, significant warping, or pronounced gaps that affect alignment. If you see weakened components, plan for targeted riser replacement or full stringer refresh to ensure safe, stable performance.
- Prioritize structural damage over superficial scuffs
- Confirm consistent rise and tread spacing after any work
- Document all measurements and replacement criteria before proceeding
Safety Setup: Protecting Walls, Floors, and Bystanders During Stair Work
You’ll set up protective barriers to shield walls and floors, and create a clear, safe work zone around the stairs.
Establish a fast, no-entry perimeter for bystanders and post reminders to keep kids and pets away.
Implement ground rules for tools and debris to minimize exposure and disruption as you proceed.
Protective Barriers In Place
Protective barriers are essential to keep walls, floors, and bystanders safe while you upgrade old stairs. You’ll set up barriers that clearly delineate the work zone, minimizing accidental contact with tools and lifted treads.
Use solid panels or rope with stanchions to create visible, stable boundaries, and place them where foot traffic concentrates. Keep doors and stair openings closed or guarded to prevent unexpected incursions.
- Install barriers before any tool use, and remove only after cleanup.
- Choose materials that won’t scratch walls or floors.
- Add decorative accents that don’t compromise safety and support color coordination.
This approach protects surfaces and people while you progress, maintaining a tidy, professional site that mirrors your attention to detail and finishes.
Safe Work Area Protocols
To keep walls, floors, and bystanders safe during stair work, establish a clearly marked, obstacle-free work zone before you begin. You’ll protect walls with drop cloths or plastic sheets and shield floors with mats or plywood underlayment to prevent scuffs and gouges.
Set up temporary barriers at stair openings to deter passersby and keep dust contained. Inspect tools for sharp edges, secure cords, and stable power sources to prevent trips.
Maintain clear access routes for emergencies, and remove clutter as you work. Monitor for concurrent hazards, such as loose treads or protruding fasteners, and address them immediately.
This protocol minimizes safety hazards and reinforces tool safety, ensuring a controlled, efficient project environment from start to finish.
How Thick Should Treads Be? Nosing Options and Styles
Choosing the right tread thickness matters for comfort, strength, and code compliance. Thicker treads are sturdier and less prone to flex, while thinner ones save weight and material. You’ll balance stair use, load, and riser height to pick a practical depth.
Nosing options affect safety and visibility, so consider slight overhangs for grip or flush edges for a clean look. Tread thickness influences fastener length, substrate needs, and alignment with existing strings.
Styles vary from squared to rounded nosings; choose a profile that reduces trip hazards and matches your space.
- Nosing options: rounded for grip, square for modern lines, or none with a shadow line
- Material and thickness pairing: ensure substrate supports intended load
- Consistent depth and edge detailing for a seamless transition
Removing Old Treads Without Causing Damage
To remove old treads without damage, start with gentle pry techniques that lift the edge just enough to slide a tool underneath. Keep underlayment secure as you work by prying in small increments and supporting the tread to prevent twisting.
Focus on preserving structure integrity while you separate the tread from fasteners, then set the piece aside for reuse.
Gentle Pry Techniques
Carefully pry the old treads free to minimize damage, starting at a corner and working inward. You’ll preserve fasteners and substrate while you separate the tread from riser with steady, controlled motions. Maintain consistent leverage to avoid splintering, and keep the tool angled to reduce gouges. As you proceed, listen for a clean release rather than a crack, and pause if resistance intensifies.
- Preserve fasteners for potential reuse and note where they belong
- Use minimal prying force to protect historical restoration features
- Inspect joints for hidden damage, planning gradual disengagement
With discipline, you’ll protect artistic embellishments and underlying structure. Your method supports authentic reuse, enables precise alignment for new treads, and maintains the staircase’s character without unnecessary harm.
Secure Pry Underlayment
Under the underlayment, start by loosening the boundary with a steady, controlled pry to avoid tearing the material beneath the tread. You’ll work inward from the edge, easing the underlayment up in small, even motions.
Use a thin, flat pry bar to minimize insulation shearing and keep layers intact. Maintain constant tension to prevent ladders of splintering under the tread.
If you encounter staples or nails, lift them from the underside as you go, not through the wood. When you free each section, slide the pry toward the center to avoid tearing future adhesive seams.
As you proceed, consider decorative accents and lighting options for the new steps, selecting placements that enhance visibility without compromising the underlayment.
Finish with a clean, flush surface for secure treads.
Preserving Structure Integrity
- Maintain support points and even prying
- Preserve decorative elements for consistency
- Plan replacement to align with lighting and balustrades
Installing New Treads: Fastening Methods That Last
Installing new treads requires a solid fastening plan that holds up over time. You’ll choose fasteners matched to your stringers and tread material, then drill pilot holes to prevent splitting.
Use corrosion-resistant screws for pine or oak, and confirm bite depth with a test fit before final tightening. Glue isn’t optional—apply a thin bead along the contact faces to minimize squeaks and movement.
If your stairs use metal brackets, secure them first to the stringers, then seat the tread firmly. Check level and plumb after each fastener seat.
For visibility and safety, plan Staircase lighting to reveal any gaps, and guarantee you can access the area for any adjustments.
If you install a Handrail, ensure it is aligned with the tread edge for consistent, code-compliant mounting.
Finishing Touches: Edges, Risers, and Trim for a Clean Look
Now that the treads are secured and solid, it’s time to finish the look with clean edges, tidy risers, and precise trim. You’ll seal gaps, square corners, and keep consistent reveal lines for a professional finish.
Use decorative accents sparingly to avoid clutter, letting natural wood grain or paint color speak. Choose a color schemes approach that complements the surrounding decor and enhances visibility of each step.
Precision matters: miter joints, tight caulk, and clean paint lines create a seamless *gradation* between treads and risers.
- Decorative accents should accent, not overwhelm
- Align color schemes with room tones for cohesion
- Keep edges sharp, risers flat, and trim uniform across steps
Fitting Treads on Oddments: Tapered or Winding Stairs
When fitting treads on oddments like tapered or winding stairs, start by tracing each step’s exact rise and run before cutting. You’ll then draft a pattern for each tread that accounts for nonuniform widths and curved alignments, ensuring consistent contact with the stringer.
Clamp and joint mirrored pieces to verify symmetry, adjusting as needed until gaps disappear. Use precise straight cuts and precise scribe lines to maintain a graceful progression where the tread meets the nosing.
Consider artistic embellishments only where they support the stair’s historic look, avoiding excessive detailing that would clash with the feel of the original. In historical restoration, preserve silhouette and proportion while delivering secure, flush fits; finalize with careful sanding and fit checks to confirm even reveals.
Common Mistakes to Avoid During a Stair Tread Upgrade
Even a small misstep can derail a tread upgrade, so anticipate common pitfalls and tackle them before you cut. You’ll avoid rework by confirming exact measurements, stock thicknesses, and compatibility with your stringers. Rushing cuts or neglecting safety clearances leads to loose treads and squeaks, so take your time.
- Plan your layout for uniform nosing and alignment, checking stairs’ run, rise, and tread depth.
- Verify material straightness and finish compatibility with existing stair decor and design inspiration.
- Double-check fasteners, adhesives, and securing method to prevent movement and gaps.
Budgeting Your Stair Tread Upgrade: Cost by Material
Choosing the right material starts with a clear grip on costs, then weighing durability, aesthetics, and install effort. You’ll compare price per square foot, waste, and removal needs to forecast total project spend.
For budget planning, map material options to your goals: Historical restoration often leans toward reproductions or reclaimed stock, which can raise upfront costs but preserve authenticity.
For lighter renovations, engineered laminates and simple oak offer predictable budgets with quicker installs. Artistic design can justify premium materials if they deliver visual impact and durability.
Factor finishing, seals, and hardware into the bottom line, and budget a contingency for surprises. Prioritize materials that balance long-term performance with your desired look, ensuring you don’t compromise function for form.
Maintenance Tips to Extend the Life of Your Treads
Maintaining those upgraded treads keeps your investment looking sharp and performing well. To extend life, clean regularly with a mild cleaner suited to your tread material, and wipe dry to prevent moisture damage. Check for loose fasteners quarterly and tighten promptly to maintain stability. Use felt pads under furniture or decor to avoid scratches and wear at high-traffic zones. When refinishing, follow the manufacturer’s guidance and use compatible finishes to preserve grip and color.
- Design trends influence subtle updates without overpowering classic charm.
- Respect historical styles by choosing materials and profiles that echo era-appropriate aesthetics.
- Schedule seasonal inspections to catch wear early and address it before it escalates.
When to Hire a Pro vs. DIY Your Stair Tread Upgrade
Deciding whether to hire a pro or DIY your stair tread upgrade comes down to scope, skill, and risk.
If the project involves structural changes, load calculations, or code compliance, you should hire a licensed contractor to guarantee safety and durability.
For straightforward veneer replacements or cosmetic updates, a capable DIYer with basic carpentry can save money and finish faster, provided you follow manufacturer guidelines and local codes.
Consider Historical preservation if your stairs sit in a historic home; professional input helps maintain authenticity and avoids damaging valued craftsmanship.
If you want to push artistic design, you’ll benefit from a pro’s finish carpentry, precise alignment, and long-lasting detailing.
Decide based on your confidence, tools, time, and the importance of maintenance-free results.
Frequently Asked Questions
How Long Does a Typical Stair Tread Upgrade Take?
A typical stair tread upgrade takes a day or two, depending on stairs’ condition. You’ll assess, cut, and install, prioritizing stair tread durability and stair tread aesthetic to minimize refinishing and disruption for you.
Can I Reuse Existing Risers With New Treads?
Yes, you can reuse existing risers with new treads, but plan carefully. Riser replacement should align with exact thickness and profile. Check tread durability compatibility, secure fasteners, and maintain code clearance for a durable, safe ascent.
Will Painting Treads Require Ongoing Maintenance?
Yes, painting treads requires ongoing maintenance. You’ll need periodic touch-ups and cleanings to keep decorative finishes looking fresh, and check slip resistance after weathering, use non-slip coatings, and recoat as needed to maintain safety and durability.
Do I Need Permits for Stair Upgrades?
Yes, you likely need permits for stair upgrades. Check local building codes before starting, and guarantee compliance with permitting and inspections. Prioritize safety considerations, like handrails, headroom, riser/tread standards, and load requirements to avoid issues.
What’s the Best Tread Material for High-Traffic Stairs?
For high-traffic stairs, use durable hardwood or vinyl with good wear rating, plus decorative finishes for style. Guarantee slip resistance by adding textured surfaces or anti-slip treads; maintain grip while preserving beauty and long-term durability.
Conclusion
You’ll save money, not just time, by upgrading those treads—as long as you remember the basics: measure twice, cut once, and don’t skip safety checks. Sure, you could chase a flawless fit with fancy tools, or you could pretend DIY is glamorous and wind up re-staining your carpet with sawdust. The truth? Practical prep beats bravado every time. Upgrade wisely, or you’ll be scraping more than paint—you’ll be scraping your credibility. Proceed with caution, and a plan.