

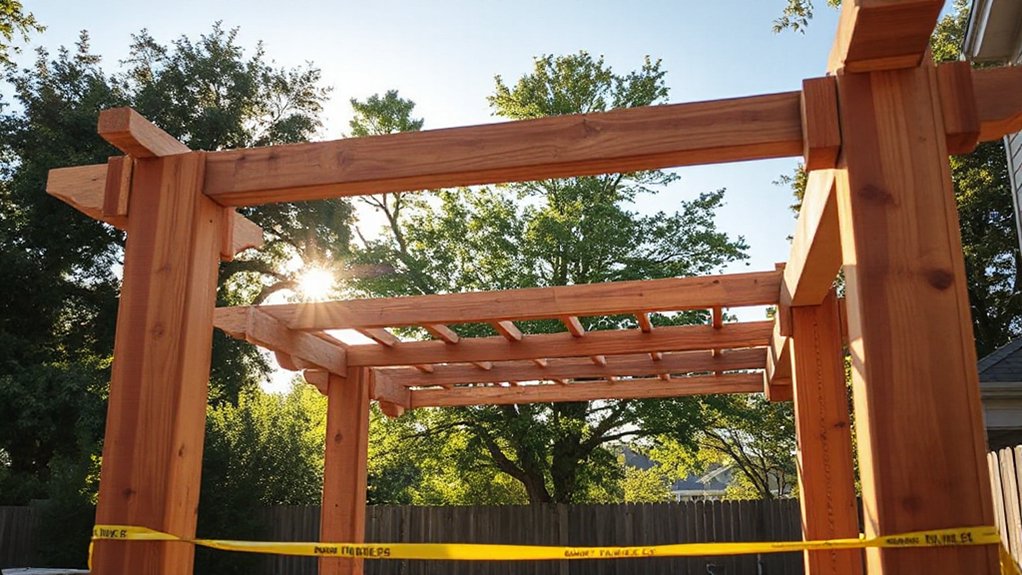

Assess your site and pick a shade solution that fits your space and climate—pergola, arbor, or shade sail—then block out a clear scope: footprint, height, roof plan, and finish. Plan post spacing, footings, and ground fixing with frost depth in mind, and set a 1–2% slope to shed water. Choose weather-ready materials, corrosion-resistant hardware, and low-maintenance finishes. Add proper drainage, lighting, and ventilation for comfort; more practical details await to guide you further.
Key Takeaways
- Choose a shade solution (pergola, arbor, or shade sail) based on shape, installation ease, and site conditions.
- Plan budgets and scope with a design brief, including contingencies for 10–15% and hidden costs.
- Assess site drainage, soil conditions, utilities, and grading before footing work.
- Select durable, climate-appropriate materials and corrosion-resistant hardware for long-term upkeep.
- Follow safe construction practices: lay out perfectly square posts, use proper footings, temporary braces, and weatherproof fasteners.
Pergola, Arbor, or Shade Sail: Pick Your Shade Solution
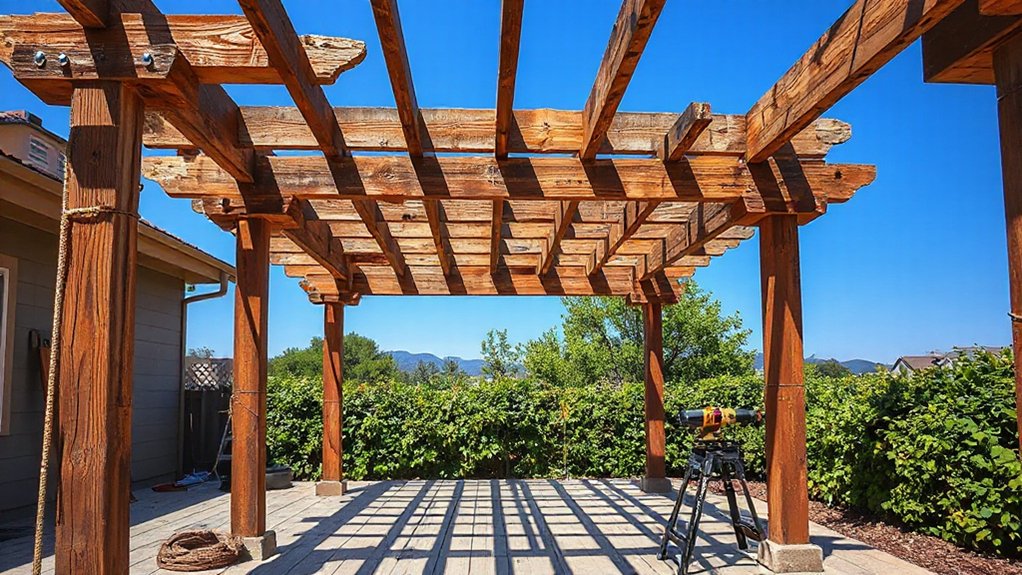
When choosing between a pergola, arbor, or shade sail, start by defining how you’ll use the space and the amount of sun or wind you expect. You’ll match structure shape, installation ease, and maintenance to your site.
A pergola offers defined shade with open lattice for growing decorative plantings, while an arbor provides a welcoming entry and lighter overhead. A shade sail excels in high sun or windy spots with minimal framework.
Consider mounting options, post spacing, and wind load ratings to determine feasibility. Align your decision with your design goals, seasonality, and access to utilities.
Plan for decorative plantings and artistic accents that integrate with the chosen shade solution, ensuring a cohesive outdoor room that remains practical, durable, and visually balanced.
Define Your DIY Pergola Vision and Budget
Before you pick a plan, define the vision and set a realistic budget for your DIY pergola project. Your vision guides dimensions, materials, and style—modern slats, traditional posts, or a low-slung shade frame.
Translate that into a concrete scope: footprint, height, roof plan, and finish. Next, outline a budget plan that separates must-haves from nice-to-haves, tagging each item by quantity, unit cost, and lead time.
Prioritize durable, low-maintenance components to reduce long-term costs. Consider hidden costs like fasteners, sealants, and finish coats.
Integrate a realistic contingency—typically 10–15%. Document your decisions as a pergola design brief to keep design intent aligned with budget planning, preventing scope creep and substitutions that degrade structural integrity or aesthetics.
Assess Your Site and Drainage for a Durable Setup
Assess your site and drainage early, since a perched or poorly drained slab undermines a pergola for years. You’ll create a durable setup by evaluating slope, drainage paths, and soil conditions before any footing work.
Prioritize soil preparation to guarantee stable bearing and weed control, and plan for future plant selection that won’t impair foundations.
Inspect existing utilities and enzyme-rich drainage to prevent clogs. For a solid site, address grading, compact soil evenly, and set a modest 1–2% slope away from the structure.
- Check slope direction and surface drainage
- Test soil bearing and amend as needed
- Plan plant selection that won’t shade or encroach
- Confirm utility clearances and irrigation routing
Choose Weather-Ready Materials for Your Climate
Choosing weather-ready materials means lining up products that tolerate your climate’s humidity, temperature swings, and precipitation patterns. You’ll prioritize weather resistant materials that resist rot, corrosion, and UV degradation, so your pergola lifespan stays consistent.
Assess finishes and substrates for exposure: metal frames with powder coating, pressure-treated lumber or naturally durable hardwood, composite decking, and high-grade waterproof sealants.
Consider climate adaptability by selecting fasteners, coatings, and sealants compatible with your routine maintenance cycle. For heat, opt for reflective or light-colored finishes and rot-resistant cores.
For cold, ensure joints allow seasonal movement without cracking. In damp or coastal environments, choose proven corrosion-resistant hardware and moisture barriers.
Balance aesthetics with performance, aiming for materials that stay stable, require minimal upkeep, and hold color and strength over time.
Set Post Spacing and Ground Fixing Methods

Set post spacing is driven by load, local codes, and soil conditions, so plan around a bracketed or footed base that keeps the pergola stable without overhang. You’ll determine spacing from the calculated loads, then verify with the code table and site tests.
Ground fixing choices anchor posts and transfer loads safely into the ground.
- Use concrete footings or sleeve anchors for solid footing.
- Align posts with string lines and level each pour.
- Reserve drainage clearance and frost considerations.
- Seal joints and treat bases against moisture intrusion.
Post spacing and ground fixing must be coordinated with the overall frame plan, ensuring uniform load transfer, plumb posts, and durable connections. This prevents racking and preserves long-term stability.
Plan the Roof Style: Open Lattice, Slats, or Solid Panels
You’ll weigh open lattice against solid panels to shape light, airflow, and privacy. Open lattice favors an airy feel and climbing plants, while solid panels boost shade and weather protection.
Each choice alters rafter span, fastener type, and maintenance. We’ll compare lattice stability and panel durability to help you decide how much structural detail to specify for your roof plan.
Open Lattice Options
An open lattice roof pairs light and airflow with a clean, unobtrusive look, making it ideal when you want sun exposure and breeze while still defining the pergola space. You’ll balance structure and openness by spacing slats to control shade and wind passage, ensuring stability without crowding the view.
Consider vine growth and decorative accents to add color and texture as plants climb. The lattice design accepts varied fasteners and finishes, so you can match hardware and timber species for your climate.
- Optimize spacing for desired sun angle and airflow
- Choose slat orientation to steer light and rain runoff
- Plan for quick-access irrigation and trellises
- Integrate decorative accents and vine growth for year-round interest
Solid Panel Pros & Cons
Solid panel roofs offer substantial shade and weather protection, making them the most weatherproof option of the three roof styles. You’ll weigh solid panels against lattice or slats by focusing on panel durability in real-world use, including wind loads and hail resistance.
When you plan, consider material choices—gauge steel, aluminum, or composite panels—that influence rigidity, weight, and longevity. Installation challenges are real: fastener layout, gasketing for watertight joints, and proper slope to shed moisture.
Prefab panels simplify mounting but require precise framing and environmental sealing at edges. Maintenance stays straightforward if you pick UV-stable finishes and corrosion-resistant substrates.
For aesthetics, a solid roof reads as a solid mass, blocking heat but potentially reducing daylight. Balance shade, airflow, and structural capacity to suit your local climate and intended use.
Pick Fasteners and Hardware That Stand Up to Weather
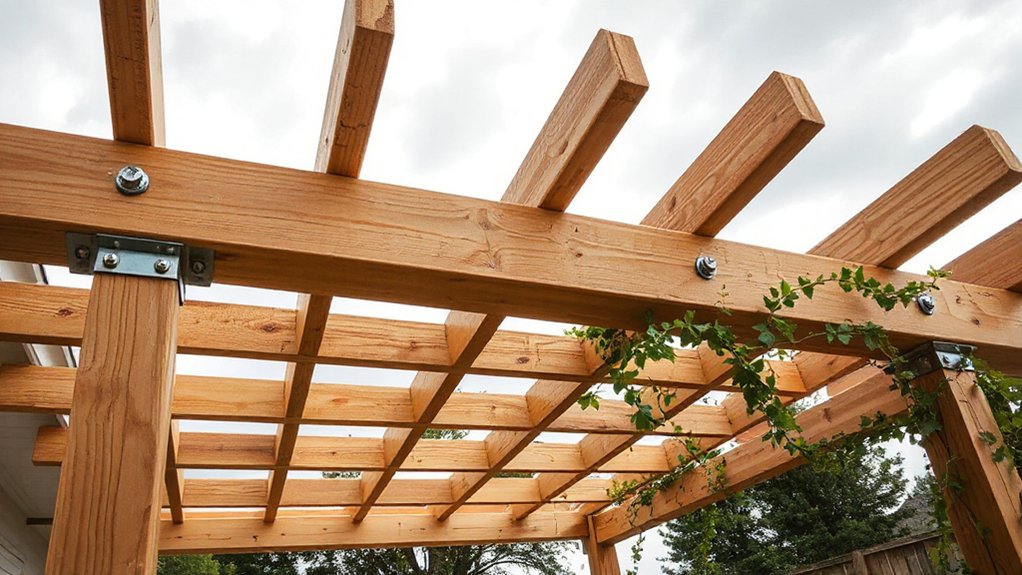
When selecting fasteners and hardware for a weather-ready pergola, prioritize corrosion resistance and performance in outdoor conditions. You’ll want weather resistant fasteners and corrosion proof hardware that won’t seize, warp, or deteriorate under sun, rain, or humidity.
Choose stainless steel (A2 or A4) or hot-dip galvanized components for durability, and avoid untreated soft metals. Use sleeves or shields to minimize galvanic corrosion between different metals.
Ensure proper load ratings, weather sealing, and compatibility with sealants.
- Select stainless steel or hot-dip galvanized fasteners for long-term durability
- Use corrosion proof hardware with compatible coatings and limited exposure to dissimilar metals
- Prefer washers, anchors, and brackets rated for external use
- Plan for thermal expansion and waterproof seals at joints
Gather Your Tools and Safety Gear Before You Start
Before you start, assemble the essentials: a well-lit, ventilated workspace, and a clear plan of what you’ll build today. You’ll work efficiently when you lay out common tools, fasteners, and measuring devices within easy reach.
Gather a reliable level, square, tape, cordless drill, and saw blades suited to your materials. Choose a utility knife, chalk line, clamps, and a pry bar for adjustments.
Inspect工具 for wear and replace batteries if needed. Prioritize tool safety: unplug before changing bits, guard blades, and store sharp edges securely.
Wear protective gear, including eye protection, hearing protection, and gloves that fit well. Keep a first-aid kit handy and know emergency contacts.
Maintain a clean workspace to prevent trips or cuts, and label cords to avoid tangling. Double-check that you can access all fasteners and hardware without straining.
Draft a Step-by-Step Assembly Plan
Start by outlining the layout and footings, marking exact locations and depths to guarantee a square, level frame.
Then lay out the assembly steps in logical order, from base to cap, and include critical safety checkpoints at each stage.
Finally, confirm material totals, tool needs, and sequence adjustments for site constraints to keep the build on schedule and within design tolerances.
Planning Layout and Footings
Use reference measurements to validate parallel sides and plumb posts, ensuring square geometry before digging. For footing depth, follow local code and frost line guidance, and plan rebar placement for structural integrity.
- Align with house for aesthetic continuity and garden privacy
- Reserve space for outdoor furniture clearance and movement
- Pre-plan posts, beams, and bracing for efficient assembly
- Check drainage and mud-free footing preparation
Assembly Steps and Safety
With the layout set and the site prepped, you’ll proceed through a disciplined, step-by-step assembly that keeps safety at the forefront. Begin by assembling the main frame on solid, level footing, using posted marks to align joints; check plumb and square with a carpenter’s square and spirit level. Fasten members with corrosion-resistant hardware, torque to manufacturer specs, and use temporary braces during erection.
Erect rafters and header beams, then secure cross-bracing for rigidity. Install posts in approved footings, insert shims as needed, and verify overall alignment before tightening anchors. For safety, wear eye protection, gloves, and hearing protection when cutting or drilling.
After assembly, inspect hardware, covers, and weatherproof seals. Plan outdoor furniture placement and landscaping ideas to complement the pergola without compromising access or ventilation.
Build the Frame: Posts, Beams, and Supports
To build a sturdy frame, you’ll install the posts, beams, and supports in precise alignment and securely fasten every connection. You’ll set posts plumb, anchor footings, and verify spacing before lifting beams. Use treated lumber or metal brackets, then pin connections with galvanized fasteners for durability and weather resistance.
- Align posts and beams with a nailer, check square, and lock all joints with temporary braces.
- Attach beams with positive connections, using hardware sized for load and span.
- Add diagonal bracing for twist resistance and long-term stability.
- Plan decorative elements like decorative lattice and post decoration to enhance visual appeal.
Inspect each corner, seal with post caps, and guarantee drip edges shed water away from the structure.
Attach the Roof or Shade Cover Securely
For secure roof or shade cover attachment, you’ll choose fasteners and hardware rated for the load and material you’re attaching to, whether wood, metal, or masonry.
Use proven methods like lag screws or carriage bolts with washers and lock nuts, and guarantee proper spacing and edge distances per your design specs.
We’ll compare attachment techniques—through-bolting, face-mount brackets, and gasketed mounts—to balance strength, weatherproofing, and ease of future maintenance.
Secure Fastening Methods
Securing the roof or shade cover to your pergola starts with choosing fasteners rated for outdoor use and the materials involved, then anchoring them properly to structural members. You’ll rely on corrosion-resistant screws, bolts, and lags sized for the load, plus washers and brackets that match the member dimensions. Use pilot holes to prevent splitting, seal threads with exterior-grade sealant, and tighten to manufacturer specs.
Confirm connections resist wind uplift and thermal movement, testing each fastener after installation. Consider decorative accents to conceal hardware, and plan lighting options to integrate with mounting points. Optimize fastener spacing along beams and posts to distribute stress evenly.
Verify adjacent boards remain flush and consistently spaced for a clean, durable finish.
- Use outdoor-rated hardware
- Match fastener size to member
- Seal and torque properly
- Conceal with decorative accents and lighting options
Roof Attachment Techniques
With the roof or shade cover chosen, you’ll anchor it to the pergola using fasteners and hardware rated for outdoor use that match the load path from beams to rafters or purlins. Begin by aligning the edges with the roof frame, then predrill to prevent splitting.
Use corrosion-resistant lag screws or through-bolts for large spans, plus washers to distribute load.
For shade fabric, employ tensioning methods that avoid sagging, such as turn buttons or batten strips, and attach with UV-stable staples or clips.
Decorative lattice can be integrated as a lightweight panel to increase rigidity and airflow; fasten it behind the primary cover and verify wind clearance.
Guarantee sealant or edging seals gaps at joints to deter water intrusion and maintain long-term performance.
Ensure Proper Water Drainage and Clearance
Water should drain away from the pergola and clearances must stay open to prevent water buildup and rot. You’ll plan slope and clearance so water runoff moves away from joints and footings, reducing moisture intrusion.
Install drainage channels or gaps at deck edges to guide runoff, not puddle beneath beams. Keep vents and openings free of debris to maintain air flow and dry timber.
Use gutters or a drip edge where adjacent roof lines exist to minimize splash transfer.
- Establish a minimum 1/4 inch per foot slope away from the structure
- Position drainage channels to direct water toward permeable ground
- Maintain 18 inches of clearance around posts for air and drying
- Inspect after heavy rain for blockages and wear
Finishing Touches: Painting, Staining, and Sealing
Once you’ve guaranteed proper drainage and clearance, you’re ready to seal and protect the structure with painting, staining, or sealing. You’ll choose a method based on climate, wood type, and maintenance needs.
Paint provides color options and a uniform finish, but requires surface prep and periodic touch-ups.
Stain enhances wood grain while offering built-in UV protection when paired with a durable sealant.
Sealing delivers the most natural look and top-tier moisture resistance, yet may demand reapplication after heavy weather exposure.
Surface prep matters: clean, sand, and remove old coatings before application.
For color options, test samples on scrap or hidden areas to ensure uniform appearance.
Consider material durability in your selection, favoring exterior-grade, mildew-resistant finishes.
Follow manufacturer recoat intervals and ventilation guidelines for best results.
Light, Fans, and Greenery for Comfort
How can you maximize outdoor comfort under your pergola by combining light, fans, and greenery? You shape a usable atmosphere by calibrated illumination, strategic airflow, and intentional plant placement.
Use warm LEDs for Lighting ambiance that reduces glare while highlighting grain and texture. Mount fans high enough to circulate air without direct draft on people. Tie greenery placement to shade patterns and microclimates, placing tall specimens on the sunny side and climbing vines on trellises to soften light.
- Optimize light layers: ambient, task, and accent
- Position fans for cross-ventilation and ceiling clearance
- Schedule green growth with seasonal pruning
- Use drought-tolerant foliage to minimize maintenance
Budget-Smart Tips to Cut Costs Without Skimping
If you’re aiming to keep a comfortable pergola space without overspending, smart budgeting starts with planning how you’ll use lighting, airflow, and greenery. You’ll prioritize components by function, then compare long-term vs. upfront costs to maximize value.
Use decorative accents strategically; choose affordable finishes that harmonize with the structure and don’t require frequent replacement. Reusable hardware, off-season sales, and modular add-ons let you scale without waste.
Optimize airflow with pergola gaps and strategically placed fans, saving energy without sacrificing comfort.
For plant integration, select low-cost, fast-growing vines or potted species that require minimal support. Build a simple irrigation plan or rely on rainfall.
Document dimensions, estimated loads, and material tolerances to avoid over-purchasing and future redesigns.
Maintenance for Longevity: Care After Assembly
After you finish assembling the pergola, start with a quick post-assembly cleaning to remove construction dust and residues that can trap moisture.
Then outline a protective finish plan and schedule seasonal inspections, covering posts, beams, and joints for wear, cracks, or water damage.
This discussion will map how Post-Assembly Cleaning Tips, Protective Finish Maintenance, and a Seasonal Inspection Schedule work together to maximize longevity and design resilience.
Post-Assembly Cleaning Tips
Post-assembly cleaning is essential to protect the pergola’s wood and fasteners from moisture, dirt, and UV damage. Start with a quick inspection to identify any loose bolts, splinters, or surface stains.
Then you’ll follow targeted Cleaning techniques to restore surface condition without harming the coating or structure. Debris removal is the immediate goal, using simple steps that minimize risk to joints.
- Clear debris from joints and undercarriage with a soft brush
- Rinse lightly with water to avoid forcing grime into grain
- Spot-clean stains with mild, non-alkaline cleaner
- Dry thoroughly before re-using or applying any finish
Regular checks after cleaning prevent early deterioration and support longer lifespan.
Protective Finish Maintenance
Start with a clean surface, remove loose residue, and inspect for cracks or gaps that could trap water. Apply a weatherproof sealer or penetrating stain in thin, even coats, following product directions for cure times and recoat windows.
Maintain a regular cadence: reapply every 1–3 years depending on climate, traffic, and sun exposure. Document wear patterns to guide spot touches rather than full refinishes.
This approach keeps your outdoor decor cohesive with gardening tips while preserving structural integrity and color harmony, reducing future maintenance and replacement costs.
Seasonal Inspection Schedule
Seasonal inspection should become a routine you can count on, not a one-off check. You’ll establish a cadence that protects joints, fasteners, and timber from weathering and load stress.
Use a concise maintenance checklist to guide every pass, focusing on fastener tightness, wood condition, and sealant integrity. Record findings to track changes year over year and flag when components approach fatigue.
Prioritize safety angles, drainage, and corrosion risk, especially near hardware and joints. Adjust spacing, alignment, or coating as needed to maintain performance and aesthetics.
- Check fastener torque and corrosion resistance
- Inspect wood for cracks, splits, and moisture damage
- Verify post-to-beam connections and brackets
- Confirm sealant and coating coverage remains complete
Frequently Asked Questions
How Long Does a DIY Pergola Project Take From Start to Finish?
A typical DIY pergola takes about 2–5 days, depending on design, site prep, and helpers. You’ll streamline with good plans, plan ahead for weather, and finish with precise material selection and design inspiration to guide decisions.
Do I Need Permits or Inspections for a DIY Shade Structure?
Yes, you typically need permits and inspections for a shade structure; check local building codes. Guarantee structural safety by following setback rules, load requirements, and anchoring standards, and schedule inspections at critical milestones before enclosing or finishing.
What Is the Average Cost per Square Foot for Materials?
You’ll pay roughly $15–40 per square foot for materials, depending on wood or composites. An interesting stat: material durability often dictates long-term costs more than upfront price. Material durability, Cost comparison informs your shade-structure choice and budgeting.
Can I Build on Slopes or Uneven Ground Safely?
You can, but assess soil stability first and use proper foundation techniques. For slopes, compacted pads, graded footings, and adjustable columns help. Guarantee drainage, pin-and-anchor systems, and periodic inspections to maintain structural safety on uneven ground.
How Do I Prevent Termite and Pest Damage Long-Term?
Can you prevent termite and pest damage long-term by proactive maintenance? Use termite prevention methods, inspect annually, treat soil, install physical barriers, choose treated wood, seal gaps, and apply pest deterrent regularly for durable, design-minded protection.
Conclusion
You’ve mapped a clear path from vision to shade, with careful choices in structure, materials, and layout. By picking the right type—pergola, arbor, or shade sail—you control airflow, light, and style. Ground fixes, post spacing, and weather-ready choices tighten durability, while finishes and greens boost longevity and comfort. Budget-smart steps prevent waste without cutting quality. Remember: measure twice, cut once, and keep it simple—good shade lasts, like the old adage says, “slow and steady wins the race.”



