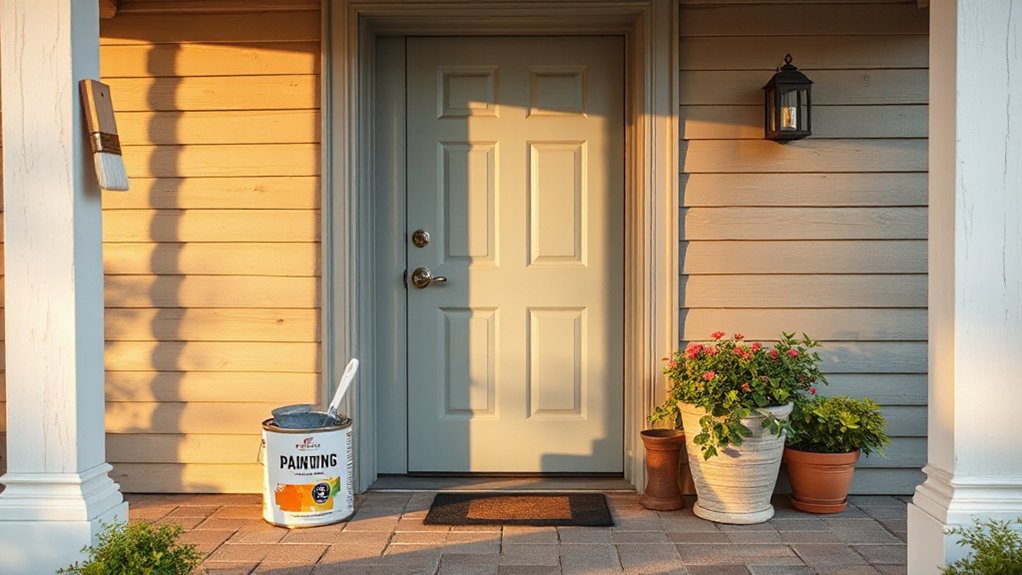

Choosing a front door color sets the mood and boosts curb appeal, so pick a palette that fits your home’s architecture and textures. Prep surfaces thoroughly—clean, sand, and prime as needed—then apply durable exterior enamel in thin, even coats. Pair the door with cohesive hardware, lighting, and porch accents in two to three core colors. Test colors in natural light and tailor finishes to resist weather. Want tips that help you refine every detail as you progress? You’ll find them next.
Key Takeaways
- Choose a cohesive color palette for the door, trim, and pathway accents to boost curb appeal and reflect your home’s architecture.
- Prepare surfaces thoroughly: clean, sand as needed, remove peeling areas, and apply primer before color coats.
- Use multiple thin coats of exterior enamel or durable door paint with a satin or semi-gloss finish for longevity.
- Replace or update hardware and lighting to complement the door color and enhance entryway visibility.
- Plan for climate and light: test color samples at door height in sun and shade to ensure durability and proper appearance.
What Your Front Door Color Communicates About Your Home
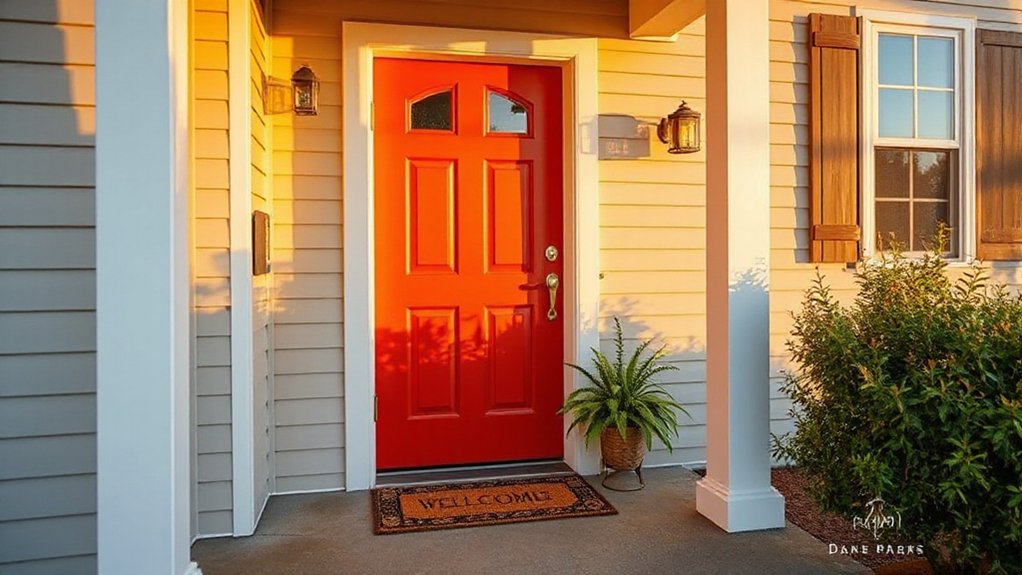
Front door color sets the tone for your home before guests step inside. Your choice signals style, mood, and even household energy, so you should consider meaning as you pick.
A bold red communicates confidence and warmth, inviting conversation and energy. A deep navy suggests calm sophistication, while a bright teal hints at creativity and playfulness.
Neutral tones convey timeless reliability and versatility, making a strong first impression without shouting.
Beyond color, submit to practical details: door hardware should harmonize with the finish, reinforcing the overall aesthetic, and entryway lighting should complement the hue to highlight your entry at night.
When you align color with hardware and lighting, you create a cohesive curb appeal that welcomes visitors and reflects your home’s personality.
How to Choose a Palette That Fits Your Architecture
Choosing a palette that fits your architecture starts with a clear understanding of your home’s lines and materials. You’ll select colors that echo masonry, wood, brick, or siding textures, then test how they read at door height and across architectural features.
Prioritize color psychology: choose hues that reinforce mood, curb appeal, and expected daily use, rather than chasing trends.
Consider whether your architecture benefits from contrast for definition or harmony for cohesion. Ground your choices in architectural harmony—verify that the temperament of the color aligns with rooflines, window trim, and ornamentation.
Use a restrained scheme first, then layer accents for depth.
Finally, preview in natural light and at different times of day to ensure your palette remains purposeful and resilient.
Color Combos That Work (And Common Curb Appeal Pitfalls)
Color combos that work strike a balance between contrast and cohesion, so your entry feels inviting without shouting for attention. You’ll want to pair a dominant hue with a well-chosen accent that draws the eye without overwhelming the doorway.
Rely on color psychology: cool neutrals with a bold door can feel sophisticated; warm doors against muted siding create welcome warmth. Limit to two or three core colors to maintain curb appeal tips that don’t complicate the street view.
Test chips at different times of day, and consider the surroundings—landscape, trim, and roofline—to ensure harmony. Avoid muddy tones near busy textures; clean, crisp contrasts read as polished.
Finally, remember accessibility: guarantee sufficient door visibility for guests and guests’ sense of invitation.
Prep Surfaces Before Paint: Clean, Sand, Protect
Before you apply new color, properly prep your surfaces: start with cleaning to remove dirt, dust, and grease, then sand any peeling paint or rough spots to create a smooth, receptive base. You’ll establish a solid foundation for even color and lasting coverage.
Wipe down with a damp cloth, then let surfaces dry completely before priming. Protect surrounding areas with tape and drop cloths to avoid unintended marks.
Choose your color psychology approach—consider how hues affect mood and perceived space before committing to a finish.
For most entryways, use a durable paint finish such as satin or semi-gloss to balance sheen with cleanability.
Finally, apply a quality primer if signaling significant color changes or you’re painting over stained wood.
Surface Prep by Material: Wood, Metal, Fiberglass
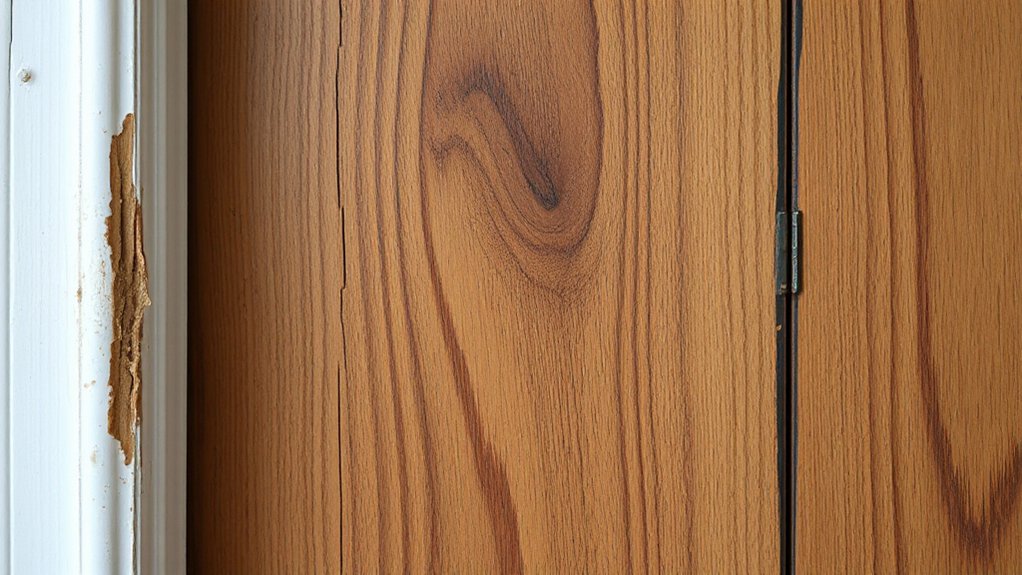
Different materials require different prep steps to guarantee adhesion and a smooth finish. When you prep wood, remove loose fibers, sand with 180–220 grit, and clean with a tack cloth to reveal a true surface.
For metal, you’ll degrease, remove rust, then sand or scuff to create teeth for the coating to grab.
Fiberglass gets a light abraded surface and a thorough wipe-down to remove dust.
In all cases, choose cleaners and abrasives compatible with your chosen paint and primer, and consider color psychology—how the finish will feel in your entryway.
Check material compatibility between the door, hardware, and weatherstrip to avoid failures.
Finish with a thin, even coat, allowing proper cure time before final color.
Primers That Improve Durability and Coverage
Primers designed for durability and coverage give you a reliable basecoat that stands up to weather, traffic, and daily use. We’ll cover types that boost longevity, methods to maximize coverage, and practical application tips to avoid runs and ensure even adhesion.
Start by selecting a primer appropriate for your surface, then employ best practices to maximize both durability and finish.
Primer Types For Durability
When durability and coverage matter, choosing the right primer sets a strong foundation for long-lasting paint adhesion and a smooth finish. You’ll select primer types that balance sealing power with surface compatibility, ensuring minimal bleed-through and enhanced topcoat grip.
For front doors, consider high-adhesion primers on bare wood or previously painted surfaces. Steer toward stain-blocking versions if tannins or pigment bleed enters play.
If you’re working with metal, a rust-inhibiting, corrosion-resistant primer protects against weathering and chipping.
For fiberglass or composite doors, choose a primer formulated for nonporous substrates to improve adhesion.
Apply evenly, allow proper drying, and follow weatherproofing tips to prevent moisture intrusion.
Remember to account for door hardware and fasteners during preparation for clean, durable results.
Coverage Boosting Techniques
To boost durability and coverage, focus on primers engineered for bind and fill. In this technique, you select high-build primers that seal porous surfaces and minimize revealing brush marks. You’ll achieve a smoother finish by applying even coats and allowing adequate dry times, avoiding thin layers that require multiple passes.
Look for formulas that accommodate deeper colors and stain-blocking properties to reduce show-through on the door. Consider primers with built-in adhesion promoters for problematic substrates, ensuring robust edge-to-edge coverage around panels and moldings.
Color psychology can guide your base choices, while door symbolism informs the mood you set with a solid, uniform undercoat. This approach reduces topcoat repetitions, saving time and delivering a lasting, vibrant result.
Practical Application Tips
Even with the right primer, success hinges on how you apply it. Start by preparing the door and frame—clean, dry, and free of dust—so the coating can grip.
Apply primer in smooth, even strokes, keeping a light touch to avoid lap marks. Use a high-quality brush or roller suited to your substrate, and work in manageable sections to maintain a wet edge.
For porous surfaces, seal knots or gaps first to prevent telegraphing through the topcoat. Let the primer cure fully before sanding lightly with fine-grit paper, then wipe away dust.
Consider color psychology when selecting undercoats to guide final hues toward mood and perception, aligning with architectural harmony.
Consistent application practices reduce touch-ups, boost durability, and yield more uniform coverage across panels and edges.
Door Finishes That Last: Sheen, Durability, and Climate
You’ll weigh how sheen levels affect both appearance and longevity, and how durability guides your chosen finish for daily wear and exposure.
Climate matters, so you’ll consider temperature, humidity, and sun exposure when selecting paints or sealants that resist peeling and fading.
With these factors in mind, you’ll prioritize a finish that balances look, protection, and maintenance for your entryway.
Sheen and Durability
Selecting a finish with the right sheen and durability is essential for a front door that stands up to daily use and harsh weather, because the door endures sun, rain, and temperature swings.
You’ll choose a sheen level that balances appearance with wipeability, avoiding overly glossy options on high-traffic doors.
Durability comes from the coating’s film thickness, UV resistance, and adhesion to exterior materials like wood, metal, or fiberglass.
Higher-quality enamels resist chipping and fading, while semi-gloss or satin hides fingerprints without looking dull.
Consider color psychology when selecting hues to emphasize curb appeal and mood.
For exterior doors, prep matters: clean, sand, and prime correctly to ensure long-lasting protection.
Pair the finish with appropriate sealers and hardware for a cohesive, resilient entryway.
Climate Impact on Finishes
Climate can dramatically alter how a door finish performs, so understanding the climate you face helps you pick a coating that lasts. You’ll consider how heat, humidity, and sun exposure drive expansion, contraction, and wear.
In practical terms, choose finishes rated for exterior use with UV resistance and hardness suited to your climate. Weather patterns influence how often you’ll recoat, so select a product that guards against cracking and peeling when temperatures swing.
Durability hinges on proper prep, solid primers, and correct film thickness, not just color choice. Plan for seasonal shifts by testing sample boards in sun and shade.
When you factor paint longevity into your decision, you reduce maintenance and extend curb appeal. You’ll enjoy a finish that stands up to daily weather.
How to Paint Your Front Door: Step-by-Step
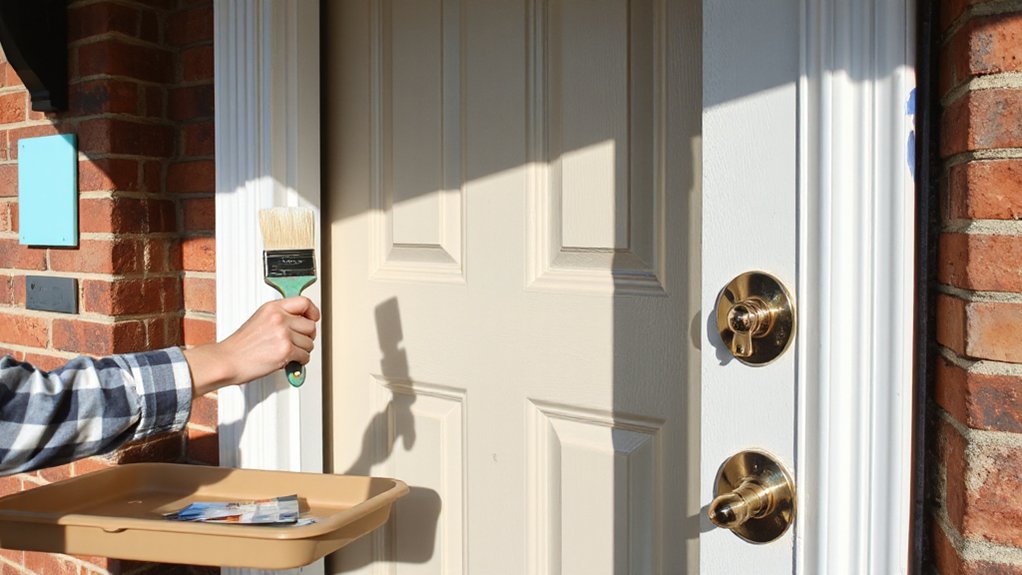
Begin by removing the door from its hinges and taking it to a well-ventilated workspace. You’ll start with a thorough cleaning, then lightly sand the surface to grip the primer. Remove any hardware, fill dents with matching compound, and wipe away dust.
Apply a high-quality primer suited to your door material, allowing full cure before painting. Choose a durable, exterior enamel or deck-and-door paint for longevity, aiming for even, smooth coats.
Apply multiple thin layers rather than one thick one, sanding lightly between coats. Allow each coat to dry completely, then reinstall hardware and rehang.
Consider the historical significance of classic hues while selecting color and finish to make certain paint durability and timeless curb appeal. Finish with a protective sealant if required by your finish choice.
Refresh the Entry: Trim and Sidelights Color and Finish
Even after you’ve refreshed the door itself, the trim and sidelights deserve careful color and finish choices to unify the look and protect exposed edges. Choose a finish that matches or complements the door for a cohesive entry.
For trim, a semi-gloss or satin sheens offer durable, easy cleaning and reflect light toward the foyer.
Sidelights benefit from a slightly lighter shade to brighten without glare, unless your windows are high-contrast; then align with the door for harmony.
Consider durable paints and sealants designed for high-traffic entryways.
Before you commit, test color samples in multiple lighting conditions and observe at different times of day.
Don’t overlook door hardware and entryway lighting, which anchor the overall impression and must coordinate with trim tone.
Coordinating Porch and Pathway Accents With Your Door
When you coordinate porch and pathway accents with your door, start with a unified color palette that echoes your door color for a cohesive curb appeal.
Choose complementary accents—like lighting, planters, and pathway edging—that mirror or softly contrast the door to create visual rhythm.
Keep scale and materials consistent, so the overall entry feels deliberate and inviting.
Coordinated Color Choices
Choosing coordinated colors for your porch, pathway accents, and front door creates a cohesive, inviting entry. Start with a neutral base on siding and choose one or two accent hues that repeat across elements to unify the space.
Reference color psychology: warm tones can feel welcoming, while cooler hues convey calm and modernity; test a few swatches under natural light to observe how they shift.
Limit your palette to three main colors plus a trim shade to avoid confusion.
Consider paint durability and surface prep—proper cleaning, priming, and high-quality exterior paint extend life and maintain color integrity against weather.
Apply semi-gloss or satin finishes on doors for subtle sheen, and reserve a matte or low-sheen for architectural accents to balance contrast.
Complementary Porch Accents
To tie your porch and pathway to the front door, select accents that echo the door color while staying distinct enough to guide the eye. When coordinating, choose porch accents that repeat the hue without overpowering the entry. Balance is key; contrast subtlety with neutral textures to avoid visual clutter.
Practical finishes, like metalwork or ceramic planters, reinforce cohesion and durability. Positioning matters: keep lighting, mats, and hardware aligned with the door’s tone for a unified look. Incorporate small repeats along the path to create a guided rhythm, ensuring each element remains purposeful.
The result feels intentional, welcoming, and timeless, not busy or fussy.
- Porch lanterns
- Welcome mats
- Coordinated planters
When to Refinish vs. Replace Door Hardware
Refinishing is usually your best first move when the door hardware is solid but worn, showing scratches or tarnish rather than structural damage. You assess condition objectively: finish wear, pitting, or dullness signal cosmetic refresh, not replacement.
If components function smoothly—latches engage, hinges swing evenly, knobs rotate without grit—you pursue hardware refinishing to preserve value and avoid downtime. Budget, style, and era matter: antique or high-end pieces may justify careful restoration over wholesale replacement.
For mid-range sets, refinishing can restore integrity and extend life at a lower cost. If a piece sticks, creaks, or fails to latch properly after refinishing, replacement becomes prudent.
Prioritize matching materials and finishes to your door’s color and hardware style. Door hardware quality guides decision; refine before you replace.
Lighting and Landscaping to Elevate Color Impact
Lighting and landscaping can amplify the color work you’ve done on the door, turning a refreshed surface into a striking, cohesive entry. To maximize impact, choose garden accents that echo your color choice—think planters or a seasonal bloom palette that lens the door’s tone.
Use lighting fixtures that highlight contrasts and depth without glare, such as warm LEDs along the path or a subtle uplight for the doorway. Keep foliage trimmed to avoid shadowy distractions, and layer textures (stone, wood, metal) to enrich the color story.
- Align garden accents with the door color for harmony and subtle contrast
- Position lighting fixtures to create inviting, safe circulation
- Maintain clean lines and uncluttered plantings for a polished look
Quick DIY Hacks for Instant Curb Appeal
Instant curb appeal starts with a bold color choice, then a durable door finish that withstands weather and daily use.
Pair that with simple hardware upgrades to instantly elevate the door’s look without a full repaint.
Keep the focus on a cohesive palette and clean lines to maximize impact fast.
Choose Bold Color
Choosing a bold color for your front door instantly elevates curb appeal, but the key is selecting a shade that complements your home’s architecture and surrounding landscaping. You’ll consider color psychology to convey welcome and style, then balance with surrounding hues for harmony.
Pick a paint with proven durability to resist weather and fading, ensuring lasting impact.
- Test swatches on an overhang to observe lighting at different times of day
- Choose a hue that echoes an accent color elsewhere on the façade for cohesion
- Verify paint durability specs and warranty before purchase
Durable Door Finish
Wondering how to keep your front door looking fresh longer? Start with a durable finish that tolerates weather and daily use. Choose a high-quality enamel or polyurethane suited to exterior doors, and apply thin, even coats with a quality brush or roller. Sand lightly between coats for adhesion, and finish with a topcoat that resists UV fade and moisture.
Clean the surface and remove debris before any recoat to prevent peeling. Maintain ideal protection around hardware by sealing screw heads and hinges, and re-touch any chips promptly to prevent rust.
In addition, pair your finish with thoughtful details like door hardware that’s protected from the elements and entryway lighting that highlights the color while reducing glare and wear.
Simple Hardware Upgrades
Upgrading your door hardware is one of the quickest, most impactful ways to boost curb appeal, and it doesn’t have to be costly or complicated. Quick hardware swaps can refresh the entry without repainting or remodeling, and they set the tone for the entire facade.
Focus on durability, finish consistency, and simple installation. Pair door hardware with smart, minimal aesthetics to avoid clutter and maximize impact. Consider accent updates that work with your exterior color and style, and don’t overlook entryway lighting, which reinforces the hardware’s presence after dark.
- Swap in a matte black or brushed nickel lever for contrast with the door
- Add a coordinating doorbell and kick plate for cohesive detail
- Install subtle, energy-efficient lighting to highlight the hardware and entryway
Seasonal Timing for Door Painting Projects
Seasonal timing matters more than you might think when repainting the front door, because weather affects how coatings cure and how long you’ll stay without a finished entry. Plan your project for moderate temperatures and low humidity to guarantee steady drying and proper adhesion.
Avoid painting in extreme heat, cold, or damp conditions, which can cause blistering or extended cure times. Check paint manufacturer guidelines for ideal ranges and recoat windows.
If you’re between seasons, choose an interior-friendly coating or wait for a calm weather day to complete each coat. Prepare surfaces well, and allow full cure before exposure to rain or sun.
Seasonal timing supports paint durability, reducing touch-ups and preserving color richness over time.
Budget-Friendly Materials That Look High-End
Budget-friendly materials can elevate your entry without breaking the bank by combining smart choices with high-end finishes. You don’t have to overspend to achieve a polished look; thoughtful selections and smart layering do the heavy lifting.
Color psychology guides tone choices that feel premium, while paint texture adds tactile depth without a luxury price tag. You’ll notice that durable options like solid-wood-look laminates, superior enamel sheens, and faux-grain veneers can mimic prestige surfaces.
Pair these with precise color decisions and subtle hardware updates for a cohesive, upscale result.
- Use color psychology to pick refined, timeless hues that read expensive
- Choose paint textures that mimic real materials without the cost
- Combine durable laminates or veneers with quality enamel finish
Common Painting Mistakes and How to Fix Them
Even small painting missteps can derail a fresh-entry look, so start by tackling the basics: proper surface prep, quality primers, and the right brush or roller for your finish. You’ll avoid common mistakes by cleaning, sanding, and filling defects, then sealing with a compatible primer.
Don’t skip edges, caulk gaps, or test patches; these missteps scream rushed work. When you choose colors, consider Color symbolism and how the hue supports your home’s character, not just trends.
Align paint type with surface and climate, and don’t stretch coats thin—two even layers deliver durability. Watch for brush marks, lap marks, or roller stipple, correcting them while damp.
Be mindful of historical trends to sustain period-appropriate appeal, but prioritize a smooth, uniform field that reinforces curb appeal and lasting finish.
Maintenance Habits to Extend the Fresh Look
Regular maintenance keeps your fresh entryway looking intentional and lasting. To preserve that crisp, welcoming vibe, adopt simple routines that fit your week. Focus on durable surfaces, prompt minor repairs, and clear, targeted care.
Weatherproofing techniques protect paint from moisture and sun, extending color life without overhauls. Schedule seasonal maintenance to catch chipping or peeling early, and reapply gloss as needed for uniform sheen.
Keep doors and hardware in good working order, tightening screws and lubricating hinges to prevent wear. Clean surfaces with mild products before any touch-ups to confirm even coverage.
A disciplined cadence beats neglect, preserving curb appeal and reducing future costs.
- Schedule seasonal maintenance and note any weather-driven touch-ups
- Inspect hinges, seals, and hardware; tighten and lube as needed
- Clean, touch up, and reseal high-traffic areas promptly
Troubleshooting Stains, Fading, and Peeling
When stains, fading, or peeling appear, address them promptly to prevent deeper damage and a compromised curb appeal. You’ll first identify the cause: moisture, UV exposure, or improper prep.
For stains, perform targeted stain removal with a mild cleaner, gentle scrubbing, and a rinse; avoid harsh solvents that can lift finishes.
If color is fading, assess whether the coat beneath is intact; spot-treat or recoat only the affected panel rather than the entire door to maintain uniformity.
Peeling signals compromised adhesion—scrape loose areas, sand lightly, and apply fresh primer before re-coating.
Use high-quality, exterior-grade paint and consistent brushing or rolling—overlap strokes to reduce lap marks.
Peeling prevention relies on proper surface prep, dry conditions, and cure time between coats.
Real-World Transformations: Before and After Front Doors
You’ll see how real-world results reveal the impact of color choices and door style, with before-and-after shots that highlight every detail.
Pairing a fresh hue with a complementary trim can transform curb appeal and set the tone for your entryway.
We’ll compare what changed in color and style to guide your own practical decisions.
Before and After Shots
- Door hardware upgrades demonstrate instant personality shifts without overhauling the entire facade.
- Entryway lighting highlights architectural features and enhances safety after dark.
- Consistent framing and angles guarantee your before/after narrative reads clearly.
Color and Style Shifts
Color psychology guides you to select hues that evoke warmth, welcome, or formality without overwhelming architectural features. You’ll test swatches at different times of day to observe reflections and shadows, ensuring the shade remains true.
Style compatibility matters: match the door’s hardware, trim, and siding for a unified read. A subtle shift—deepening a navy, softening a red, or brightening with a jade—can refresh the facade without extensive remodeling.
Proceed with confidence, measure impact, and refine until the door feels intentional and balanced.
Frequently Asked Questions
How Long Does a Door Repaint Typically Take Door-To-Door?
A door repaint typically takes 1 to 2 days door-to-door. You’ll compare color choices, prep thoroughly, and allow proper drying for paint durability; you’ll plan touch-ups and weather windows to minimize delays.
Can I Paint a Metal Door Without Priming First?
Yes, you should prime first. About 85% of paint failures trace to poor adhesion. Metal preparation matters, and proper primer improves paint adhesion, even on metal doors, ensuring lasting finish and durable protection.
Do I Need Weatherstripping Removal Before Painting?
Yes, you should remove weatherstripping before painting if it’s damaged or loose. This prevents paint from sealing gaps. Use careful paint removal techniques for any residue, then reapply weatherstripping after finishing to maintain weatherproofing concerns.
Which Sheen Resists Dirt Best for a Front Door?
Dirt resistance best comes from a satin or semi-gloss sheen, which cleans easily and resists grime. For your door, choose a high-quality acrylic with durable dirt resistance, and prioritize proper surface prep with consistent sheen selection.
Is Chalking Normal on a Fresh Door Paint Layer?
Yes, chalking can occur briefly on a fresh door paint layer. You should wipe away chalky residue, then assess paint adhesion; if adhesion seems weak, scuff, clean again, and apply another coat for a durable finish.
Conclusion
A front door isn’t just paint on wood; it’s a heartbeat at your threshold. When you color with intention, you’re shaping first impressions, guiding guests with a subtle signal you’re present. The hue becomes a guardian, the sheen a promise of care, the contrast a whisper of personality. Tidy prep, steady coats, and thoughtful maintenance keep that heartbeat steady—long after the project ends. Your home speaks through color, and you answer with consistency, curb appeal, and care.