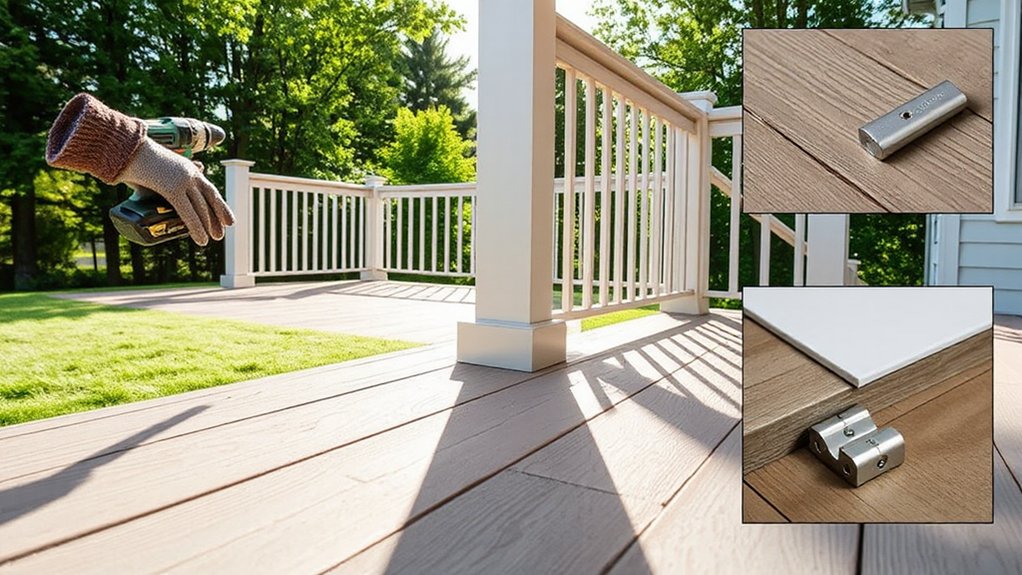

To install composite decking and railings, start by picking the right profiles and confirming color, weight, and warranty. Measure your layout precisely, then prep the substructure—level ground, stable footings, and correct joist spacing. Plan gaps (1/8 inch standard), cut with sharp blades, and use consistent fasteners or hidden clips. Align edge boards and cap rails, verify risers sit plumb, and check every seam. Finish with a final safety/quality check; you’ll see how much more there is to optimize.
Key Takeaways
- Plan layout and spacing: determine joist centers, board gaps, and perimeter measurements before cutting or fastening.
- Choose appropriate decking and railing hardware: select compatible composite boards, hidden or face fasteners, and railing posts that meet code and climate needs.
- Prepare substructure and site: ensure level, firm ground, proper drainage, and moisture control prior to installation.
- Cut and install boards carefully: use sharp blades, support boards, and follow guides for straight cuts and consistent seams.
- Align edges and secure railings: establish a reference line, plumb risers, and securely fasten edge boards and railing components.
Pick the Right Composite Decking Profiles
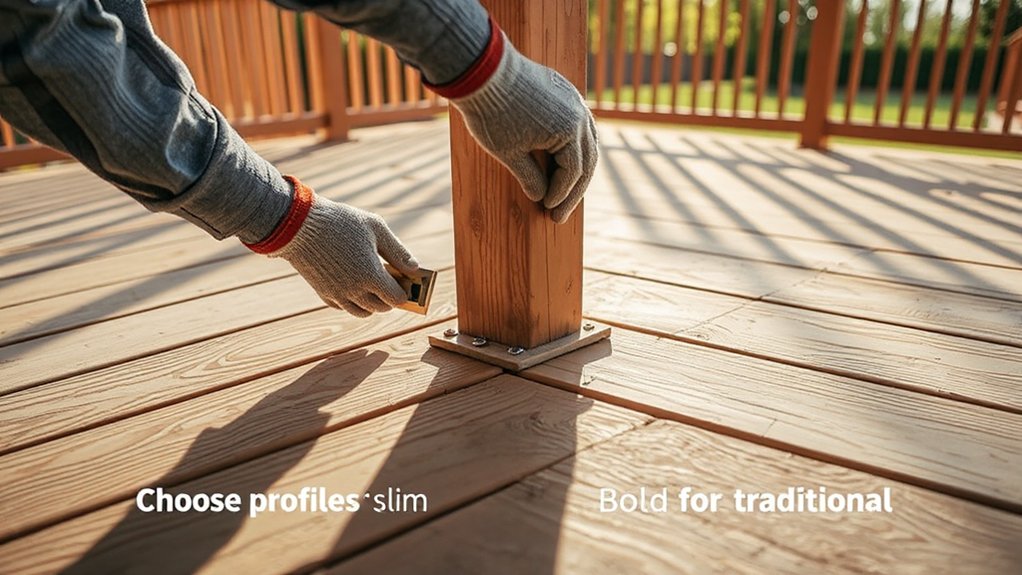
When choosing decking profiles, start by identifying how you’ll use the space and what your budget allows. You evaluate profile profiles for grade, spacing, and planking width, then align with traffic expectations.
You’ll pick solid or hollow profiles based on weight limits and stiffness, choosing profiles that resist warping and moisture. Consider decking color as a design anchor; lighter shades reflect heat and suit sunny areas, while darker hues hide minor imperfections.
Material sourcing matters: verify supplier warranties, confirm compatible fasteners, and guarantee consistent color batches. Profile profiles differ in hidden fasteners compatibility, substrate needs, and turnover time.
You’ll prioritize bite-sized installation steps later, but right now you lock into a profile family that fits your climate, budget, and maintenance willingness. Conclude with a decision that minimizes future refinishing and delivers durable, attractive decking.
Measure Your Deck Layout Before Cutting
Before you cut a single board, lock in your deck’s exact footprint by measuring the layout. Start with perimeter lines, then verify corner angles to avoid skewed boards. Map joist spacing and consider overhangs or fascia alignment to keep a clean edge. Use a straightedge or laser when possible, and double-check with a tape measure at multiple points to confirm consistency.
Mark all cut lines clearly and recalc after any adjustments to account for tolerance in profiles. Maintain deck safety by accounting for opening gaps and notching rules specified by the manufacturer. Document measurements for future reference, including unique offset points.
Prioritize material durability by aligning cuts to grain direction and ensuring clean, dry cuts to prevent splintering or misfits. Measure meticulously, then cut with confidence.
Prep the Substructure: Ground and Joists
Start by guaranteeing the ground is firm and level, then lay a stable base for the joists. You’ll establish soil preparation first, correcting slope and soft spots so loads transfer evenly. If you encounter organic debris, remove it and compact the subgrade to a solid, non-yielding surface.
Install a perimeter footing or treated-wood base to prevent frost heave and establish a consistent bearing line. Verify foundation stability through a simple check: press down on the base next to joist positions; no noticeable movement should occur.
Use appropriate fasteners and spacers to maintain level alignment across all joist supports. Maintain continuous drainage away from the deck plane, and ensure joist spacing adheres to your design and product specs. Document any deviations for future reference.
Soil preparation underpins durable, level decking.
Plan Decking Spacing and Gaps
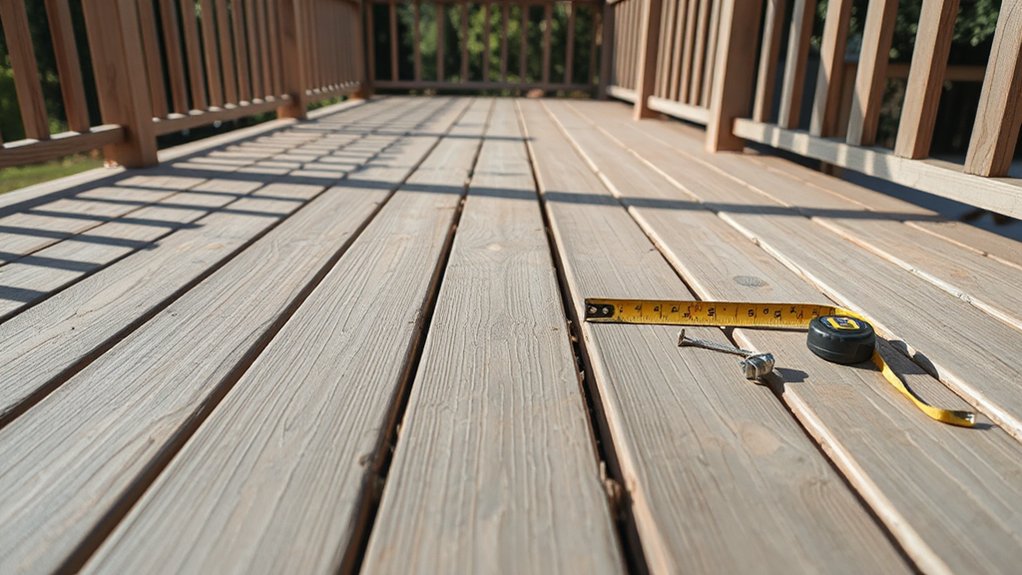
Plan the spacing and gaps for your decking by setting exact joist-to-joist and deck board gaps now, then apply those measurements consistently across the structure. You’ll establish a uniform look, guarantee proper drainage, and prevent boards from buckling.
Start with a standard 1/8-inch seam between boards and 12- to 16-inch joist centers, adjusting for board width and local temperature ranges. Maintain consistent edge gaps for expansion and water runoff, and document any deviations for future repairs.
Use spacers during installation to keep gaps true as you work.
Consider gardening tips for planter placement to avoid crowding the deck edges and to preserve airflow. Plan outdoor furniture layout around these gaps to maximize access, minimize tripping hazards, and sustain long-term stability.
Cut Composite Boards Correctly
You’ll choose the right cutting tools for composite boards and use sharp, clean blades to prevent chipping.
Follow safe cutting practices, keep hands clear, and wear eye and ear protection throughout the process.
Aim for finishing edge purity with square, smooth cuts and careful handling of end caps, while planning for waste and alignment.
Cutting Tools Selection
When cutting composite boards, choose tools that deliver clean, accurate results without chipping or fraying the material. You want blades and bits that minimize heat buildup and resin smear, so pick high-quality carbide-tipped blades and a sharp scoring knife for light cuts.
Use a stable guide, and avoid freehand sanding that can fuzzy edges. For ripping, set a moderate feed pace to prevent overheating; for crosscuts, clamp firmly and make full-depth passes.
Maintain your tools, keeping blades clean with a non-resin cleaner to prevent buildup. Decking stain can seep into rough edges if cut too coarse, so finish edges smoothly and seal joints promptly.
Maintenance tips include checking alignment before each cut and storing blades dry to extend life.
Safe Cutting Practices
Use a straightedge guide to keep edges true and reduce chipping. Wear Safety goggles to protect eyes from dust and splinters, and use Cutting mats to shield work surfaces.
Maintain a clean, dust-controlled environment; sweep debris between cuts. Make shallow passes when needed and avoid forcing the blade through material.
Check alignment after each cut, then verify that each board sits flat in its final position. Consistency minimizes gaps and promotes a clean finished look.
Finishing Edge Purity
Avoid tearing by supporting the board, making slow, uninterrupted cuts, and translating the cut smoothly through the saw. Deburr edges with a deburring tool or fine file to minimize splinters and fiber raise.
Align each board with the intended border detailing in mind, preserving consistent gaps and flush joints. Check for waviness and repair any miscuts before sealing.
Document your process so future installations mirror these standards. Edge finishing demands patience and accuracy; precise cuts ensure durable, clean aesthetics across the deck.
Fasten Composite Decking: Methods and Tools
When you fasten composite decking, start with the right drill bits to avoid bit walk and pre-drilling issues.
Consider hidden fastener styles for a clean, uninterrupted surface and to minimize visible screws.
Choose the tools and bits that match your decking profile, spacing, and manufacturer recommendations for a secure, durable install.
Drill Bit Selection
Choosing the right drill bit is essential when fastening composite decking, because using the wrong bit can cause fungal splintering, chipping, or excessive friction that dulls bits and slows the job.
You should select bits designed for composite materials, preferably carbide-tipped or high-speed steel with a sharp point to prevent walking. Use a pilot bit to start and avoid placing too much force, which can melt or cup the surface.
For stainless or coated fasteners, match bit tolerance to driver type to minimize stripping.
Pre-drilling is usually unnecessary for hardwood decking, but countersinking helps create clean recesses.
Keep drill and bits cool, clean shavings promptly, and store bits dry.
Deck color options influence visibility during cuts, while maintenance tips guide long-term performance and fastening integrity.
Hidden Fastener Styles
Hidden fasteners keep boards smooth and uninterrupted, so choose a system that suits your deck profile and hidden gap needs. You’ll find several hidden fastener styles, each balancing installation ease with material compatibility.
For clip-based systems, verify the clips seat firmly and align with groove dimensions to avoid sag or creasing. Screws recessed beneath the surface into concealed joist faces offer a clean appearance but require precise pilot holes to prevent mushrooming.
Toenailing and face-fastener hybrids can reduce gap variability on irregular layouts, yet may compromise the decking aesthetic if exposed.
When selecting, prioritize compatibility with your board profile, spacing, and substrate. Consistency matters: uniform fastener spacing preserves smoothness, minimizes movement, and preserves long-term performance while maintaining a refined, low-profile finish.
Hidden vs. Face Fastening: Pros, Cons, and When to Use
Hidden vs. Face fastening presents clear tradeoffs you’ll weigh for each deck project. Face fasteners offer quicker installation and uninterrupted board surfaces, but visible hardware can clash with your design and may require countersinking to reduce trip hazards.
Hidden fasteners minimize visible hardware, producing a cleaner line and potentially smoother deck security, yet they demand more careful alignment and longer setup time.
Consider environment: high-traffic areas favor robust fastening, while low-profile looks benefit from hidden systems. Water drainage and maintenance matter too; some hidden options can trap debris if not installed correctly.
For most projects, use a combination that preserves appearance without sacrificing strength. In practice, choose fastening techniques that balance aesthetics with reliability, and verify the system supports your deck’s span, board width, and joist spacing.
Install Decking Riser and Edge Boards
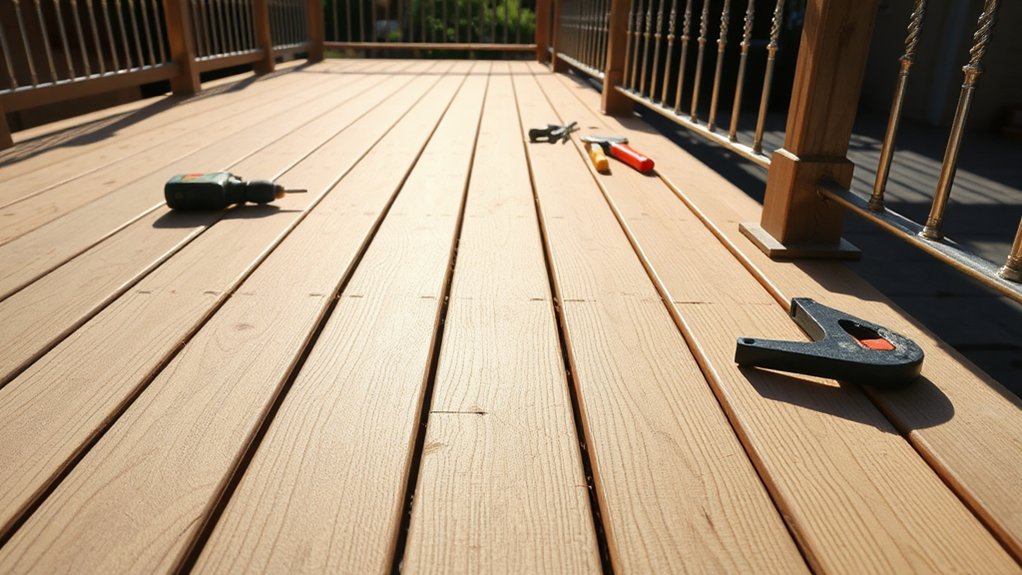
You’ll align the decking Edge Boards precisely with the riser fronts and cap the gaps for a clean, uniform edge.
Follow the Decking Riser Details and Edge Board Alignment guides to space, fasten, and stagger patterns consistently.
Use the fastening pattern guides to guarantee secure attachment and a long-lasting, finished look.
Decking Riser Details
Edge boards and risers cap the deck face and define the shift to stairs, so install them accurately to keep water out and achieve a clean, finished look. You’ll rely on precise decking riser details to align every board edge with the tread line, ensuring a consistent reveal.
Check that riser height matches your design spec and local code, then secure risers with corrosion-resistant fasteners per manufacturer guidance. For backer support, set each riser plumb and level before fastening, avoiding gaps that trap moisture.
Use the same fastener pattern across all risers to maintain uniformity, and stagger edges to reduce visible seams. Seal and protect all cut ends to prevent water intrusion.
Confirm overall stair step consistency by measuring run, rise, and riser height at multiple points during installation.
Edge Board Alignment
To align the edge boards correctly, start by establishing a true reference line along the deck face and ensuring the risers are plumb and level.
Then position the edge board so its face aligns with that line, avoiding gaps that trap debris. Use precise measurements from the reference line to set each board edge, and check for bow or warp before fasteners go in.
Apply alignment techniques like chalk lines or a temporary spacer to maintain uniform spacing, and verify consistency across the entire run as you go.
Drive fasteners consistently, keeping them flush to prevent edge lift. Recheck after every few boards, adjusting as needed to maintain a straight, clean border that supports a tight, professional finish.
Fastening Pattern Guides
When installing decking risers and edge boards, use a consistent fastening pattern to guarantee a straight, secure border and minimized edge lift. Start with a baseline line and follow it for all boards, aligning fasteners in a staggered or grid layout that suits your decking material.
For edge boards, place fasteners near the inner face to reduce visible hardware and preserve a clean edge. Use the recommended corrosion-resistant fasteners and predrill where needed to prevent splitting.
Maintain uniform spacing between boards to support expansion and contraction. Record your pattern in labeling or a simple diagram to aid future maintenance.
This approach enhances overall stability and minimizes soft spots, delivering a durable surface. Focus on dependable fastening techniques that suit your project.
Choose Railing Systems and Balusters
Choosing railing systems and balusters comes down to function, code compliance, and aesthetics. You’ll assess railing materials for durability, weather resistance, and maintenance needs, ensuring they suit your climate and deck use.
Consider height requirements, load paths, and span limits so the system meets safety codes without sacrificing design. Decorative finials can add a customizable touch, but they shouldn’t compromise strength or accessibility.
Select balusters and rails that align with your deck’s lines and your surrounding architecture, keeping spacing uniform for both safety and appearance. Factor in installation tolerance, fastener visibility, and compatibility with composite decking.
Prioritize a cohesive look that blends with decorative elements while delivering a stable, long-lasting boundary.
Mount Posts, Rails, and Baluster Hardware
With railing materials chosen for durability and appearance, you’re ready to secure the structure by mounting posts, rails, and baluster hardware.
Begin with post mounting, locating anchor points per your plan, ensuring square and plumb posts, and using corrosion-resistant fasteners. Check that sleeves or surface hardware sit flush, then secure posts firmly to framing.
Next, fit rails to the posts, aligning cap rail and bottom rail for a consistent grip and appearance. Use blocks or spacers to maintain even spacing and level rails along the run.
Install balusters using proven spacing and attachment methods, tightening fasteners to avoid wobble.
Confirm overall rigidity by gently testing each section. This phase lays a solid base for railing installation, preventing movement and maintaining long-term stability.
Rail Height, Codes, and Safety
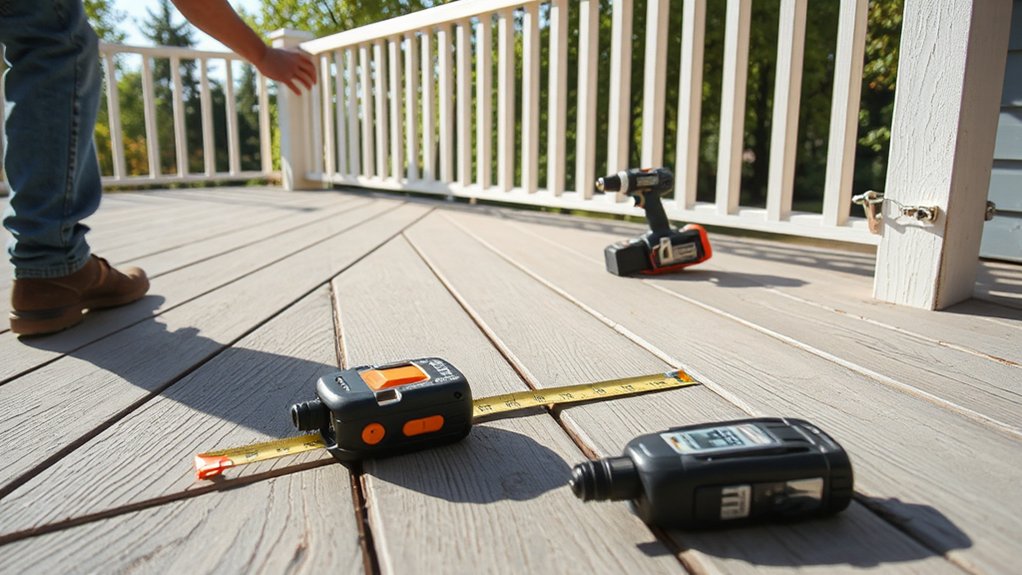
Rail height must meet local building codes and practical use considerations, so start by confirming the applicable maximum and any stair or ramp exceptions before you measure. You’ll verify rail height aligns with safety standards and practical reach, then verify compatibility with post spacing and baluster gaps.
Maintain consistent height along the run, and factor in future accessibility needs to avoid rework. In practice, use a level line, account for top rail thickness, and document any deviations for inspections.
- Adhere to rail height and safety standards without exceptions that create hazards
- Check for uniform elevation across steps, landings, and passageways
- Record measurements and code references for quick verification
This disciplined approach minimizes mistakes and protects users while delivering a compliant, durable railing system.
Install Post Caps for a Clean Finish
You’ll achieve a clean finish by installing post caps that sit securely and evenly. Make certain proper cap alignment so edges mirror the deck line.
Then secure each cap firmly to prevent movement. This sets a polished look while preventing gaps and cap lift over time.
Clean Finish With Caps
To finish neatly, install post caps to cap the ends of each post and create a clean, professional look. Post caps seal gaps, protect fasteners, and support a cohesive deck aesthetic. Choose caps that match your board color and profile for a seamless appearance, then verify fit with slight pressure to seat flush.
- Align caps with post edges and snap or screw into place for a secure finish.
- Guarantee a tight seal to resist moisture; this aids weatherproofing.
- Apply a compatible deck stain around cap edges to unify color and prevent discoloration.
Prioritize durability: opt for caps made from the same material as your decking, and plan maintenance routines that include occasional cleaning.
Deck stain and weatherproofing considerations should guide final color decisions.
Proper Cap Alignment
Align caps so their decorative edges create a continuous line across the railing or post face, avoiding gaps that catch moisture or debris. Use a straight-edge or laser to verify consistent alignment from the top edge down to the rail.
When you secure caps, apply manufacturer-recommended fasteners in a pattern that preserves even compression and prevents warping. Take time to center decorative accents so they read symmetrically from all angles.
If caps include optional embellishments, install them after final alignment to maintain a poised, cohesive appearance.
Secure Cap Installation
Secure the caps by fastening them firmly once you’ve confirmed alignment. You’ll perform cap installation with precision, ensuring each post cap sits flush and evenly aligned.
- Verify cap seating: press until it seats without gaps.
- Secure fasteners: use the recommended screws or clips, driving straight to avoid stripping.
- Check finish: inspect for gaps, distortions, or loose edges and correct immediately.
Keep these steps tight: don’t rush, apply steady pressure, and recheck alignment after fastening. This guarantees a clean, professional look and durable cap retention.
Cap installation requires attention to the interaction between cap edges and post surfaces to prevent water intrusion. Secure caps, then lightly test wobble by hand to confirm stability. If you detect movement, reseat or replace fasteners.
Maintain consistent material tension and sealants as specified by your deck system guide.
Seal and Maintain Composite Decking
You should clean regularly with a soft brush and mild soap, avoiding harsh chemicals that can degrade surfaces. Rinse thoroughly to prevent residue buildup, which can attract dirt and mold.
Inspect for loose fasteners and fix promptly to prevent squeaks and further damage.
For staining prevention, schedule periodic cleaning and use approved cleaners suited to your decking product. Apply a manufacturer-approved sealant or cleaner only if recommended; many composites don’t require sealing, but some do.
Remain vigilant against moisture intrusion in shaded, damp areas.
Pest prevention matters—remove leaves and debris that harbor insects, and trim nearby vegetation to reduce nesting opportunities.
Always follow product-specific guidelines for best results.
Troubleshoot Common Decking Issues
When you spot decking material flaws, identify whether they’re manufacturing defects, moisture damage, or installation errors, so you can choose the right fix.
For fastener problems, check for loose, stripped, or mismatched screws and correct them to restore surface integrity.
Use proper cleaning techniques to prevent residue buildup and surface dulling, then reassess and document any recurring issues for proactive maintenance.
Decking Material Flaws
- Warping and bowing from moisture or heat
- Color variation and panel delamination
- Incorrect spacing causing drainage and expansion issues
Fixing Fastener Problems
Fasteners can fail you in several ways, so start by identifying the symptom and then address the root cause.
If you notice loose boards, inspect for fastener corrosion, which weakens grip and lets boards lift. Replace corroded screws with corrosion-resistant fasteners rated for composite decking, and clean pilot holes to prevent splitting.
When you see boards curling or pulling away, check screw spacing; too-tight spacing creates wood-to-screw stress, while too-wide spacing reduces holding power. Re-drive only if the head doesn’t strip; otherwise, replace.
For intermittent squeaks, verify that fasteners aren’t bottoming out or under-driven. Use proper drill depth to avoid overdwell.
Maintain consistent screw spacing across the deck to guarantee even load distribution and longer service life.
Proper Cleaning Techniques
Proper cleaning isn’t optional weatherproofing; it’s essential for preserving color, texture, and board life. You’ll prevent staining, mold, and surface wear by establishing a routine with targeted tools and cleaners.
Use appropriate cleaning supplies and follow manufacturer guidance to avoid damage. For most decks, you’ll apply a gentle cleaner, scrub with a soft-bristle brush, then rinse thoroughly.
Address stubborn residue promptly to prevent permanent discoloration. Inspect for lingering mildew, algae, or oil stains and treat them separately.
Maintain a clean surface to support long-term deck maintenance and safety.
- Choose non-abrasive cleaners and a soft brush
- Rinse thoroughly; avoid leaving residue
- Schedule seasonal cleanings and spot treatments as needed
Pro Tips for a Gap-Free Appearance
To achieve a gap-free appearance, start by planning the deck layout with precise spacing along both boards and rails. Measure centers, not edges, and use spacers to maintain uniform gaps during installation. Align deck boards with consistent offsets, and verify rail posts sit plumb before attaching pickets.
Use a sharp saw and clean fasteners to prevent burrs that catch foot traffic. Pre-drill where needed to avoid mushrooming, and tighten hardware to the manufacturer’s torque spec for uniformity.
Integrate discreet Deck lighting to illuminate progressions without casting shadows on gaps. Consider Plant integration strategies that won’t clog joints or push boards out of alignment.
Double-check that all gaps remain uniform after final fastening, then sweep and protect surfaces to preserve the gap-free look for years.
Weather Considerations for Outdoor Installations
Weather can make or break outdoor deck work, so it’s smart to plan around forecasts as you install and seal composite decking and railings. You’ll optimize results by timing work for dry periods, avoiding rain, and protecting materials from rapid temperature swings that warp boards or loosen fasteners. Consider surface moisture, wind, and UV exposure to anticipate curing times and finish performance.
Prioritize proper drainage and secure framing before sealing to prevent warping or shifting. By tracking forecasts, you reduce callbacks and improve longevity.
- subsurface drainage must be evaluated before layout
- anticipate deck wind resistance during fastening and assembly
- schedule sealant and finish windows around sun and humidity levels
Final Quality Check and Longevity
Final checks guarantee your composite decking and railings perform as advertised and last for years. You verify fasteners are flush, planks aligned, and rail posts plumb before concluding.
Inspect spacing to assure water drains properly, preventing pooling that can degrade the substrate. Confirm deck boards seat securely in hidden fasteners or use approved clips, and that fascia hides gaps while maintaining ventilation.
Test weather resistance by inspecting for flex, warping, or surface checking after exposure to sun and moisture. Confirm edging and railing caps are secure, with no sharp edges.
Review finish details: though composite resists staining, apply a deck stain only if manufacturer’s guidelines allow it, and avoid incompatible products.
Document findings, schedule routine maintenance, and address any issues promptly to sustain long-term performance.
Budget and Timeline for a Composite Deck Project
Plan your budget around total installed cost, not just materials, by accounting for permits, design tweaks, hidden fasteners, joist reinforcement, substructure protection, railing options, lighting, and delivery fees.
You’ll see the timeline tighten or stretch with material durability, installation complexity, and weather gaps, so plan for contingencies.
Budget also hinges on design aesthetics and long-term maintenance, not just initial purchase price.
Be precise about labor rates, disposal, and warranty coverage.
- Include permits and inspections in upfront costs
- Schedule weather windows and access constraints
- Reserve contingency for hidden repairs and warranty work
Frequently Asked Questions
How Long Does Composite Decking Typically Last?
Composite decking typically lasts 25 to 30 years with proper care. You’ll extend life through regular decking maintenance and choosing weather-resistant materials, so you stay ahead of fading, warping, and moisture damage.
Can I Install Decking Over Concrete or Soil?
Yes, you can install decking over concrete or soil, but prepare. For concrete, use a rigid substructure; for soil, install posts with proper footing and weed barrier. Landscaping ideas and patio furniture plans help you visualize the space.
What Tools Are Essential for Hidden Fasteners?
Hidden fasteners require a drill, driver, countersink bit, and a compatible bit for easy installation. You’ll use installation techniques that guarantee flush boards, precise gaps, and secure edges, with torque control and steady hands for durable, clean results.
How to Match Railing Height With Stairs Safely?
You’ll match railing height to stairs safely by aligning handrail level with the stair stringer, then verify with a level. Consider Baluster spacing and Railing material options to guarantee code compliance, strength, and ease of future maintenance.
Is There a Best Season for Installation?
Yes, you should install in mild, dry seasons. Satire aside, consider Seasonal considerations and Climate impact; you’ll avoid warping and delays, optimizing materials and workmanship. You’ll plan spring or early fall for best outcomes and steady progress.
Conclusion
You’ve planned, cut, and fitted with precision, delivering a sturdy, long-lasting composite deck. Stay vigilant on spacing, fasteners, and moisture exposure, then seal and inspect for gaps and loose boards. With a solid substructure and proper maintenance, your deck will resist weather and wear for years. One reminder: don’t neglect a good railing layout—safety isn’t optional. Now, channel your inner craftsman from 1950s suburbia to finish strong and enjoy the results.