
Autumn is ideal for UK exterior painting because cooler days slow solvent evaporation, improving film formation and reducing blistering. You get stable humidity for steady drying, plus longer windows of dry, wind-stable weather that minimize heat-driven interruptions. Schedule around dew points and surface moisture to avoid delays, and pick breathable, exterior-grade coatings compatible with autumn substrates. You’ll also benefit from reduced glare and safer temperatures for access work. If you keep going, you’ll uncover how to optimize preparations and timing for lasting results.
Key Takeaways
- Cooler daytime temps slow solvent evaporation, improving film formation and reducing blistering risk.
- Moderate autumn humidity supports steady drying and minimizes defects in exterior coatings.
- Dry, clean surfaces with dew-point awareness prevent moisture-related curing issues and ensure proper adhesion.
- Flexible scheduling aligns with low-wind, dry windows and forecasts, plus contingency planning for rain.
- Breathable, weather-rated coatings and primers suited for UK秋 conditions enhance long-term durability.
How Autumn Weather Improves Exterior Paint Adhesion
Autumn brings conditions that can enhance exterior paint adhesion when properly leveraged. You assess surface prep, temperature, and humidity to optimize the bond.
In cooler daytime temperatures, slower solvent evaporation reduces splay, improving film formation once you apply the coating.
You’ll benefit from moderate humidity that supports steady drying without excessive moisture uptake, minimizing blistering risks.
Choose a compatible paint system and confirm the substrate is dry, clean, and free of efflorescence.
Your brush technique matters: apply thin, even coats with consistent passes to avoid puddling and uneven film thickness.
Align the Paint color with the coating’s designed translucency and opacity to prevent voids at edges.
Understanding the UK Autumn Climate Window for Painting
Substrate temperature should remain within manufacturer recommender ranges to guarantee cure initiation without flash set. Humidity levels must be controlled to avoid prolonged surface moisture that compromises film formation.
You’ll align coating schedules with dry, wind-stable days and consider microclimates around walls, eaves, and timber. Plant growth and wildlife activity can influence surface cleanliness and access; you’ll anticipate leaf litter, pollen, or nesting disturbances that affect preparation steps.
Humidity and Temperature Ranges That Help or Hinder Coating Jobs
Humidity and temperature ranges directly influence coating performance: selecting the right conditions guarantees proper cure, film formation, and adhesion. Deviations can cause blistering, blush, or incomplete cure.
In UK autumn, aim for surface temperatures between 10°C and 25°C, with dew points kept below 12°C to minimize moisture rollback. Humidity should stay under 75% during application and reduce toward the 40–60% band for ideal film drying.
Higher temperatures accelerate curing but risk defects if shade or ventilation aren’t controlled. Cooler periods slow film formation and may extend pot life.
Consider paint color impact: darker shades absorb more heat, demanding closer thermal monitoring, while light colors tolerate wider windows.
Brush selection matters: use synthetic or high-quality natural bristles suited to your formulation to guarantee consistency across the substrate.
Prep and Prime When Moisture Is Low: A Practical Checklist
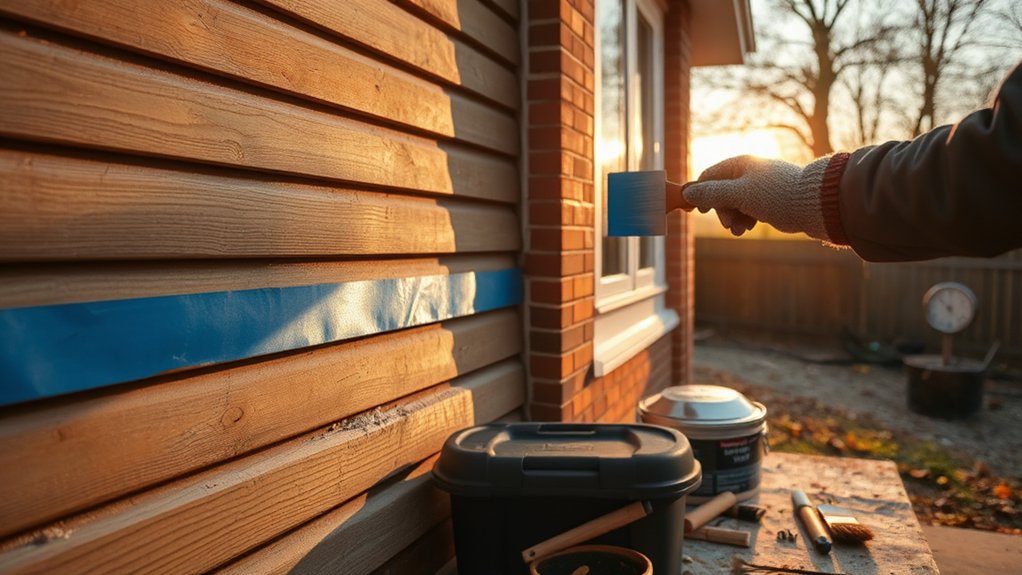
When moisture is low, prep and priming must be tight and methodical to prevent adhesion failures and guarantee long-term coating performance. You’ll verify surface moisture, perform moisture testing, and guarantee ambient conditions stay within spec before proceeding.
Emphasize Moisture control during surface preparation, and complete a full decontamination to remove dust, algae, and efflorescence.
Apply surface priming with a high-adhesion primer suited to the substrate; consider stain-blocking where needed.
Inspect for compatible film build and recoat window, and schedule tasks to avoid dew formation before topcoat application.
Document conditions and product data for future touch-ups.
Maintain clean tools and tack-free surfaces to ensure consistent film formation and color uniformity.
- Check moisture levels and record readings
- Use appropriate surface priming products
- Time windows for recoats and cure readiness
How Humidity Affects Long-Lasting Paint Seals
Humidity levels directly influence seal longevity by altering drying dynamics and film formation, so you’ll see longer cure times and potential microcracking under high moisture.
As humidity rises, drying is slowed, which can compromise adhesion and accelerate elastic/viscous changes that shorten the seal’s lifespan.
Understanding these drying-time shifts helps you anticipate maintenance needs and select coatings that tolerate UK humidity conditions.
Humidity And Seal Longevity
Factors related to moisture directly influence seal longevity in exterior paints. Humidity drives swelling and contraction cycles in substrates and films, accelerating microcracking and gradual seal compromise.
You’re most exposed during shifts between damp conditions and dry spells, when surface films struggle to cure uniformly. When humidity is high, paint technology must accommodate slower solvent evaporation and potential blushing, which weakens adhesion over time.
Conversely, low humidity can hasten curing but increase stress from rapid film formation, impacting seal integrity. Color trends influence pigment dispersion and film formation, indirectly affecting durability under humid cycles.
To optimize longevity, choose formulations with moisture-tolerant binders and guarantee proper substrate prep and cure under stable condensation levels.
- Monitor humidity windows and schedule accordingly
- Favor moisture-resistant binders aligned with paint technology
- Align color trends with finish resilience against damp cycling
Drying Time Impacts Seal Integrity
Even modest deviations in ambient humidity can extend or shorten the drying window, directly influencing seal formation and long-term adhesive performance. Humidity governs solvent evaporation rates, film consolidation, and cross-linking efficiency, all of which determine seal integrity.
When relative humidity remains high during spray or brush application, solvent efflux slows, increasing the likelihood of trapped volatiles and microvoids that undermine paint adhesion. Conversely, excessively dry conditions can cause rapid surface drying, leading to microcracking and weakened intercoat bonding.
Ideal moisture levels balance evaporation with film coalescence, ensuring continuous, uniform seals across substrates. Monitor RH alongside temperature to avoid delayed curing or brittle films.
Inconsistent drying can compromise durability, especially at joints and corners where movement stresses test paint adhesion and seal integrity.
Choosing Paints That Perform in UK Autumns
Autumn brings cooler, more variable conditions that challenge exterior paints, so you should choose formulations designed to resist dew, early frosts, and rapid moisture changes. In this scenario, select products with proven gloss and film-forming stability across fluctuating temps, plus enhanced water resistance and UV durability.
Prioritize finishes that maintain color and film integrity under damp cycles, and verify compatibility with your substrate. Emphasize color matching to reduce touch-ups after weather shifts, and plan ahead for consistent appearance across fixtures and trims.
Consider brush techniques that maximize even film buildup and minimize lap marks in cooler air.
- Color matching strategies to minimize rework
- Resin systems that resist moisture cycling
- Brush techniques for uniform, defect-free coats
Timing for Optimal Curing in Cool, Damp Days
Timing for ideal curing in cool, damp days hinges on controlling substrate temperature, moisture exposure, and surface conditions so that film formation proceeds without defects. You should monitor substrate temperature with a calibrated thermometer, aiming for the manufacturer’s recommended curing window, typically above 10–15°C for many alkyd and waterborne coatings.
Avoid rapid temperature fluctuations that induce microcracking or blistering. Manage humidity by limiting prolonged exposure to dew and rain; use dry times listed on the data sheet and consider protective covers between coats.
Surface conditions must be clean, dry, and dust-free to prevent pinholes. Plan color palettes for contrast only after full cure; brush techniques should favor even loading, feathering edges, and minimal re-brushing.
Adhere to these controls to guarantee uniform film integrity across materials.
Wood vs. Masonry: Autumn-Specific Prep Considerations
In autumn conditions, you’ll prioritize Wood Prep Nuances and Masonry Surface Readiness to guarantee adhesion and durability.
For wood, assess moisture, substrate stability, and knot sealing. Applying primers and sealants tailored to seasonal fluctuations is essential.
For masonry, verify moisture management, efflorescence control, and unsealed surface porosity before applying a breathable exterior coating.
Wood Prep Nuances
When prepping wood for exterior paint in autumn, you must account for moisture fluctuations and cooling temperatures that affect adhesion and drying. You’ll control moisture content, inspect for splits, and select primers compatible with both condition and substrate.
Temperature swings demand a dew point-aware schedule to prevent premature drying or moisture entrapment, which can compromise finish quality. Focus on surface quality: remove loose grain, fill voids, and sand to a uniform texture that supports even paint deposition.
Consider wood grain orientation and how it influences sheen retention over time; plan primer and topcoat compatibility with the desired paint sheen. Use high-build primers on quarried or softwood surfaces to maximize film thickness and edge sealing.
- Test moisture and cleanse before priming
- Align grain-cut directions with desired sheen
- Choose compatible primer and topcoat systems
Masonry Surface Readiness
You should perform a thorough surface inspection to identify cracks, loose render, and that masonry faces are sound.
Begin with moisture testing in representative areas; elevated moisture necessitates drying strategies or breathable primers.
Masonry cleaning is next: remove biological growth, dust, and chalk with appropriate non-abrasive methods, avoiding pressure washing on delicate substrates.
Decontaminate with a compatible cleaner, rinse, and verify complete dryness.
Address defects with compatible fillers or repairs, then re-inspect.
Only after a clean, dry, structurally sound surface should you prime, guaranteeing adhesion and a durable, uniform finish.
How to Monitor Weather for Painting Plans
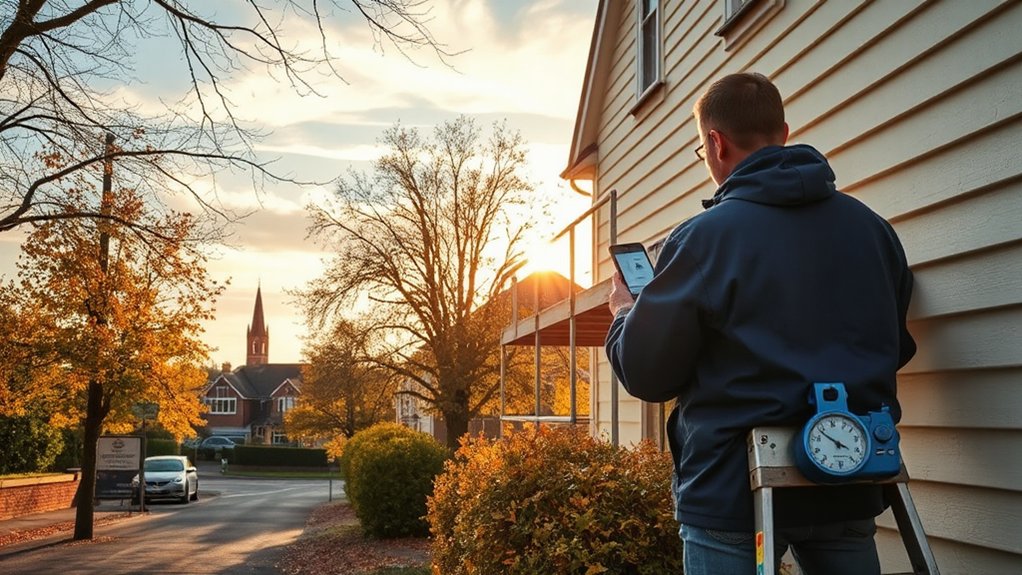
To monitor weather effectively for painting plans, start by checking a reliable forecast source and track short-term changes for the next 24 to 72 hours, since temperature, humidity, wind, and precipitation directly affect coating performance.
You need to interpret trends rather than single readings, and align coating schedules to dry windows and dew points.
Plan for compatible conditions with garden landscaping and interior design considerations, ensuring substrate surfaces aren’t stressed by rapid shifts.
- Monitor high-precision forecasts and dew point data to predict dew risk at dawn and dusk.
- Schedule coatings during low wind and moderate temperatures to minimize pinning and sags.
- Build a contingency buffer for rain, overnight cooling, or sudden humidity spikes that can compromise cure.
Reducing Dust and Debris During Autumn Exterior Prep
Autumn exterior prep introduces new challenges for surface cleanliness, so you must implement a focused dust and debris control plan before any scraping, sanding, or coating.
Begin with containment: seal work zones, use negative air machines, and fit high-efficiency particulate air filters to capture fine dust.
Pre-clean surroundings to minimize tracked material; cover vehicles, planters, and garden landscaping features with breathable sheeting.
Employ dust suppression during sanding with misting water to reduce airborne particulates.
Implement sweep-and-vacuum protocols at line breaks between tasks, and dispose of debris in labeled, sealed bags.
Schedule exterior flush-cleaning after key phases to prevent residue transfer.
Consider wildlife disturbances; schedule debris removal during low-activity periods.
Maintain access routes for wildlife-safe corridors and monitor for incidental habitat disruption.
Save Time and Money With Fewer Heat-Driven Interruptions
You’ll minimize delays by targeting periods with fewer temperature interruptions, ensuring your workflow stays within ideal heat ranges.
With longer drying windows, you gain time for each coat and reduce repaint cycles, saving labor and material costs.
Plan around seasonal material availability to lock in prices and supply, avoiding last‑minute substitutions that eat into your budget.
Fewer Temperature Interruptions
- Stable daytime temperatures reduce rework and extend coating life
- Microclimate shading minimizes temperature spikes and dew risks
- Coordinated schedules account for plant growth and wildlife activity
Longer Drying Windows
This stability minimizes the need for temperature-controlled environments, saving energy and labor time on site. With longer cure times, you benefit from improved film formation, reducing the risk of pinholes, blushing, or solvent washout during mid-shift warm periods.
You should monitor substrate moisture and ambient humidity carefully, but the extended window affords more forgiving scheduling. Consider color trends and paint durability when choosing systems, ensuring the pigment load remains uniform and UV resistance remains intact over the season.
Your project gains reliability and long-term performance.
Seasonal Material Availability
- Align orders with supplier calendars to minimize delays
- Prebook high-use products ahead of weather shifts
- Monitor substitutions and pricing volatility in real time
Autumn Safety and Access Advantages and Tips
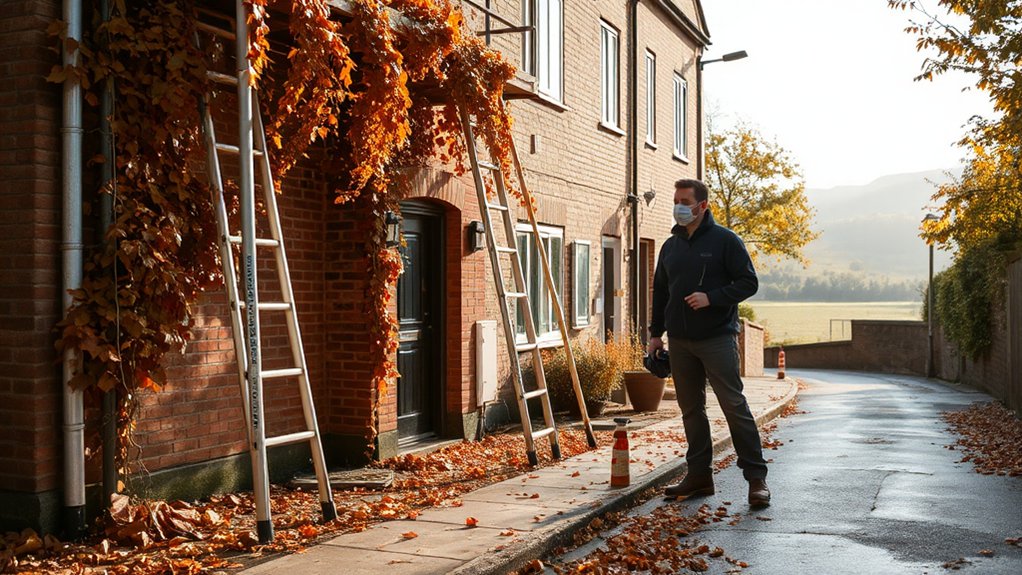
Autumn introduces several practical access considerations for exterior painting, including shorter daylight hours, cooler temperatures, and increased moisture from rain and dew. You’ll schedule work within daylight windows, plan for dew clearance, and adjust for damp surfaces that affect adhesion and drying times.
Choose paints with suitable open times and temperature tolerances, and use non-slip, weather-resistant PPE when working on ladders or scaffolds on damp mornings. Access routes can be obstructed by fallen leaves or seasonal foliage, so pre-clean and maintain paths to minimize slips.
Fall-specific moisture demands also require vigilant surface inspection for texture changes and porosity. Coordinate with site owners during seasonal shifts, optimize containment, and store materials in sheltered, dry locations.
Autumn foliage considerations influence timing, not technique.
Common Autumn Painting Pitfalls in the UK and How to Avoid Them
In autumn, you must account for tight weather windows that can abruptly shift from dry, usable days to damp or misty conditions, complicating scheduling and protection measures.
Drying time dilemmas arise from cooler temps, higher humidity, and shorter daylight, so you should plan extended wait times between coats and verify manufacturer guidance for low-temperature performance.
Weather Windows Narrow
Weather windows in autumn are short and fickle, so you must plan around narrow periods of dry, moderate-temperature air. You’ll coordinate coatings, substrate prep, and cure requirements to maximize batch utilization and minimize rework, keeping color selection and equipment maintenance aligned with forecasted dry spells. The key is locking in a precise schedule that avoids rain risk while ensuring proper surface conditions before frosts.
Use real-time weather data to time coats and recoat windows, and maintain a conservative mindset about push-back on timelines.
- Schedule multi-coat sessions within isolated dry periods, not spread across rain events
- Inspect and calibrate spray rigs and rollers, evaluating viscosity and atomization
- Confirm pigment stability and compatibility with primer layers before application
Drying Time Dilemmas
Drying time is the linchpin of autumn exterior painting in the UK, and miscalculations here drive costly rework and delayed project timelines. In practice, temperature, humidity, and breeze define cure rate, not just paint instructions.
You must verify substrate temperature against the paint’s specified minimum and maximum; cool nights can stall film formation even after daytime warmth. Avoid optimistic curing windows; document dew point forecasts and surface moisture readings before each coat.
Paint color choices can influence heat absorption and drying dynamics, so expect darker tones to take longer to reach handleable hardness on damp days.
Use appropriate brush techniques to minimize roller-induced compaction and solvent entrapment, ensuring even film thickness and reduced surface defects. Schedule flash-off intervals between coats to prevent skinning and adhesion failure.
A Step-by-Step Autumn Exterior Painting Plan for UK Homes
Autumn is the ideal window for exterior painting in the UK when temperatures are cool enough to cure properly but not so cold that coatings fail to cure. You follow a precise sequence to minimize failure and maximize longevity, applying coatings that tolerate UK weather.
Begin with surface preparation: remove loose paint, clean, and degrease, then mask edges and protect nearby landscaping. Prime critical substrates properly, then choose breathable, exterior-grade finishes with the right UV resistance and gloss level.
Schedule inspections after curing and confirm humidity and dew points stay within tolerance. Document environmental conditions for quality control and warranty compliance.
- Surface prep and masking checklist for reliable adhesion
- Primer choices aligned with substrate and climate
- Cure monitoring, humidity control, and post-application checks
Garden landscaping, Interior decorating
Frequently Asked Questions
Can Autumn Paint Projects Be Completed Before Early Winter Rain?
Yes, you can finish autumn projects before early winter rain if you plan, use breathable primers, and allow proper cure windows; Seasonal color trends and Exterior paint durability must guide your coating schedule to optimize adhesion and longevity.
What Safety Gear Is Essential for Autumn Exterior Painting?
You need Protective clothing and Respirator masks. Imagine crisp leaves curling like protective shields as you suit up; the respirator seals, filtering fumes, while durable gear shields skin from splashes, dust, and weather, keeping you safe throughout autumn painting.
How Long Does Cleaning Between Coats Take in Autumn?
You’ll need about 60–120 minutes, depending on humidity, for cleaning between coats in autumn. Use precise brush techniques to remove excess, then respect drying times before recoating for the best adhesion and finish stability.
Do Homeowners Need Permits for Exterior Repainting in Fall?
Yes, you typically need painting permits for exterior repainting in fall, and you should obtain homeowner approval before starting. You’ll coordinate with local authorities, document compliance, and guarantee permits, inspections, and project milestones are clearly recorded.
How Can I Spot Primer Failure Before Full Curing in Damp Weather?
You can spot primer failure before full curing in damp weather by testing primer adhesion and moisture detection; press edges, check for peeling or tackiness, and use a moisture meter to guarantee uniform adhesion across surfaces before top coating.
Conclusion
Autumn isn’t just a calendar quarter—it’s a window of opportunity for durable exterior coatings in the UK. By leveraging cooler, drier days, you minimize steam and condensation risks while maximizing film formation and adhesion. Plan around ideal humidity bands, allow ample drying between coats, and use breathable primers when needed. Remember: preparation and timing beat haste. The payoff? lasting resistance to weathering with fewer callbacks. Embrace this season as your most practical, science-backed painting window. Opportunity, precisely quantified.