

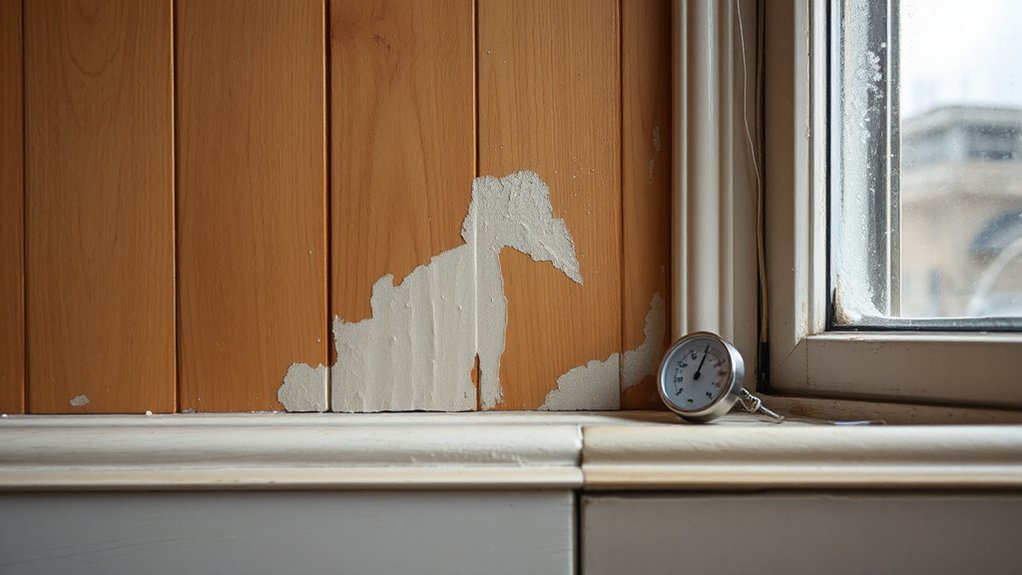

Spot early damp before winter by inspecting for smells, stains, and peeling finishes, plus condensation patterns on windows and walls. Look for musty odors that worsen, pale-to-dark staining, and wallpaper or paint lifting at edges. Check for beaded droplets, fogging, and mineral streaks near sills, plus damp patches with sharp edges that mirror interior moisture sources. Inspect hidden damp behind finishes with uneven sheen and bubbling. Document findings with dates, photos, and moisture checks to guide preventive fixes as conditions shift. More tips await.
Key Takeaways
- Look for musty odors that intensify, signaling ongoing damp before winter begins.
- Check for visible stains or patches on walls and ceilings, especially near corners and joints.
- Inspect for peeling paint or wallpaper lifting and slight curling at edges.
- Scan for mold growth as dark specks or fuzzy textures on surfaces.
- Monitor humidity and airflow issues with a hygrometer and note imbalances in affected areas.
What Damp Is and Why It Shows Up Before Winter
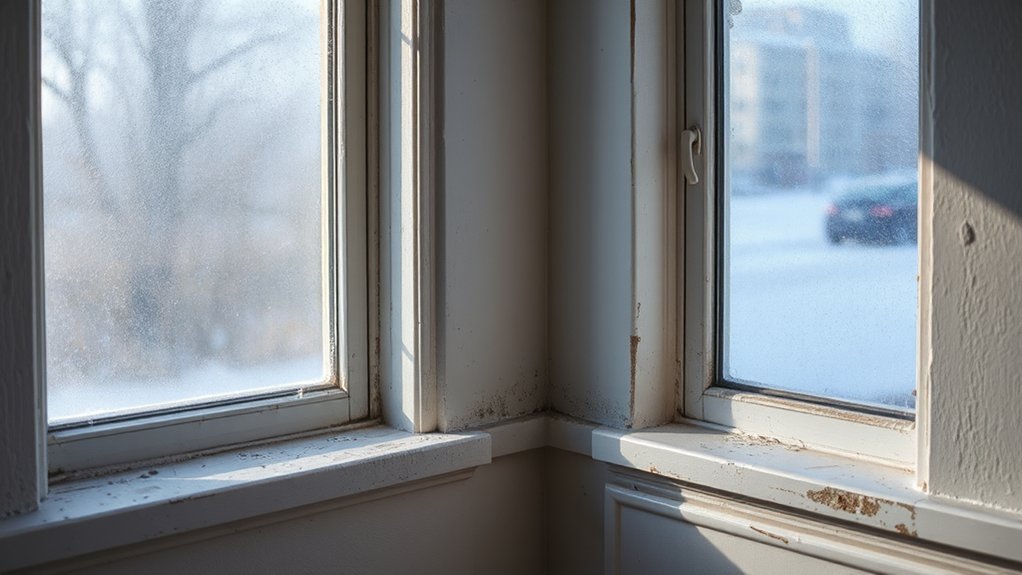
Damp is moisture that accumulates in building materials when humidity, temperature, and air movement create conditions for water to condense or seep in. You’ll encounter it as elevated surface moisture, damp patches, or musty odor before winter.
Understanding the mechanism helps you act efficiently. Heat drives moisture upward and into porous substrates; cool surfaces invite condensation, especially on exterior walls, basements, and kitchens.
Relative humidity above 60% sustains ongoing risk, so you monitor with a hygrometer and track seasonal shifts.
Mold prevention starts with limiting moisture peaks, then sealing gaps and controlling airflow. Implement ventilation strategies that exchange stale indoor air with outdoor air, reducing stagnant pockets where damp forms.
Prioritize consistent temperatures and prompt repairs to leaks, preventing residual damp from becoming a chronic issue.
Quick Signs You Can Spot Now: Smells, Stains, and Peeling Finishes
From the signs you can spot now, smells, stains, and peeling finishes offer immediate clues that damp is present or developing. You’ll notice musty odors that intensify with time, not just after rain.
Stains appear as irregular patches, ranging from pale yellow to dark brown, often spreading from corners or along joints.
Peeling finishes indicate moisture compromise, with paint or wallpaper lifting in sheets or curling at edges.
Mold growth may accompany these cues, presenting as dark specks or fuzzy textures on walls, ceilings, or around vents.
Prioritize detecting ventilation issues by checking air movement, humidity levels, and intake/exhaust balance in affected zones.
Document affected areas, monitor for progression, and schedule remediation before winter brings higher heating demands and faster damp dispersion.
Condensation on Windows and Damp Walls: What Patterns to Look For
When condensation appears on windows and damp walls, patterns matter: look for recurring water droplets that bead along edges, fogged panes that clear slowly, and mineral streaks that run parallel to sills. You’ll notice condensation patterns that form at high-humidity intervals, often intensifying near corners or where insulation gaps exist.
On walls, damp patches may mirror interior moisture sources, with sharp, linear edges indicating intruding vapor or deliberate leaks.
Distinguish window frost from interior moisture by humidity-driven haze versus frost-crystal growth on cold glass; frost often shows radiating spokes from hardware.
Track daily fluctuations, and compare seasonal changes to baseline dryness. Document with timestamps, noting texture, color, and boundary behavior to guide targeted remediation and prevent mold risk.
Hidden Damp: Signs Under Paint, Wallpaper, and Paneling
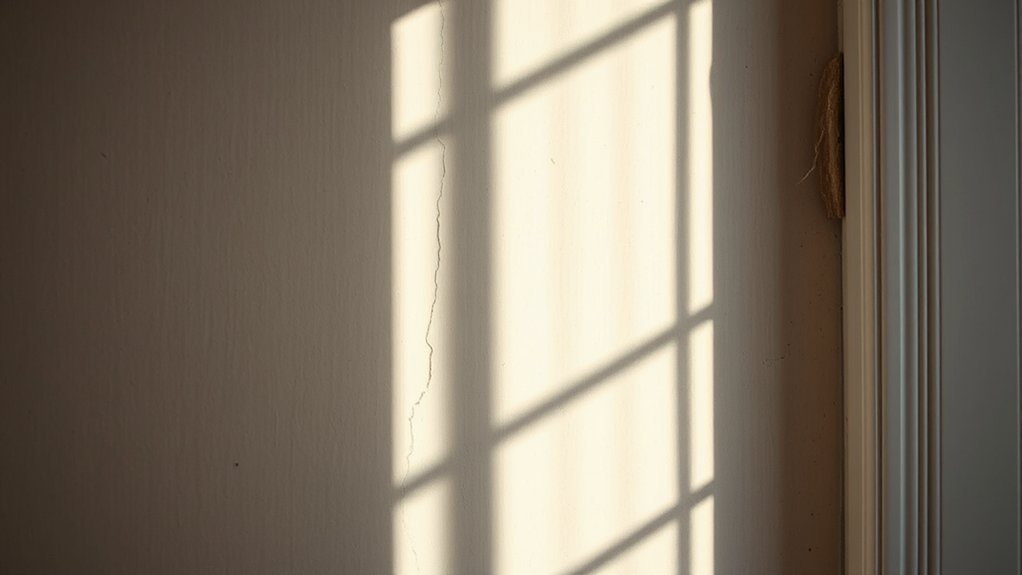
Hidden damp often hides in plain sight beneath finishes; you can spot it by looking for subtle changes that reveal moisture trapped behind paint, wallpaper, or paneling.
Under paint, expect uneven sheen, color fading, or edges lifting at joints where moisture concentrates; paint bubbling signals lifting of adhesive layers and trapped liquid.
Behind wallpaper, look for rayon-like raised or haloed halos, peeling seams, or soft spots when you press gently.
Paneling may show swelling, distorted boards, or micro-cracks where humidity migrates through gaps.
Inspect fasteners for rust stains or darkened fritting along grains.
Use a moisture meter to quantify elevated RH readings behind layers, particularly at corners, windows, and plumbing junctions.
Treat suspected hidden leaks promptly to prevent mold growth and structural damage.
Easy At-Home Checks: Floor and Structural Clues You Can Verify Today
You should start by checking floor moisture indicators, such as damp spots, dark patches, or persistent coolness along thresholds and basements.
Next, inspect structural cracks for timing, width, and pattern—horizontal or stair-step fractures can signal settlement or moisture-related movement.
Finally, document findings with measurements and monitor changes over a week to distinguish transient from ongoing damp risks.
Floor Moisture Clues
A moisture meter reading at the basement floor or along seams helps quantify risk, especially near walls where condensation concentrates. Track differences between upstairs and downstairs humidity; persistent higher readings downstairs signal subfloor or sump issues.
For mitigation, consider basement insulation improvements and targeted ventilation improvements to improve air exchange. Verify that crawlspaces are ventilated and humidity is controlled.
Document any recurring patterns, and plan follow-up checks after sealing or adding insulation.
Structural Crack Checks
Structural cracks are a reliable signal of underlying moisture or foundation stress, so you’ll want to inspect both floor-level and wall interfaces with simple at-home checks.
You’ll start with spacing and alignment: monitor doorjambs, window casings, and baseboards for widening gaps or misalignment over a 48-hour period. Use a level or straightedge to verify straight wall cracks, noting if they originate at corners or doorways.
Measure crack width with a magnifier or calipers; record any expansion beyond 0.3 mm between checks.
Inspect floor cracks along tiles or slabs, paying attention to settlement patterns that radiate from load-bearing walls.
Consider wall insulation integrity behind outlets and trim; guarantee seals aren’t compromised.
Finally, assess roof ventilation’s impact on moisture transport, since increased vapor pressure can exacerbate cracking.
Simple Moisture Tests You Can Do at Home
You can perform simple moisture checks at home using a hygrometer and surface moisture indicators to establish baseline conditions.
We’ll cover DIY humidity tests and basic spot checks that correlate readings with damp risk, so you know when to investigate further.
This practical, technical approach helps you quantify moisture levels without specialized equipment.
Simple Moisture Checks
Use a moisture meter only if you have one, but visual cues remain effective: damp spots that fail to dry after airing, peeling paint, or soft, spongy patches signal elevated risk.
Track humidity trends by noting seasonal changes and door or window usage that alters surface moisture. Document problem areas with dates and photos to guide remediation.
Focus on mold prevention by addressing leaks promptly and improving drainage around the foundation.
Implement ventilation improvements where airflow is stagnant, prioritizing bathrooms, kitchens, and laundry spaces to slow recurring dampness.
DIY Humidity Tests
- Place a hygroscopic object (bowl of salt) in a closed space and note weight change over 24 hours.
- Tape a cheap plastic sheet to a wall corner; mark moisture edge daily and compare to baseline.
- Wipe mirror surfaces after showers; log fog duration to assess ventilation effectiveness.
- Measure window condensation at dawn; track frequency to gauge humidity control needs.
- Record indoor vs. outdoor humidity with a basic meter to identify real-time ventilation opportunities.
Keep Water Out: Drainage and Gutters That Prevent Damp
Efficient drainage and well-maintained gutters are essential to prevent damp, directing rainwater away from the foundation and reducing hydrostatic pressure that can seep through walls. You’ll inspect slope and continuity, guaranteeing gutters terminate to downspouts with a clear path for water flow.
Verify that roof drainage channels are free of debris, minimizing overflows during peak rainfall. Install or confirm proper gutter spacing to match fascia and roofline, and seal joints to avoid leaks.
Consider pipe insulation around exterior downspouts in cold climates to prevent condensation and ice dam formation. Check downstream drainage and grading to ensure no low spots trap water near the foundation.
Promptly repair any fascia damage, and route water away from foundation with splash blocks or extensions when needed. Maintain routine checks through winter.
How to Document Signs for Pros and Insurers
To document signs for pros and insurers, you’ll start by collecting a precise evidence trail from your damp-related observations. You’ll record locations, dates, and conditions with objective notes and photos to support claims.
Focus on mold growth patterns, moisture staining, and any ventilation issues that may worsen conditions. Maintain consistent terminology and measurement where possible, such as humidity readings and airflow observations.
Present a clear timeline of changes, including seasonal shifts and repairs attempted. Use labeled evidence packets to facilitate risk assessment and adjusters’ review.
Confirm that documentation aligns with policy requirements and standard building codes. Your goal is reproducible, verifiable data that stands up to scrutiny.
- Exact locations and dates
- Photographic evidence with timestamps
- Humidity and moisture readings
- Mold growth description and extent
- Ventilation issues observations and tests
Preventive Fixes to Stop Damp Before the Cold Sets In
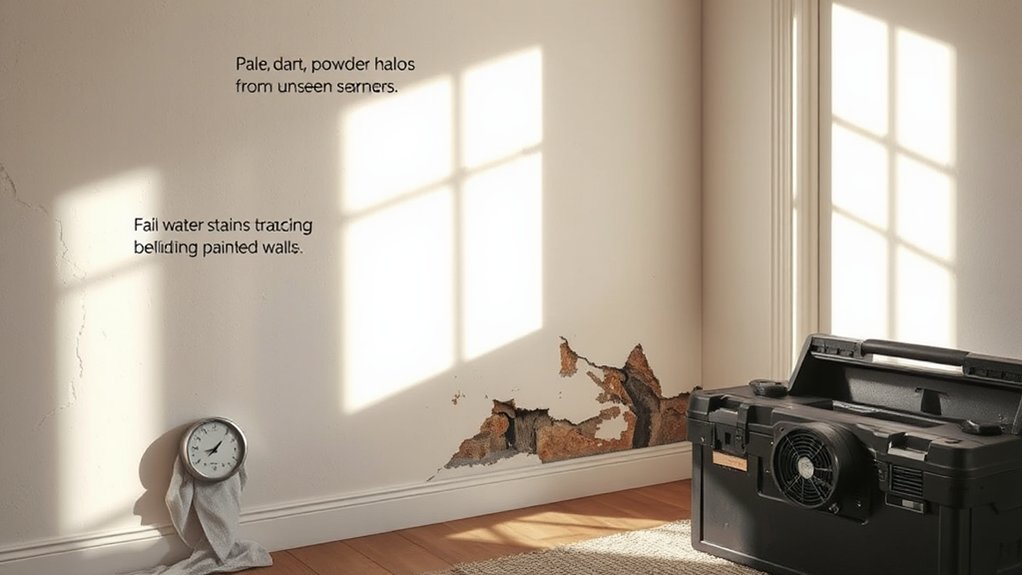
To keep damp from taking hold as temperatures drop, start with a quick moisture audit and airtighting plan that targets the most vulnerable areas first. Identify problem zones: bathrooms, kitchens, basements, and laundry enclosures, then seal gaps around doors, windows, and utility penetrations.
Implement mechanical ventilation with humidity control in high-moisture spaces to sustain air exchange without drafts. Upgrade insulation on exterior walls and attic access to reduce surface condensation; install vapor barriers where appropriate to minimize moisture migration.
Use wide-sill trays and improved drainage to stop water ingress from surface runoff. Apply reactive damp-proofing measures only after thorough drying; prioritize damp prevention by maintaining steady indoor humidity between 40 and 60 percent.
Pair these steps with winter preparation to stabilize indoor climate and reduce mold risk.
Frequently Asked Questions
What Causes Damp to Appear Before Winter Begins?
Damp appears before winter due to poor condensation control, moisture buildup, and temperature swings. You’ll benefit from ventilation improvements and insulation enhancements, reducing humidity retention, warming surfaces, and preventing mold growth while improving air exchange and energy efficiency.
Can Certain Smells Indicate Damp Without Visible Signs?
Like a silent thief, you notice musty odors signaling damp without visible signs. You’ll detect mold growth via smell, check humidity, and inspect for concealed moisture, ventilation issues, and hidden leaks that foster musty odors and hidden mold.
How Can I Test for Hidden Damp Under Wallpaper?
To test for hidden damp under wallpaper, you remove sections for inspection, use a moisture meter on concealed plaster, and check for elevated readings indicating hidden moisture behind wallpaper removal. Then assess substrate stability, framing, and potential mold risk.
Do I Need Professional Moisture Meters at Home?
Yes, you can start with a DIY detection approach; a moisture meter helps confirm suspected damp. Use a pin or pinless model, calibrate properly, test across walls, and document readings to decide if you need pro intervention.
What Preventive Steps Stop Damp Before Cold Weather?
Ventilation improvements and insulation upgrades are essential. You’ll prevent damp by boosting airflow, reducing humidity, and sealing leaks; you’ll also regulate temperatures effectively, so you stay dry. Implement targeted extraction, balanced ventilation, and cavity wall insulation upgrades now.
Conclusion
Have you spotted the damp early and acted fast? By now you’ve seen smells, stains, peeling finishes, and hidden moisture behind paints or wallpapers. You’ve checked condensation patterns, tested surfaces, and verified drainage and gutters. Documented signs methodically for pros or insurers, you’ve prioritized preventive fixes and proper ventilation. Stay proactive: seal leaks, improve drainage, and monitor humidity. With disciplined checks and timely repairs, you minimize winter damp risk and protect your structure’s integrity. Isn’t prevention better than remediation after frost?



