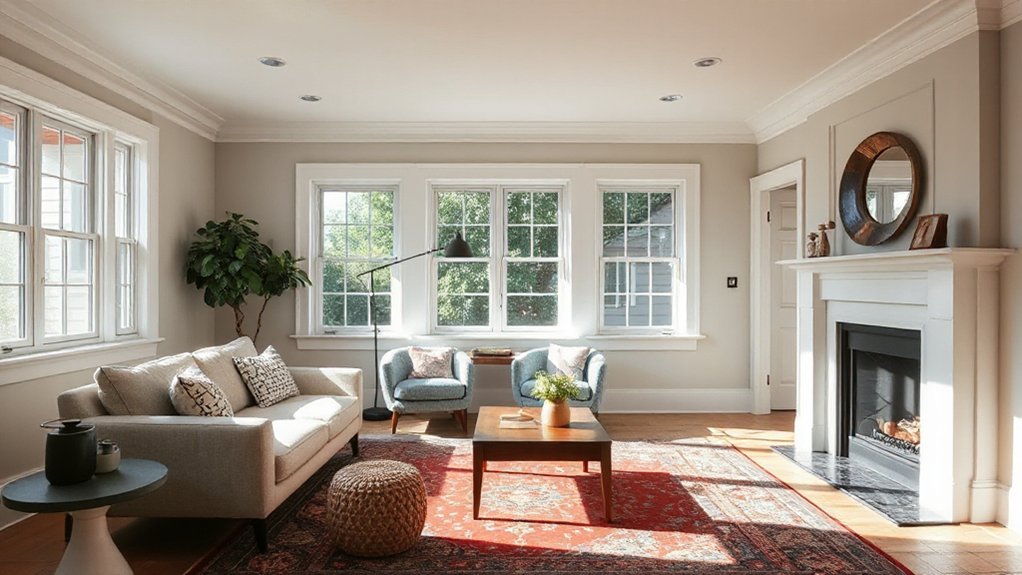

Want your older home to feel new without a full gut? Start with bright paint, white walls to bounce light, and refreshed trim for cohesion. Use bigger mirrors opposite light sources to visually expand rooms, and lean a few large ones in corners for a cleaner feel. Add simple architectural tweaks like removable moldings and period-appropriate hardware to honor the past while updating your vibe. Quick upgrades, lasting impact—keep going and you’ll uncover more ideas.
Key Takeaways
- Refresh with strategic paint: white walls to reflect light, warm whites for coziness, and contrasting trim to define edges and add depth.
- Create brightness with mirrors: place opposite light sources and use large mirrors to visually expand small spaces.
- Update lighting: install modern dimmable LEDs, layer ambient and task lighting, and keep controls simple and centralized.
- Revise key surfaces affordably: peel-and-stick tiles, accent bands, and fresh hardware to modernize without full remodels.
- Improve flow and storage: remove unnecessary walls, add built-in and multi-functional storage, and optimize door clearance and thresholds.
What Makes Older Homes Feel Dated or Fresh
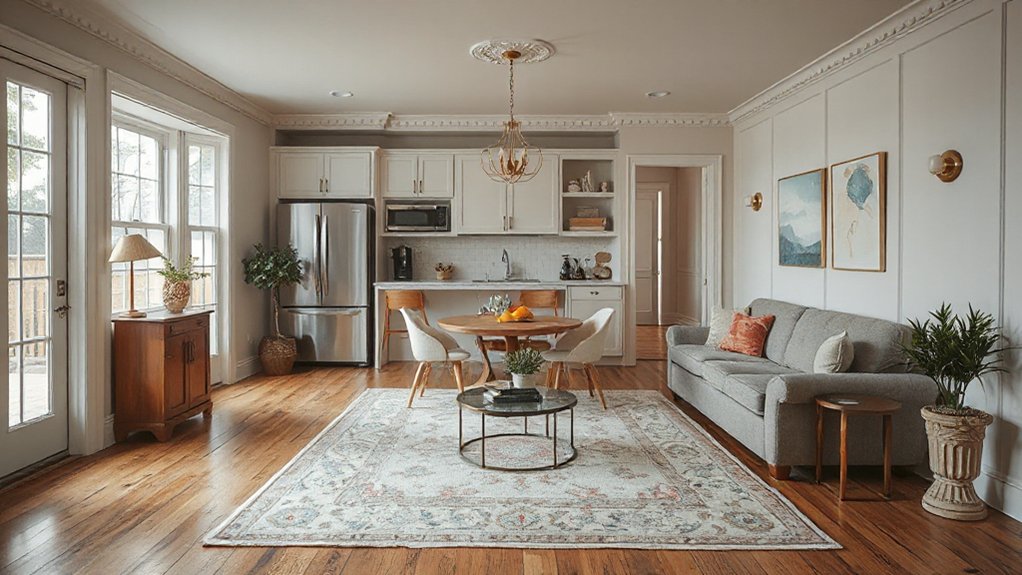
Older homes feel dated or fresh largely through design cues you notice first: scale, materials, and how space is used. You sense it in the rhythm of rooms, the footprint of doors, and where light lands.
When scale is off, clutter follows; ceilings feel lower, hallways squeeze you in. Materials tell a story—faux finishes or worn woods tug you toward nostalgia.
Freshness arrives when layout breathes: fewer walls, brighter sightlines, purposeful openings. Historic preservation gives you grounding—respect for original details, but with function restored.
Modern minimalism sharpens the contrast, stripping excess to reveal structure. You can fuse both by keeping authentic elements while simplifying surfaces, colors, and hardware.
The result: authenticity without heaviness, continuity without stagnation.
Start Here: A Quick Assessment of Your Home’s Needs
Start here with a quick home scan to pinpoint what truly needs attention.
Identify your top priority renovations first, so you’re tackling the biggest impact with the least wasted effort.
Lock in a simple, actionable plan you can fit into your budget and timeline.
Quick Home Scan
Ready to zero in on what actually matters in your home? A Quick Home Scan cuts through the noise and flags the real fixes. You’ll map needs fast, prioritizing impact over frenzy. Use this core approach:
- Inspect systems: lighting, plumbing, HVAC, and safety alarms for age, efficiency, and gaps.
- Assess space flow: note cramped spots, underused rooms, and obvious bottlenecks.
- Check curb appeal and outdoor spaces: value in landscaping and entry presence sets tone.
- Sift tech readiness: which devices mesh with home automation now, and what’s worth upgrading.
With these signals, you act, not react. The goal is clarity, not busywork. Quick Home Scan keeps momentum, guiding smarter, smaller renovations that feel big.
Priority Renovation Needs
To pinpoint what truly matters, start with a quick, honest audit of your home’s needs and separate must-dos from nice-to-haves. In priority terms, you list nonnegotiables first: roof repairs that guard against leaks and wind damage, and foundation stabilization steps that prevent settling and cracks.
Assess structural integrity by noting sticking doors, cracks, or uneven floors, then trace fixes to impact on safety and resale value. Don’t chase cosmetic fixes before addressing moisture, framing, or support systems.
Budget with a reality check: dedicate substantial dollars to critical systems, not only new paint. Time your plan by season and contractor availability, aligning permits with essential repairs.
After you lock essential items, you can layer in efficiency upgrades, but never compromise on protection, stability, and enduring shelter.
Quick Paint Fixes That Transform Small Rooms
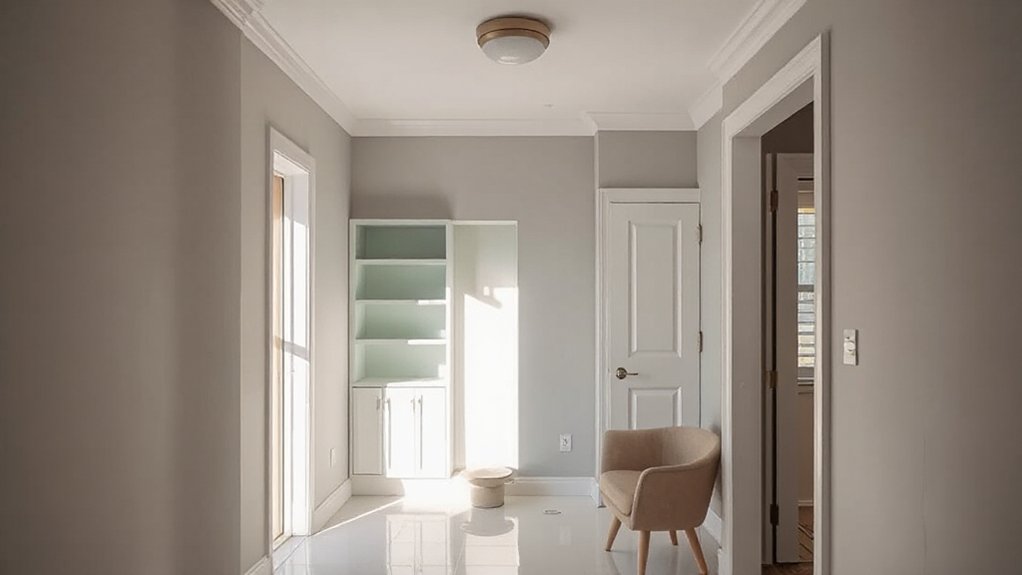
Brighten a small room with white walls to bounce light and feel instantly bigger.
Then trim and refresh the trim to sharpen edges and keep the space cohesive.
Add contrast for depth by pairing a bright base with a darker accent on one feature wall or doorway.
Brighten With White
A quick fix for small rooms is to flood them with white: paint walls, ceilings, and trim in crisp, clean whites to bounce light around and erase corners that feel shut in. You’ll feel the space open, airier, and more intentional the moment you step in. Use white strategically to reveal architectural bones—trim, moldings, built-ins—without competing colors.
- Amplify contrast with vintage charm by pairing bright whites with airy textures and subtle textures in fabrics or decor.
- Create visual flow by keeping doors and ceilings white while introducing color in one focal piece.
- Intensify brightness with glossy surfaces and minimal clutter for a polished look.
- Ground the room with warm whites that read as cozy, not clinical, avoiding stark sterility.
Classic contrasts anchor the mood, not overwhelm it.
Trim And Refresh Trim
Small rooms hang on the edges of trim: a fresh coat of paint on doors, casing, and baseboards can pull the whole space together. You don’t need a full redo to punch up character—just smart, quick strokes.
Pick a clean, bright white or a soft neutral to widen perception, then apply even coats with deliberate, steady motions.
For trim maintenance, clean dusted surfaces first, sand rough spots, and seal gaps with minimal filler for a flush finish.
Refresh accessories after painting: new knobs, a slim doorstop, or a streamlined switch plate can read as intentional design.
Keep contrast subtle to avoid visual clutter.
This quick refresh sharpens rooms without shouting, making old features feel intentional, fresh, and purposeful.
Contrast For Depth
Color depth tricks the eye and makes small spaces feel bigger and more intentional. You’ll use contrast to carve depth, not overwhelm the room, with quick paint moves that pay off.
- Color contrast on trim and walls defines edges, making ceilings feel higher and corners sharper.
- Shadow play comes from a lighter ceiling and slightly darker walls; it adds dimension without heavy saturation.
- Accent walls in a single hue deepen perception while keeping the palette cohesive.
- Matte midtones with glossy accents reflect light selectively, guiding the eye and hiding minor flaws.
Keep it tight: test swatches in natural light, compare under different times of day, and choose not to overcolor. The payoff is perceptible space, sharper architectural cues, and a polished, modern feel.
Lighten the Space: Bright Palettes That Open Cramped Rooms
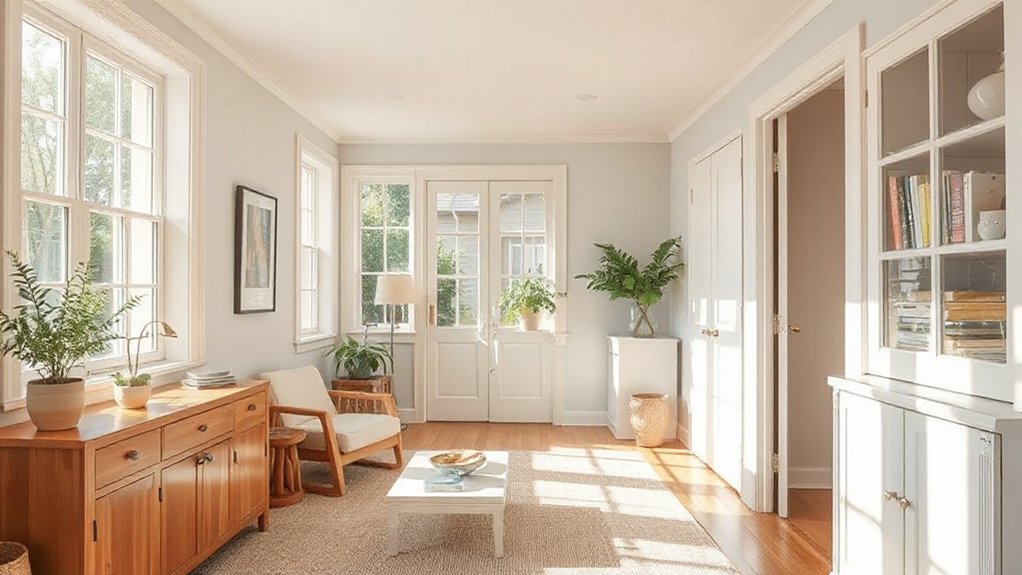
Ever wonder how bright palettes transform cramped rooms into breathable spaces? You choose light walls, ceilings, and floors to bounce daylight, then curb heavy furniture that traps traffic.
Color psychology matters: pale neutrals feel airy, while soft blues or warm whites lift mood without shouting. Use contrast sparingly—white ceilings with a touch of pale gray can widen perceived height.
You’ll keep a streamlined palette across rooms to reduce visual clutter and create continuity. Maximize natural light with sheer window coverings and strategically placed mirrors.
Furniture placement is your secret weapon: float a sofa away from walls to create a path, and align pieces to encourage flow rather than crowding corners.
The result is a calmer, more spacious feel without major renovations.
Reversible Architectural Details That Honor the Past
Reversible architectural details let you honor the past without committing to a full restoration. You harness history with small, deliberate moves that don’t lock you in. Think reversible trims, removable moldings, and layered paint that reveals original hues when peeled away. Each choice serves restoration techniques while keeping future flexibility intact.
You gain texture and character without costly upheaval, so your home feels authentic, not nostalgic.
- Documented reversibility lets you test styles without permanent changes.
- Removable finishes preserve original surfaces for long-term architectural preservation.
- Layered paint reveals historic palettes while remaining noninvasive.
- Temporary hardware swaps honor era details while easing updates.
This approach earns trust from owners and historians alike, delivering proof that careful, flexible work can respect the past.
Modern Lighting for Ambience and Efficiency
Modern lighting sets the tone with ambient LED layouts that define space without overpowering it.
You’ll want dimmable task lighting where you actually need focus, so work reduces glare and energy use stays in check.
Pair energy-efficient fixtures with smart controls to keep ambience flexible and costs down.
Ambient LED Layouts
- Define zones by function, not just walls.
- Pair color temperature with activity for consistency.
- Use layered layers of light to sculpt depth.
- Keep controls simple and centralized for quick adjustments.
Dimmable Task Lighting
Ever wondered how dimmable task lighting can elevate every daily task without stealing the mood? You’ll find it simplifies work and sharpens focus in a single sweep. Dimmed presets set the scene for evenings, while bright, precise output handles details without shadowy corners.
Use dimmable task lighting to control glare on screens, countertops, and reading nooks, adapting as you move from recipe to dish to cleanup. With adjustable workspace illumination, you tailor color balance and intensity to your eyes’ needs, reducing fatigue and reworking your space’s tempo.
Install layered fixtures at eye level and above work zones, so you always have targeted glow where it matters. The payoff? Cleaner edits, quicker tasks, and a calmer, more productive home.
Energy-Efficient Fixtures
Could you brighten your space without wrecking your bill? Energy-efficient fixtures make it doable. Think modern lighting that cuts waste and preserves ambience. You’ll notice a sharper eye for detail, not a higher checkout total. Use these moves:
- Switch to LEDs across doors and corners for instant savings and longer life.
- Pair task lighting with ambient layers to avoid glare and over-illumination.
- Integrate solar panels to offset daytime usage and power smart bulbs.
- Add smart thermostats to coordinate heat and light, tuning scenes to mood and season.
The payoff is steady comfort, lower energy, and smarter control—without sacrificing style. In older homes, these tweaks glide you toward a fresh, efficient glow.
Clever, Built-In–Style Storage Solutions
Clever, built-in–style storage turns tight spaces into trouble-free zones: pull-out cabinets, under-stair nooks, and bed-integrated drawers keep clutter out of sight and in reach. You’ll design with intent: hidden compartments inside closets add slim shelves without widening footprints, while panels conceal devices and cords from view.
Think multi functional furniture that earns its keep— ottomans with internal bins, headboard units with charging stations, and coffee tables that pivot to reveal a hidden stash of essentials. Precision matters: measure thresholds, plan door clearance, and choose finishes that blend with your rooms.
Avoid dead space by lining corners with slim pull-outs and vertical dividers. The payoff is instant: calmer rooms, faster routines, and a home that feels larger—without costly renovations.
Weekend Curb Appeal Tweaks Anyone Can Do
If you want instant curb appeal, you don’t need a big budget or a weeks-long project. Weekend tweaks hit fast, feel lasting, and start with clear impact: landscape design that guides the eye and exterior lighting that makes details pop.
- Refresh focal plantings: pick two or three statement species and layer height for instant depth.
- Edge with clean lines: mulch, stone, or edging to define beds and reduce clutter.
- Add lighting accents: solar path lights or low-voltage spots highlight architectural cues and improve safety.
- Tidy fascia and entry: prune gutters, power-wash siding, and swap faded house numbers for high-contrast clarity.
Done right, these small changes create a confident first impression and invite closer, season-long admiration.
Refreshing Period-Correct Hardware for Character
Revitalizing period-correct hardware can instantly restore character without sacrificing modern usability. You approach the task with a clear goal: authentic detail that works today.
Start by examining your doors, drawers, and plumbing lines for genuine period cues—backsplates, latch styles, and handle shapes. Choose period correct hardware that mirrors original scales and finishes, then source vintage inspired fixtures that echo era character without feeling gimmicky.
Prioritize durable finishes like oil-rubbed bronze, brushed nickel, or antique brass to patina gracefully. If you mix metals, keep a strict limited palette to avoid chaos.
Install precisely; subtle alignment matters. Replace generic knobs with correctly proportioned counterparts, and swap faucet hardware for historically informed silhouettes.
The payoff isn’t nostalgia—it’s cohesive realism that enhances usability and resale confidence.
Windows and Glass: Letting Light In Without Losing Charm
Let the light in without washing out character by choosing window styles that respect your home’s era. You’ll balance brightness with authenticity by selecting panes, trim, and muntins that echo existing details.
Focus on glass enhancements that modernize without erasing memory, like double glazing tucked into vintage frames or discreet spray of low-E coatings.
Choose openings that maximize sun without glare, and consider shutters or curtains that complement, not compete with, period character.
You’ll gain warmth, energy savings, and a sense of continuity.
- Match muntin patterns to original grids
- Retrofit with hidden-insulation options
- Use light-toned, period-appropriate trim
- Add reflective glass accents subtly for depth
Vintage charm stays intact while daylight multiplies.
Flooring Upgrades That Respect History and Wear
Flooring can make or break a home’s history, so choose upgrades that honor age while handling wear. You want paths that feel authentic, not flashy, so start with durable materials and smart finishes.
Look for historic preservation-minded options like wide-plank oak or reclaimed boards that patina with time, then pair them with low-sheen coatings to hide scuffs.
Prioritize flooring durability by selecting reinforced or stabilized options in high-traffic zones, and consider engineered layers that resist changes from humidity and seasonal movement.
Preserve character with subtle bevels, beveled edges, or period-accurate grain patterns.
Install sturdy underlayment to suppress squeaks and noise, and use matching, repair-friendly fasteners.
Finish with respectful color tones that complement original trim, letting history breathe through every step you take.
Budget-Friendly Kitchen Tweaks That Wow
You can give your kitchen an instant upgrade with fresh cabinet hardware that’s bold yet timeless. A backsplash makeover can punch up color and texture without breaking the bank, especially when you mix patterns or add a peel-and-stick option.
Start with these inexpensive tweaks to spark ideas and see how small changes ripple through the room.
Fresh Cabinet Hardware
- Choose a finish that echoes your cabinets, not a loud contrast.
- Mix metal tones to create layered, modern hardware upgrades.
- Measure twice; install once to avoid costly redo.
- Update pulls on both doors and drawers for cohesive rhythm.
The result is cleaner lines, refreshed atmosphere, and a kitchen that reads intentional.
You’ll enjoy the tactile upgrade and the visual reboot it delivers without a costly overhaul.
Backsplash Makeover Ideas
Backsplash upgrades don’t have to drain your budget. You can transform a kitchen’s vibe with simple, smart swaps. Start by choosing tile patterns that stretch your space: large-format tiles conceal grout, chevron adds energy, and checkerboard nods to retro charm without overdoing it.
Next, think in terms of practicality: wipeable surfaces, heat resistance, and easy maintenance matter more than trends. When it comes to backsplash materials, options like ceramic or glass offer affordability and lasting impact, while peel-and-stick tiles deliver rapid, reversible results without a full remodel.
Accent bands or a single bold tile can punch up personality without breaking the bank. Finish with clean grouting and proper sealing—your fresh backdrop will feel deliberate, modern, and uniquely yours.
Bath Refreshes: Vintage Look, Modern Comfort
A vintage vibe can meet modern comfort with smart, small-scale changes. You can fuse vintage charm with modern comfort by choosing timeless fixtures and crisp lines that don’t overwhelm the space.
- Swap a dated faucet for a compact, brass or matte-black option that echoes older baths.
- Install a pedestal or undermount sink to reclaim floor space and keep lines clean.
- Add a glass shower door or tub surround with classic detailing for period elegance.
- Update lighting and mirrors to brighten the room without sacrificing character.
Keep finishes cohesive—stone, ceramic, and metal should mirror each other. Opt for breathable textures and simple hardware to preserve the charm while ensuring everyday usability.
Sustainable Upgrades That Fit an Old-Home Aesthetic
If you’re itching to modernize without erasing character, lean into sustainable upgrades that honor an old-home aesthetic. You’ll swap in durable, low-impact materials that age gracefully, not gimmicks that shout “renovation.”
Start with floors: reclaimed wood or bamboo with a visible grain adds Old home charm while lasting decades. For surfaces, choose sustainably harvested stone or recycled-content countertops that shrug off daily wear. Light fixtures and hardware can be metal with a patina, delivering character without a faux antique vibe.
Insulation, weatherstripping, and airtight sealing cut costs and emissions without altering sightlines. Favor non-toxic paints and finishes to protect air quality as you refresh walls.
Finally, opt for energy-efficient windows that preserve charm while boosting comfort. Sustainable materials meet timeless design, quietly elevating your space.
Entryways That Invite With Style and Practicality
Entryways set the first impression, so you want them to feel both welcoming and functional right from the door. You’ll optimize every inch with calm, practical choices that curb clutter and boost curb appeal.
1) Prioritize entryway organization with a slim console, hooks at kid height, and a tray for keys—quick, quiet wins.
2) Choose welcoming decor that’s sturdy and timeless: a bordered rug, a sunlit mirror, and a sturdy umbrella stand.
3) Use vertical storage to free floor space: wall-mounted shelves for handbags, baskets for seasonal gear.
4) Layer lighting for mood and function: a bright overhead, plus a warm accent lamp for early-evening arrivals.
Small upgrades, big impact: cleaner floors, calmer vibes, instant hospitality.
Mirrors and Layout Tricks to Maximize Perceived Space
Mirrors do more than reflect—they shape how big a space feels. You’ll use them to cheat ceilings, widen hallways, and anchor furniture without expanding square footage.
For mirror placement, pair tall panels with low, wide pieces to extend sightlines and reduce clutter visually. Place a mirror opposite a light source to double brightness and bounce energy around the room. In tight corners, lean a single large mirror instead of cluttered wall clusters to avoid busy walls.
For layout optimization, mirror strategically to create balance—reflect a console’s texture or a rug’s pattern to unify zones. Dimension isn’t just about glass; it’s about perception. Test angles, adjust height, and watch how reflected space improves traffic flow, function, and feel.
Seasonal Maintenance and a Phased Renovation Plan
Seasonal maintenance isn’t a chores list—it’s a guardrail for your project. When you map tasks to seasons, you prevent costly backsliding and protect your gains. A phased renovation plan keeps momentum, budget, and disruption in check, so you don’t clash with weather or deadlines. You’ll build a rhythm of progress instead of panic.
- Seasonal patterns guide timing, reducing surprises and squeezing efficiency from every upgrade.
- Maintenance scheduling blocks conflict with trades, keeping crews aligned and costs predictable.
- Phase one locks in critical fixes, so later work is cosmetic rather than corrective.
- A living plan adapts to reality, letting you prune scope without losing your overall vision.
Frequently Asked Questions
How Can I Budget Small Renovation Ideas Effectively?
Sure, you’ll budget smartly: start with budget planning, then renovation prioritization, because you won’t ignore the numbers twice. You’ll tally costs, set milestones, and strip scope ruthlessly, yet you’ll still achieve results without wasting funds. Irony included.
Which Colors Work Best in Aged Interiors?
Color palettes like crisp neutrals with bold accents work best in aged interiors, you’ll balance Vintage hues with modern contrast. You’ll layer warm woods, metallic pops, and muted tones to create depth, texture, and timeless appeal.
What Quick Fixes Boost Perceived Space the Most?
Sure, you’ll “fix” space by open shelving and mirrored accents—irony intended: more air, less clutter, right? You use Open shelving, Mirrored accents; you’ll feel bigger, brighter, and suddenly your tiny room acts surprisingly grand, instantly.
How Do I Protect Historical Features During Updates?
Preserve moldings and restore woodwork by mapping endure-able details first, then match finishes to original tones. You protect historic features by gentle cleaning, breathable coatings, and minimal alteration, using archival-grade adhesives and careful reverence for era-specific profiles.
What Low-Cost Upgrades Yield High Impact?
Upgrade with affordable updates: repaint walls in bright tones, swap hardware, add energy-efficient lighting, and refresh floors. You’ll preserve Vintage charm while introducing Modern contrast, creating standout accents that feel fresh without overhauling the whole home.
Conclusion
You stand at the doorway of a time-worn ship, and your choices aren’t a renovation so much as steering. Each quick fix is a mindful turn of the wheel; paint, light, mirrors, and careful upgrades hoist you beyond the creaks. The home reimagines itself around you, still true to its keel but riding smoother seas. Stay curious, pace your repairs, and respect the past while you chart brighter, simpler horizons. Your old house learns to sail again.