

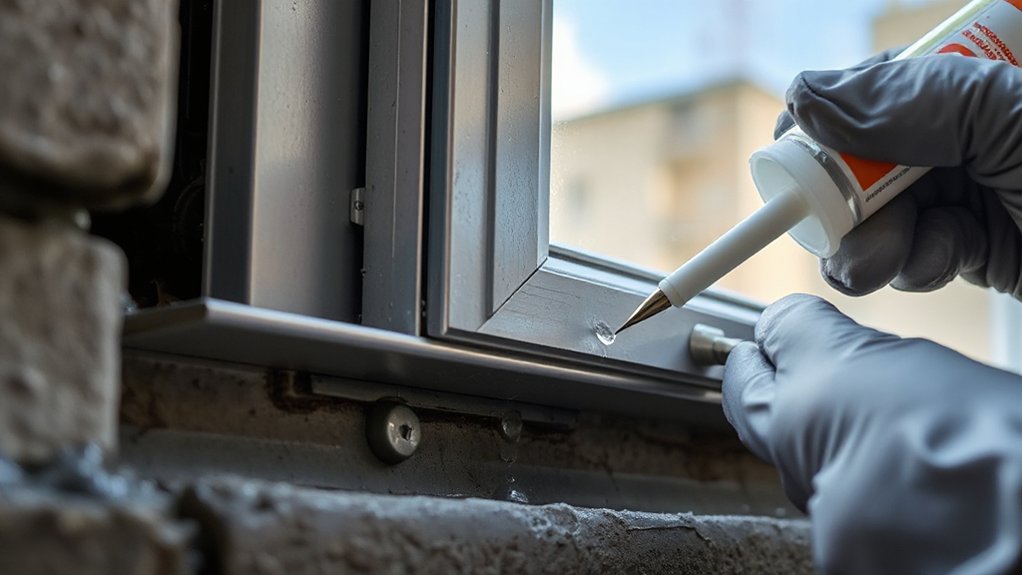

To fix leaking aluminum window frames, start by identifying the leak source with a careful visual check, moisture tracing, and testing for misalignment. Gather tools, sealant, gasket replacements, and cleaning supplies. Inspect and replace worn seals or gaskets, clear drainage channels and weep holes, and reseal joints. Adjust the frame as needed, replace hardware, and verify flashing is watertight. Test for leaks and energy performance, then establish a maintenance routine to prevent future issues, and keep improving your setup.
Key Takeaways
- Inspect seams, joints, and weatherstripping to identify gaps, corrosion, or compression loss causing leaks.
- Trace interior moisture to exterior edges and test sash alignment to locate leak origins.
- Gather tools and materials (silicone sealant, caulk, gasket replacement) and prepare surfaces by cleaning and removing debris.
- Replace damaged gaskets, clear drainage channels and weep holes, and reseal with compatible sealant for a watertight finish.
- Recheck frame alignment, test with water spray or pressure, and perform seasonal maintenance to prevent future leaks.
Identify the Source of Leaks in Aluminum Window Frames
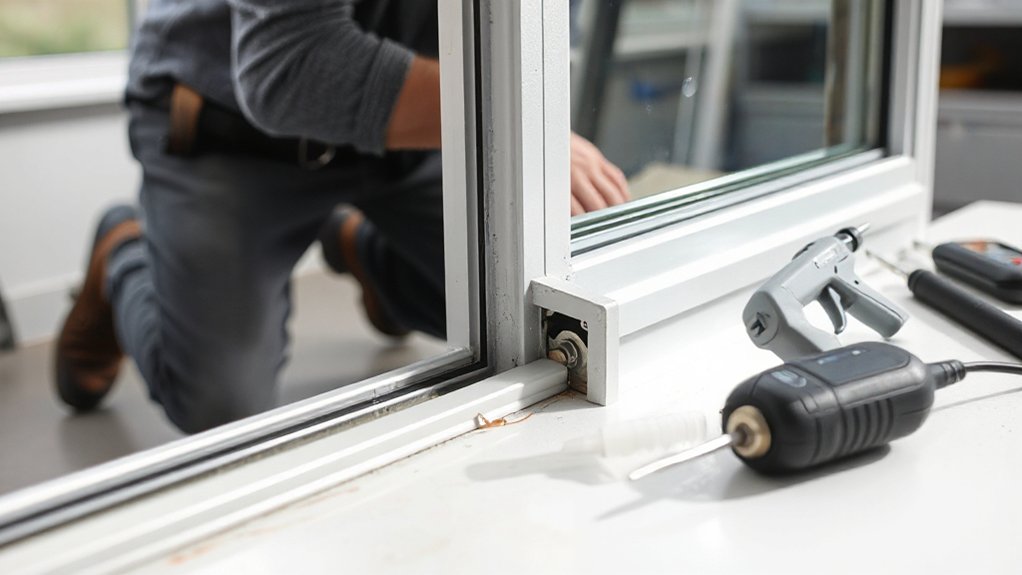
To pinpoint leaks in aluminum window frames, start by inspecting seams, joints, and the frame itself for gaps or cracks. You’ll trace moisture paths from interior sills to exterior edges, noting discoloration, dried caulk, and corrosion spots.
Check glazing beads and weatherstripping for compression loss, and test operable parts for misalignment that creates bridging gaps. Document suspect areas with photos and measurements, then map the most probable source—miter joints, corner welds, or header connections.
Consider historical installation techniques, as older methods may rely on sealants that degrade unevenly. Environmental impact considerations matter too: look for deteriorated sealants that release volatile compounds or leach residues.
Gather the Tools and Materials You’ll Actually Need
You’ll want a tight set of basics: a screwdriver, drill, and silicone sealant along with a caulking gun.
Gather replacement gaskets or weatherstripping if you spot wear, plus a utility knife, putty knife, and a silicone remover if needed.
Have a small brush, clean cloths, gloves, and safety glasses ready so you can work cleanly and safely.
Gather Essential Tools
Gather the right tools and materials before you start. You’ll want reliable gear that minimizes waste and protects the frame’s aluminum design while boosting energy efficiency. Gather only what you’ll actually use, avoiding clutter and confusion.
- Tape measure, notepad, and pencil for precise planning and measurements.
- Utility knife, razor blade, and silicone sealant gun for clean cuts and secure joints.
- Caulk, primer, and paint suitable for aluminum to preserve aesthetics and performance.
Choose tools with rust resistance and a comfortable grip to speed work and reduce fatigue. Keep a small flashlight or headlamp for tight spots, and a level to ensure straight alignment.
Source Necessary Materials
Now that you’ve lined up the basics, assemble the exact materials you’ll actually use. Start with a silicone sealant compatible with aluminium, a caulk gun, cleaning solvent, lint-free rags, masking tape, and mineral spirits if needed. Have a scraper, putty knife, and a small brush for precision.
Use a polyurethane or acrylic sealant for exterior joints, plus a half-inch window glazing compound if frames sag. Include an appropriate primer and paint compatible with metal if you plan refinishing: choose from paint options based on durability and finish.
Don’t overlook replacement gaskets or weatherstripping if you detect worn sections. Check window aesthetics expectations, ensuring color and texture match nearby trim. Label each tube and bag for quick access during repair.
Inspect Aluminum Frame Seals and Gaskets for Wear and Gaps
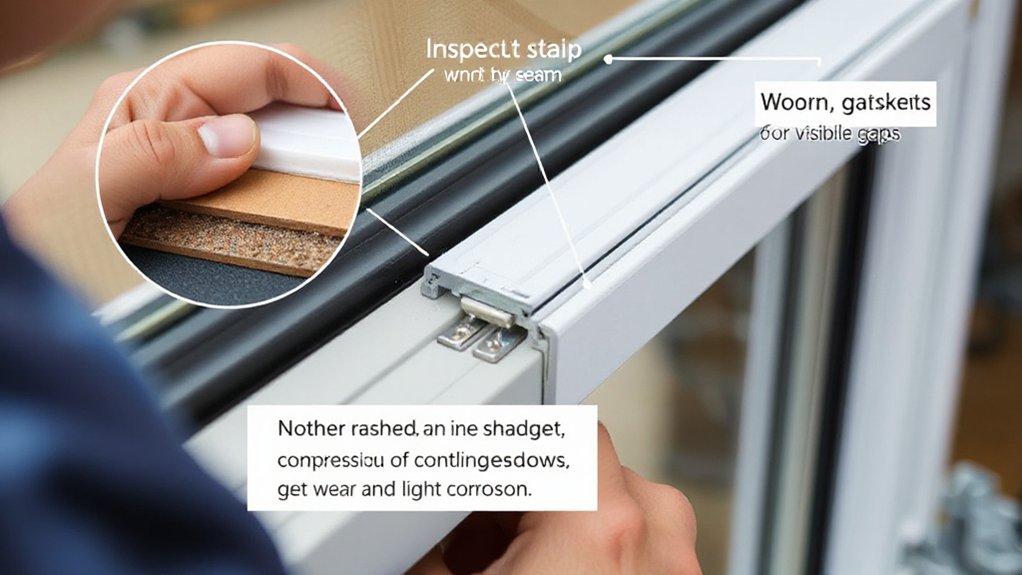
Inspect the seals and gaskets around your aluminum frame for wear, cracking, or gaps. You want to catch deterioration before it leaks further, so assess with focus and care.
- Inspect the contact points where the sash meets the frame, looking for hardened or torn gaskets.
- Test with a thin credit card or feeler tool to detect compressive loss or light gaps along the perimeter.
- Note any irregular adhesion or sticky residue that hints at sealant compatibility issues or aging materials.
If you find wear, plan gasket replacement before resealing. Use compatible materials and follow manufacturer guidance to guarantee a proper seal.
After replacement, recheck alignment and smooth motion. Keep notes on sealant compatibility and gasket replacement timing to guide future upkeep.
Check Drainage Channels and Weep Holes for Blockages
Are blocked drainage channels and weep holes quietly undermine frame performance, or can a quick check prevent leaks before they start? You start by locating the drainage system at the frame base and near joints. Use a flashlight to inspect for debris, dirt, or corrosion blockage. Remove loose material with a soft brush or compressed air—never use metal tools that could scratch surfaces.
For each weep hole, clear the opening with a thin wire or pin, rotating to dislodge obstructions. Flush channels with a gentle stream of water to confirm unobstructed flow. Recheck alignment after clearing; guarantee seals aren’t pinched.
Document any repeated blockages for future maintenance. Regular checks help maintain drainage efficiency and reduce leak risk over time. Drainage system integrity hinges on clear paths and unobstructed weep holes.
Clean and Prepare Frame Surfaces for Resealing
Start by removing all loose paint, sealant, and debris from the frame with a plastic scraper, then wipe the surface clean with a damp cloth to reveal the true condition. You’ll then assess for corrosion, edge damage, and moisture staining, noting areas needing attention before resealing. Use a flashlight to spot fine cracks and treat them consistently. Focus on creating a uniform, sound base for sealing and paint preparation, followed by surface priming for adhesion.
- Inspect corners and joints, removing any rust or old residue with a stiff brush.
- Clean with a solvent or mild soap, rinse, and dry completely to prevent trapping moisture.
- Apply a compatible primer foundation to promote Paint preparation and ensure even coating.
Apply Appropriate Sealant or Weatherproofing for Aluminum Frames
Choosing the right sealant starts with compatible material and exposure. You’ll assess silicone, polyurethane, or hybrid options based on movement and UV resistance.
For weatherproofing, apply the product firmly in a continuous bead, tooling to a smooth, rounded finish. Ensure both edges bond to clean, dry surfaces.
Keep notes on cure times and joint widths to inform future maintenance and reapplication.
Sealant Selection Basics
When you seal aluminum windows, selecting the right sealant is essential for durability and weatherproofing. You’ll choose based on adhesion, elasticity, and compatibility with aluminum. Prioritize products labeled for metal framing and interior/exterior exposure. Consider color matching and long-term sealant durability to maintain appearance and performance.
- Assess substrate compatibility: ensure the sealant sticks to aluminum without staining or softening over time.
- Check movement tolerance: pick a material that accommodates frame expansion and contraction without cracking.
- Match finish and aging: select a color that blends with the frame and resists chalking or fading.
Tip: plan for compatibility with primers, primers, and weatherproofing paints to maximize longevity and minimize maintenance.
Weatherproofing Application Tips
To weatherproof aluminum window frames effectively, start by selecting a sealant or weatherproofing material labeled for metal framing and exterior exposure, ensuring it remains flexible and bonded across temperature changes.
Next, clean the joints thoroughly, removing old sealant, dust, and rust; dry surfaces prevent poor adhesion.
Apply primer if required by the product and follow manufacturer guidelines for curing times.
Use a caulk gun or cartridge applicator to create a continuous bead that fills gaps without voids, smoothing with a wet finger or tooling tool to achieve a uniform profile.
Update with paintable or UV-stable sealants for exterior exposure.
Consider Historical weatherproofing practices for context, and align material choice with Aluminum frame design to maintain durability and seal integrity.
Inspect after curing and reapply as needed.
Repair or Reinstall Window Drainage Where Needed
Start by inspecting the window drainage paths and confirm they’re clear and properly directed away from the frame. You’ll repair or reinstall drainage with a methodical approach, ensuring reliability and longevity. Focus on securing continuity and preventing backups that cause leaks or moisture damage. Keep the work clean and discrete to preserve decorative accents and the look of historical restoration.
- Remove obstruction and reseal elbows with corrosion-resistant sealant, aligning drain outlets with the sill.
- Rejoin or replace sections using compatible materials, testing slope toward the exterior for gravity flow.
- Verify drip edges and casings are flush, then run a water test to confirm full drainage and no pooling.
This process prioritizes precision, durability, and seamless integration with the building’s character.
Address Frame Warping or Misalignment
Warped or misaligned aluminum frames can compromise seals and drainage, so address it promptly and methodically. Begin by inspecting the frame square against a plumb line and level, noting gaps at sill, jambs, and head.
Identify whether warping is uniform or localized, and check for binding at operation points. If thermal movement or frame expansion is evident, allow for slight adjustment within tolerances, using shims and non-corrosive spacers as needed.
Tighten or loosen fasteners only to achieve true alignment without overtightening. Recheck the sash operation, ensuring smooth closure without rubbing.
Seal any gaps with a compatible compression gasket or appropriate sealant, then re-test for leaks around the perimeter. Document observed causes and remedies for future reference.
Replace Faulty Window Hardware, Keeps, and Hardware Components
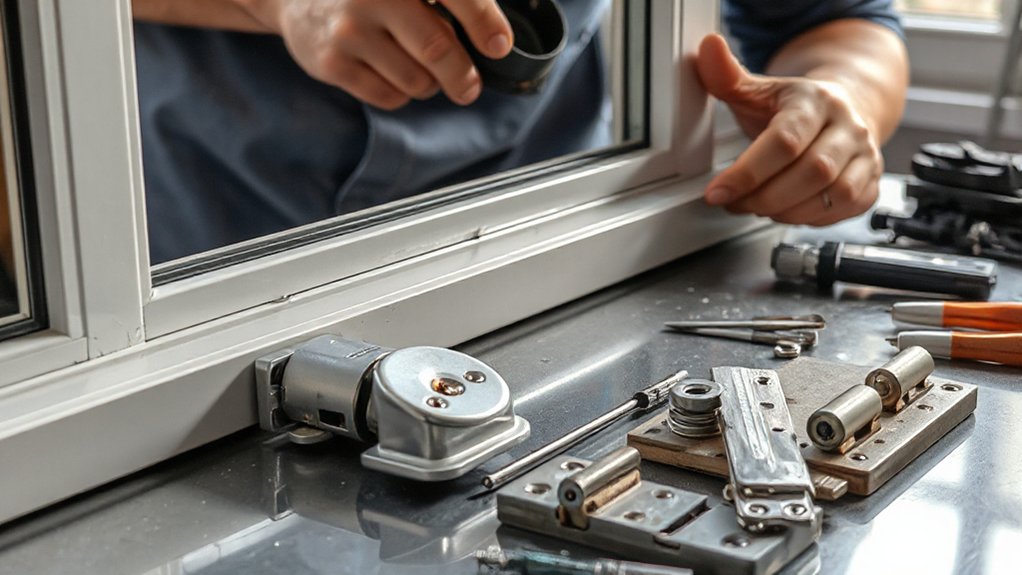
Once you’ve stabilized the frame, focus on replacing faulty window hardware, keeps, and other components that affect operation and security. You’ll improve reliability by selecting compatible parts and testing fit before reassembly.
1) Remove worn hinges and casement stays, marking screws for orientation.
2) Install new keeps, sash balances, and latching hardware, checking for smooth action.
3) Reassemble, lubricate moving parts, and verify latch alignment with the frame.
Hardware upgrades reduce sticking and ghost drafts, while lasting hardware supports frame painting readiness and reduces future leaks.
Ensure screws are snug but not overdriven, and confirm the sash seals correctly. Keep gaps even and adjust strike plate alignment if needed.
You’ll finish with a solid, operable window that supports a tighter seal and easier maintenance.
Verify Flashing and Exterior Joints Are Watertight
To guarantee a watertight exterior, verify that flashing is continuous and properly bedded against the wall and window frame. Inspect the top, sides, and sill for any gaps or peeling edges. If you find gaps, apply fresh flashing installation with tight overlaps and make certain it extends onto the surrounding wall surface beyond the frame edge.
Check joints where flashing pieces meet; seal all seams with an appropriate joint sealing material, yielding a continuous barrier. Make certain the rust-proof fasteners or nails secure the flashing without tearing it.
Confirm the exterior sealant beneath the flashing remains intact and adheres to both components. Reconfirm that caulk lines are smooth, uninterrupted, and free of voids.
Finally, run a visual check from outside to verify a clean, watertight transition.
Test the Window for Leaks and Energy Performance
How can you quickly confirm your window’s performance? You’ll test for leaks and energy performance with a systematic approach, focusing on Window insulation and how Decorative finishes interact with seals.
Start with a controlled pressure test using a consumer-grade kit or a simple water spray to identify drips around sashes, frames, and joints.
Observe heat or cold transfer at glass edges to gauge insulation effectiveness.
- Seal inspection: run your hand along frame gaps, check for softened or missing caulk, and note any drafts.
- Pressure check: mimic outdoor wind by applying gentle pressure and watching for leaks at joints.
- Finish assessment: look for condensation transfer or staining near decorative finishes, verifying no moisture behind them.
Establish a Recurring Maintenance Routine to Prevent Future Leaks
Establishing a recurring maintenance routine is essential to keep aluminum window frames leak-free and performing well year after year. You’ll schedule inspections seasonally, checking seals, gaskets, and fasteners for wear or loosening.
Clean frames with mild detergent, rinse, and dry to prevent corrosion; remove debris from drainage gaps to avoid standing water.
Test operability monthly: guarantee smooth opening, closing, and proper drainage alignment.
Reapply or replace weatherstripping where gaps appear, and seal flashing where needed to maintain water tightness.
Document each action, noting date, parts replaced, and observations.
Align upkeep with window aesthetics to preserve curb appeal and living comfort. For historical preservation, use compatible materials and colors.
A disciplined routine reduces leaks and protects value, extending lifespan and reducing costly repairs.
Frequently Asked Questions
How Long Does Sealant Cure Before Exposure to Moisture?
Sealant cures typically 24 to 48 hours before moisture exposure; follow manufacturer guidelines for cure time. During curing, monitor for moisture detection signs, and guarantee proper ventilation. Sealant longevity depends on material, application quality, and weather conditions.
Can Leaks Originate From the Wall, Not the Frame?
Yes, leaks can originate from wall damage, not the frame, signaling structural issues. You’ll inspect for moisture tracks, check plaster, and assess framing integrity, tracing the path from wall to sill with methodical measurements and practical repairs. symbolic imagery included.
Do All Aluminum Frames Require Weatherproofing Every Year?
No, not all aluminum frames require yearly weatherproofing. Frame maintenance depends on exposure and seal performance; inspect annually, reapply sealant when gaps appear, and adjust drainage. Weatherproofing frequency varies; use professional guidance if in doubt.
What Is the Average Cost to Reseal an Aluminum Frame?
A surprising 60% of homeowners notice better energy performance after resealing. You’ll pay roughly $5–$15 per linear foot for Frame corrosion seals and Sealant application, totaling $200–$600 depending on frame length and condition. Plan accordingly.
How to Identify Hidden Moisture Behind Drywall?
You identify hidden moisture behind drywall by moisture detection tools and visual signs, then perform a thorough drywall inspection, tracing leaks to the source, documenting measurements, and noting affected areas before proceeding with remediation steps and containment.
Conclusion
Here’s your practical, concise conclusion in second person, active voice, with one simile:
You’ve identified the leak sources, gathered the right tools, and verified seals, drains, and hardware. You’ve cleaned, resealed, and tested for leaks and energy performance. Now, you’ve established a maintenance routine to stop future leaks. Treat this like a well-tuned machine—every part, when cared for, works smoothly. With regular checks, you’ll prevent future problems and keep your aluminum windows watertight.



