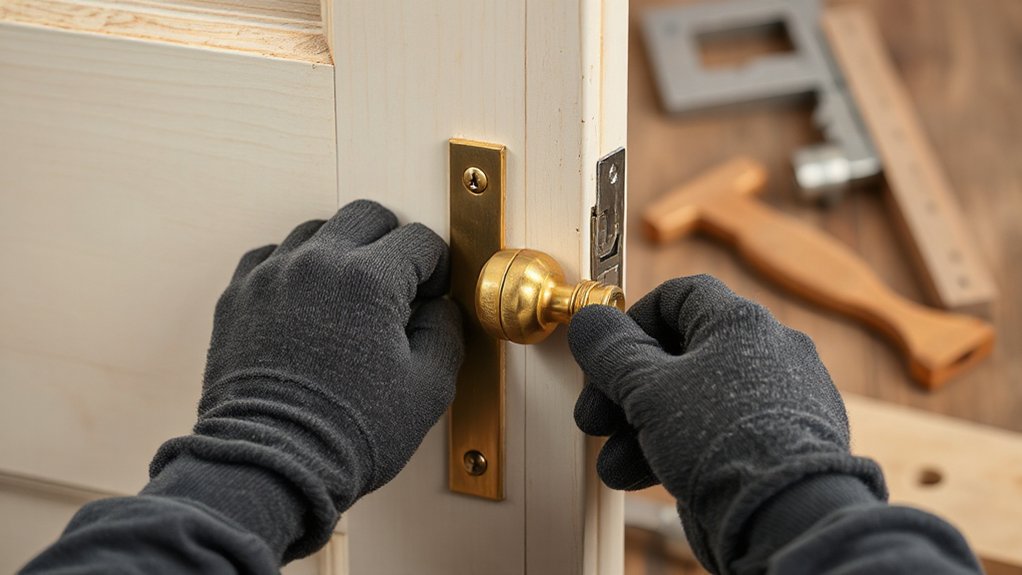

Replacing old interior door handles is a practical upgrade you can tackle with basic tools. Start by evaluating stiffness, looseness, or misalignment, then check backset and door thickness to guarantee a compatible fit. Identify your latch type, remove the old hardware carefully, and prep the door to avoid damage. Choose a style and finish that suits your decor, align the strike plate, and install, testing for smooth operation. If issues persist, you’ll uncover more tips here.
Key Takeaways
- Check for stiffness, looseness, or misalignment; tighten screws and latches, lubricate with graphite or silicone, and adjust hinges as needed before replacing.
- Measure backset and door thickness to ensure handle and bore compatibility with existing hardware.
- Identify latch type (tubular, mortise, or unit) and spindle/faceplate details to select matching replacement.
- Gather tools and materials: screwdrivers, tape, latch/strike kit, spindle, and protective tape; photograph and label existing parts.
- Install with even tightening, test operation, and adjust strike plate/hinges to ensure smooth, non-rubbing closure.
Start Here: Do I Need to Replace My Interior Door Handles?

If your interior door handles feel stiff, stick, or creak, you likely don’t need to replace them yet—just fix or adjust what’s worn.
Begin by inspecting for loose screws, worn knobs, or misaligned strike plates, then tighten or replace components as needed.
If the latch sticks, lubricate the mechanism with a graphite-based or silicone spray, avoiding oil-based products on metal or wood parts.
Confirm the door closes smoothly without rubbing; adjust hinges or strike plate position if necessary.
Consider maintenance steps before replacement decisions.
When you’re ready to update aesthetics, think about Creative color schemes and Historical door designs to match your space.
This approach keeps function solid while preserving style and value.
How to Identify Your Door’s Mechanism and Latch Type
First, identify your door’s mechanism by noting whether it’s a spring, lever, or knob setup.
Next, determine the latch type—square-face plate, tubular latch, or deadlatch—by measuring depth and observing how the knob operates.
With this info, you’ll choose the right replacement and tools confidently.
Identify Door Mechanism
To identify your door’s mechanism and latch type, start by inspecting the edge of the door for the latch bolt and its housing. This reveals whether you have a tubular, mortise, or unit latch, and whether a separate deadbolt exists.
Check the back of the latch faceplate for a hex or slot screw pattern, which hints at manufacturer and replacement compatibility.
Look inside the edge cavity for a crossbar or spindle connection, indicating a lever or knob operation.
Note if the latch is spring-loaded or uses a modular cartridge.
Consider door frame reinforcement and potential hidden screws behind the trim.
This step guides you to compatible components, while keeping handle ergonomic design in mind for future replacement.
Avoid unnecessary speculation and select proven, compatible hardware.
Detect Latch Type
Wondering how to pinpoint your door’s latch type quickly? Start by removing the door from its hinges or opening it fully to inspect the edge. Look for a faceplate with a round, square, or rounded rectangle profile, and check the spindle hole and screw pattern.
A tubular latch, mortise, or privacy latch reveals its mechanism at the edge and backset depth. Note whether the latch has a spring-loaded bolt or a solid bolt, and whether there’s a movable strike plate.
Compare this to your current handle’s ergonomics and mounting holes to avoid mismatches. Consider color matching and handle ergonomics for future replacements.
This quick check guides you to compatible hardware and a smoother upgrade.
How to Choose a Style That Fits Your Doors and Decor
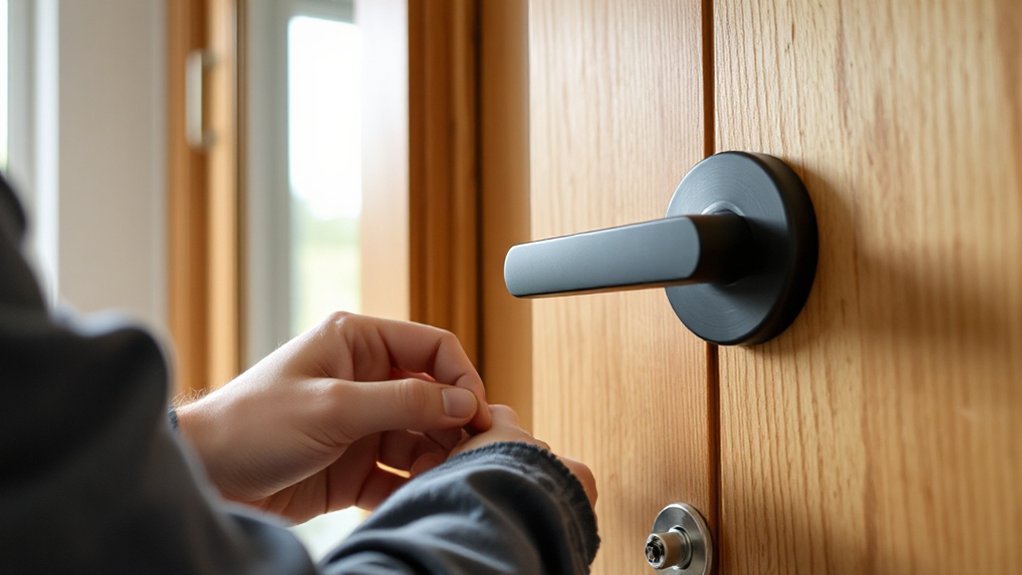
Choosing a door handle style that fits your doors and decor starts with evaluating three basics: door material, era or design of the home, and the hardware you already see in rooms you like. You’ll align style with practical realities, so pick options that work with trim, frames, and visible fixtures.
Look for decorative hardware cues that echo your room’s mood, whether heritage, contemporary, or *progression*. Consider historical styles for inspiration, then filter by function: lever, knob, or privacy.
Make sure the scale matches door size and room proportions, avoiding oversized or undersized hardware. Test handle action and mounting requirements, confirming compatibility with existing latches.
Finally, choose a finish that won’t clash with lighting or cabinetry, ensuring a cohesive, timeless look.
Which Finish and Material Should You Use for Durability
When you choose finishes, durability matters more than looks, so pick coatings and materials that resist wear over time. Consider how long the finish lasts, how the material holds up to daily use, and whether the finish plays well with other hardware.
This guide helps you balance durability, longevity, and compatibility for reliable doors.
Durable Finishes Matter
For longevity, favor coats with proven hardness and stable adhesion, and pair them with durable materials like solid brass or corrosion-resistant alloys. Practical maintenance matters, too—spot-clean spills promptly and re-coat as recommended to preserve protection.
Consider decorative accents that complement your doors without compromising durability, ensuring a cohesive look. If you’re aiming for historical styles, select finishes that echo period authenticity while delivering modern resistance.
In short, durability supports both function and style without frequent replacement.
Material Longevity Considerations
Material longevity hinges on picking the right finishes and substrates that stand up to daily use. When choosing door hardware, prioritize durable finishes like satin or matte coatings that resist fingerprints and wear. Select substrates that tolerate frequent handling, such as solid metal cores or high-quality alloys, to prevent warping and looseness over time.
Consider corrosion resistance in humid areas or near kitchens to avoid tarnish. Guarantee hardware compatibility with your door dimensions, existing bore patterns, and strike plates to minimize modification needs. Favor designs with robust screws and reinforced backplates to maintain alignment after years of operation.
Decorative accents can boost style without sacrificing strength, but keep them proportional to usage. Balance aesthetics with performance, and you’ll reduce maintenance while preserving function.
Finish-Composite Compatibility Guide
Choosing the right finish and substrate together is essential for lasting door hardware; a compatible pairing reduces wear, avoids tarnish, and keeps operation smooth over years. When selecting materials, prioritize finish durability and corrosion resistance, especially in high-traffic rooms.
You’ll achieve better longevity by matching hardware finishes to substrate properties, avoiding combinations that trap moisture or promote galvanic reactions. Consider compatibility data from manufacturers and test for smooth engagement and minimal friction.
Opt for solid metals with protective coatings for doors exposed to moisture or cleaners. Regular cleaning extends life and preserves appearance without harsh abrasives.
- Check finish durability ratings and substrate compatibility before purchase
- Favor cohesive metal families (stainless, zinc, brass) with corrosion resistance
- Inspect hardware for signs of wear, looseness, or tarnish during routine care
Match Backset and Door Thickness for a Perfect Fit
To get a perfect fit, match the backset and door thickness before you buy. Start by measuring the existing backset—most interior doors use 2-3/8″ or 2-3/4″. Confirm your latch will align with the bore on the new handle.
Next, check door thickness; most interior doors are 1-3/8″ or 1-3/4″ thick. Choose a lever or knob with an adjustable or compatible trim. If you’re replacing to fit a specific design style, consider how backset and thickness influence feel and function.
Use standard components for easy swaps and smoother operation. This guarantees reliability and a clean look that harmonizes with design inspiration and historical styles. Precision now saves fit issues later.
Essential Tools and Prep for a Damage-Free Swap
You’ll start with the essential tools on hand and check that you have a screwdriver set, a chisel, and a tape measure ready for use.
Next, prep your workspace with a clean surface, painter’s tape, and a small container for screws to prevent loss.
As you proceed, apply damage-free techniques like marking screw holes, protecting edges, and double-checking fit before swapping any parts.
Essential Tools On Hand
Having the right tools on hand keeps the door swap clean and damage-free, so gather a basic set before you start. You’ll want dependable, snug-fit tools that don’t mar surfaces or strip screws. This keeps the process steady and minimizes surprises when you swap decorative accents or adjust for historical styles.
- Screwdrivers (magnetic Phillips and flat, blades in good condition)
- Tape measure, pencil, and utility knife for precise planning
- Door hardware kit with latch, strike, screws, and a spindle that fits your door
Keep a small flashlight handy for tight alcoves and a rag for quick wipe-downs. With the right basics, you’re ready to preserve the door’s character while you swap in a new handle.
Prep Steps For Swaps
Before you lift a finger, lay out your tools and prep the workspace to prevent slips or scrapes. You’ll gather a screwdriver set, drill, tape, pencils, a utility knife, and a small flashlight. Keep a trash bag handy for screws and old hardware.
Clear the area around the door and protect the floor with a drop cloth. Check interior design considerations, like ensuring the new handle aligns with the room’s style and paint color so finishes match or contrast intentionally.
Mark the hinge and strike locations before removing any parts. Test-fit, without fully committing, to verify clearances. Photograph existing hardware for reference. Label fasteners, keep extras organized, and work methodically to avoid marring trim or door edges.
Damage-Free Techniques
To swap an interior door handle without damage, start with the right tools and a careful prep setup. You’ll need a flathead screwdriver, a tiny pry tool, and painter’s tape to protect surfaces.
Select compatible hardware that suits decorative accents and historical styles, reducing risk of misfit or finish damage.
Prepare with a clean workspace, remove the knob screws gently, and shield nearby trim.
- Use tape to mark edges and avoid gouges
- Loose-fit parts first, then tighten evenly
- Inspect strike plate alignment before final install
Keep movements steady, don’t force components, and pause if something resists. This approach preserves finishes and trim, maintaining the door’s character across decorative accents and historical styles.
You’ll achieve a clean, damage-free swap with confidence.
Remove the Old Handles: Step-by-Step Guidance
If you’re replacing old interior door handles, start by removing the existing hardware. Begin by inspecting screws on the lever or knob, then loosen them with the appropriate screwdriver. Support the plate as you lift to prevent marring the door surface.
If the set uses a hidden mounting, locate the mounting clip or pin and release it with a small flathead screwdriver; carefully tilt the handle to disengage. Disconnect any connecting spindle or springs, noting their orientation for future reference.
Remove the strike plate from the door frame, and deburr any rough edges. As you work, consider decorative hardware options and how handle ergonomics will affect daily use, ensuring the new set aligns with both style and comfort.
Finally, clean the doorway before installing the next components.
Install New Handles: Common Configurations Explained
With the old hardware removed and the door ready, you’ll choose a new handle setup based on how you use the room and the door’s orientation. You’ll balance function with style, selecting configurations that fit traffic, privacy needs, and the door’s swing. Consider decorative hardware that complements both the room and the door frame, without overcomplicating installation.
If you’re preserving character, Historical styles can guide lever or knob shapes and mounting spacing. Prioritize screw locations and backset to avoid misalignment, and keep labor minimal by matching existing boreholes when possible.
- Privacy latch for bedrooms and baths, with simple, reliable operation
- Passage or dummy handles for closets or decorative applications
- Lever versatility for high-traffic doors and accessibility needs
Quick Tips for Latch Alignment and Sticking Doors
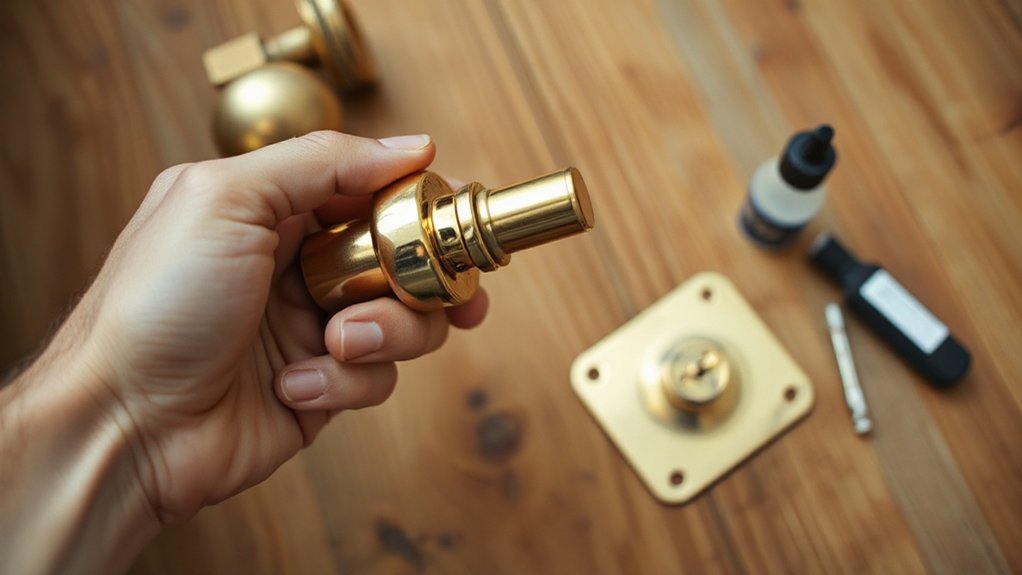
When doors stick or the latch misaligns, quick checks up front save time and frustration. First, test the latch by closing slowly and noting where it catches. If aligned poorly, loosen hinge screws slightly and realign the door so the latch enters the strike plate smoothly.
Tighten screws in a crisscross pattern to avoid warping. Inspect the strike plate for burrs or misalignment; file or adjust as needed. Use a level to confirm the hinge side stays plumb.
For sticky doors, apply a thin coat of wax or soap to the latch edge to reduce friction, then wipe clean. Choose decorative hardware with ergonomic design to minimize future misalignment, and guarantee surfaces are smooth to maintain consistent operation.
Regular quick checks preserve performance and appearance.
Troubleshooting Misalignment, Stiff Turns, and Squeaks
Misalignment, stiff turns, and squeaks aren’t rare, but they’re fixable. You’ll tighten fit with a simple check of the handle materials against the door edge and strike plate. If the latch catches, loosen screws a half turn, then re-tighten once the latch aligns with the strike.
Confirm hinge alignment is true; if one hinge is loose or sagging, tighten or replace it to remove binding.
Lubricate moving parts with a light, non-greasy product, avoiding excess that can attract dust. Re-run the door to confirm smooth operation before finalizing.
- Verify handle materials and finish compatibility with the door
- Inspect hinge alignment and tighten or adjust screws
- Lubricate joints and test multiple cycles for consistency
Maintenance Tips and When to Upgrade Again
Regular maintenance keeps interior door handles reliable, so set a simple schedule and stick to it. You should inspect latches and screws every few months, tighten loose fasteners, and clean the lever surfaces with a mild, non-abrasive cleaner.
If you notice looseness, handle binding, or a crack in the faceplate, address it promptly to prevent bigger failures. Replace worn springs or worn cylinders only after confirming the issue isn’t just dirt or misalignment.
When upgrading again, plan around design trends and historical styles to maintain harmony with your space. Choose durable finishes and standard backset measurements for seamless compatibility.
Budget for occasional upgrades as part of a broader interior refresh, and avoid overhauling too soon unless aesthetics or function demand it.
Frequently Asked Questions
Can I Reuse Old Screws or Must I Replace Them?
Yes, you can reuse some screws, but check screw compatibility and door strike alignment first. Inspect for stripped heads or worn threads, replace as needed. For reliability, favor new screws if hardware is damaged, ensuring handle reusability.
Are Smart Locks Compatible With All Interior Doors?
Smart lock installation isn’t universal; interior door compatibility varies. You’ll need compatible latch and bore sizes, door thickness, and hinge alignment. Check manufacturer specs, measure precisely, and avoid forcing fit—upgrade hinges or strike plates if needed.
How Do I Fix Loose Door Handles Without Replacing?
Yes—you can fix it without replacing. Use door handle adjustment and handle tightening techniques: check screws, tighten mounting screws, adjust latch alignment, lubricate moving parts, and test operation until the handle feels firm and smooth.
Do Privacy Knobs Differ From Passage Knobs for Interior Doors?
Privacy knobs differ from passage knobs in purpose and function. You’ll note privacy knobs include a locking feature, while passage knobs don’t. Privacy knobs comparison highlights locking, while passage knobs features emphasize ease of use and accessibility.
What’s the Warranty Coverage on New Interior Handles?
Warranty coverage varies by brand, but you typically get limited lifetime or multi-year protection on interior handles; check specifics. Material compatibility and installation tips matter, make sure you match finish and spindle sizes for reliable performance.
Conclusion
Upgrading your interior door handles is a practical, home-improving move you can tackle with confidence. By matching latch type, backset, and door thickness, you’ll avoid misfits and squeaks. Choose durable finishes and solid hardware to withstand daily use. Align the latch correctly, test the operation, and tighten screws as needed. Think of it like fine-tuning a piano key—every note (turn) should glide smoothly. When in doubt, consult manufacturer specs for a perfect fit.