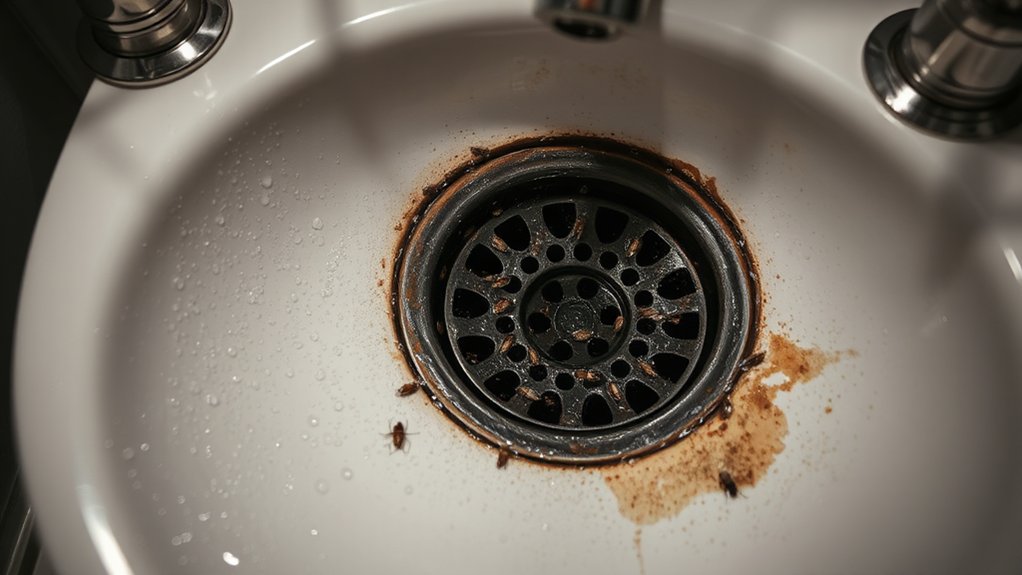

To get rid of drain flies, start by cleaning every moist breeding site: sinks, drains, traps, and behind toilets. Remove gunk with stiff brushes, flush with hot water, and use enzyme-based cleaners to digest organic buildup. Seal gaps around plumbing and install tight stoppers on unused drains. Use traps near problem areas and rotate bait types. Maintain dry, clean surfaces and monitor progress—if flies persist after a few weeks, you’ll want targeted help. More tips await.
Key Takeaways
- Identify and target moisture sources: inspect traps, drains, and under sinks for buildup, leaks, and odors, then fix leaks and improve drainage to remove breeding sites.
- Clean and sanitize drains: remove drain covers, scrub traps, flush with hot water, and use enzymatic cleaners or boiling water to digest organic matter.
- Use non-toxic control first: pour boiling water, apply sugar-vinegar bait for adults, improve airflow, and keep surfaces dry to deter reproduction.
- Apply targeted treatments if needed: choose label-approved products, follow instructions, wear PPE, ventilate, and treat during active infestation signs.
- Monitor progress and adjust: install traps near problem areas, log catches, evaluate sanitation gaps, and re-seal or reseal access points as needed.
What Drain Flies Are and Why They Buzz
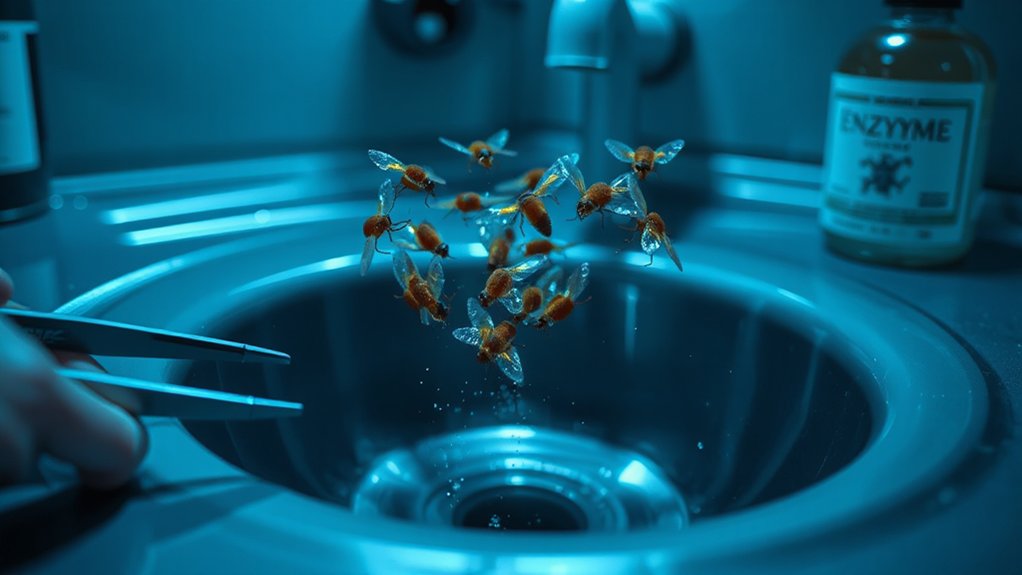
Drain flies are tiny, moth-like pests that breed in moist, organic buildup found in drains, pipes, or sewage lines. You’ll notice buzzing when adults emerge, driven by their instinct to mate and disperse.
In this subtopic, you’ll learn Drain fly behavior to predict and interrupt their life cycle. You’ll observe that these flies have a shallow wing stroke and quick, erratic paths, helping you identify activity patterns around sinks, floors, and traps.
The fly wing structure features broad, hairy wings held roofwise over the body, which creates their characteristic hovering. This configuration enables short flights followed by rapid descents into moist reservoirs.
Common Drain-Fly Sources in Your Home
Common drain-fly sources aren’t hidden statements of mystery; they’re everyday realities you can spot and address. In practice, look for moist, organic accumulation where water collects: under sinks, in drain traps, and behind toilets.
Waste buildup, decaying food, and clogged pipes fuel pest biology, so clear blockages and scrub with a stiff brush to disrupt breeding sites. Don’t overlook standing laundry-room moisture, floor drains, and infrequently used fixtures; even small leaks create ideal havens.
Regular maintenance matters for interior design of your home too, since cluttery, damp spaces invite flies. Seal entries and repair gaps to limit access. Keep a tight lid on organic debris in trash areas.
How to Quickly Confirm a Drain Fly Infestation
To confirm a drain fly infestation quickly, start with a targeted inspection of moist, organic buildup near sinks, drains, and toilets. Look for tiny specks of mold, wet debris, and faint skimmings that indicate ongoing moisture.
Check drain rims and overflow areas for thin film or larvae near the water line. Observe activity during and after light agitation of standing water; flies often trail to newly disturbed zones.
Historical context helps you recognize patterns in older homes, where plumbing leaks create persistent habitats. Cultural significance shows why these flies symbolize decay in some communities, underscoring urgency for sanitation.
Act promptly to verify sources before treatment.
- Inspect moist buildup around multiple fixtures
- Note larval filaments in damp residues
- Observe flight activity after light tapping
- Correlate findings with recent leaks or sewage odors
Essential Tools and Supplies for DIY Control
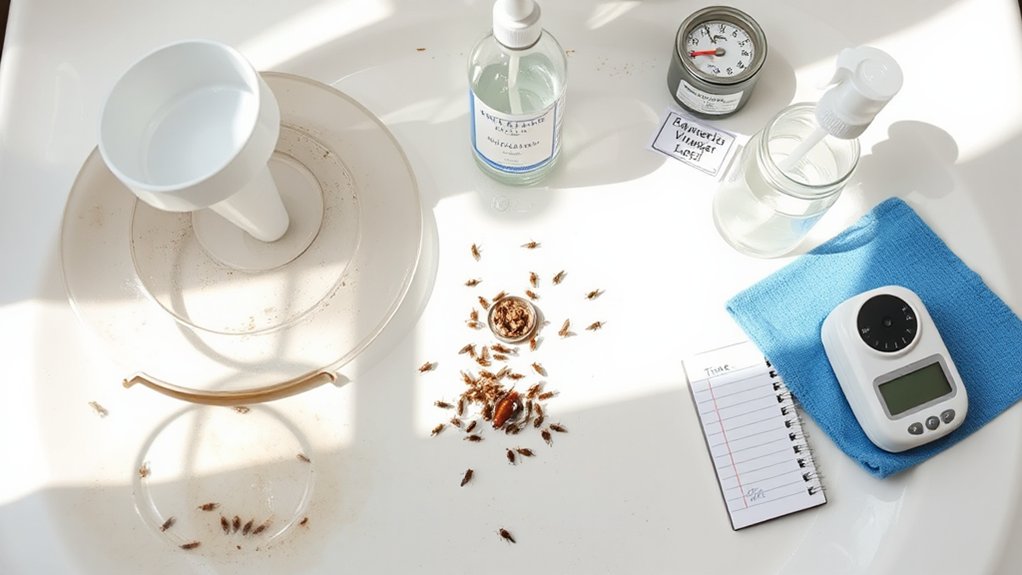
Having confirmed the likelihood of a drain fly infestation, you’ll want a focused toolkit ready for DIY control. Start with a bright flashlight, disposable gloves, and clean containers for samples. Keep a spray bottle with a mild disinfectant, plus a non-abrasive sponge and a stiff brush for scrubbing stubborn grime.
Add a bacterial or enzymatic drain cleaner designed for septic-safe applications, used as directed. Have a small hand scoop or scoopula for precise material handling, and a sealed trash bag for disposable waste. Include a notepad or app for tracking Fly behavior patterns and outcomes.
For reference, store a printed checklist and a local-area guide to Drain fly habitats, so you can plan steps without unnecessary trips.
Clear and Sanitize Kitchen Drains: Step by Step
Start by removing the drain cover and inspecting the trap for debris; if you see buildup, scrub it away with a stiff brush and a non-abrasive sponge. Then flush the drain with hot water to loosen remaining grime, followed by a baking soda and vinegar treatment to neutralize odors. Finish with a thorough rinse, ensuring no residue remains that could feed larvae. Maintain a clean, dry sink area to deter new infestations.
For longer-lasting results, consider eco-friendly alternatives and pest control methods that don’t rely on harsh chemicals. Regular maintenance reduces fly-ready residues and slows reoccurrence.
- Inspect traps monthly and clean any debris
- Use hot water flushes weekly
- Apply eco-friendly alternatives for odor control
- Track and adjust routines for pest control methods effectiveness
Clear and Sanitize Bathroom Drains: Step by Step
Start by cleaning and inspecting your bathroom drains to spot any buildup or obstruction. Remove grime with targeted scrubbing and flush out debris so flow isn’t hindered.
Sanitize with a proven solution, ensuring you treat the basin and overflow to maintain a clean, odor-free drain.
Clean and Inspect Drains
To clean and inspect your bathroom drains, start by removing the drain cover and inspecting the rim and overflow for hair, soap scum, and mineral buildup. You’ll want a clear view of where blockages begin and how quickly residue accumulates, because consistent inspection prevents flies from breeding.
Sanitize everything with a scrub brush, then rinse with hot water to dislodge trapped material. Document findings to track progress over time, linking historical context and cultural significance to how households historically battled drain pests with simple tools and routines.
A disciplined routine reduces odors, slows grime, and improves flow, cutting fly habitats.
- Inspect for hair traps and soap scum, noting frequency of buildup
- Scrub surfaces with a stiff brush and bathroom-safe cleaner
- Rinse thoroughly with hot water, then air-dry
- Record dates and observations for trend tracking
Remove Grime Buildup
Clear away grime from the bathroom drain by combining thorough scrubbing with targeted sanitation. You’ll remove buildup on the drain exterior and the visible trap area, then address the interior to curb fly activity. Begin with protective gloves, a screwdriver, and a stiff brush.
Scrub the flange and surrounding tiles to loosen soap scum and hair clogs, then plunge gently to dislodge stubborn deposits. Next, apply a potent, bathroom-safe cleaner around the rim and inside the drain mouth; let it sit briefly to break grime bonds. Rinse with hot water, repeating if residues persist.
For pest control, DIY methods focus on eliminating sources and encouraging drainage flow. Finish by dry-wiping exposed surfaces and inspecting for leaks, ensuring ideal sanitation without masking odors.
Sanitize With Solutions
Sanitizing is the next step after removing grime: you’ll neutralize bacteria and odor-causing residues while ensuring drains stay clear. You’ll mix a trusted disinfectant or boiling water with caution, then flush through the trap to reach the full length of the pipe.
Use a deodorizing solution if you detect lingering smells, and rinse with hot water to finish. Maintain regular cycles to prevent buildup and keep flies at bay.
Gardening tips and pet care references remind you to keep outdoor and pet areas separate from indoor drains to avoid contamination. Practice safe handling and label containers clearly for quick future use.
- Choose a proven disinfectant and follow label directions
- Flush slowly to reach all pipe segments
- Repeat weekly during active drainage
- Store solutions away from pets and kids
Tackle Garbage Disposals and Decaying Matter
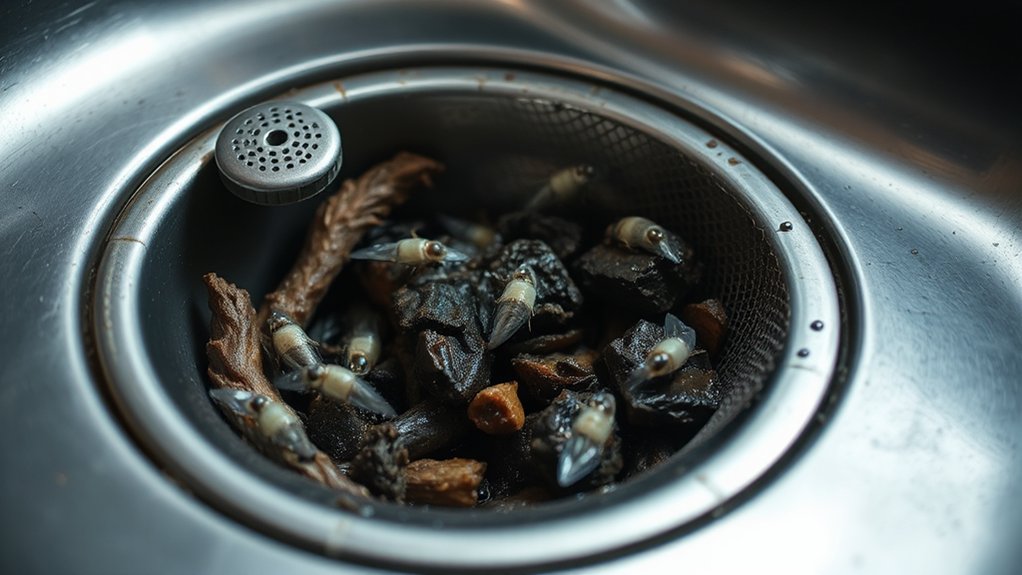
Keep garbage disposals clean and properly maintained to prevent drain flies from thriving. Remove decaying matter regularly, clear clogs, and sanitize the disposal region to curb odors and microbial buildup.
Check the trap and seals for leaks and odors. Address any lingering smells with targeted cleaning and deodorizing steps.
Garbage Disposal Hygiene
If you want to curb drain flies at the source, start with your garbage disposal: run it with plenty of cold water, and scrape food scraps into the trash rather than the disposal to minimize decaying matter.
To keep disposal hygiene sharp, clean the splash guard and run citrus peel or ice to scour blades, but avoid harsh chemicals that linger. Consistent practice reduces odors, mold, and pests you don’t want near your kitchen.
- Regularly wipe the splash guard and seal
- Run cold water for 15–20 seconds after grinding
- Use ice and citrus to freshen and scour
- Empty the for-cleaning water container and dry the area
Plant pests, Pest identification.
Decaying Matter Elimination
To curb drain flies at the source, tackle decaying matter in and around your garbage disposal. Start by sorting out scraps that linger: peels, fibrous bits, and organics that trap moisture.
Run cold water, then a brief disposal cycle with ice to loosen stuck debris. If you notice persistent residue, disassemble the splash guard and clean with a stiff brush and dish soap, ensuring seals stay intact.
Empty the p-trap periodically to remove buildup and dampen breeding zones. Monitor indoor humidity, since excess moisture supports decay; use a vent fan when cooking and avoid leaving standing water in sinks.
Plant pests near the disposal can hitchhike indoors—check plant matter and compost sleeves. Maintain clean, dry surfaces to reduce recurring infestations.
Odor and Trap Care
- Clean disposal, purge decaying matter, and rinse
- Guarantee airtight seals and functioning traps
- Use neutralizing rinses for odor control
- Reference historical practices and cultural habits for consistency
Address Overwatered Plants and Damp Soil
Overwatering is a primary trigger for drain flies, so start by letting the soil dry out and inspecting the potting mix. You’ll want to identify consistently wet zones and adjust your watering routine accordingly.
Check that the container drains freely and that saucers aren’t retaining moisture. If the soil remains soggy, remove affected top layers and replace with fresh, well-draining mix.
Improve air circulation around the plant to accelerate drying and reduce dampness. For rooted plants, adjust watering frequency to match the plant’s needs, avoiding a recurring wet condition.
Emphasize soil drainage by using pots with adequate drainage holes and, when possible, bottom watering instead of top watering. Keep a routine that aligns with plant watering needs to prevent future damp soil buildup.
Natural and Non-Toxic Remedies That Work
With the right natural and non-toxic methods, you can curb drain flies without harsh chemicals. You’ll target the source, not just the symptoms, using safe, effective steps you can trust around home and plants.
Below, practical options improve sanitation without stressing indoor plants or garden pests.
- Clean drains with boiling water followed by a mild enzymatic cleaner to break down residues.
- Bait with a sugar-vinegar mix in a shallow dish to trap adults while you freshen pipes.
- Improve air flow and reduce moisture around sinks and planters to deter breeding.
- Use diatomaceous earth sparingly on damp soil surfaces to disrupt larvae without harming beneficial organisms.
Apply consistently, monitor changes, and maintain dry, clean environments for lasting results.
Safe Use of Chemical Treatments and When to Apply
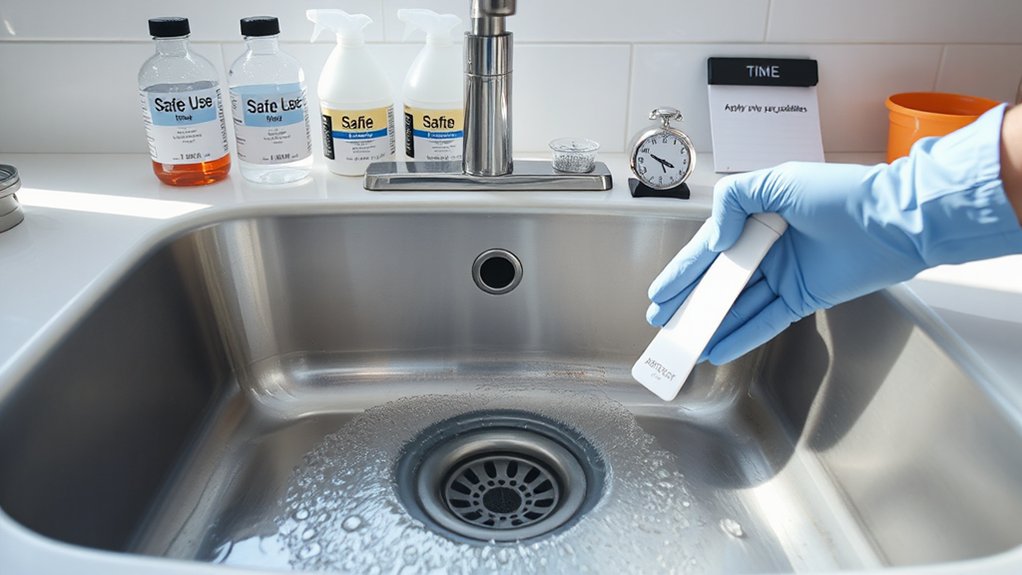
When you need to supplement natural methods, choose chemical treatments carefully and apply them only when necessary. Begin with targeted products labeled for drain flies and follow the manufacturer’s directions precisely. Use the lowest effective concentration and avoid unnecessary repeats, especially in living areas and kitchens.
Always prioritize chemical safety: wear protective gloves, eye protection, and guarantee proper ventilation during and after application. Limit exposure to food prep surfaces by sealing or removing items before treatment and washing thoroughly afterwards.
Consider applying treatments during periods of active infestation signs, such as visible adults or a surge in larvae, rather than on a rigid schedule. Monitor for reduced activity and reapply only if needed, avoiding overuse and scheduling according to product guidance.
Trap Drain Flies and Monitor Progress
Set up effective traps at key drains and corners where flies congregate, then check them daily.
Use clear indicators like trap catch rates to monitor your progress and adjust placement as needed.
Set Up Effective Traps
To trap drain flies effectively, place simple, proven devices near problem areas and monitor their results daily. Use traps that attract adults and intercept breeding sources, then assess activity logs to adjust placement. Target entry points around drains, under sinks, and where moisture lingers.
As you implement traps, don’t ignore broader fixes like bird nests or sewer repairs that sustain populations. Keep notes on which devices perform, and rotate bait types to prevent habituation. Maintain consistent cleanup routines to remove decaying matter that undermines traps.
Pair trapping with a basic sanitation plan to reduce opportunities for re-infestation. Regular checks help you gauge progress and stay on track toward elimination.
- Choose traps with proven efficacy near suspected hotspots
- Log daily counts and adjustments for each location
- Inspect drains and pipes for buildup and leaks
- Plan for correlated fixes like sewer repairs when needed
Track Fly Reduction Progress
Progress tracking is essential to confirm you’re cutting drain-fly numbers and not just spinning wheels. To monitor, set a clear baseline: count adult flies over a consistent 24-hour period at the same time each week, and log visible larvae in traps.
Use the same traps and placement as in Set Up Effective Traps, then compare weekly totals to your baseline. Track reductions with a simple chart, noting dates of trap activity, cleaning events, and changes to moisture sources.
If counts plateau or rebound, reassess sanitation and trap efficiency, and adjust timing of interventions. Consider broader factors like bird migration patterns and climate change, which influence breeding cycles indirectly.
Maintain disciplined review, and confirm sustained declines before concluding success.
Preventive Habits to Stop Re-Infestation
Preventive habits are your first line of defense against re-infestation. To keep drain flies from returning, you must integrate daily routines that target both habitat and monitoring. You’ll practice ongoing plant care and quick pest identification so small problems don’t escalate.
Maintain moisture control, address organic buildup promptly, and seal entry points to minimize breeding sites. Consistency is key; small, regular actions beat big, sporadic efforts.
- Plant care tweaks that reduce decaying matter near drains
- Regular pest identification checks around sinks and plants
- Prompt removal of standing water and organic debris
- Routine inspection of pipes, seals, and trap mechanisms for gaps
Clean Routine for Sinks, Vents, and Outlets
To keep drain flies from returning, you’ll establish a steady sinks cleaning schedule and routinely check vents and outlets for buildup.
Clean drains weekly, scrub the sink basin, and run hot water with a cleaning solution to prevent organic material from accumulating.
Inspect and clear any screens or trap covers on vents and outlets so airflow stays unobstructed.
Sinks Cleaning Schedule
Establish a daily and weekly cleaning routine for sinks, vents, and outlets to keep drainage flies at bay. A consistent schedule supports air circulation and pest control, reducing breeding sites and odor. You’ll target sinks, traps, and nearby surfaces with proven methods, minimizing gaps that flies exploit.
Use hot water, detergent, and a disinfectant weekly to break biofilm and deter larvae. After each use, wipe down surfaces to prevent residue buildup and scent attraction.
Schedule a monthly deep clean of trap lines and p-traps to prevent clogs. Maintain clear drain pathways, clean around waste areas, and ensure good ventilation to discourage infestations.
- Set reminders for daily wipe-downs and weekly trap checks
- Use approved cleaners and boil-water flushes periodically
- Inspect seals and caulking for gaps
- Track improvements in air circulation and pest activity
Vent and Outlet Care
Use a stiff brush and mild sanitizer to loosen grime without corroding components, then rinse and air-dry. Check vent grilles for lint or debris; vacuum as needed and schedule monthly maintenance on traps and pipes to deter buildup.
Historical context informs why clean plumbing matters beyond aesthetics—old systems bred breeding sites when neglected. Cultural significance underscores the value of sanitary spaces in homes and communities.
Maintain consistent routines, document issues promptly, and resolve odors or leaks to sustain effective drainage fly control.
Prevent Future Breeding in Drains and Traps
Preventing future breeding starts with proactive drain and trap maintenance. You identify potential hotspots, then seal gaps and clean regularly to disrupt larvae access. Keep drains flowing with high-volume flushes and avoid standing water near sinks, tubs, and floor drains.
Use enzyme-based cleaners to digest organic buildup without harsh residues, and scrub traps to remove biofilm where flies lay eggs. Implement screens or tight-fitting stoppers to prevent ingress when drains aren’t in use.
Schedule inspections that verify no backup, moisture, or decaying matter remains. Bird control and pest identification play supporting roles: note any bird-related access points and confirm species or sources of infestation.
Maintain records to track improvements and adjust tactics as needed. Stay vigilant and consistent to prevent recurrence.
Common Mistakes That Keep Drain Flies Around
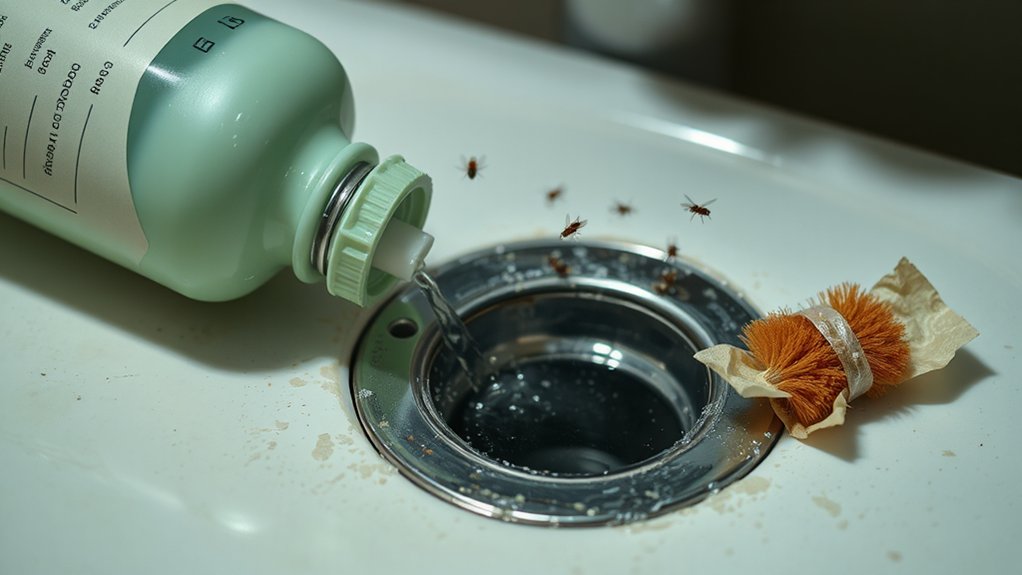
Another error is assuming traps alone solve the problem; without eliminating breeding sites, you’ll chase flies instead of stopping them. Clean regularly with appropriate cleaners, scrub scum, and flush lines to remove slime.
Check for gaps around plumbing where insects can enter, and seal them. Also, avoid letting overwatered indoor plants contribute moisture; garden pests can hitch a ride, while monitoring soil around indoor plants helps prevent colonies from forming.
How to Assess Success: Threshold and Timeline
You’ve set up cleaning, trapping, and preventive steps; now you need clear signs that the plan works. You’ll measure progress by threshold targets (zero live flies in 24 hours, sustained weeks of low counts) and a realistic timeline (2–6 weeks to break the breeding cycle).
Track daily counts, noting anomalies like rain-induced surges. Expect reduced emergence and fewer spillover adults around drains. If numbers plateau, reassess sanitation gaps and trap placement; persistent activity may indicate hidden breeding sites.
Consider Drain fly behavior—flies linger near moist areas, and larvae respond to moisture control. Environmental impact improves as you reduce production and exposure, limiting chemical use.
Document milestones to validate success and guide maintenance.
- Daily count milestones
- Moisture and sanitation checks
- Breeding-site verification
- Chemical reduction impact
When to Call a Professional and What to Expect
If you’ve tried cleaning, trapping, and monitoring for a few weeks without a drop in drain fly activity, it’s time to call a professional. You’ll get a structured assessment: technician arrives to identify fly habitat and breeding sites, not just surface symptoms.
Expect a thorough inspection of sinks, drains, garbage areas, and moisture-rich zones, plus hidden plumbing leaks. The pro will explain the pest biology and why flies persist, then outline a targeted plan with immediate sanitation steps, drain treatments, and preventive measures.
They may use safer, professional-grade larvicides and seal moisture access points. You’ll receive a written timeline, cost estimate, and follow-up visits to confirm control.
Ask about guarantees, compatibility with your plumbing, and how to maintain conditions to prevent recurrence.
Frequently Asked Questions
Do Drain Flies Only Come From Drains?
Drain flies don’t only come from drains. They’re tied to outdoor breeding and can breed in organic matter outdoors. Understanding the fly lifecycle helps you target sources, indoors and out, for effective control and prevention.
How Long Do DIY Treatments Take to Work?
DIY treatments work in about 1–2 weeks, depending on infestation size. You should combine chemical alternatives with thorough cleaning, routinely checking traps. Use preventative measures now to reduce recurrence and minimize re-infestation risks long-term.
Can Kitchen Waste Cause Recurring Infestations?
“Waste not, want not.” Yes, kitchen waste can trigger recurring infestations if you neglect proper disposal. Keep compost bins sealed and cleaned, and run garbage disposal with cold water, scrubbing regularly to prevent buildup that fuels drain flies.
Are All Home Remedies Safe for Pets?
Not all household remedies are safe for pets; some can irritate skin or be toxic. Pet safety matters, so avoid unverified cures. Use vet-recommended solutions and monitor pets closely when addressing drain flies with household remedies.
When Is Professional Treatment Necessary?
Professional treatment is necessary when infestations persist after DIY steps or you see widespread breeding. You should consider chemical repellents and Pest control services to eliminate sources and prevent recurrence effectively.
Conclusion
You’ll stop drain flies fastest by combining sanitation with targeted treatments and monitoring. Don’t ignore hidden sources behind walls or under cabinets; fix leaks, scrub traps, and flush lines weekly. Use enzyme cleaners to break buildup, followed by a few days of boiling-water or mild chemical drill-down to clear roots. For example, a rental kitchen reduced adult sightings by 80% after a two-week drip-cleaning + trap-swab routine. If problems persist, call a pro.