

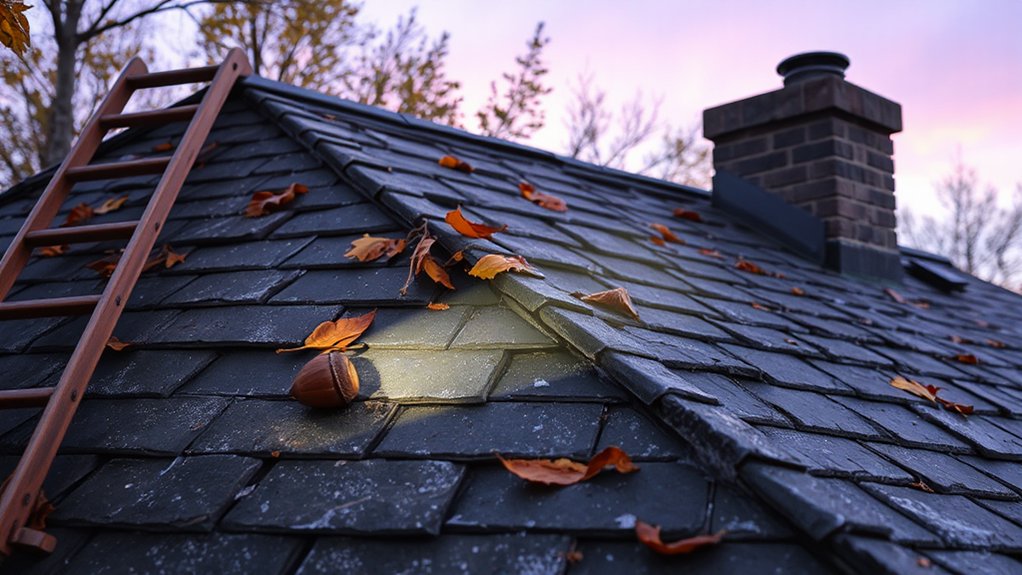

Preparing for winter starts with a thorough autumn roof check. Inspect shingles for lifts, curling, or damage and look closely at flashing around chimneys and vents for gaps or cracks. Assess attic ventilation and note any moisture signs or water stains. Clear and inspect gutters, flush them to spot leaks, and reseal any gaps. Tackle small repairs now to prevent leaks and boost insulation where needed. If you keep going, you’ll uncover more practical steps and tips.
Key Takeaways
- Inspect shingles and flashing for lifting, damage, gaps, or cracks, especially around chimneys and vents, and identify areas needing resealing or replacement.
- Check sealant joints and roof-wall interfaces; reseal cracks, peeling caulk, and ensure surfaces are clean and dry before work.
- Look for moss, algae, and general roof wear; remove moss carefully and improve attic ventilation to prevent future issues.
- Assess interior signs of leaks, tracing stains to attic or vents, and photograph suspect areas for timely repairs.
- Clear and flush gutters and downspouts, secure brackets, and ensure proper drainage away from the foundation to prevent ice dams.
Why Autumn Roof Maintenance Matters

Autumn is the best time to inspect your roof because small issues get exposed before winter’s worst weather hits. You’ll spot loose shingles, damaged flashing, and minor leaks before they cascade into costly repairs.
This season lets you assess how roof color and material durability hold up under seasonal stress, guiding proactive choices without the pressure of emergencies. Prioritize replacing weakened elements to maintain a watertight envelope.
Clean debris, ensure gutters drain properly, and check attic ventilation to prevent ice dams later. A clear, well-maintained roof saves energy and extends lifespan.
Document any deficiencies with photos and notes for reference. By addressing problems now, you reduce the risk of gutter overflow, corrugated damage, and interior moisture intrusion once cold fronts arrive.
Safety First: Plan, Gear, and Boundaries
Start by planning your safety gear so you can move quickly and stay protected—gloves, non-slip shoes, a helmet, and a fall-arrest system if needed.
Define work boundaries before you climb, so you know who’s allowed near the roof and where to stay to avoid accidents.
Establish clear entry procedures with a buddy system and a quick check of weather, ladder setup, and communication signals.
Plan Your Safety Gear
To keep you safe on the roof, plan your safety gear before you climb, and check it twice. Start with a helmet that fits snugly and a harness that’s in good condition. Inspect anchor points and lanyards for wear, fraying, or corrosion, and replace anything questionable.
Choose non-slip gloves and sturdy boots with solid tread for precise footing. Use a safety line you can trust, with backups in case of failure.
Wear protective clothing suited to autumn conditions: windproof outer layers, moisture-wicking underlayers, and insulated, breathable fabrics. Carry a tether, a whistle, and a small first-aid kit for quick responses.
Keep tools secured in pouches, not loose. Plan your route, test footing before stepping, and avoid distractions that compromise your safety. Prioritize preparedness over haste.
Define Work Boundaries
Clarify the scope of work for each shift, including tasks, expected duration, and stopping criteria if conditions worsen. Communicate boundaries to everyone involved, and post a simple checklist at the entry point.
Use seen-and-approved methods for signaling—hand signals or verbal cues—so you don’t drift into unsafe zones. Confirm everyone knows the fall protection rules and stay within anchor zones.
Clear boundaries reduce risk, improve efficiency, and keep roof access controlled during autumn inspections.
Establish Entry Procedures
- Confirm access permissions and time windows
- Verify PPE, tools, and emergency contacts
- Log entry and debrief after work
Inspect Shingles for Lifts, Curling, and Loose Attachments
Run a hand along each row to feel for loose tabs or creases that indicate failure under weight or wind. Pay attention to asphalt tabs, tabs near chimneys, vents, and roof intersections, where wear concentrates.
Document any lifted or cupped shingles and note suspect areas for repair or replacement. Don’t pry; instead, mark with chalk or tape for a better view from ground level.
Address loose attachments promptly to prevent further damage, reduce leaks, and maintain overall roof integrity during winter.
Check Flashing and Seals for Gaps and Damage
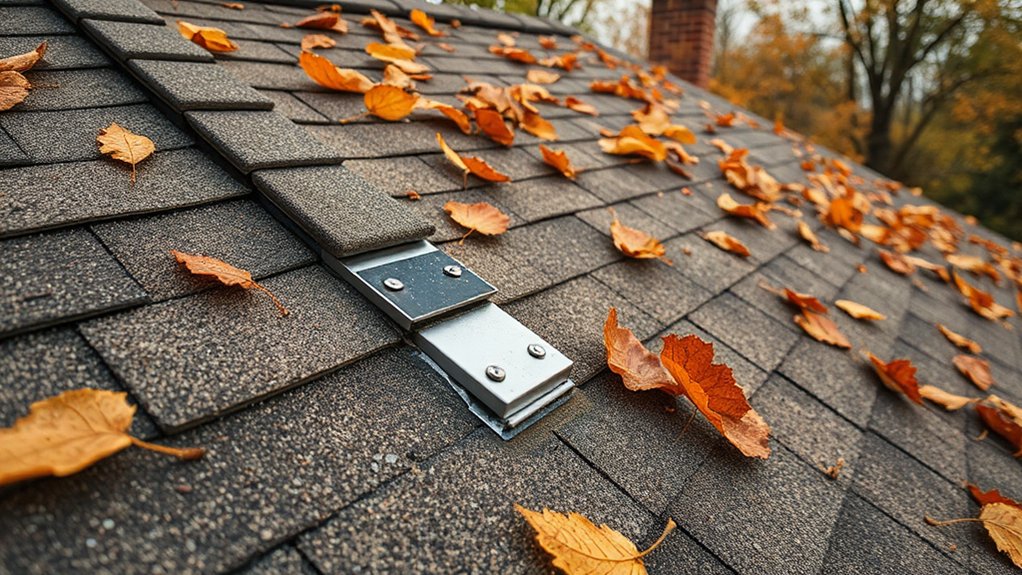
Inspect the flashing around chimneys, vents, and joints to assess integrity and any gaps.
Check sealant condition along all roofs edges and flashing seams for cracks or drying.
Scan for visible gaps or damage that could let water intrude, and plan timely repairs.
Inspect Flashing Integrity
Even a small gap in flashing or worn seals can let water creep under your shingles, so start by inspecting all flashings around chimneys, vents, and skylights for cracks, loose fasteners, and sagging metal.
You’ll look for loose lap joints, lifted counter-flashing, and corrosion that weakens seals. Focus on ensuring tight, watertight seams and solid anchorage to the roof deck.
This is a Flashing inspection, not a sealant replacement, so note issues before you reseal later.
Then, perform a Sealant assessment—check for dry, hard, or peeling caulk at joints and flashing bases.
1) Check for gaps or gaps along step and counter-flashing.
2) Test for soft, bubbled sealant indicating failure.
3) Record repairs needed and plan seasonal maintenance.
Sealant Condition Check
Begin by evaluating all sealant joints around flashing, vents, and skylights for cracks, gaps, and peeling or hardening caulk. You’re checking for signs that weather is starting to seep through, not just cosmetic wear.
Focus on the sealant condition around edges, joints, and *changeover* where two materials meet. Look for raised or softened beads, shrinkage, or missing sections that could invite moisture intrusion.
If you find gaps or brittle material, plan timely gap sealing or resealing with compatible exterior sealant.
*Guarantee* surfaces are clean, dry, and dust-free before applying new caulk. After application, tool the sealant to create a tight, continuous line and cure per manufacturer instructions.
This maintenance helps maintain roof integrity and prevents premature wear from winter exposure.
Gap and Damage Scan
With sealant health in mind, you’ll now scan for gaps and damage around flashing and seals. A focused gap analysis catches trouble before leaks form, so inspect junctions where roof meets walls, vents, and chimneys.
Look for hairline cracks, lifted flashing, and softened sealant, and note any moisture staining inside attic or around fasteners. Each finding guides whether resealing or reseating is needed, and helps plan repairs before winter storms.
Photograph suspect areas for reference and track changes over time. Perform a damage assessment of visible corrosion, rust, or metal pitting that weakens flashing. Prioritize areas with existing shingles wear or prior repairs, then address promptly to maintain a watertight roof.
Address defects, then re-check after adjustments.
- Inspect flashing edges and fasteners
- Assess sealant joints for gaps or cracks
- Document with photos and notes
Evaluate Attic Ventilation and Detect Moisture Signs
Evaluating attic ventilation and spotting moisture signs is essential before winter sets in. You’ll want a balanced airflow: intake vents at the soffits and exhaust vents near the peak should work in concert to remove warm, moist air.
Check for signs of restricted flow, such as dusty vent openings or fans that don’t run smoothly. Look for haloed roof peaks indicating condensation under sheathing.
Inspect for damp wood, mold, or musty odors, especially around chimney breast or dormer joints.
Guarantee attic insulation isn’t compacted or blocking vents; loose, evenly distributed insulation improves moisture control and reduces temperature fluctuations that lead to condensation.
Address any leaks promptly, seal gaps around penetrations, and maintain a dry, vented space to protect your roof structure this season.
Clean and Inspect Gutters and Downspouts
Clear gutters and downspouts keep rainwater and melting snow away from your roof edges. During autumn, you should tackle gutter cleaning and inspect for damage now before storms. Blockages force water to back up under shingles, risking rot and leaks. Use sturdy gloves, a scoop, and a hose to flush out debris removal and confirm smooth drainage.
1) Remove leaves and sticks from gutters, then check for sagging sections or loose hangers.
2) Clear downspouts completely, ensuring water exits away from the foundation; reattach brackets if needed.
3) Flush with water to spot leaks, reseal minor gaps, and plan repairs promptly.
Look for Interior Water Stains That Point to Leaks
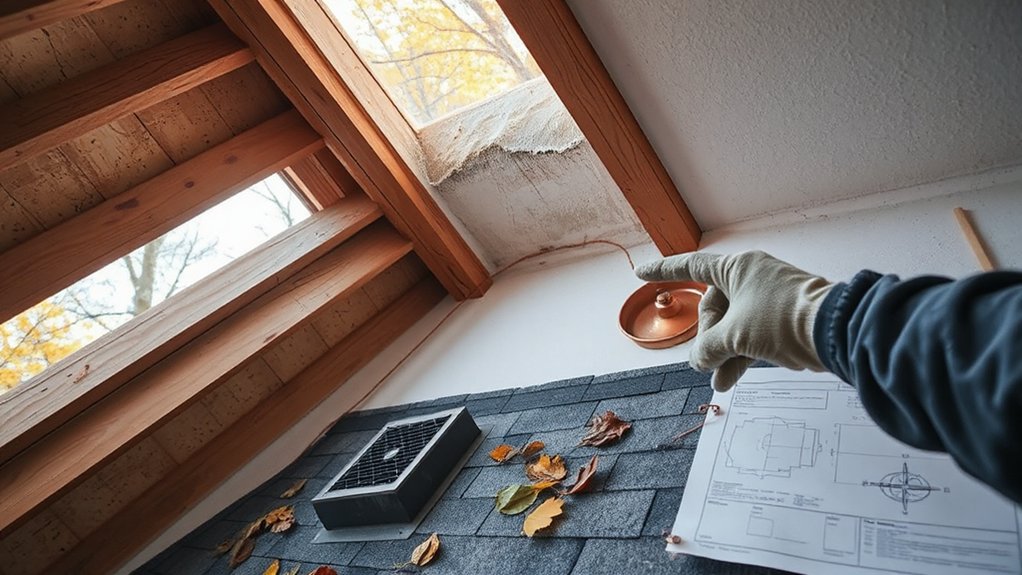
Look for interior water stains as a sign of hidden roof leaks. When you spot discoloration on ceilings or upper walls, note their location and spread, not just existence. Interior leaks often originate above, so trace stains toward the attic or attic vents to identify likely entry points.
Check around fixtures, joints, and penetrations where moisture tends to travel. Use a flashlight to follow faint damp lines along beams, drywall seams, and ceiling panels. Record patterns over time; new stains after rain suggest active leaks.
Don’t ignore small halos or bubbling paint, which can indicate ongoing water intrusion. Address stains promptly by inspecting the roof surface beneath them and calling a professional if staining repeats despite repairs.
Water stains signal urgency; investigate thoroughly and act decisively.
Examine Chimneys and Skylights for Gaps and Cracks
Start by inspecting the chimney masonry for loose or damaged bricks and mortar, since gaps can let moisture in.
Check all skylight glass for cracks or chips that could lead to leaks and drafts.
If you find gaps, seal them early with appropriate sealants to prevent bigger problems when winter hits.
Inspect Chimney Masonry
Inspecting chimney masonry is essential before winter storms arrive: check the bricks, mortar, and flashing for gaps, cracks, or bulges that could let water in or cause structural issues. You’ll want to assess footing, crown, and chimney cap as part of a thorough chimney inspection, looking for spalling, efflorescence, or loose units that threaten stability. Addressing issues now reduces leaks and costly repairs later, and guarantees safer use of the fireplace.
- Inspect mortar joints for deterioration and re-point where needed to prevent water intrusion.
- Check flashing continuity around the chimney base and roof intersection; reseal any gaps.
- Evaluate the crown and brickwork for cracks, replacing damaged bricks to maintain structural soundness and reduce heat transfer.
Check Glass Cracks
Chimney and skylight glass can deteriorate over time from temperature swings and wind-driven moisture, so you should examine every pane for cracks, gaps, or chips that could let water in or weaken glazing. Inspect both the interior and exterior faces for hairline fractures, distorted panes, or loose glazing putty.
Pay close attention to seals around frames; gaps here can trap moisture and cause condensation or accelerated deterioration. If you spot cracks, plan a glass replacement rather than waiting for a leak to appear.
For safety, avoid leaning on weak panes and schedule professional assessment if glazing shows signs of failure. Prioritize window safety and confirm replaced panes meet current standards for wind and impact resistance.
Seal Gaps Early
Before cold snaps hit, seal gaps early by thoroughly examining chimneys and skylights for gaps and cracks. You’ll prevent drafts and moisture intrusion, saving on energy and damage.
Start with a visual check for loose flashing, cracked masonry, and degraded caulk. Use a flashlight to spot hidden gaps around joints, flue collars, and chimney caps.
For skylights, inspect glazing seals and frame corners; look for condensation lines that signal leaks. If you find gaps, reseal or replace promptly to maintain autumn insulation.
Keep tools handy: caulk, exterior caulk gun, and weatherproof tape. Prioritize areas where birds or pests could enter, and recheck after storms.
Seal gaps now to fortify your roof against winter.
- Inspect flashing, joints, and cap integrity
- Reseal skylight frames and glazing seals
- Test after rain or wind for lingering drafts
Identify Moss, Algae, and Roof Wear
Moss, algae, and roof wear aren’t just cosmetic concerns—they signal underlying issues that can jeopardize shingles and attic space. You’ll spot moss growth in shaded, moist corners where moisture lingers.
Algae appears as dark streaks, often on southern exposures with variable drying. Roof wear shows as curling, granule loss, or soft spots from aging shingles.
Address moss promptly: moss removal should be deliberate, not disruptive, to avoid lifting shingles. Improve drainage by cleaning gutters and ensuring fascia dries after rain.
Algae prevention starts with proper attic ventilation and reducing excess moisture, then treating with proven cleaners if needed.
Inspect flashings and seals around chimneys and vents for leaks contributing to moss and wear.
Schedule remediation before winter to stabilize your roof’s integrity.
Tools, Materials, and Safety Gear You’ll Need
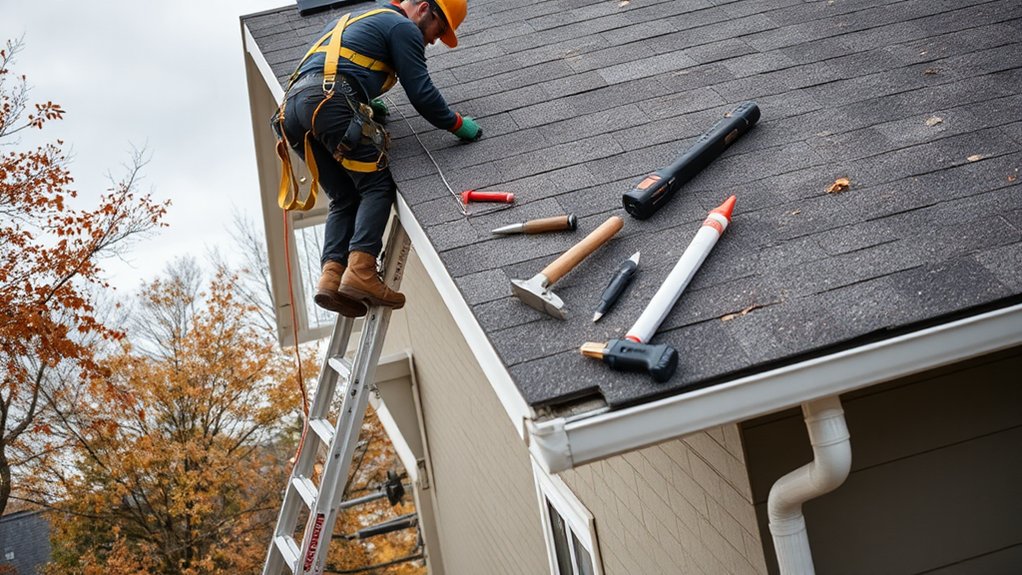
You’ll need a practical kit that covers safety, accessibility, and roof care: sturdy ladders, a roof harness or fall arrest system, non-slip shoes or boots, and a helper to spot you. With the right tools, you’ll tackle roof cleaning and gutter maintenance efficiently, reducing winter surprises.
Keep your workspace organized, and inspect gear for frays, wear, and proper fit before you start.
- A rope or anchor system for additional fall protection and stability
- A sturdy trowel, stiff brush, and extendable pole for cleaning and debris removal
- Non-slip gloves, knee pads, and a portable trash bag for quick debris disposal
Choose weather-appropriate, insulated gear for cold mornings, and test every item’s function to stay safe and effective.
DIY vs Pro: When to Hire Help This Fall
Choosing between DIY and hiring a pro this fall hinges on safety, cost, and scope. You should weigh safety risks, licensing and payment terms, and whether your project fits your skill level and available time.
If in doubt, start with a professional assessment to avoid costly mistakes and guarantee proper protection against winter weather.
Safety First Always
When it comes to fall roof work, safety should come first, so know when to DIY and when to hire a pro. You’ll protect yourself and your home best by evaluating risk, weather, and your skill set before grabbing tools.
If climbs, heights, or complex calculations scare you, hire a pro to avoid costly mistakes and injuries. Remember that roof aesthetics matter, but only when you’re steady and prepared; weather forecasting should guide timing and approach to avoid slick shingles and sudden drops in visibility.
- Assess your fall risk and use proper PPE
- Schedule complex tasks around accurate weather forecasts
- Prioritize structural checks and have a pro handle risky jobs
Payment And Licensing
Before you start, review payment options—most contractors accept deposits, milestone payments, or a single project fee, and you should verify refunds for cancellations.
Compare estimates carefully, focusing on material quality, waste disposal, and cleanup, not just the bottom line.
Licensing requirements matter: verify a valid license in your state, required insurance, and workers’ compensation coverage.
If you DIY, confirm you understand local permit rules and inspection processes to avoid fines.
If you hire a pro, request a written contract detailing scope, schedule, and warranty.
In either path, document decisions, receipts, and timelines to protect your project and wallet.
Skill And Scope
If you’re weighing DIY versus hiring a pro this fall, the key is matching skill level and project scope to the task at hand. You’ll save time and money by knowing when to push through and when to call in expertise, especially for roof ventilation and gutter protection. Misjudging can cause costly damage, leaks, or safety risks.
1) Assess complexity and access: steep pitches, ladder use, and height call for pro help.
2) Prioritize critical tasks: attic ventilation improvements or snow load mitigation deserve licensed oversight.
3) Budget realistically: factor material, labor, and potential repairs; DIY may apply to minor gutters, but full roof work benefits from contractors.
Address Small Repairs Now to Prevent Leaks
Small leaks aren’t always obvious, but addressing minor roof repairs now can prevent big headaches later. You’ll gain peace of mind by tackling small repairs before storms arrive.
Inspect flashing around chimneys, vents, and skylines for gaps, corrosion, or loose nails, and reseal as needed. Check shingles for curling, cracks, or lifts, replacing or securing damaged pieces promptly.
Clear clogged gutters and downspouts so water flows away from your fascia and foundation. Address loose fasteners on vents and flashing with the right sealant or roofing nails.
Don’t ignore minor ponding, algae, or moss, which signals moisture retention that can worsen leaks. Document issues and schedule timely fixes.
Small repairs today equal reliable leak prevention and a sturdier roof this winter.
Prioritize Insulation and Energy Efficiency
- Insulation upgrades: add or improve attic and crawlspace insulation, seal gaps, and guarantee proper ventilation to maximize R-values without moisture risk.
- Air sealing: caulk and weather-strip doors and windows, seal chimney gaps, and address recessed lighting and electrical penetrations to minimize heat escape.
- HVAC efficiency: upgrade to a programmable thermostat, service equipment, and program zones for targeted comfort, reducing cycles and waste.
These actions create immediate energy savings, reduce cold spots, and sustain warmth throughout the season.
Create Your Seasonal Roof Maintenance Schedule
A seasonal roof maintenance schedule keeps you ahead of problems and protects your home from winter damage. Start by outlining monthly tasks and fall deadlines, so nothing slips through the cracks.
Prioritize Roof cleaning to remove debris before freeze-thaw cycles, then schedule gutter maintenance to ensure proper drainage and prevent ice dams.
Create a checklist for inspections after storms and after heavy leaf fall, noting any damaged shingles, flashing, or vents.
Assign responsibilities, whether you do it yourself or hire a pro, and set reminders for critical dates like post-rain checks and pre-snow treatments.
Keep records of repairs, products used, and costs to forecast next year’s budget.
Review and adjust the plan each autumn to stay proactive and resilient.
Protect your roof; safeguard your home.
Frequently Asked Questions
How Often Should I Inspect My Roof in Autumn?
You should inspect your roof weekly during autumn, especially after storms. Build a seasonal preparation plan and stick to a roof maintenance schedule, prioritizing damaged shingles and gutter clearouts to prevent leaks as weather worsens.
What Tools Are Essential for Roof Checks?
Imagine your shingles glinting under pale dawn light as you climb. You need essential inspection tools: a sturdy ladder, non-slip boots, a chalk line, flashlight, mirror, kneepad, and camera. Prioritize roofing safety, conducted with precise inspection tools.
Can I Fix Shingles Myself Safely?
You can’t safely fix shingles yourself if you’re not trained; DIY safety matters, and shingle replacement requires proper tools and fall protection. Consider hiring pros to prevent damage, injuries, and costly mistakes while you inspect your roof.
How Do I Identify Hidden Moisture Signs?
Moisture detection skills reveal hidden leaks you might miss. You’ll spot damp spots, musty odors, and warped boards early, then seal and dry quickly. Stay vigilant, test with a meter, and address any moisture signs before it worsens dramatically.
When Is a Pro Inspection Necessary?
You should call a pro when you notice widespread leaks, structural concerns, or after severe storms. A professional assessment confirms safety and prevents failures, supporting emergency preparedness and informed decisions for repairs and insurance.
Conclusion
Fall is your window to prevent winter leaks. By inspecting shingles, flashing, attic moisture, and ventilation, you cut costly repairs later. Act now: tackle small repairs, boost insulation, and set a simple maintenance schedule. One striking stat: homes with regular autumn roof checks reduce emergency roof calls by up to 40%. You’ve got the know-how—stick to a plan, know when to call a pro, and keep your roof solid through the season’s worst.



