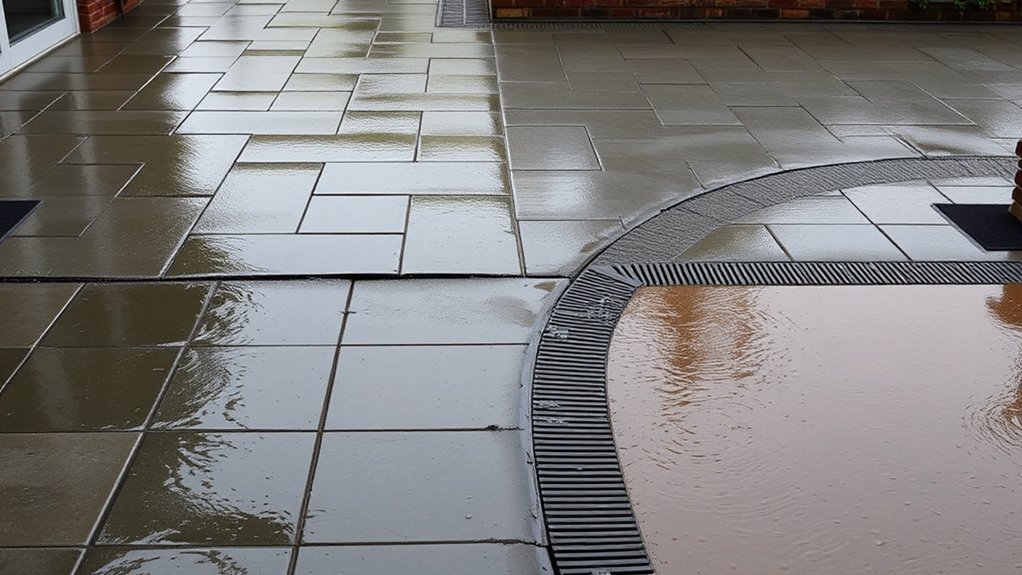

To get your patio, decking, and driveway ready for wet weather, start with a thorough inspection for moisture, cracks, and spalling on concrete, wood, and stone. Clean surfaces to remove dirt, moss, and algae, then fix cracks and reseal porous areas with appropriate sealants. Improve drainage by clearing gutters, directing runoff away from foundations, and creating rain-friendly zones like rain gardens. Schedule seasonal checks and keep fittings tight. If you keep at it, you’ll uncover practical steps to protect every surface.
Key Takeaways
- Inspect for standing water, drainage blockages, and moisture signs on patio, decking, and driveway to identify risk areas.
- Clean surfaces to remove moss, algae, and debris; scrub cracks and rinse thoroughly for slip resistance.
- Seal porous surfaces with weather-appropriate sealant after repairs and ensuring complete drying.
- Optimize drainage by clearing gutters, downspouts, and outlets; direct water away from foundations and seating.
- Upgrade or adjust drainage components (grates, extensions) and schedule pre-winter inspections to prevent ice buildup.
Identify Wet-Weather Risks to Patios, Decks, and Driveways
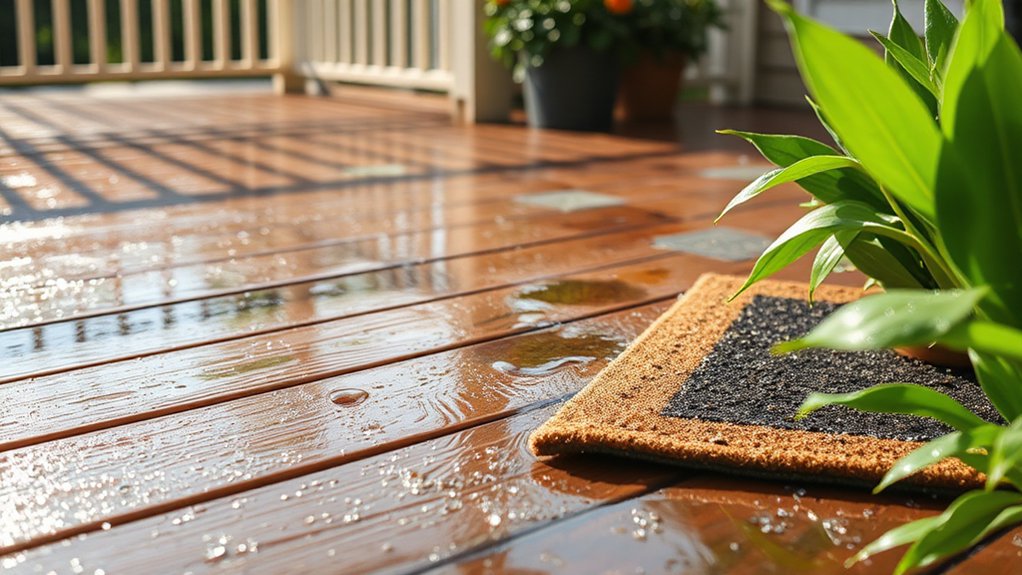
Wet weather exposes several concrete risks to patios, decks, and driveways, so start by inspecting for water pooling, slick surfaces, and soft or unstable ground. You’ll spot standing water that can erode surfaces and invite algae growth, slick decking, and hidden puddles that threaten outdoor furniture placement.
Check slopes and drainage paths; improper runoff can overflow borders and damage landscaping aesthetics. Examine joints for gaps that trap water and widen cracks, especially around concrete slabs and pavers. Look for spalling or delamination on exposed surfaces, which signals moisture intrusion.
Assess material condition around outdoor furniture; heavy moisture can shift chairs and tables, creating additional wear. Prioritize clear paths, secure gaps, and plan gentle slopes. Address drainage tweaks now to protect aesthetics and guarantee safe, durable use.
Inspect Concrete, Decking, and Driveway for Moisture Damage and Pre-Season Cracks
Check for signs of moisture damage and pre-season cracks across concrete, decking, and driveways, starting with obvious issues like damp patches, dark staining, and spalling. You should inspect exposed edges for efflorescence, soft spots, and surface peeling, which signal moisture intrusion.
Look for hairline cracks that widen with temperature shifts, and assess whether cracks intersect joints or rebar areas, indicating structural stress. Concrete cracks can propagate under freeze-thaw cycles, so note surface texture changes and flaking.
Inspect decking boards for warping, cupping, or uncured moisture stains near fasteners, which reveal moisture damage. Test for trapped moisture with a simple moisture meter in vulnerable zones.
Document findings, prioritize urgent repairs, and plan sealing or resealing after repairs to minimize further water intrusion. This proactive check keeps surfaces durable and safe.
Clean Surfaces to Remove Dirt, Moss, and Algae
To keep surfaces clear and preventing slip hazards, start by removing dirt, moss, and algae with a targeted clean. You’ll improve grip and curb deterioration by focusing on the most trafficked areas first, then broadening coverage. Use a plan that combines mechanical action with appropriate cleaners, and always follow label instructions.
- Pre-wet surfaces to loosen dirt and moss, then scrub with a stiff brush for thorough dirt removal.
- Apply a suitable cleaner to tackle moss control, allowing it to dwell briefly before rinsing.
- Rinse from top to bottom to prevent streaks and ensure complete algae removal.
- Repeat as needed after drying to maintain a safe, clean surface.
This approach emphasizes dirt removal and moss control for a durable, slip-resistant path.
Check and Improve Drainage Paths to Prevent Pooling
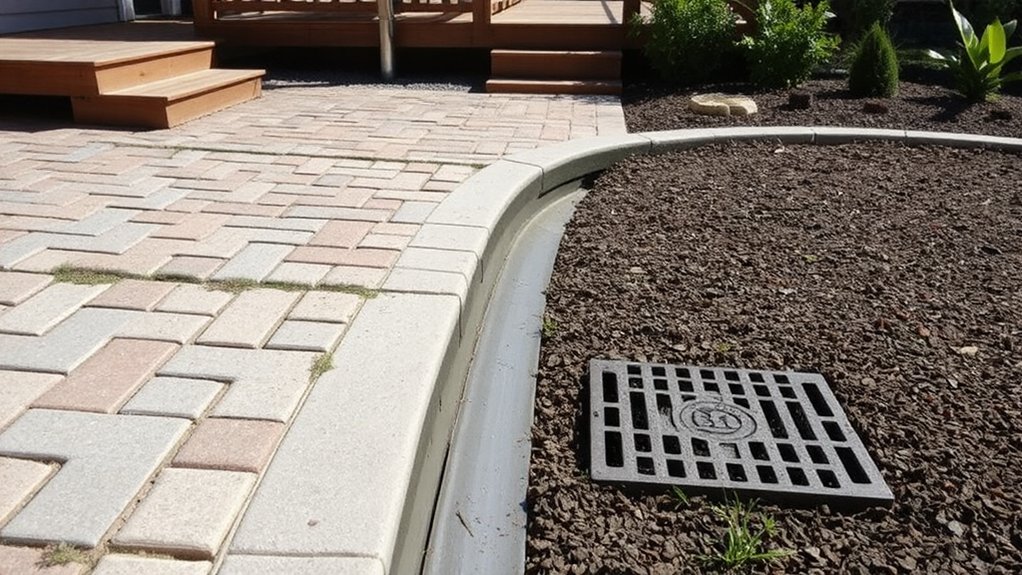
If pooling occurs after rainfall, start by inspecting the surface slopes and drainage paths around patios, decks, and driveways to identify low points where water collects. Then map how water moves from high to low areas and note any barriers—curbs, landscaping, or hardscapes—that cause stagnation.
Prioritize improving flow with simple adjustments: reshape edges to direct runoff toward proper outlets, clear debris from gutters and catch basins, and create unobstructed swales that guide water away from structures.
Consider a rain garden or similar low-lying planting bed to absorb excess moisture, reducing surface pooling and easing load on the drainage system.
Implement targeted water diversion where needed, such as redirecting flow with seasonal channels or grading changes, ensuring safe, fast dispersion away from foundations.
Seal Porous Surfaces to Resist Soaking
To seal porous surfaces effectively, start with thorough porous surface prep to guarantee the coating bonds.
Apply a compatible sealant using steady, even coats and follow the manufacturer’s cure times to maximize water resistance.
Maintain the surface with periodic checks and reapplication as weather and wear dictate.
Porous Surface Prep
Seal porous surfaces before wet-weather prep to prevent water penetration and extend the life of concrete, pavers, and wood. You’ll prep efficiently by targeting moisture paths and ensuring uniform sealing coverage.
- Inspect for cracks, potholes, and uneven joints to plan repairs like pothole filling before sealing.
- Clean debris, stains, and vegetation around edges, including plant pruning where roots threaten surface integrity.
- Dry thoroughly; fix drainage dips and low spots so sealants cure evenly.
- Apply a compatible sealer in thin, even coats, following manufacturer timings for recoat windows.
This approach minimizes soak zones, improves surface hardness, and supports long-term weather resistance without delaying subsequent sealant application tips.
Sealant Application Tips
When sealing porous surfaces, start with a thin, even coat that penetrates deep without pooling, then allow the first pass to dry per the product’s recoat timing.
Apply a second, slightly heavier coat only where pores remain. Maintain a steady, uniform pace to avoid lap marks and guarantee consistent penetration.
Work in small, manageable sections so you can monitor cure times and recoat windows without sacrificing coverage.
Use a compatible sealer for concrete, masonry, or wood, and follow the manufacturer’s temperature range to prevent cracking or tackiness.
Keep Garden furniture out of the treated area until fully cured, and cover or shield outdoor lighting to prevent overspray.
Clean brushes and tools promptly to preserve future performance.
Weather-Resistant Maintenance
Effective weather-resistant maintenance starts with sealing porous surfaces to resist soaking, so dry conditions and ambient temps align with the product’s guidelines before you begin. You’ll seal exposed pores on patios, decks, and driveways, then let cured surfaces resist future dampness and staining.
Focus is on durability, not decoration, so choose products suitable for foot traffic and weather exposure. Consider how nearby features impact performance, like Rain garden runoff and wind barriers that influence drying times.
- Clean and dry the surface thoroughly before application.
- Apply in thin coats, following recoat times for even saturation.
- Maintain ventilation to prevent moisture entrapment during curing.
- Inspect after rain to verify seal integrity and reapply as needed.
Repair Cracks and Gaps Before the Rain Returns
Now’s the time to repair cracks and seal gaps before the rain returns. You’ll want to address cracks promptly to prevent water intrusion and potential further damage.
Use appropriate sealants and check for widening gaps, so you’re prepared when wet weather hits.
Repair Cracks Promptly
If you see cracks or gaps in patios, decks, or driveways, repair them now before the rain returns. Prompt repairs prevent moisture intrusion, freeze-thaw damage, and costly wobble or tripping hazards. Addressing cracks early protects surfaces and keeps your outdoor space usable in wet weather.
Use water-penetrating sealant where appropriate and fill with concrete or epoxy as recommended for the material. Replace or secure loose edging to prevent shifting. After repairs, recheck for movement after a few days of rain to ensure stability.
- Clean cracks thoroughly to remove debris
- Choose compatible filler and cure fully
- Seal edges around repairs to shed moisture
- Schedule follow-up checks on patio furniture and garden lighting deployments
Seal Gaps Before Rain
Before the rain arrives, seal gaps and cracks to keep moisture out and prevent further damage. You’ll protect patios, decks, and driveways by plugging joints where water can seep in. Start with visible cracks in concrete or wood, using exterior-grade caulk for joints and masonry patch for deeper voids.
Move to gaps around posts, railings, or edging; wipe away excess sealant before it cures. After sealing, perform gutter cleaning to guarantee downspouts direct water away from foundations and paved surfaces.
While you’re at it, consider lawn aeration to improve drainage around the perimeter, reducing pooled moisture that can undermine repairs. Recheck sealed areas after rain, touching up any missed spots promptly.
This proactive approach minimizes freeze-thaw damage and keeps surfaces safer.
Restore Non-Slip Safety With Durable Coatings
Restore non-slip safety by applying durable coatings that resist wear from foot traffic, weather, and chlorine or salt.
1) Choose anti slip coatings designed for outdoor use and high surface durability, ensuring they grip wet surfaces without becoming slick.
2) Prepare the substrate properly: clean, dry, and repair any cracks so the coating bonds firmly.
3) Apply evenly in thin, crosshatched coats, following manufacturer timing for recoat windows to maximize surface durability.
4) Test the texture after cure, confirming grip on shoes and barefoot contact points, then allow full cure before exposure to rain or heavy traffic.
These coatings deliver consistent traction, extend deck or patio life, and reduce slip hazards in wet weather.
Protect Wooden Decking With Proper Sealants
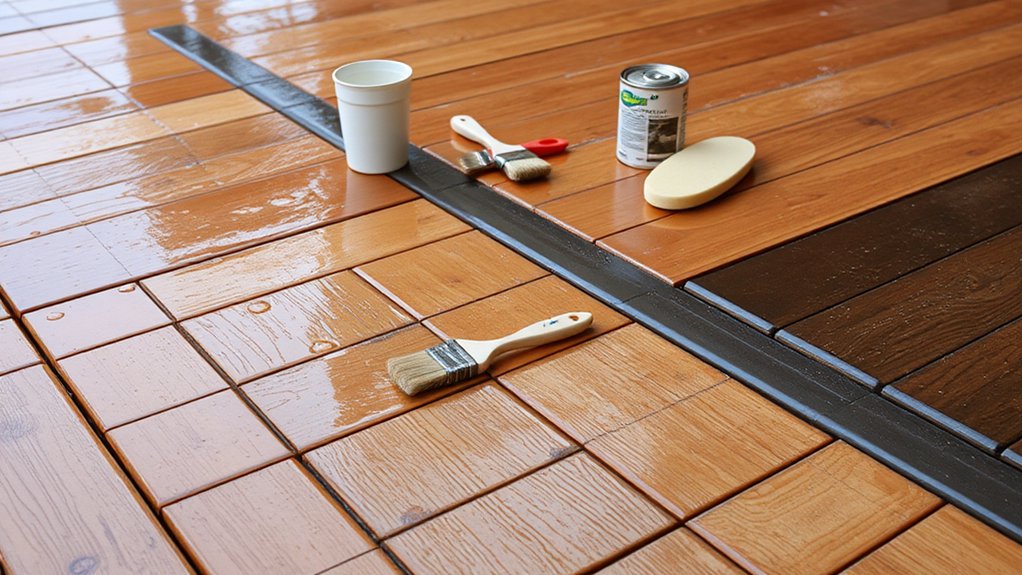
Protect wooden decking by selecting sealants that block moisture while preserving color and grain. You’ll want products that penetrate and form a durable barrier without leaving a glossy, slippery film. Choose sealants labeled for exterior wood and compatible with your decking type (softwood vs. hardwood). Read UV protection specs to minimize color fade, and confirm water beading indicates proper sealing.
Application should be clean, dry, and free of old coatings; follow manufacturer directions for temp and drying time. For wood preservation, apply to all faces, edges, and end grains for uniform protection.
In regard to sealant selection, favor water- or oil-based formulas with mildew resistance and low VOCs. Recoat as recommended, typically every 2–4 years, to sustain moisture resistance and an even finish.
Treat Concrete Driveways for Freeze-Thaw Resilience
Crack-resistant concrete starts with proper preparation and sealing to handle freeze-thaw cycles. You’ll protect your driveway by combining sealing with proactive drainage and targeted repairs.
1) Seal concrete with a breathable, freeze-thaw–rated sealer to minimize water ingress without trapping moisture.
2) Address cracks and spalls now; fill larger gaps, then apply a seamless coating to deter water penetration.
3) Upgrade drainage upgrades where water ponds, routing runoff away from surfaces to reduce saturation.
4) Schedule periodic reapplication and inspections after winter cycles to maintain performance and extend longevity.
Safely Treat Mildew and Mold With Approved Cleaners
Start by selecting an approved cleaner that targets mildew and mold on outdoor surfaces, following label directions for concentration and contact time.
Use safe application techniques, such as pre-wetting to reduce dust, protecting adjacent plants, and wearing gloves and eye protection, then apply evenly.
Prepare the surface correctly—remove loose debris, test a small area, and plan for thorough rinsing to prevent residue and guarantee effective results.
Approved Cleaner Options
When choosing cleaners for mildew and mold on patios, decking, and driveways, use products that are labeled for outdoor use and proven to kill mold spores.
1) Choose EPA-registered or manufacturer-approved cleaners designed for outdoor surfaces and mildew control.
2) If you prefer natural options, combine white vinegar or hydrogen peroxide with a detergent booster, ensuring compatibility with your surface.
3) Rinse thoroughly after treatment to prevent residue that attracts more grime.
4) Test cleaner on a small, inconspicuous area first to verify colorfastness and finish.
Consider plant placement and lighting options when planning where to apply treatments to minimize exposure to sensitive foliage and enhance drying.
Schedule applications during mild, low-wind periods for safety and effectiveness.
Safe Application Techniques
To safely apply mildewcide cleaners, follow labeled instructions precisely and use PPE as recommended.
Begin by pre-inspecting surfaces for loose debris and rinse with water to reduce overspray.
Apply cleaner evenly with a sprayer or sponge, working in manageable sections and avoiding direct contact with garden furniture and outdoor lighting to prevent staining.
Don’t mix products unless the label authorizes it; use the product that targets mildew and mold specifically.
Allow dwell time as specified, then scrub with a non-abrasive brush to lift growth.
Rinse thoroughly, and air-dry before reoccupying the area.
Recheck damp spots after drying; reapply only where growth persists.
Store containers upright in a cool, ventilated space to maintain effectiveness.
Garden furniture protection and outdoor lighting considerations should guide timing.
Surface Preparation Steps
Before you begin cleaning, assess the surface and gather the approved mildew- and mold-targeted cleaners. You’ll target safe, effective products while protecting landscaping design and outdoor furniture. Apply only.
- Inspect for damage and seal surrounding plants; cover outdoor furniture and greenery as needed.
- Choose a cleaner labeled for mildew and mold, compatible with your surface type, and test a small area first.
- Mix or apply as directed, using a brush or sprayer to reach grooves, joints, and shaded spots.
- Rinse thoroughly with water, ensuring all residue is removed before drying.
Note: Reassess after cleaning, addressing lingering growth and resealing surfaces to prevent future mildew.
Manage Planters and Edging to Prevent Water Pooling
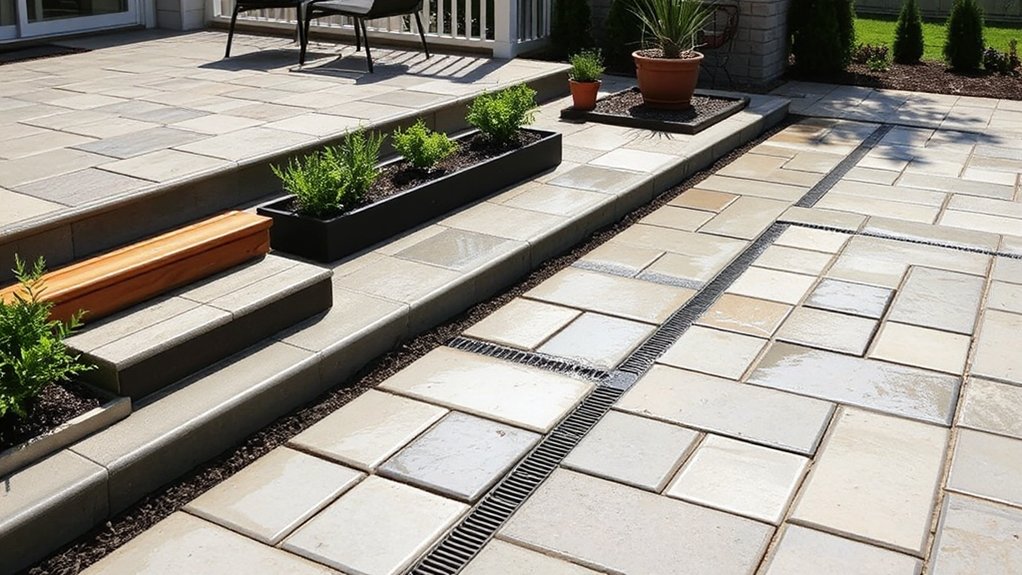
Effective planters and edging can redirect runoff away from patios, decks, and driveways. You’ll position planters to interrupt flow paths and use edging that channels water toward existing drainage or lower-grade areas.
Choose containers with drainage holes and a light, permeable lining to prevent pooling at the base. For container gardening, group pots to create micro-slopes that guide water off surfaces, and select materials that don’t trap moisture.
Use edging with a slightly raised profile to act as a physical barrier, stopping casual runoff from collecting along edges. Keep outdoor furniture spaced to avoid shadowing or obstructing flow, and place heavier items on stable, level ground.
Regularly inspect seams, corners, and joints for gaps that might leak water into walkways.
Install or Optimize Drainage Around Surfaces
Efficient drainage around patios, decks, and driveways starts with a clear plan for how water moves away from surfaces. You’ll shape paths that guide runoff toward safe outlets, lowering pooling and erosion.
Then, implement practical fixes that stay out of the way of daily use, including garden furniture placement and reliable outdoor lighting to illuminate wet areas without creating hazards.
- Grade surfaces to slope away from the structure, boosting flow to a designated drainage path.
- Install or adjust swales, trenches, or shallow depressions to catch runoff.
- Place garden furniture thoughtfully to avoid obstruction and water buildup.
- Integrate lighting that aids visibility on wet nights while not inviting moisture to sensitive components.
Test after rainfall and refine, ensuring continuous, unobstructed drainage and safe outdoor spaces.
Upgrade Drainage Grates and Downspouts
Upgraded drainage grates improve flow and reduce clogging, so you’ll want models with sturdy materials and clear slot patterns.
Pair these with efficient downspout extensions that reach away from foundations and adapt to seasonal rain or snow.
Consider compatibility with your existing system to guarantee smooth, reliable runoff during wet weather.
Upgraded Drainage Grates
Installing upgraded drainage grates and downspouts is a smart move for wet-weather prep. You’ll protect surfaces and reduce pooling by matching grates to load, flow, and slope. Upgrade considerations support robust performance and cleaner aesthetics for landscaping design and outdoor lighting integration.
- Choose grated patterns that maximize debris capture without clogging.
- Ensure grate frame height aligns with surrounding surfaces for a flush look.
- Size downspout connections to prevent bottlenecks during heavy rain.
- Select corrosion-resistant materials that endure temperature swings and moisture.
Carefully plan placement to channel water toward authorized exits, not across walkways. Regularly inspect for grit buildup and tighten fittings after storms.
With upgraded grates, your patio, deck, and driveway stay safer and drier, maintaining curb appeal and outdoor lighting integrity.
Efficient Downspout Extensions
When it comes to managing heavy rain, extend your downspouts farther from the foundation to channel water away from walkways and walls. Efficient downspout extensions minimize seepage near entry points and prevent erosion around patios. Choose rigid or flexible extensions that point at least 3–4 feet away from the house, and secure them to resist wind and clogging.
Keep gutters clean through regular gutter maintenance so overflow doesn’t back up into extensions. If space allows, angle extensions toward a low-lying area or a rain garden to absorb runoff and reduce puddling.
Use splash blocks or perforated tubing to slow water and protect surfaces. Pair with a rain garden to capture overflow, and maintain an orderly drainage path to simplify upkeep.
Snow and Rain Compatibility
- Upgrade to sloped grates and insulated downspouts to prevent ice buildup.
- Schedule regular debris removal and seasonal inspections before winter.
- Tie drainage layout to landscape features, avoiding water pooling near seating areas.
- Test runoff paths after heavy rain, relocating garden furniture as needed for access.
Create a Practical Maintenance Routine for Wet Months
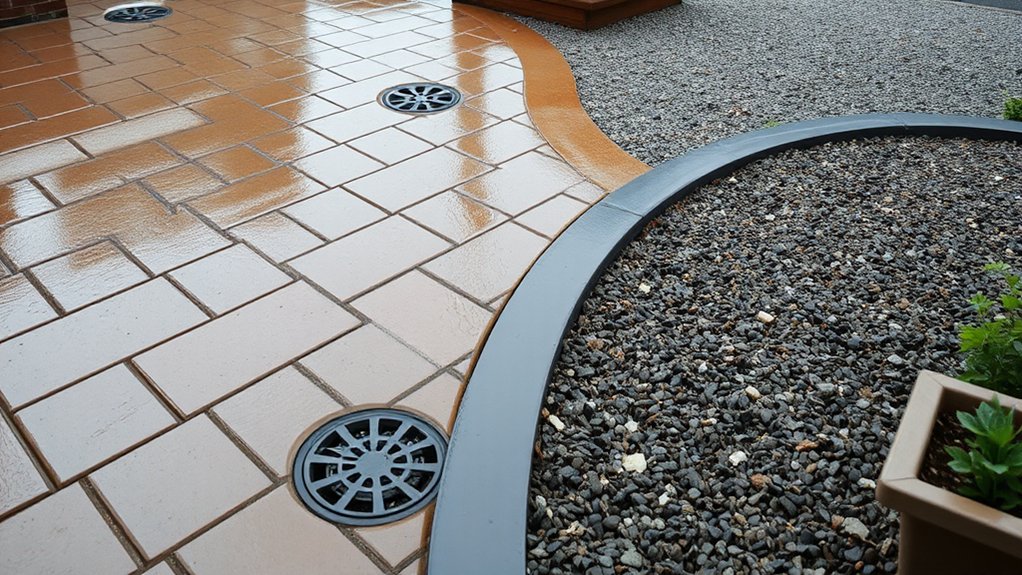
A practical maintenance routine for wet months starts with a simple, proactive plan you can follow weekly.
Schedule a 10-minute weekly sweep to remove leaves, dirt, and debris from patios, decking, and driveway joints, then rinse with a light spray to prevent film buildup.
Inspect for loose boards, fasteners, or pavers after heavy rain and reseat or tighten as needed.
Keep garden furniture dry and off the surface when not in use, storing cushions to minimize mold risk.
Clean and test outdoor lighting fixtures monthly; replace bulbs and seals to prevent moisture entry.
Apply a moisture barrier or sealant to wooden decking per manufacturer instructions every season, focusing on high-traffic areas.
Note drainage patterns and avoid pooling by guiding water away from connections.
Quick DIY Fixes You Can Do in Under an Hour
Quick fixes that take under an hour can prevent bigger problems in wet weather. You’ll learn fast, actionable steps—like sealing small cracks, redirecting surface water, and patching minor leaks—that you can complete now.
These one-hour prep tips keep patios, decks, and driveways safer and more resilient for upcoming storms.
Quick Fixes You Can Do
If rain’s already started and you need fast relief, you can tackle several quick fixes in under an hour that don’t require special tools.
1) Reposition garden furniture to dry spots, preventing pooling and guiding water flow away from doorways.
2) Check gasketed lids and covers on any planters or bins; reseal loose edges for a quick leak stop.
3) Tighten outdoor lighting connections and replace damaged bulbs to keep visibility up as storms roll in.
4) Clear debris from gutters and low spots with a broom, so water won’t back up onto the patio or decking.
These fixes are practical, fast, and effective for immediate protection and safety during wet weather.
One-Hour Weather Prep Tips
When a storm line looms, you can stabilize your outdoor spaces in under an hour with practical DIY steps that don’t require special tools.
Start by securing loose items and trimming branches that overhang paths. Move garden furniture to sheltered spots or angle chairs against walls to reduce wind uplift. Check and tighten screws on gates and railings to prevent rattling and dislodging.
Clear gutters and corridors from debris to avoid backups. Fasten lightweight decor or lamps, especially near entrances, and test outdoor lighting to ensure visibility when skies darken.
Use sturdy tarps or waterproof sheeting to cover delicate plants or soil, keeping rain off sensitive roots. Finally, store pesticides and fuels safely indoors until the storm passes.
Common Mistakes to Avoid During Wet-Weather Prep
Wet weather complicates prep, so skip rushed decisions and plan carefully. Common mistakes stem from assuming dry-condition practices transfer directly to wet conditions. You’ll avoid costly fixes by spotting these pitfalls early:
1) Copying dry-season sequences without testing in wet conditions.
2) Skimping on drainage checks, leading to pooled water and slippery surfaces.
3) Underestimating slip hazards from algae and moss—tackle early, not after.
4) Ignoring lighting or gardening tips that influence visibility and safety outdoors.
Focus on practical steps, not hype. Prioritize proper edge slopes, sealants compatible with moisture, and timely maintenance.
Consider Outdoor lighting for safer navigation and Gardening tips to keep planters dry and clean. Keep records, measure results, and adjust as rains persist.
Budget-Friendly Materials That Weather Well
Choosing budget-friendly materials that weather well can save you money without sacrificing durability. For patios, decking, and driveways, pick options that resist moisture and temperature swings without premium costs. Concrete pavers with dense surfaces offer longevity, while sealed concrete minimizes staining and cracking.
Composite decking balances price and moisture resistance, trimming maintenance versus wood. For plant-adjacent areas, a rain garden helps absorb runoff, reducing erosion and standing water near foundations.
Use corrosion-resistant fasteners and UV-stable coatings to extend life. Select permeable surfaces where appropriate to improve drainage and reduce puddling.
Don’t overlook gutters and downspouts: gutter cleaning keeps flow unblocked, preventing water damage to edges and foundations. Seal joints and consider shaded areas to slow wear from sun and rain.
Seasonal Scheduling for Ongoing Protection
Seasonal protection isn’t a set-it-and-forget-it task; it’s an ongoing schedule that lines up with weather patterns to keep patios, decking, and driveways performing. You’ll implement proactive checks and timely actions so moisture never catches you off guard, and indoor plants or patio furniture don’t become casualties of neglect.
1) Schedule quarterly inspections to seal joints, clean debris, and confirm gutters are clear.
2) Align coatings or sealants with seasonal temperatures for ideal adhesion and longevity.
3) Move or shield indoor plants and outdoor furniture during heavy rain or hail episodes.
4) Set reminders to re-evaluate high-traffic zones after winter, spring storms, or heat spikes.
Tools and Supplies Checklist for Rainy-Season Prep
To prep for rainy seasons, gather a focused set of tools and supplies that cover sealing, cleaning, and protection. You want a practical kit: a weatherproof sealant appropriate for your surface, brushes, rollers, and a paint tray for even coats.
Include biodegradable cleaner, stiff-bristled brush, and a high-pressure sprayer or garden hose with a spray nozzle for quick rinses. Add protective gear—gloves, goggles, and a mask—and a tarp to protect nearby plants.
Have a moisture meter or simple towel test to gauge dryness before sealing. Stock spare caulk tubes and replacement fasteners.
For upkeep, schedule regular checks of outdoor furniture and planters—these Gardening tips help prevent mold and rot. Keep outdoor furniture dry and elevated to extend life.
How to Assess Success After the First Heavy Rain
After the first heavy rain, inspect surfaces quickly and systematically: look for pooling, run-off, and any leaks around doors, seams, and joints. You want a clear read on performance and where improvements are needed. Focus on drainage paths, surface texture, and early signs of wear that could worsen with another stroke of rain.
Consider how your rain garden and stormwater management features handled the load, and note any overflows or sediment buildup.
- Check for pooling duration and hotspots that indicate insufficient drainage
- Verify seals, seams, and joints for leaks or gaps
- Assess rain garden effectiveness in absorbing runoff
- Plan adjustments to improve conditions before the next storm
Frequently Asked Questions
How Often Should I Recheck After First Heavy Rain?
You should recheck after the first heavy rain, then inspect weekly for a month. Watch for drainage issues and overflowing gutters, which affect landscape design and gutter maintenance. Promptly fix any leaks or blockages to prevent future damage.
Which Surfaces Dry Fastest After Rainfall?
Some underestimate, but surfaces dry fastest when you prioritize surface absorption and drainage efficiency. You’ll notice concrete and stone shed water quickest, while wood slows; guarantee proper grading and clear drainage paths for ideal drying after rainfall.
Can DIY Fixes Delay Professional Inspection?
DIY fixes can delay professional inspection, so avoid them; they pose DIY risks and may invalidate warranties. You should schedule a prompt inspection, document issues, and rely on pros to guarantee safety, compliance, and timely, reliable results.
What’s the Cheapest Drainage Upgrade That Helps Most?
Ditch flooding as a stormy silhouette; your cheapest, most effective upgrade is a simple trench and gravel swale. You’ll use drainage materials, cost effective solutions, guiding water away before trouble forms. You save money, protect foundations, stay dry.
How to Measure Success After Wet-Season Tests?
You measure success after wet-season tests by evaluating landscaping plans against observed moisture levels, noting improvements or regressions, and confirming targeted drainage performance. You compare before/after data, adjust thresholds, and document your results for ongoing moisture management.
Conclusion
Your patios, decks, and driveways are ready when you’ve patched every crack, cleared moss, and boosted drainage. With concrete, wood, and concrete-ready driveways, you’ll reduce moisture damage by up to 30% year over year—statistically meaningful and worth the effort. After the first heavy rain, you’ll see water shed quickly, not pool. Stay consistent: clean, seal, and recheck before storms. With these steps, you gain lasting protection, fewer repairs, and more outdoor confidence.