

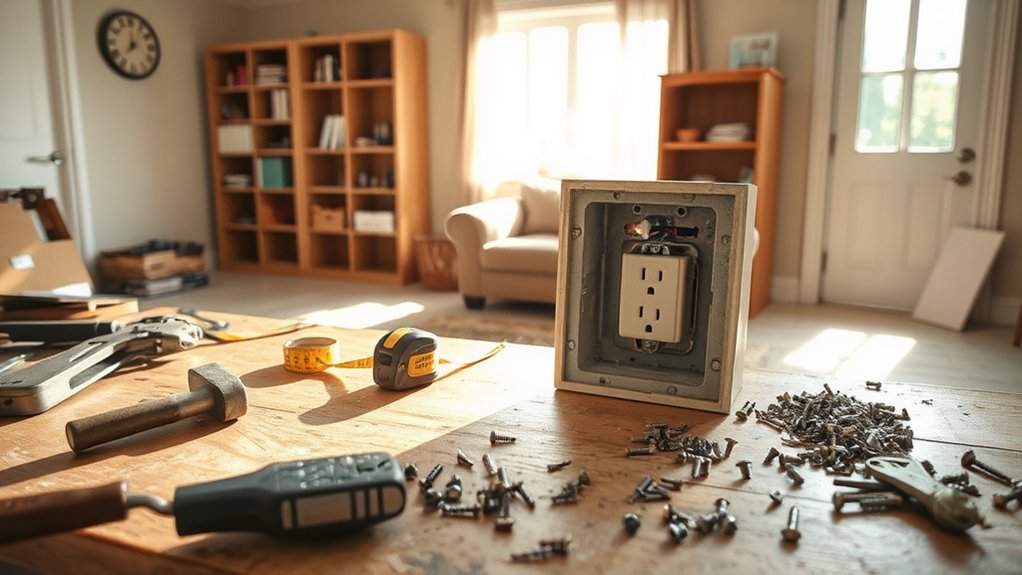

You’ll avoid costly home repair mistakes by planning, prepping, and choosing the right fasteners, sealants, and materials before you lift a hammer. Start with proper problem identification to avoid chasing symptoms and overruns. Prep thoroughly—assess safety, conditions, and weather, then map a realistic plan with milestones. Select compatible fasteners and sealants, verify measurements, and use proper tools. Manage waste and schedule, monitor budget, and keep scope tight. If you keep applying these steps, you’ll uncover more proven tips and tricks.
Key Takeaways
- Misidentifying root causes can lead to chasing symptoms and higher costs; diagnose carefully before fixing.
- Skipping thorough planning and safety checks results in scope creep, delays, and accidents; plan and assess first.
- Choosing inappropriate fasteners, sealants, or materials accelerates failures; match products to environment and movement.
- Ignoring moisture and drainage causes hidden damage; implement proper water control and vapor barriers.
- Skipping measurements verification and testing before drilling leads to ill-fitting repairs; measure twice and test fit.
Start Here: A Simple Four-Step Home Repair Method
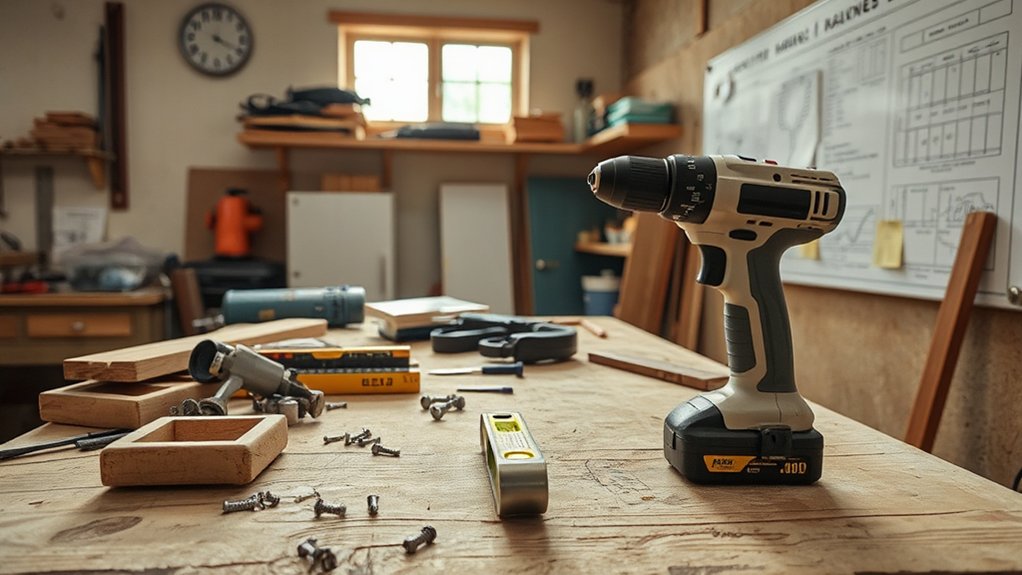
Start here with a simple four-step method you can apply to most home repairs. You’ll assess the task, gather tools, and plan the sequence for efficiency.
Step one: define the goal clearly, noting how it affects Home decor and energy efficiency so you stay focused on practical outcomes.
Step two: identify safety risks and prepare protective gear; secure power and shutoffs where needed.
Step three: execute with measured actions, check alignment, and test function after each step.
Step four: review the result, clean up, and document what you learned to prevent repeats.
Identify the Problem: Common Mistakes and Their Costs
Identifying the problem early saves you time and money. When you misjudge what’s wrong, you risk chasing symptoms rather than the root cause, inflating costs and extending the project.
Common mistakes include rushing inspections, ignoring safety implications, and assuming DIY fixes will magically hold up. Each misstep affects cost estimation because hidden damages surface later and require costly repairs.
You’ll often overestimate or underestimate requirements, leading to wasted materials or gaps in performance. Guard against this by documenting symptoms, testing access points, and verifying consent for any structural work.
A disciplined approach reduces surprises and keeps you aligned with a practical budget. Embrace a measured, cautious mindset rather than a reckless DIY mindset, and resolve issues before they compound.
Prep First: Essential Pre-Work for Lasting Fixes
Before you start, check for safety hazards and address any risks to you and others.
Then plan before you start so you know what tools, steps, and timelines you’ll need.
This prep sets the stage for lasting fixes and fewer re-dos.
Check For Safety Hazards
Safety hazards are the first thing you check before any repair, so you don’t compound problems or put yourself at risk. Before you touch tools, assess the area for hazards, such as exposed wires, water, or unstable surfaces. This keeps hazard awareness sharp and protects you long after the fix.
Verify that you have adequate lighting and stable footing, and switch off power where needed. Remove trip hazards and secure ladders or stools.
If you’re unsure, pause and consult a professional for a quick risk assessment.
- Identify exposed wires or water near work zones
- Confirm power is off and circuits de-energized
- Clear clutter, secure ladders, and test footing for stability
Plan Before You Start
Planning is the key to a lasting fix, so you map out steps, materials, and timing before you touch a tool. Before any repair, sketch a simple plan: confirm the problem, outline tasks, list required materials, and set a realistic timeline.
Clear goals prevent scope creep and wasted trips. Assess safety needs and potential weather or access constraints that could derail progress. Get price quotes and compare options for repairs, parts, and tools.
Consider costs against value—plan for contingencies and future maintenance. Decide if you’ll DIY or hire a professional, keeping contractor selection criteria in mind: licenses, references, and warranty options.
If the project involves Home insurance, verify coverage terms before proceeding. Document decisions and receipts to ease future claims or renewals.
Plan Your Materials and Tools Budget
Careful planning saves time and money, so start by outlining what you’ll need and what it’ll cost. You’ll set a realistic budget by listing materials and essential tools, then compare prices to curb overbuying. Focus on durable options that fit the job, avoiding impulse purchases that blow up the totals.
Material costs should guide your choice of substitutes if appropriate, and tool selection should prioritize versatility over novelty. Trace each item to the task’s demands, then add a small contingency for surprises.
Revisit the budget after shopping to confirm you’re sticking to it and not chasing upgrades. Include a clear cost total and the rationale behind each decision.
- Material costs
- Tool selection
- Contingency planning
Choose Fasteners and Sealants That Last
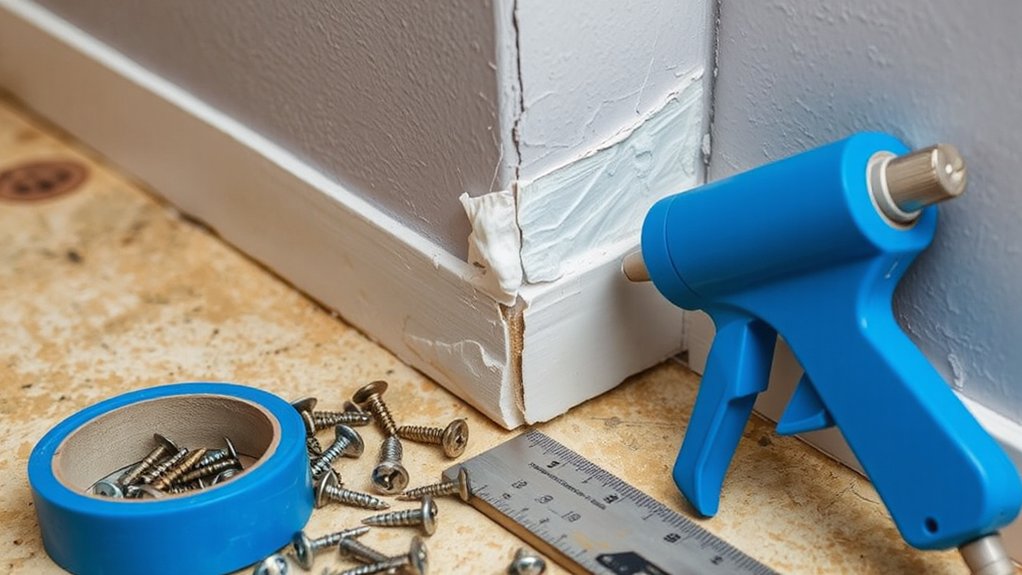
Choosing fasteners and sealants that last starts with matching the right material to the job, then selecting products rated for the environment you’re in. You’ll minimize failure by aligning corrosion resistance, load capacity, and flexibility with the task at hand.
Prioritize fastener selection that suits wood, masonry, or metal, and avoid mixing metals that promote galvanic corrosion.
For sealants, pick formulas designed for exterior, interior, wet, or high-UV exposure, and consider movement tolerance to prevent cracking. Check temperature and moisture ranges, cure time, and compatibility with substrates.
Read labels for lifecycle expectations and warranty terms. Use silicone or polyurethane based on exposure, not novelty.
Track performance over seasons so you can replace before leaks develop. Sealant longevity and reliable fastener selection save time and money.
Surface Preparation for Durable Results
Start with a clean surface so adhesives and finishes bond properly.
Apply primer evenly to seal, smooth out, and improve adhesion; don’t skip this step.
Use consistent sanding with a fine grit to create a uniform, toothy surface that’s ready for coating.
Clean Surface Beforehand
Before you lay down new material, clean the surface thoroughly to guarantee durability. Proper surface preparation assures coatings grip, resists peeling, and lasts longer. Use appropriate cleaning techniques to remove dust, grease, and old finish without damaging the substrate.
Start with dry brushing or vacuuming, then wipe with a solvent or mild detergent as needed, following manufacturer recommendations. Rinse and dry completely before proceeding.
Testing a small area confirms adhesion and indicates the need for further prep. Avoid skipping steps, as hidden contaminants cause failures later. Consistent prep reduces callbacks and rework, saving time and money.
- Inspect for dust, oil, and residue, and remove them with approved cleaners
- Choose compatible cleaners based on material and finish
- Make sure complete drying before primer or paint application
Proper Primer Application
To guarantee lasting adhesion and a uniform finish, apply primer after you’ve prepared the surface and confirmed it’s clean and dry.
Proper primer application starts with choosing the right product for the material and condition you’re coating. Inspect for blotches, stains, or de-lamination, and address those issues before you proceed.
Use a high-quality brush, roller, or spray suited to the surface, and apply a thin, even coat rather than heavy layers that trap moisture. Allow the primer to dry completely, following the manufacturer’s guidance, then test for tack before painting.
Include a focused “paint prep” check: wipe any dust, touch up missed spots, and ensure edges are feathered. Remember, primer application sets the stage for durable results and color uniformity.
Even Sanding Techniques
Even sanding is essential for a durable finish, because it creates a smooth, consistent surface that enhances adhesion and paint performance. You’ll achieve reliable results by choosing the right grit and using steady, even strokes.
Begin with a coarser grit to remove imperfections, then progress to finer grits for surface smoothness. Maintain light pressure to avoid gouges, and always sand with the grain on wood to prevent scratches.
Use a sanding block or pole sander for flat areas, and switch to a flexible pad for contoured surfaces. Clean between stages to inspect for remaining flaws and dust.
Proper technique reduces coats and rework, improving durability and appearance.
- Select appropriate grit progression
- Maintain consistent pressure and follow grain
- Clean surfaces before final coating
Manage Water and Moisture Before You Begin
Water and moisture control isn’t optional in home repair—it’s essential. Before you pick tools or mix compounds, assess where water travels and where it sits. Identify sources: roof leaks, plumbing, exterior seepage, and condensation.
Dry the area thoroughly; moisture thrives where it’s damp, not where it’s dry. Create a plan that prioritizes drainage, ventilation, and barriers.
Implement Waterproofing techniques on vulnerable surfaces, seams, and joints to slow or stop ingress. Install Moisture barriers where walls meet foundations, crawl spaces, and basements to prevent hidden damage.
Address any standing water and fix drainage problems to avoid recurring issues. Document your steps and monitor for changes after rainstorms.
Permits and Inspections: When They Matter
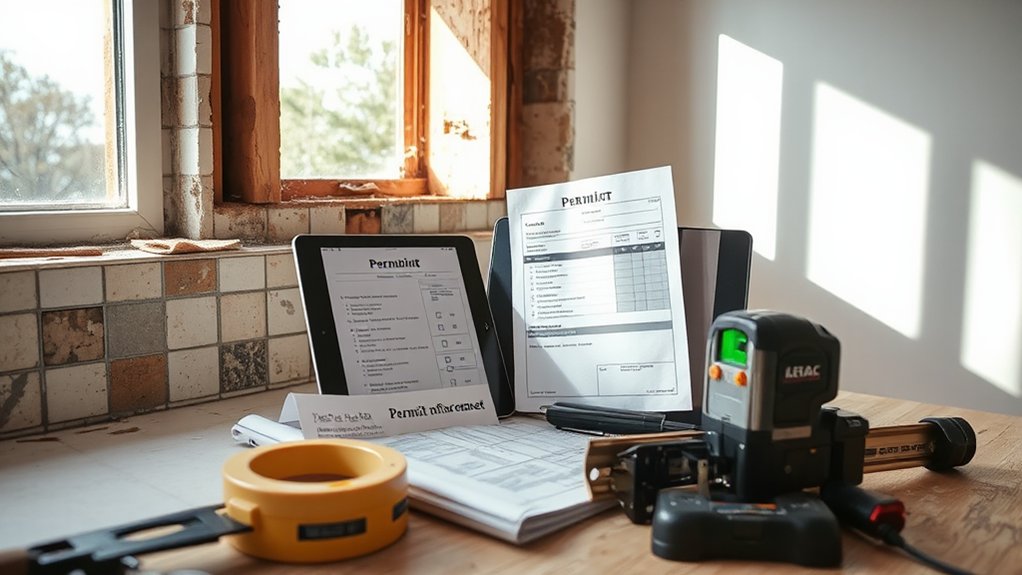
Before you start any repair work, you need to know when permits and inspections apply. In this topic, you’ll learn the practical basics of building permits and inspection requirements, and when they matter for common home projects.
You’ll avoid costly delays by confirming rules before you cut or drill, and by scheduling inspections at the right times. Rely on local codes, since requirements differ by city and project scope. If a permit is needed, you’ll likely need plans, correct materials, and documented inspections to pass.
Compliance protects safety, insurance, and resale value. Always verify at the outset to prevent rework and fines.
- Building permits are triggered by project type and scope
- Inspection requirements ensure safety and code adherence
- Check local authority deadlines and submission steps
Measure Twice, Install Once: Accurate Fitting
Measure with precision and confirm the fit before you drill. Double-check your marks and test parts in place to avoid mistakes.
If something doesn’t align, adjust now rather than after you cut.
Measure With Precision
Precise measurement matters because a small error can ruin an otherwise solid repair. When you measure, aim for consistency and repeatability to guarantee the fit is right the first time. Focus on measurement accuracy and control every step—from marking to final check.
Before you start, verify your tools are accurate; even slight drift can throw off a whole project. Calibration isn’t optional; it’s a safeguard that saves time and materials.
Take methodical readings, cross-check at multiple points, and document results to avoid second-guessing.
- Check measurements twice and record values
- Calibrate tools or replace outliers promptly
- Mark and recheck against the plan before proceeding
Verify Fit Before Drilling
You’ve prepared accurate measurements; now put that precision to work by verifying the fit before drilling. Before you drill, check that the component seats solidly and aligns with the mounting surface.
Confirm drill compatibility with the material, hardware, and procedure you plan to use, so you don’t encounter unexpected gaps or binding. Inspect both the hole pattern and the bore size for fit, not just depth.
If anything seems off, pause and reassess—adjustments made now beat rework later. Maintain fit accuracy by using the right pilot hole, bit type, and drill speed for the material.
This extra step prevents stripping, cracking, or misalignment, ensuring a secure, lasting installation. Remember: careful preparation saves time, money, and frustration.
DIY vs. Pro: How to Decide When to Call Help
When a project involves electrical work, plumbing, structural changes, or anything that affects safety or the building’s integrity, it’s time to call a pro.
You weigh risk, cost, and time, then decide if you can safely proceed. Start with Tool selection and Skill assessment to gauge your capability. If your toolkit lacks essential items or your judgment doubts the steps, pause.
For simple tasks, you may still DIY, but set a clear limit: know when to stop and call in a pro. Trust your limits, not bravado. Prioritize safety, code compliance, and quality results over urgency.
- Assess whether you have the right tools and knowledge before starting
- Set a concrete stopping point to avoid risky, last-minute fixes
- When in doubt, hire a pro for critical projects
Budgeting Pitfalls and How to Keep Projects on Track
Budgeting blind spots can derail a project before you start, so call out potential costs up front and set a realistic contingency.
Track costs diligently as work progresses, updating your budget weekly and adjusting as needed.
Stay disciplined about changes; if a new expense isn’t essential, pause, reassess, and reallocate funds to keep the project on track.
Budgeting Blind Spots
- Prioritize essential items with built-in contingency
- Reconcile forecasts with actuals weekly
- Define tremor-proof change-control procedures
Tracking Costs Diligently
Start by defining a simple budget baseline with contingency, then compare actuals against that baseline daily. Don’t wait for invoices to stack up; capture costs as soon as they occur.
Identify budgeting errors early: scope creep, vague vendor quotes, and untracked small purchases that add up.
Use a single tracking method: a spreadsheet or project management tool that everyone can access. Review variances promptly, adjust forecasts, and communicate changes to stakeholders.
This disciplined approach keeps projects on track, reduces stress, and helps you deliver quality work without blowing the budget.
Schedule Smarter: Avoid Slip-Ups and Scope Creep
When you schedule a project wisely, you prevent slip-ups and stop scope creep before it starts. To keep the plan solid, pin down a realistic project timeline and define each milestone clearly. This helps you spot gaps, allocate resources, and hold everyone accountable, from trades to suppliers.
Stay lean on changes; document approvals and only adjust scope with written sign-off. During contractor negotiations, attach schedule expectations to every contract term to avoid drift later. Communicate boundaries upfront and review progress weekly to catch deviations early.
Below are practical steps to keep the project on track.
- Define a clear project timeline with milestones and owner responsibilities
- Attach schedule expectations to contracts and require written approvals for changes
- Hold weekly progress reviews to catch drift early
Ventilation and Indoor Air Quality in Repairs

Ventilation and indoor air quality are critical during repairs because dirty air and stale environments slow work and harm occupants. You’ll minimize risks by planning airflow early and selecting appropriate ventilation systems for the space.
Use sealed containment where possible to keep dust from spreading, and run continuous filtration if activities generate fine particles.
Air filtration should target common contaminants—dust, volatile organic compounds, and fumes—through units sized for the area and kept clean with regular filter changes.
Coordinate exhaust and intake so cross-ventilation doesn’t pull debris into occupied rooms.
Avoid relying on a single source; combine mechanical ventilation with natural airflow when feasible.
Monitor air quality indicators and adjust operations to maintain safe, comfortable conditions throughout the project.
Trash, Waste, and Cleanup Best Practices
Proper trash, waste, and cleanup practices keep a job site safe, efficient, and compliant. You should plan ahead for sorting, bagging, and separating materials to streamline disposal and limit trips.
Use labeled containers for recyclables, hazardous items, and general debris, then verify local rules on waste disposal before you start.
Keep aisles clear and remove debris promptly to prevent trips and damage. Regularly sweep and bag waste at day’s end to maintain a clean workspace and avoid contamination of good materials.
Establish a routine for hauling pravid resets and monitor container fullness to prevent overflows.
Adhere to site-specific waste policies, maintain accurate disposal records, and train crews on proper trash management.
- Sort and label containers for recyclables, general waste, and hazardous materials
- Schedule regular downtime for cleanup and material removal
- Confirm local waste disposal rules and track documentation
Build a Practical Repair Plan That Gets You Done
You’ve sorted waste and kept the site clean—now it’s time to map out a repair plan that actually gets done. Start with a realistic scope: list fixes, define outcomes, and set nonnegotiable deadlines.
Break projects into small, sequential tasks and attach estimated durations to each. Prioritize safety and code compliance, so you avoid costly backtracking.
Create a simple budget with a contingency—around 10%—and track expenses as you go.
Decide your finish line: what constitutes “done” and when to call it complete.
Consider Home insurance implications early; confirm coverage and required documentation.
For contractor selection, compare licenses, references, and warranties. Get written estimates, clarify payment schedules, and insist on detailed contracts.
Regular check-ins keep momentum, prevent scope creep, and deliver predictable results.
Frequently Asked Questions
How Long Will a Typical Home Repair Project Take?
Typically, a home repair project takes days to weeks, depending on scope. You’ll accelerate with solid project planning and precise tool selection, plus clear timelines, permits if needed, and disciplined progress tracking. Stay flexible, communicate changes, expect delays.
What Are Hidden Costs in Common Repairs to Expect?
Hidden fees and unexpected expenses can creep in, so you’ll want to plan carefully. You’re likely to encounter permit costs, supply surcharges, and labor rate changes, so budget for contingencies and review invoices before approving any additional charges.
How Can I Tell if I Need a Permit for a Repair?
Yes—you need a permit if the repair affects structural elements, electrical, or plumbing systems. Check local building department guidance on permitting processes and repair regulations, and confirm with a licensed contractor before you begin.
What Safety Gear Should I Always Have on Hand?
You should always have Personal protective gear and Proper equipment on hand. Wear gloves, goggles, and a dust mask, plus sturdy footwear; keep a hard hat, ear protection, and a fire extinguisher nearby for practical, safe projects.
When Is DIY Worth It vs. Hiring a Pro?
Did you know 30% of DIY projects end up needing a pro fix? You should DIY when tasks are simple, within your skill, and you can handle the risk; otherwise consider hiring. Focus on DIY pitfalls and hiring considerations.
Conclusion
You came here hoping for shortcuts, but home repair isn’t a magic trick. Do the prep, plan your materials, and pick lasting fasteners, or watch your project become a punchline. Skimp on ventilation or cleanup, and you’ll breathe regret instead of fresh air. Following this four-step method keeps you from turning minor fixes into epic chores. Be stubborn about details, adaptable in execution, and you’ll actually finish—without shouting at your tools or your future self.



