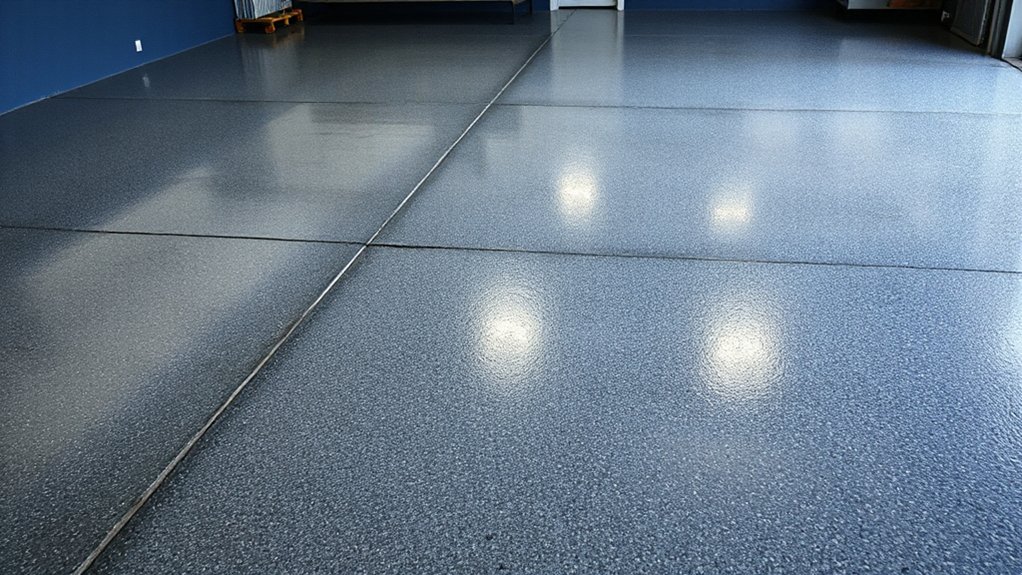

It’s time to update your garage. Like a test you can’t fail, choosing a coating that won’t peel hinges on proper prep and material quality. You’ll want an epoxy-based system for bond strength, or a high-end polyurethane/polyurea for UV stability and flexibility, but surface profiling, cleaning, and priming drive performance more than color or brand. If you skip prep, even the best formula fails. So, what steps do you take first to guarantee lasting adhesion and minimal peeling?
Key Takeaways
- Use high-quality epoxy or polyurea/polyurethane coatings designed for garage floors, offering strong adhesion and chemical resistance.
- Ensure thorough surface prep: remove contaminants, create proper profile, and confirm the surface is dry before coating.
- Verify substrate and moisture conditions with non-destructive tests to prevent peeling due to trapped moisture.
- Apply primers and sealers compatible with the topcoat to enhance adhesion and reduce porosity.
- Follow manufacturer guidelines on temperature, humidity, curing times, and recoat intervals for optimal durability.
How to Choose a Peel-Resistant Concrete Floor Coating
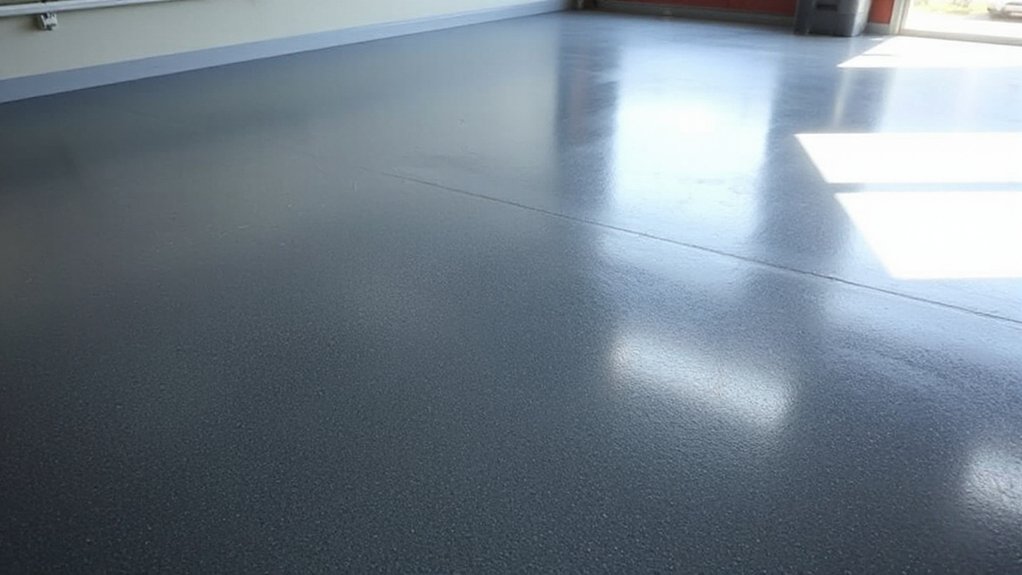
When selecting a peel-resistant concrete floor coating, start by identifying the substrate condition and exposure risks.
Next, evaluate system compatibility with concrete chemistry, moisture levels, and expected traffic.
Assess coating film-forming mechanisms—epoxies, polyurethanes, or cementitious overlays—against peel resistance, abrasion, and chemical exposure.
Verify cure time, VOC limits, and applied thickness to guarantee durable adhesion under service loads.
Consider surface preparation requirements only insofar as they impact adhesion reliability, avoiding topics reserved for the next section.
Examine installation practicality, including mixing ratios, pot life, and temperature constraints.
For decision support, consider color options and texture preferences, making certain the chosen finish aligns with maintenance expectations and slip resistance goals.
Conclude with a concise risk-benefit assessment to guide final selection.
Why Surface Prep Matters for Strong Adhesion
Surface prep is the foundation of lasting adhesion; without it, even the best coating system will peel under load. When you prep correctly, you create a uniform substrate that maximizes surface adhesion and paint durability.
Inaccurate preparation leaves contaminants, dust, and laitance that undermine bond strength and accelerate failure. Assess substrate condition, moisture risk, and profile depth to determine appropriate primers and system compatibility.
Precision in abrasion, cleaning, and sealing steps directly influences performance under load and chemical exposure.
- Assess substrate and moisture before coatings
- Achieve the required surface profile and cleanliness
- Select compatible primers for bond integrity
- Verify adhesion through testing before topcoat
This disciplined approach yields reliable performance and extended service life.
Cleaning Your Garage Floor: Quick, Effective Steps
A clean floor starts with a plan: remove loose debris and contaminants that can undermine adhesion and trap moisture. Begin with a broom sweep, followed by a vacuum to reach edge joints and any pits.
Pre-wet stubborn grime with a damp microfiber pad; avoid soaking concrete, which can seep into pores. Use a degreasing cleaner on oil or fuel stains, allowed to dwell, then scrub with a stiff-bristle brush and rinse thoroughly.
Dry the surface completely before inspection; recurrences indicate remaining moisture or embedded particles.
For garage organization, group tools and materials away from work zones to minimize recontamination during cleaning.
Improve lighting improvements by verifying even illumination along all seams, ensuring you can detect residual dust.
Record steps and outcomes for repeatability and future maintenance.
Removing Old Peeling Coatings Safely
Before applying a new coating, remove old peeling layers thoroughly and safely to guarantee adhesion and durability. You’ll assess, strip, and test for residue, making certain the substrate remains sound and clean.
Use controlled methods to minimize dust and fumes, protecting adjacent finishes and eyes. Follow these steps:
- Isolate the area and disable ignition sources; set proper ventilation.
- Choose a compatible stripper or mechanical removal method based on existing coating.
- Neutralize and rinse thoroughly; confirm a dry, dust-free surface before priming.
- Inspect for pitting or lingering adhesion failures, addressing them before coating.
Consider how garage organization and lighting improvements influence workflow, dust control, and inspection accuracy. A tidy, lit workspace reduces rework and ensures consistent adhesion.
Profiling or Etching Concrete for Maximum Grip
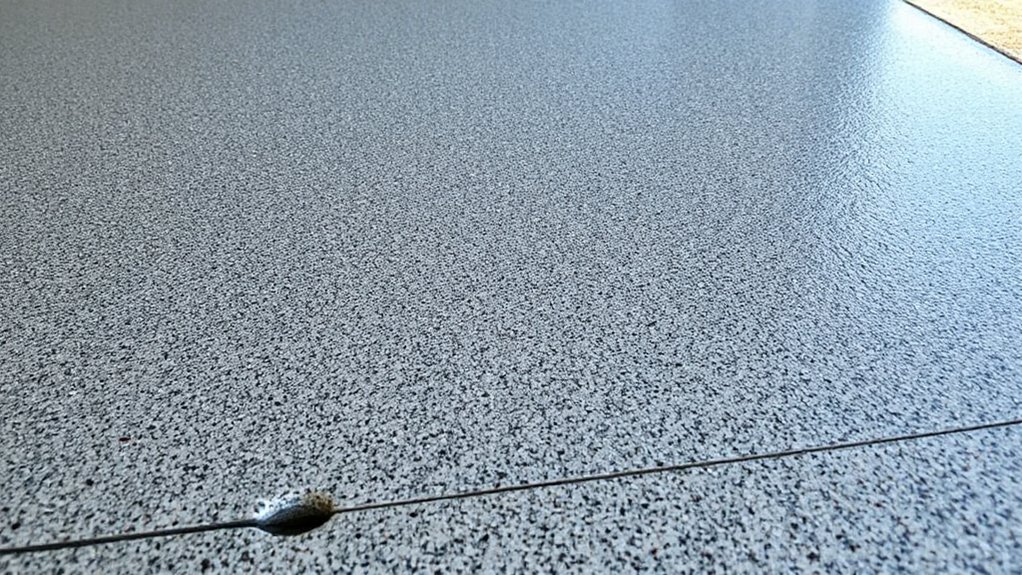
Profiling or etching concrete creates a mechanical key that maximizes coating adhesion and eliminates hydrostatic barriers. You assess profiling methods by surface condition and target grip, not merely aesthetics.
Mechanical profiling exposes aggregate and increases roughness to a controlled depth, balancing traction with surface integrity. Etching uses chemical or abrasive action to open pores, reducing surface contamination’s impact on bond.
You compare methods on consistency, safety, and substrate compatibility, recognizing that excessive roughness can create weak planes under impact. Measure porosity changes to predict coating performance, ensuring open, interconnected pores without microcracking.
Surface contamination at the interface—dust, efflorescence, or oil—must be removed to avoid weak bonding zones. Consider porosity distribution across the slab to achieve uniform adhesion and durable grip for long-term resistance to traffic and moisture.
Must-Have Primers and Sealers for Concrete Floors
From there, selecting the right primers and sealers is the next step to guarantee the concrete surface you’ve prepared bonds reliably and remains durably protected under traffic and moisture.
You’ll evaluate adhesion, porosity, and cure times before application, ensuring compatibility with your chosen topcoat. Correct primer/sealer choice reduces porosity, controls moisture migration, and stabilizes texture patterns for a uniform finish.
Color options, where available, should be considered to reduce glare and improve visibility during curing.
- Assess substrate porosity and moisture mitigation needs
- Verify compatibility with the intended topcoat and traffic level
- Choose primers that promote uniform color options and texture patterns
- Plan curing time and surface preparation steps to prevent delamination
Best Epoxy Coatings for Heavy-Use Garages
Epoxy coatings for heavy-use garages must withstand frequent traffic, hydraulic lift setups, and chemical exposure without peeling or staining. You evaluate formulations by resin system, cross-link density, and gloss finish, prioritizing abrasion resistance and chemical tolerance.
Epoxies with aluminum or silica fillers often improve wear without sacrificing cure stability, but they can complicate surface preparation.
Opt for 100% solids or high solids formulations to minimize VOCs while maximizing film thickness per coat.
Consider trowel-applied broadcast textures for traction in wet areas, balanced with cleaning ease.
For practical workflow, choose colors and quantiles that support garage lighting plans, reducing glare and aiding safety.
Integrate storage organization features, such as labeled zones and modular shelving, to keep high-use aisles clear and coatings intact.
Polyurea vs. Polyurethane: Which Is More Durable?
Polyurea and polyurethane coatings both serve demanding garage environments, but they diverge in durability under real-world use. You’ll compare their toughness, cure response, and long-term performance, focusing on impact, abrasion, and chemical resistance.
Polyurea generally delivers higher crack-bridging capability and faster cure, translating to quicker return to service, while polyurethane offers excellent fatigue resistance and UV stability in some formulations. In practice, choice hinges on expected wear patterns, traffic, and maintenance routines.
Consider color options and texture options as functional signals of protection and slip resistance.
- Cure speed and return-to-service
- Abrasion and impact resistance
- Environmental and chemical tolerance
- Aesthetic versatility (color/texture)
Acrylic vs. Epoxy: Which Lasts Longer on Concrete?
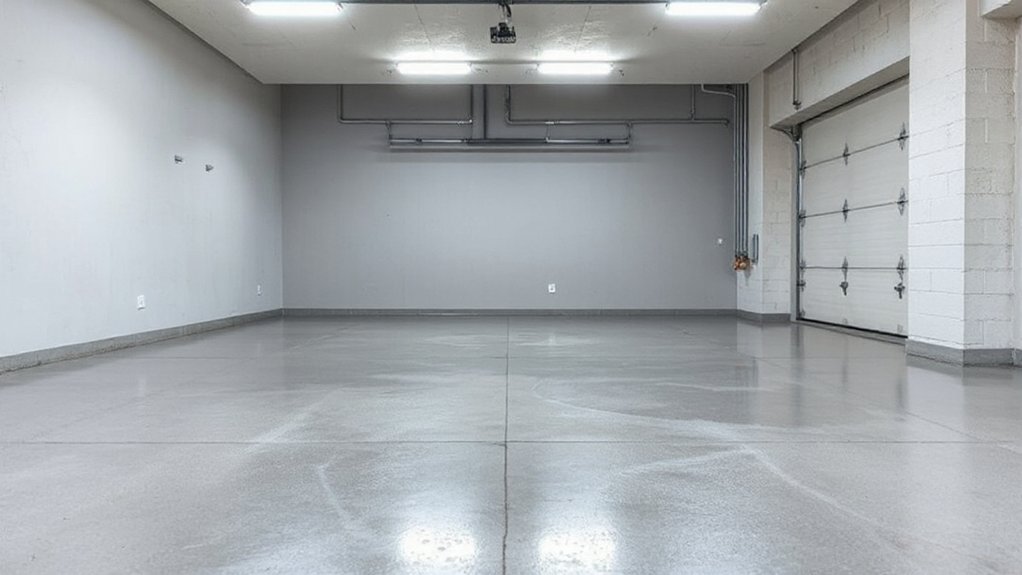
Acrylic coatings and epoxy coatings each offer distinct durability profiles on concrete, and their longevity hinges on substrate preparation, exposure conditions, and maintenance. You’ll find acrylics cure faster and resist UV fading, but they tolerate temperature swings poorly and may wear quicker under heavy traffic.
Epoxies deliver superior hardness and chemical resistance, lasting longer in garages with frequent use, yet they’re more sensitive to moisture during cure and can chalk or yellow if UV-protected. In practice, you should compare adhesion tests, surface profile, and proper priming to optimize longevity.
Color options exist for both, but Epoxy typically holds color longer in high-traffic areas. Texture finishes add grip; however, they can compromise micro-crack visibility. Choose based on traffic, cleaning regimen, and exposure before deciding.
Moisture Testing: Do You Really Have a Water Problem?
Moisture in the slab is a common source of coating failures, so you should verify moisture presence before choosing or applying any garage-floor coating. You assess moisture with non-destructive tests, then confirm with moisture-membrane or relative humidity methods as appropriate. The goal is to determine if water infiltration will compromise paint adhesion before selection.
- Document ambient and substrate conditions to gauge risk.
- Use calibrated tests and follow manufacturer guidelines for accuracy.
- Cross-check results from multiple methods for consistency.
- Decide on a moisture mitigation or coating approach based on objective data.
Key takeaway: if testing shows moisture, expect compromised paint adhesion and potential peeling, and adjust materials or preparation accordingly.
Repairing Cracks and Controlling Joints Before Coating
Cracks and joints in the slab must be addressed before coating to guarantee substrate uniformity and long-term adhesion. You inspect crack characteristics—width, active movement, and exposure to moisture—to determine appropriate repair methods.
For wide or shifting cracks, use epoxy or polyurethane injections to restore continuity. Then re-clean the surface and fill joints with an elastomeric or polyurea sealant compatible with your coating.
Control joints should be prepared by routing, cleaning, and sealing to prevent telegraphing and differential movement.
Surface preparation, including thorough degreasing, ensures proper coating bond and longevity.
Consider garage organization and lighting solutions to improve inspection accuracy and repair accessibility, reducing oversight.
Document repairs for future maintenance cycles, and schedule follow-up checks to confirm joint integrity before application.
Temperature and Humidity Guidelines for Application
Set and monitor the temperature range required for ideal adhesion, curing, and coating durability, ensuring your substrate and product meet the specified limits.
Maintain humidity within the defined level caps to minimize defects such as blanching, blisters, or poor film formation.
The application window should be identified and respected, so you can plan timing and workflows around the precise temperature and humidity conditions.
Temperature Range Requirements
Temperature and humidity control are vital for proper garage-floor coating application. You’ll find that the acceptable temperature range depends on the specific paint formulations, but generally, a stable environment minimizes viscosity shifts and curable differences.
Temperature stability is essential to achieving consistent film thickness and adhesion, reducing early defects.
- Maintain ambient temperatures within the manufacturer’s recommended window for your paint formulations.
- Avoid rapid temperature fluctuations during mixing, application, and cure.
- Monitor substrate temperature to align with product guidelines, preventing premature skinning or blooming.
- Control heat sources and airflow to prevent localized hot or cold spots that could alter cure kinetics.
Humidity Level Limits
Maintain a controlled environment by using humidity management strategies, such as dehumidification or climate control, to keep guidelines within manufacturer-recommended ranges. Don’t rely on ambient readings alone; use a calibrated gauge at the coating surface before and during application.
Moisture barriers, if specified, must be installed and verified for integrity prior to coating, as breaches enable moisture ingress that undermines adhesion. Record conditions and adjust your schedule to minimize dew point gaps, ensuring consistent film formation, adequate cure, and durable performance.
Application Temperature Window
Because coating performance hinges on the interaction between film formation and ambient conditions, the application temperature window must be defined and followed precisely. You should verify the substrate and ambient temperatures align with the specified range prior to mixing and application, as deviations can impair cure and adhesion.
- Confirm recommended temperature range for the coating system.
- Monitor substrate surface temperature and ambient humidity during application.
- Anticipate temperature shifts and adjust with shading or heating as needed.
- Evaluate color options and texture variations post-curing for consistency and performance.
Easy Techniques for Even Concrete Paint Application
To guarantee an even concrete paint application, prepare the floor thoroughly: remove debris, repair cracks, and etch or clean the surface to create adequate porosity.
You apply primer evenly, using a short-nap roller to avoid overlap lines and to promote uniform adhesion. Maintain a consistent work pace, preventing pooling by blending edges into the center.
Use a dense, compatible topcoat applicator and follow the manufacturer’s recoat intervals to avoid film defects. Work in defined sections, feathering edges to prevent lap marks, and monitor ambient conditions to sustain pot life.
Consider color options during final inspection to ensure hue consistency under lighting. Evaluate decorative finishes for texture compatibility, ensuring the base coat remains flat and free of dust before masking edges and curing fully before traffic.
Preventing Hot Tire Pick-Up and Chemical Damage
Hot tires transfer heat that can soften or damage fresh coatings, so you must assess heat exposure and cure times for each formula.
Chemical resistance matters because solvents and cleaners can attack bonds, so evaluate the coating’s data sheet for compatibility with common automotive chemicals.
Start by testing a small area under typical conditions to confirm resistance to both heat and chemical contact before wider application.
Hot Tire Impact
Will hot tires damage epoxy or polyurethane garage floors, and how can you prevent it? You’ll assess heat effects by focusing on heat transfer, substrate quality, and coating cure. Hot tread and tire grip influence contact duration, which drives potential degradation through softening, micro-cracking, and delayed recovery.
Evaluate durability through tested resistance to radiant heat and dynamic loading. Prevention hinges on proper coating selection, substrate preparation, and maintenance practices.
- Choose heat-tolerant formulations with high-gloss, low-porosity surfaces.
- Guarantee full cure before exposure to vehicle traffic and heavy loads.
- Install proper expansion joints and consider protective mats at entry points.
- Maintain air-circulating ventilation to minimize heat buildup and chemical concentration.
Chemical Resistance Matters
Chemical resistance defines whether a garage floor coating can withstand hot tire contact alongside aggressive chemical exposure. You evaluate formulations by chemical resistance ratings, cure chemistry, and substrate prep, not just color. Some coatings resist hydrocarbons, solvents, and degreasers better than others, reducing hot-tire pick-up and solvent attack.
You’ll want to verify film integrity after simulated spills and elevated temperatures, then compare breakthrough times and gloss retention. Consider the tradeoffs between flexibility and hardness, because too rigid a film can crack under thermal cycling, while too soft a film may gouge under tire load.
Color options can signal resin chemistry but don’t rely on appearance alone. Budget considerations matter; prioritize durability and compatibility with your environment to avoid premature failure and ongoing maintenance costs.
Real-World Durability Tests You Can Trust
Real-world durability tests for garage floor coatings reveal how they stand up to daily use, chemical exposure, and temperature fluctuations. You’ll evaluate adhesion, chip resistance, and abrasion under real conditions, not just specs. Short-term and long-term results guide selection for performance and cost.
- Adhesion under impact and scraping
- Chip and scratch resistance after chemical spill simulations
- Temperature cycling and UV exposure effects
- Longevity metrics tied to maintenance routines
These tests help plan practical outcomes for your space, including Garage lighting considerations and Storage organization impact on wear patterns. You’ll compare coatings with objective wear data, ensuring your choice meets real-life demands rather than marketing claims.
Precision in the testing protocol translates to reliable expectations about maintenance intervals and finish longevity, enabling informed decisions for durable, aesthetic floors.
Maintenance Habits to Extend Garage Floor Life
One practical takeaway from real-world durability tests is that routine, targeted maintenance directly influences floor life as much as coating selection. You should implement a disciplined inspection routine, promptly addressing cracks, pitting, or moisture intrusion before coating degradation accelerates.
Daily use patterns matter: reroute heavy-traffic loads, remove spills quickly, and blot moisture to minimize solvent exposure on the coating. Schedule periodic cleanings with pH-neutral detergents and avoid abrasive cleaners that dull gloss or remove protection.
Track wear in high-traffic zones and recoat those areas on a planned cycle, not a reactive one. Maintain garage organization to reduce stray grit and grit-related abrasion.
Improve lighting to reveal early defects during inspections, enabling timely maintenance and more consistent coating performance over time.
When DIY Coatings Match Pros in Performance
When DIY coatings can rival professional products, it’s because carefully selected formulations deliver comparable chemical resistance, durability, and gloss retention under typical garage conditions. You’ll evaluate performance by comparing scratch resistance, wear under rolling loads, UV stability, and ease of maintenance.
Consider how garage lighting and cleanliness affect perceived gloss and color consistency. Storage organization impacts long-term protective outcomes, since clutter can trap moisture or abrade surfaces during movement.
- Assess chemical resistance against common solvents and fuels.
- Measure wear after simulated traffic and tool impacts.
- Check gloss retention under standard lighting and cycles.
- Review cleanup ease and adhesion longevity with routine maintenance.
Choosing Finishes for Heavy-Use Garages
Epoxy or polyaspartic options offer high durability, but you weigh UV exposure, chemical spill profiles, and temperature cycling to prevent delamination. Consider slip resistance grades and cleanability, ensuring finishes tolerate solvents, oils, and brake fluids without yellowing.
Installation precision matters: surface profiling, moisture testing, and proper primer choices reduce adhesion failures. Integrate garage lighting to highlight surface flaws and guide coating choices, while storage solutions influence traffic patterns and cleaning reach.
Final selection should balance performance, maintenance needs, and long-term cost efficiency.
Budget vs. Longevity: Making Smart Choices
Budget decisions in garage flooring hinge on balancing upfront cost against long-term performance, maintenance needs, and total ownership. You’ll evaluate coatings by durability, ease of recoat, and wear resistance, then map costs to lifecycle savings.
Color choices matter for visibility and reflectivity, but must be weighed against pigment stability and contamination resistance. Your assessment should translate into concrete budget considerations, not just initial sticker price.
1) Compare upfront material and installation costs versus expected repeat applications.
2) Quantify maintenance frequency and supply/service expenses over time.
3) Assess downtime impact during upgrades and potential productivity losses.
4) Align color choices with functional goals and maintenance requirements for long-term value.
Common Mistakes That Lead to Peeling (And How to Avoid Them)
You’ll see peeling when surface prep isn’t thorough or when primer choices don’t match the substrate.
Missteps in Surface Preparation Pitfalls and improper Primer Use missteps undermine adhesion, causing premature failure.
This section evaluates exact causes and concrete fixes to prevent rolls, chips, and flaking.
Surface Preparation Pitfalls
Surface preparation mistakes are the primary cause of peeling on garage floor coatings, so you must assess and correct deficiencies before applying any finish. You’ll evaluate substrate condition, remove contaminants, and select compatible products to ensure adhesion. Improper levelling or moisture trapping undermines performance and invites failure. To minimize risk, follow a disciplined sequence and verify results before coating.
- Inspect substrate moisture and porosity, addressing any dampness or efflorescence.
- Degrease and etch to remove oil, dust, and old coatings, ensuring a clean profile.
- Repair cracks and spalls, then recheck flatness and moisture barriers.
- Plan finish aesthetics with color schemes and decorative accents, ensuring products tolerate planned design choices.
Proper Primer Use Missteps
Primer choice and application mistakes are a major source of peeling after garage floor coatings, so you must get the primer right before proceeding. In this phase, missteps include mismatched primer chemistry to substrate, inadequate surface compatibility, and neglecting cure time.
Primer selection must align with the chosen coating system and concrete conditions, or coating adhesion will suffer. Don’t skip etching or profiling, since roughness enhances mechanical locking.
Avoid applying too thick or too thin coats; both impair film formation and bond strength. Temperature and humidity windows matter: out-of-spec conditions trap solvents and weaken penetration.
Verify humidity-compatible primers for damp slabs, and confirm compatibility with top coats. Finally, adhere strictly to recoat intervals; premature top-coat application undermines adhesion and longevity.
Frequently Asked Questions
What Paints Resist Peeling Without Epoxy or Polyurea?
Multiple paints resist peeling best when you choose epoxy or polyurea alternatives? Actually, you asked without epoxy or polyurea. Use high-solids acrylic, concrete stain, or acrylic sealers; color options vary, but preparation matters. Follow application techniques precisely for durability.
Do Garage Floors Peel From Oil or Chemical Spills?
Yes, oil or chemical spills can cause peeling. You should inspect with garage floor cleaning, then perform paint adhesion testing to assess bond strength, identify damage, and determine if resealing or coating removal is required for durable adhesion.
Is Moisture the Sole Cause of Coating Peeling?
Moisture isn’t the sole cause of coating peeling; improper surface preparation and poor primer compatibility play major roles. You must guarantee thorough surface prep and use primers compatible with your garage floor epoxy or polyurethane system.
Can Top Coatings Prevent Tire Burn and Hot Pavement Damage?
Yes, top coatings can reduce tire burn and pavement damage, but protection hinges on formulation and application. You’ll improve garage floor aesthetics, evaluate options, and choose a durable paint color options while monitoring heat and abrasion risks.
Do Coatings Peel Sooner in Garages With Radiant Floor Heat?
Radiant heat can reduce coating adhesion, causing coatings to peel sooner in heated garages. You’ll notice weakened adhesion where thermal cycling occurs, so evaluate substrate prep and coat formulation carefully to mitigate debonding and prolong durability under radiant heat conditions.
Conclusion
You want a coating that sticks like a barn door in a hurricane, and with the right prep, you’ll get it. Epoxy remains the king for durability, followed closely by polyurethane and polyurea for flex and UV resistance. If you profile, prime, and clean properly, peeling becomes a myth. Skimp on prep and even the best formulas crumble. Choose durable systems, match them to foot traffic, and your garage floor won’t peel—ever.