

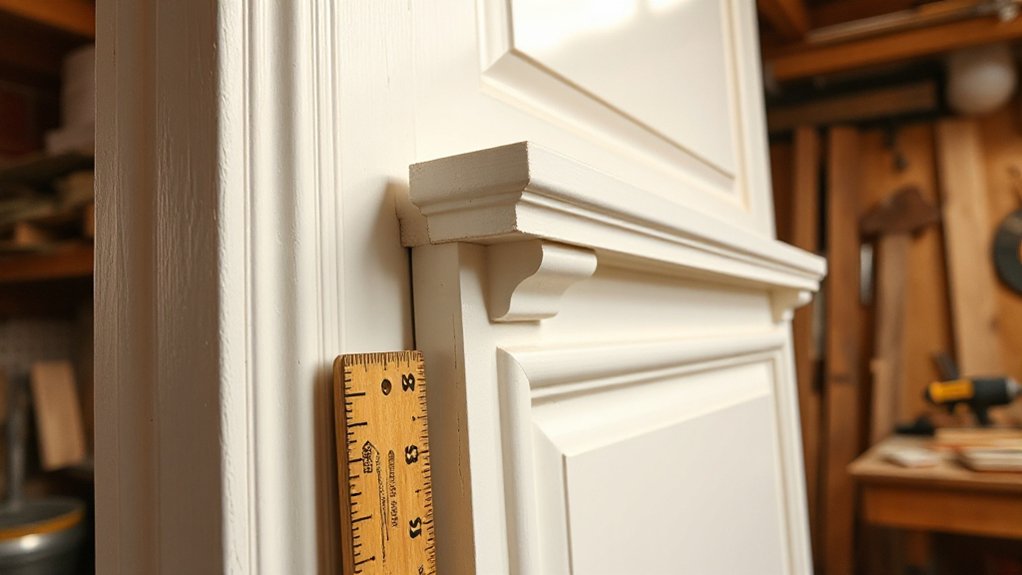

To elevate builder-grade doors, start by evaluating swing, gaps, and reveals, then sketch precise molding plans that match your existing trim and style. Choose profiles that suit the room—slim, rectilinear for modern spaces or decorative for traditional looks—and plan joinery, lengths, and corner changes before cutting. Gather tools, set up safely, and dry-fit pieces before gluing and nailing. Finish to match adjacent trim, testing for color and texture; subtle tweaks now prevent future issues, and more tips await.
Key Takeaways
- Assess door swing, gaps, and alignment before adding molding to ensure smooth operation and even reveals.
- Match molding profile to existing trim and architectural style for cohesive integration.
- Plan with scaled sketches, precise measurements, and joinery details to guide fabrication and installation.
- Use proper tools, clamps, and safety gear; test fit and adjust before final nailing and finishing.
- Finish to match adjacent trim, addressing gaps and seasonal movement with caulk, paint, and adjustable hardware.
Prerequisites and Decisions Before You Add Door Molding
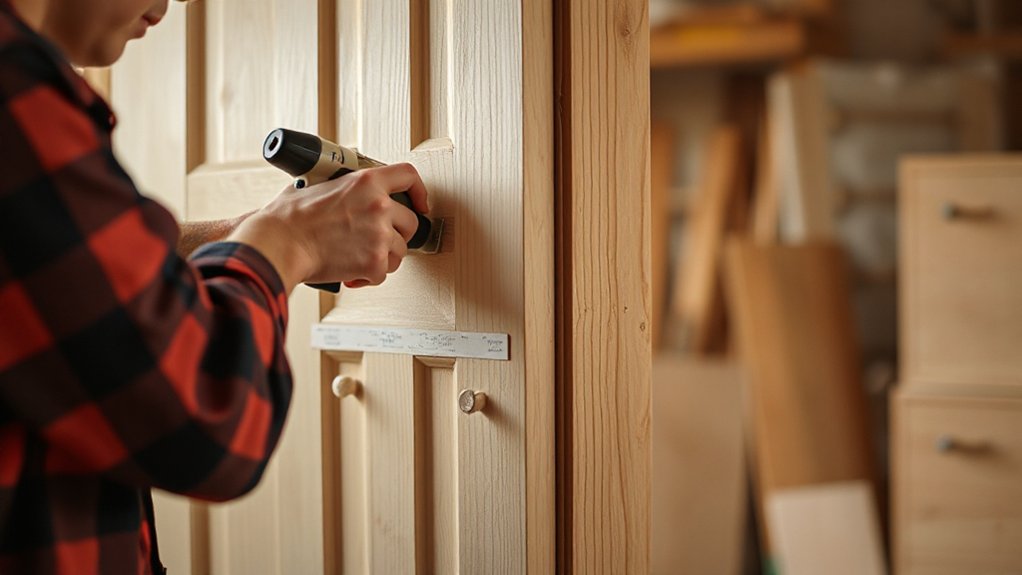
Before you add door molding, take stock of your doors and space. You’ll assess hinge alignment first, ensuring doors swing smoothly without binding or sag. Check gaps at jambs and above and below the door to confirm uniform spacing.
Decide on a molding style that complements existing trim and architectural cues, avoiding heavy profiles on ultra-slim builder doors. Consider door swing direction, clearance for hardware, and whether you’ll need casing modifications.
Address paint color coordination early: choose a base color that harmonizes with adjacent walls and your molding profile, then plan any accent tones.
Measure door widths precisely, noting any deviations that could affect quarter-rounds or plinth blocks.
Finally, confirm installation sequencing, whether you’ll repair minor surface inconsistencies before molding, and compile a straightforward tool list.
Pick Door Molding Profiles That Match Your Style
Choosing door molding profiles that align with your style starts with matching the profile to your trim and architectural cues. You’ll weigh a few core concepts: how the molding’s depth, scale, and ornamentation relate to door style and the surrounding spaces.
Start with simple profiles for clean, modern interiors, then consider more decorative molding patterns to echo crown molding, baseboards, or cabinetry details. If your trim is flat and minimalist, opt for slim, rectilinear profiles that read crisp and cohesive.
For traditional or transitional spaces, look for profiles with nuanced curves, small beads, or chamfers that subtly nod to era-appropriate detailing. Always aim for proportional balance—avoid overpowering the door opening while ensuring the molding reads as a deliberate design choice.
Measure, Plan, and Sketch Your Door Molding Design
To begin, measure the door opening and surrounding trim carefully, then translate those dimensions into a precise plan. You’ll sketch your molding ideas at scale, noting profiles, casing lengths, and corner transitions.
Focus on proportion: match the door’s trim line, invert or elevate decorative accents, and ensure even reveal along the frame. Draft multiple layouts, tallying how each interacts with existing architectural cues.
Consider historical styles you want to evoke, such as strong verticals or understated moldings, and record how they influence spacing and corner treatment.
Translate sketches into a cohesive grid, labeling joinery, miters, and alignment references. This planning phase saves revision time, clarifies fabrication needs, and guides a polished, door-to-room edge that reads as intentional, cohesive design.
Tools, Materials, and Safe Setup for Door Molding
You’ll want the right tools set up before you start, from a sharp miter saw blade to a precise measuring setup, so cuts stay clean and true.
Prioritize safe practices with personal protective gear, dust management, and a secure work surface to keep projects aligned and drama-free.
Keep your materials organized—trim, molding, and fasteners within reach—so your design stays deliberate and the workflow stays efficient.
Tool Setup Essentials
When you set up for door molding, start with a clean, stable workspace and select the right tools, materials, and safety measures to guarantee precise, repeatable results.
Organize a sharp utility knife, a coping saw, a block plane, a counterbore or adjustable drill, and a reliable squared guide.
Choose molding profiles that complement your door and hardware compatibility, prioritizing clean cuts and minimal edge damage.
Gather straightedge, masking tape, sandpaper, and a fine countersink bit for clean reveals.
Use quality clamps and a mounting square to maintain consistent alignment.
Keep decorative accents in mind, ensuring transitions flow with room aesthetics.
Confirm fasteners and hinges match your chosen hardware, and protect the surface with low-dust sanding and dust collection.
Finally, set aside time to verify fit before finishing.
Safe Door Molding Practices
Smart door molding starts with a deliberate safety plan: prep a clean, stable workspace, secure clamps and a squared guide, and wear appropriate PPE before you touch a saw. You’ll align, cut, and fit with confidence, prioritizing balance and repeatable results.
Focus on precise measurements, marked lines, and dust control to preserve finish quality and create cleaner joints. Remember door molding history informs choices, while popular molding styles guide style decisions.
Use sharp blades and slow feeds to avoid tear-out, and test-fit before final glue or nails. Keep tools organized and away from kids or pets.
- PPE and workspace setup
- Tool sharpness and cut techniques
- Material handling and dust control
- Test-fitting and finishing steps
Install Door Molding for a Clean Edge
Installing door molding creates a crisp, finished edge that highlights the door and hides gaps. You’ll start by trimming the molding to fit the door’s height, then measure and miter corners for a seamless reveal.
Use a sharp utility knife to score paint or caulk, preventing tear-out when you set the molding in place. Apply a thin bead of wood glue to the back, then press firmly and clamp until secure.
Nail along studs or crowning blocks with small finish nails, keeping heads flush. Fill nail holes and gaps with matching putty, then smooth for a clean surface.
Decorative accents elevate the look, while nods to historical styles keep the installation cohesive with surrounding architecture. Ready for the next step, just guarantee joints stay tight.
Finish Door Molding: Paint or Stain for Seamless Integration
To achieve a seamless look, choose a finish—paint or stain—that matches the surrounding trim and door finishes. You’ll want a result that reads as one surface, not separate pieces. Consider color matching across light, shadows, and natural wear to avoid jarring contrasts.
When selecting materials, prioritize low symmetry gaps and consistent grain so the molding reads cohesively with the door.
- Color matching: pick a hue or shade that blends with adjacent trim and doors
- Material selection: choose solid wood or high-quality MDF with a compatible veneer
- Finish consistency: guarantee stain or paint coats align with neighboring surfaces
- Subtle sheen: match sheen level to surrounding trim for a unified sheen
This approach delivers a polished, design-focused result with minimal upkeep.
Troubleshoot Common Issues and Tweaks

Start by checking door gaps and adjusting them for even spacing across the frame. Small shims or hinge tweaks can make a big difference in how the molding reads.
Then seal and finish edges consistently to prevent visible seams and to protect against moisture and wear.
Finally, consider warp tolerance and plan tweaks—slight hinge tightening, brace alignment, or subtle planing—to keep the door square and operation smooth.
Align Door Gaps Properly
Ever wondered why door gaps don’t line up perfectly after all your hard work? The fix begins with a careful door gap adjustment and precise molding alignment. You’ll want to check the door’s hinge side first, then tweak the strike and weather-strip clearances as needed.
Small shims behind hinges can tighten or loosen gaps without sprawling changes. Use a square and a level to confirm vertical and horizontal balance, then re-sand any misaligned molding edges for a seamless look.
- Inspect gaps at top, middle, and bottom for consistency
- Adjust hinge screws and shims to even gaps
- Test with a straightedge to verify alignment
- Re-seal exposed edges after final fit for a clean finish
Seal And Finish Edges
Weather sealing and edge finishing often reveal small gaps or misalignments you didn’t notice earlier, so address them now before the final trim. You’ll seal only where needed, using a compatible weatherstrip that compresses without binding the hinge side.
Smooth any rough edges with a fine sanding block, then wipe clean prior to caulking. Apply a thin bead along joints, tool it smooth, and let it cure before painting or staining.
When finishing, choose a low-sheen, washable top coat to highlight decorative accents while preserving subtle shadows on profiles. For historical styles, favor colors and finishes that respect the door’s era-appropriate character, avoiding overly modern contrasts.
Test your finish on a scrap strip to guarantee uniform adhesion and color match across edges.
Adjust for Warping Tolerances
Warping happens, but you can compensate by setting tolerances that keep the door swinging true. When you plan molding and hinges, account for wood expansion and seasonal shifts so the reveal stays consistent. Use intentional gaps and adjustable hinges to absorb movement without bind or misalignment.
Favor straighter-grain stock and simulate humidity swings during installation, then fine-tune in place.
- Check reveals at multiple seasons and adjust hinge plates accordingly
- Allow small, even gaps at edges to enable natural wood expansion
- Use material flexibility in the casing design to reduce binding
- Refinish only after tolerances prove stable across a cycle
With these steps, your door remains balanced, and the molding reads as integrated rather than forced.
Frequently Asked Questions
How Long Does Door Molding Installation Typically Take?
Installation typically takes half a day to a full day, depending on door count and detail. You’ll compare door molding styles, prep surfaces, and use proper installation tools for a polished, design-focused result you’ll love.
Can I Remove Door Casing After Molding?
Yes, you can remove door casing, but plan carefully. If you’re removing molding removal, support the door frame and avoid damaging the frame. Inspect for nails; repair any gaps, then repaint to finish your Door frame look.
What Gaps Are Acceptable Around the Molding?
A hypothetical sealant specialist shows you: acceptable gaps around molding are 1/16 to 1/8 inch. In your project, measure gap accurately, adjust with shims as needed. Molding styles influence gaps; aim for seamless, even alignment.
Is Filler Needed for Nail Holes or Seams?
Yes, you should fill nail holes and seams. Apply filler evenly, then smooth for seamless seam concealment; allow proper drying, sand lightly, and finish to match molding. Filler application guarantees a crisp, professional look.
Can I Switch Molding Profiles Mid-Project?
Did you know 62% of projects fail when profiles mismatch? You can switch molding profiles mid-project, but verify molding profile compatibility first, and consider custom molding options to maintain a cohesive look without delays or gaps.
Conclusion
You’ve got this: adding molding to builder-grade doors is doable, deliberate, and transformative. Approach it like assembling a tiny jewelry box—precision, patience, and a touch of flair pay off. I once watched a novice level a doorway, then snap in a slim casing, and suddenly the room felt custom, not cookie-cutter. If you measure twice, cut once, and finish neatly, your doors will blend so well you’ll forget they weren’t always this refined. Finish strong, and enjoy the enhanced detail.



