For a lighting plan that solves everything, map each room by its primary and secondary roles—ambient for atmosphere, task for work zones, and accent for highlights—then layer lighting with dimmable options to adapt quickly. Choose scalable fixtures, like adjustable heads or modular systems, and route cables cleanly to keep spaces calm. Use smart controls to automate scenes and align with daylight, while routine checks protect efficiency and safety. If you keep digging, you’ll uncover practical steps to implement this plan.
Key Takeaways
- Diagnose room usage and map lighting zones to tasks, moods, and hours to cover needs without guesswork.
- Apply layered lighting (ambient, task, accent) with dimmers and modular fixtures that scale to space.
- Prioritize safety and maintenance: unobstructed aisles, secure cords, accessible wiring, and regular component checks.
- Design with ambiance in mind: warm-to-neutral whites for living areas, cooler temps for kitchens/work zones, and film-friendly lighting for media spaces.
- Leverage smart controls and automation: occupancy sensors, scene triggers, and energy schedules for consistent, efficient lighting management.
Diagnose Your Apartment: Define a Lighting Plan That Solves Everything
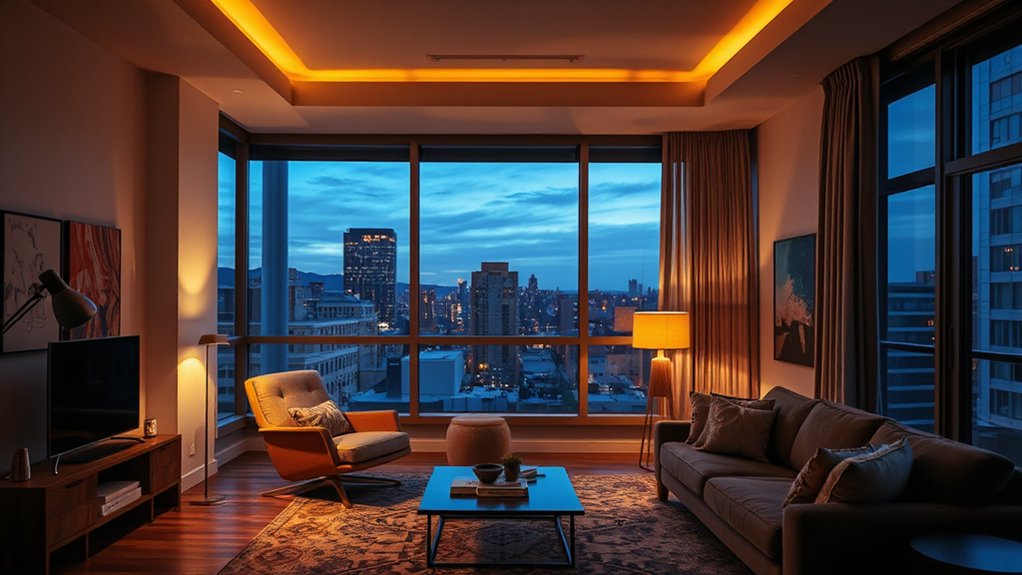
Start by mapping how you actually use each room: where you work, cook, relax, and sleep. You’ll diagnose gaps, not guesswork. Identify tasks, moods, and hours of use, then translate them into lighting zones with precise purpose.
Prioritize Lighting aesthetics that support function while enhancing ambiance, so you don’t chase trends you won’t keep. Map outlets, switches, and fixture options that cover needs without waste.
Consider color temperature, dimming, and glare control to keep spaces comfortable from morning through night. Confirm decor integration by matching fixtures to furniture and finishes, creating a cohesive look rather than a mismatched maze.
Document a practical plan: zone counts, control types, and a simple upgrade path. This blueprint guides purchases, installs, and future tweaks with clarity.
Layered Lighting Essentials: Ambient, Task, and Accent in Small Spaces
Layered lighting builds on your plan by assigning each space a clear role: ambient for overall balance, task lighting where you work or cook, and accent lighting to highlight art or architectural features.
In small spaces, blend these layers so one fixture covers multiple roles without clutter. Use dimmers to switch moods and save energy, and place task lights where you need precision—over counters, desks, and reading nooks.
Accent lighting should pop features without glare, like wall washers on subtle textures or picture lights for art. Creative lighting hacks and DIY fixture upgrades let you customize tone, color temperature, and layout affordably.
Keep lines clean, avoid over-lighting, and test at night to confirm balance.
- Layer with intent, not quantity
- Use dimming and color contrasts
- DIY fixture upgrades for tailored brightness
How to Map Rooms to Roles: Zoning for Mood and Function
You’ll start by mapping each room to a primary role, then layer in mood and function to guide lighting choices. Consider how spaces flow together and where zones overlap, so ambient, task, and accent lighting support daily rhythms.
This approach keeps your plan practical, scalable, and easy to adjust as routines change.
Map Rooms to Roles
How should you map rooms to roles to create effective zones for mood and function? You’ll assign each space a primary function and secondary needs, then align lighting with those roles. Prioritize work areas with focused, brighter artificial illumination, while lounging zones get softer, ambient light. Sleep spaces benefit from dimmable layers and blackout-friendly options.
Consider natural lighting by scheduling tasks to leverage daylight and using window areas to anchor mood. Create transition rooms with adaptable lighting that can shift from task to relaxation without reconfiguring decor. Keep circuits simple so you can adjust without rewiring. Regularly reassess roles as life changes.
- Define room functions first, then layer light levels.
- Use dimmers and zones to adapt mood on demand.
- Balance artificial illumination with natural lighting for coherence.
Zoning for Mood Function
Zoning for mood and function starts with assigning each room a primary purpose and a secondary need, then tuning lighting to support those roles. You map spaces by how you live, not by walls alone, ensuring every area reinforces desired atmospheres.
For living rooms, blend ambient and task layers to invite conversation yet support reading or crafts; bedrooms demand calm, with dimmable layers that soften edges and cue relaxation.
Kitchens require bright task light near counters and strategic, quieter ambient glow for social zones.
Home offices benefit from adjustable white light and focused task light, while entryways use welcoming, low-glare illumination to set tone.
Revisit zones as routines shift; prioritize lighting aesthetics and decor harmony to maintain coherence and function throughout your home.
Color Temperature by Room: What Works Where
Color temperature matters, and choosing the right tone for each room makes a big difference in how spaces feel and function. You’ll tailor color temps to tasks and mood, not just aesthetics, so lighting supports both activity and atmosphere.
In living areas, aim for soft whites (around 2700–3000K) to enhance comfort and color accuracy. Higher temps (3500–4000K) suit kitchens and work zones where focus matters.
In bedrooms, cooler temps discourage lingering, then warm up for relaxation.
Balance color contrast with furnishings to avoid flat lighting, and use mood lighting to cue transitions between activities. Adjust with dimmers for depth and flexibility.
- Match task zones to appropriate temps for clarity and comfort
- Use mood lighting to shift ambiance without changing fixtures
- Treat contrast between light and decor as a design tool
Pick Fixtures That Scale With Your Space
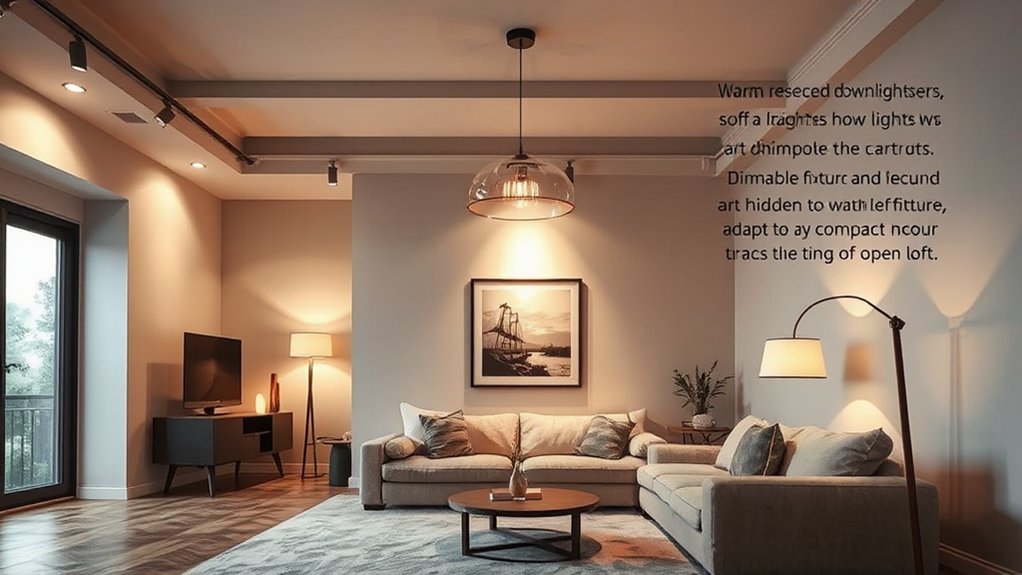
Start with fixtures that scale to your space so you can adjust as rooms change. Choose adjustable heights, dimmers, and modular lighting that can expand or contract without swapping everything.
These moves keep your plan practical, and they make future updates smooth and affordable.
Scale With Space
How well your lighting scales with the size of your space hinges on choosing fixtures that flex with the room. You’ll want options that modulate output and visual weight, so the glow feels balanced from corners to center.
Favor fixtures with adjustable heads, dimmable drivers, and compact-to-ceiling forms that still read as intentional design. This approach keeps Lighting innovation visible yet restrained, preserving design harmony as you reconfigure layouts or expand rooms.
Prioritize proportional lighting that mirrors the space’s footprint, avoiding oversized statement pieces in tight areas and underlighting in large ones. Precision choices ensure efficiency, consistent color, and adaptable ambiance.
- Choose scalable silhouettes that adapt to wall length and ceiling height
- Match lumen output to room size and use dimming for flexibility
- Favor modular, upgradeable fixtures for future layouts
Adjustable Fixtures Matter
Look for fixture styles that align with your room’s scale and ceiling height, and avoid oversized silhouettes that clash with small spaces. Consider track or rail systems for flexible spot lighting, and use decorative bulbs to add character without sacrificing efficiency.
Decorative bulbs let you express style while maintaining a clean profile. Fixture styles should remain consistent across rooms, ensuring a cohesive look that still accommodates built‑in growth or layout changes.
Task Lighting That Actually Improves Focus and Comfort

Task lighting should reliably boost focus and comfort, not just illuminate a desk. You’ll optimize gains by pairing brightness with color temperature around 3500–4000K, avoiding harsh glare and deep shadows.
Position task lights to flank your primary screen or writing area, ensuring even illumination and reduced eye strain. Use dimmable fixtures to match mood and task, and select models with adjustable aim for precise control.
Integrate decorative accents that complement your space while enhancing light diffusion, and favor fixtures that welcome natural illumination when daylight peaks.
Prioritizing consistency across work zones minimizes fatigue and boosts productivity. Implement a simple routine: set baseline brightness, adjust with time of day, and preserve contrast for readability.
- Decorative accents elevate aesthetics while aiding lighting quality
- Dimmed, adjustable task lamps reduce glare and fatigue
- Align brightness with natural illumination for harmony
Hidden Wiring, Clean Lines: Decluttered, Safe Setups
Hidden wiring and cluttered cables undermine the calm, efficient lighting setup you’ve built. You deserve clean lines and safer layouts that don’t distract from design or function. Start with a centralized plan: map outlets, switches, and fixtures, then route cables discreetly behind walls or ceiling cavities.
Use wireless switches to minimize visible wiring and simplify control zones without adding clutter. Prefer conduit or low-profile raceways when surface routing is unavoidable, keeping paths tight and logic-driven.
Choose decorative fixtures that integrate with the room’s architecture, not fight it—opt for slim pendants, recessed cans, or wall sconces that pull the eye upward. Label junctions and maintain accessible panels, so maintenance stays quick and safe.
This approach yields lighter, safer spaces with refined, practical lighting.
Quick Wins: Weekend-Ready Layouts That Make an Impact
Weekend-ready layouts start with clear space zoning and a few quick lighting tweaks you can make this weekend. Prioritize defining zones for tasks, relaxation, and circulation.
Then tailor lighting to each area with adjustable fixtures and dimmers. You’ll see immediate impact from targeted lighting adjustments that enhance mood, function, and flow.
Weekend-Ready Layouts
If you’re short on time this weekend, these quick-win layouts deliver immediate impact without overhauling your space. You’ll set a clear focal point, use layered lighting, and keep traffic flowing.
Weekend-ready layouts prioritize function, avoid clutter, and leverage existing architectural features. Artistic lighting and Historical fixtures are integrated tactically to elevate character without complexity.
You’ll test layout changes in minutes, then lock in a plan you can scale later.
- Create a central lighting anchor with a single dimmable fixture and complementary task lights
- Highlight architectural details using lightweight, movable accents
- Reposition seating to optimize sightlines and ceiling illumination
These tweaks maximize mood and usability, ensuring a polished look that feels intentional from the moment you walk in.
Quick Lighting Adjustments
Focus on lighting aesthetics: layer light from ambient, task, and accent sources to sculpt depth and mood without clutter. Swap in brighter, cooler bulbs for work zones and warmer tones for relaxing nooks to harmonize the room’s tempo.
Reposition a floor lamp to illuminate a dark corner, or add a compact under-cabinet strip for clear, focused tasks.
When you select fixtures, prioritize fixture selection that matches the space’s scale and style, avoiding oversized or ornate pieces in tight layouts.
Keep controls simple: dimmers or smart plugs let you tailor intensity quickly, preserving energy and atmosphere.
Impactful Space Zones
Want immediate impact this weekend? You’ll create distinct zones that feel purpose-built, not cluttered. Focus on three core areas: entry, living, and tasks.
Use lighting aesthetics to define each zone with intentional contrast—warm, low-wattage grime away from work surfaces, brighter overheads where you prep, and spotlight accents that draw attention to key features.
Color psychology matters: cooler hues for focus in the work zone, warmer tones in the lounge, and neutral, balanced lighting for rest. Keep dimmers handy to adjust mood instantly.
Terrain should guide layout; avoid overlap that muddles zones. Implement ceiling, wall, and table layers to delineate spaces without walls.
- Define zones with layered lighting and contrasts
- Align color tones to function and mood
- Employ dimmers for weekend flexibility
Budget-Smart Upgrades: Big Results on a Small Budget
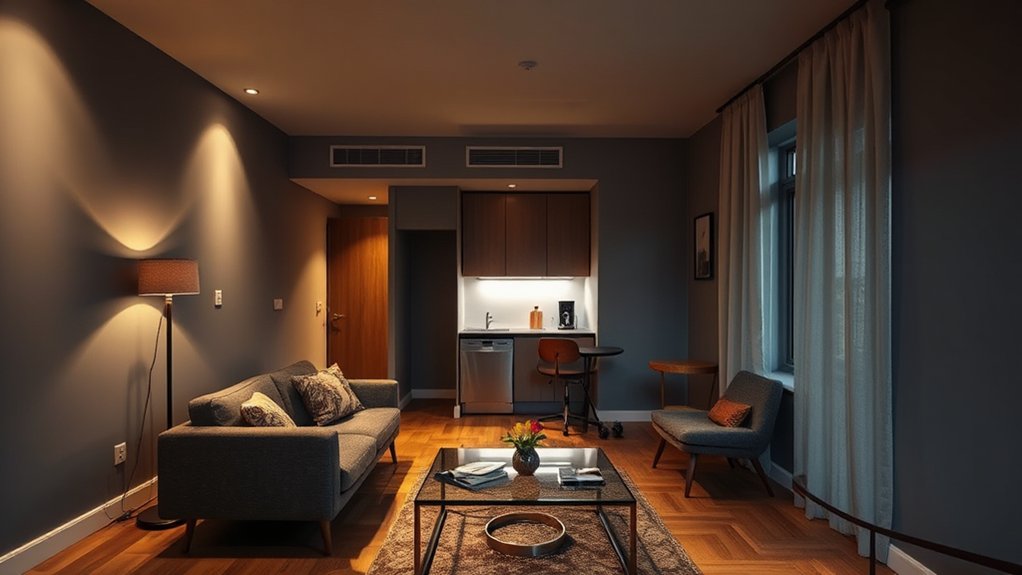
Budget-friendly upgrades can deliver big lighting wins without breaking the bank. You don’t need fancy installs to transform a space; smart, small changes yield measurable impact.
Start with adjustable LED bulbs across rooms to tailor brightness without increasing energy use. Then pair warm and cool tones to refine lighting aesthetics.
Swap fixtures for low-cost, replaceable components that emphasize task lighting in kitchens and work areas. Use dimmers to modulate ambiance and extend bulb life.
Reorganize lamps to balance shadows and highlights, avoiding glare on screens and walls. Choose color temperatures that blend with existing décor, reinforcing color blending while keeping consistency.
Finally, track results: note energy use, mood shifts, and task performance to validate value and guide future tweaks.
Cinematic and Cozy: Lighting for Movie Nights and Lounging
Movie nights benefit from lighting that blends immersion with comfort: you want enough contrast to see the screen without glare, plus warm, layered illumination that creates a cozy vibe during slower moments.
- Prioritize dimmable warm-to-neutral whites to support lighting aesthetics and screen readability without harsh shadows.
- Use layered sources: a low lampshade glow, a back wall wash, and a subtle ceiling fill for color harmony.
- Control glare with indirect, angled lighting and matte finishes to keep the room inviting yet cinema-like.
This approach stays practical: it minimizes distractions, supports film details, and adapts for lounging between scenes.
Keep the focus on balance, not brightness, ensuring the space feels both cinematic and intimate.
Smart Controls That Simplify Your Routine
Smart Scene Automations let you tailor lighting to activities without missing a beat, so your apartment feels ready the moment you need it. You’ll also gain hands-free control with Voice and App Control, making adjustments quick and precise from anywhere.
Pairing energy-saving schedules with smart controls helps you cut costs while keeping every room softly lit for your routine.
Smart Scene Automations
Ever considered how smart scene automations can simplify daily routines? You set scenes that reflect your priorities—work, relax, entertain—without fiddling with switches. These automations synchronize lighting zones, dimmers, and fixtures to create consistent lighting ambiance and energy savings.
You’ll want to map fixture placement so every area feels purposeful, not patchy, with progressions that feel natural rather than abrupt. Program triggers like time, motion, or sensor occupancy to reduce clutter and improve focus at key tasks.
Use scenes that elevate mood during cooking, reading, or movie nights, and guarantee backups so a power glitch doesn’t leave you in the dark. Keep controls intuitive, limit the number of active scenes, and test routinely for reliability.
- Simplify routines with ready-to-use scenes
- Align lighting ambiance with activities
- Validate fixture placement for even coverage
Voice and App Control
In-app control delivers precise adjustments, letting you set scenes, adjust color temperature, and tailor brightness by room. Prioritize app customization to fit your daily flow—rename devices, group lights, and create simple routines that trigger on arrival or departure.
Guarantee feedback from the system confirms changes, so you stay confident in your settings. Maintain security with strong access controls and updated software. With these controls, you simplify routines while preserving comfort and clarity throughout your space.
Energy-Saving Schedules
Looking for energy savings without sacrificing comfort? Energy-Saving Schedules streamline lighting without guesswork. You’ll set routines that align with your daily life, cropping power use during idle periods and boosting around key activities.
Use smart controls to automate dimming, color temperature shifts, and on/off cycles, all while prioritizing energy efficiency. Schedule lights to fade to 20–40% during evenings, then shut off after late-night tasks.
Integrate sensors to prevent accidental leftovers, and sync with natural light to minimize light pollution. Keep your plan simple: tighten peak usage, extend bulb life, and reduce wasted watts.
Regularly review data to refine timers, avoiding flash, glare, or over-illumination. Your apartment stays comfortable, efficient, and quiet.
- Set predictable, energy-conscious routines
- Sync lighting with daylight to curb light pollution
- Audit and adjust timers for ongoing efficiency
Maintenance and Adaptability: Long-Term, Safe, Flexible
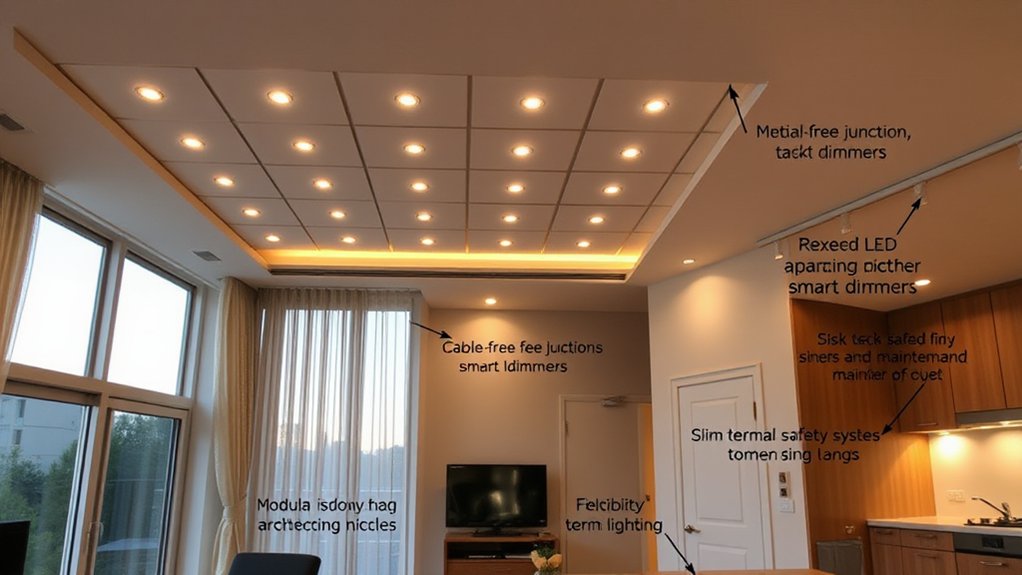
Maintenance and adaptability are essential for a long-lasting, safe apartment lighting plan. You design for durability by choosing robust fixtures, accessible wiring, and clear labeling so you can service quickly without guesswork.
Prioritize modular components and standardized connectors, which simplify upgrades as needs change.
Create a routine: inspect seals, switches, and dimmers; replace worn parts before failure. Document installed devices, wattages, and locations to ease future tweaks.
Favor lighting safety by ensuring aisles stay unobstructed, cords are secured, and emergency exits remain illuminated.
Build adaptability into your layout with adjustable task lighting and dimmable options that suit different activities and moods.
Maintain energy efficiency through routine bulb checks and timely replacements, avoiding oversized retrofits. Regular reviews prevent waste, prolong life, and protect occupants.
Measuring Success: How to Tell If Your Plan Solves Everything
To know if your apartment lighting plan truly works, establish clear success criteria from the start and measure against them. You’ll assess brightness quality, energy use, and adaptability across rooms, times of day, and tasks.
Track alignment with lighting trends while ensuring decorative fixtures stay cohesive with your space, not cluttered. Use simple metrics: lumen levels by zone, dimming reliability, and user comfort ratings.
Compare results to initial targets, adjust for real habits, and document changes. Periodic reviews reveal if your plan maintains function after furniture shifts or seasonal needs.
When criteria are met consistently, you’ve achieved measurable success and a resilient system that stays relevant. Stay pragmatic, objective, and ready to refine.
- Define concrete targets for brightness, energy, and usability.
- Monitor comfort, durability, and fixture coherence with trends.
- Review and adjust with real-life usage data.
A Practical Checklist: Implement, Review, Iterate
A practical checklist keeps your plan moving from concept to reality. Start with a concrete implementation list: prioritize tasks, assign owners, and set deadlines.
Confirm fixture placement early to guide cable routes, outlets, and switch positions. Then map each room’s lighting aesthetics to its use—task, ambient, and accent layers.
As you install, document changes, capture measurements, and compare against your initial criteria.
Review regularly: test lighting at different times of day, observe color rendering, and note glare or shadows.
Iterate by tweaking angles, dimming, or adding layers to improve balance without clutter.
Keep a concise log of decisions and rationale, so future updates stay aligned with core goals.
End each cycle with a quick, objective read: does the plan serve function, mood, and efficiency?
Frequently Asked Questions
How Long Does a Lighting Plan Take to Implement in a Small Apartment?
A lighting plan for a small apartment usually takes 1–2 days to implement, depending on your space. You’ll set ambient ambiance with layered LEDs and maximize energy efficiency, wiring and mounting efficiently so you’re up and running quickly.
Can I Mix Smart Bulbs With Non-Smart Fixtures Effectively?
Yes, you can mix smart bulbs with non-smart fixtures. You’ll prioritize Smart compatibility and Fixture coordination, ensuring compatible dimming, color, and load handling. Keep wiring simple, use a hub if needed, and test scenes before committing fully.
What’s the Best Light Color for Working From Home Spaces?
Color temperature around 4000–5500K works best for work-from-home spaces, balancing alertness and accuracy. Use bright task lighting for focused tasks, and keep ambient light similar in temperature to reduce glare and eye strain.
How Often Should I Reassess Lighting as Furniture Changes?
Reassess every time furniture placement or natural light changes—do it as often as you’ll need, practically. You’ll adjust seasonally, quarterly, or with major redecorating, ensuring your lighting aligns with the room’s flow and tasks.
Do Affordable Fixtures Affect Mood as Much as Premium Ones?
Affordable fixtures can affect mood, but premium ones often deliver steadier, tunable lighting for mood enhancement. You’ll notice similar base impact with affordable options if you pick good color temperature, brightness, and consistency, focusing on fixture affordability without sacrificing quality.
Conclusion
You’ve mapped your space, layered its light, and tuned every corner to work for you. With zones, color temperature, and smart controls, you’ll glide from tasks to mood without a second thought. If a room feels off, adjust the plan, not the wall. This is your living compass, lighting for life. The light is your ally, not your backdrop—remember: clarity isn’t brightness alone, it’s direction. Keep iterating, and your apartment finally becomes the solution.