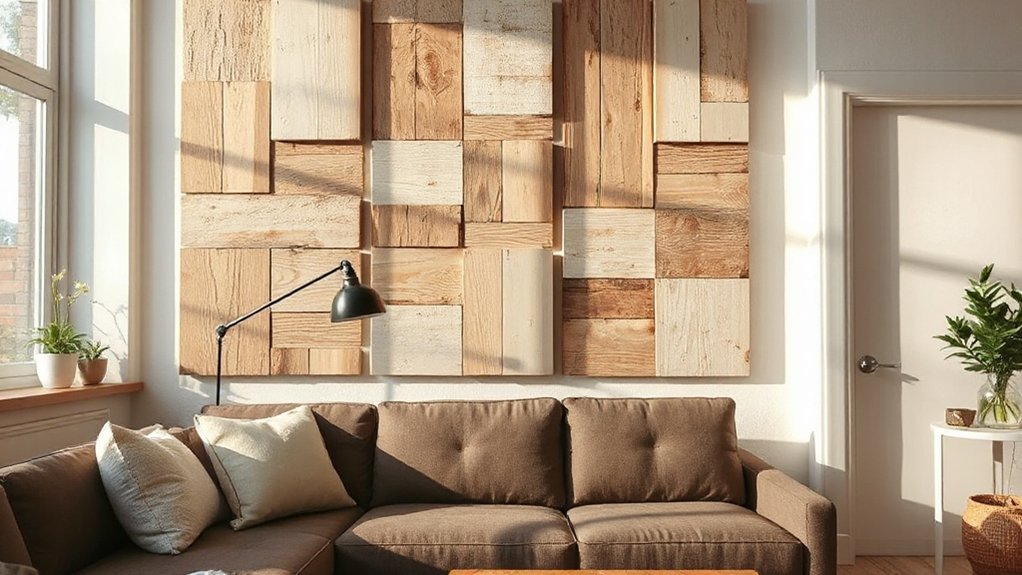

You can transform any wall with DIY treatments that blend skill and style, from primed, patched surfaces to textured finishes, stencils, or bold stripes. You’ll gain confidence as you plan, prep, and apply—keeping budgets in check with clever materials and modular ideas. The payoff isn’t just wall color; it’s a refreshed, personalized setting. Ready to turn a blank canvas into a polished statement that still feels achievable? Let’s start with what you’ll tackle next.
Key Takeaways
- Start with a clean, primed surface and use top-down, section-by-section application for precise, durable results.
- Mix textures with stencils, fabrics, and subtle embossing to add depth without overwhelming the space.
- Use reusable or peel-and-stick options for quick, reversible updates and easy experimentation.
- Employ budget-friendly finishes like chalk paint, matte seals, and repurposed or salvaged materials for character.
- Apply color strategically with balanced contrasts and Feng Shui principles to enhance mood and room flow.
Start Here: What You Can Achieve With DIY Wall Treatments
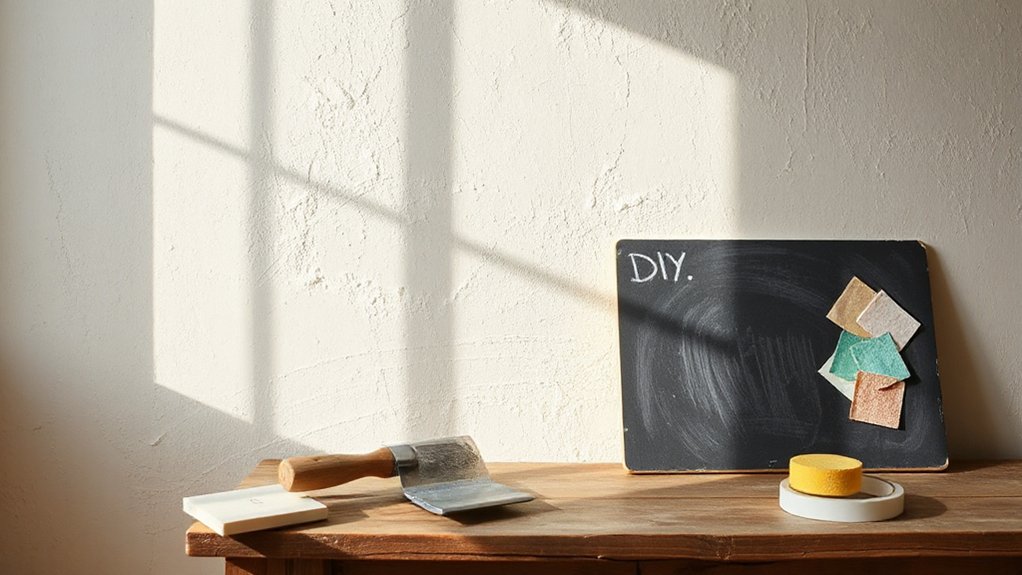
You can transform any room with DIY wall treatments, starting with simple projects that deliver big impact. You’ll discover how modest changes compound into a refined aesthetic, guiding energy and mood without expensive commitments.
Begin by selecting finishes that celebrate color psychology, aligning hues with intended functions—calming blues for bedrooms, energizing yellows for kitchens, grounding greens for living spaces.
Next, consider wall feng shui principles to balance proportion and flow, placing visual weight where you want focus and circulation.
Simple techniques—peel-and-stick textures, stenciled motifs, or subtle metallic accents—deliver sophistication without clutter.
As you experiment, prioritize cohesion: repeat a motif or material across walls and furnishings.
Quick Wall Read: Assessing Walls, Lighting, and Prep
Assess your space by layering light thoughtfully and prepping surfaces for plastering, so the finished look reads clean and intentional. You’ll evaluate how daylight and artificial light interact with texture.
Then align prep steps to whatever finish you’re aiming for. With clear checks on light and prep, you set a confident foundation for successful DIY wall treatments.
Assess Light Layers
What light layers are at play in your space, and how do they work together to reveal or refine its character? You’ll assess natural daylight, ambient lamps, task lighting, and accent brilliance to map their interplay with your wall color and overall mood. When layered thoughtfully, lighting effects sculpt depth, emphasize texture, and harmonize color warmth with surface finish.
- Observe daylight shifting across walls at different times, noting how wall color changes with intensity.
- Compare ambient overheads to softer task lights to gauge tonal balance.
- Test glow from art and reflections to reveal texture without glare.
- Layer dimmers and warmer bulbs to evolve the space from bright to intimate as needed.
Prep For Plastering
Clean surfaces thoroughly, remove dust, oils, and debris, and dampen dry areas to prevent rapid drying. Protect adjacent finishes and plan your approach to corners and gradual changeovers.
Consider color psychology when choosing a plaster finish—lighter tones can brighten a dim room, while deeper hues add dramatic depth. Align plaster prep with furniture placement by leaving space for future layout changes, ensuring access for repair and maintenance.
With meticulous prep, you’ll achieve a durable, even substrate that elevates texture, light, and overall room harmony.
Budget Basics: 5 Principles for Affordable DIY Wall Makeovers
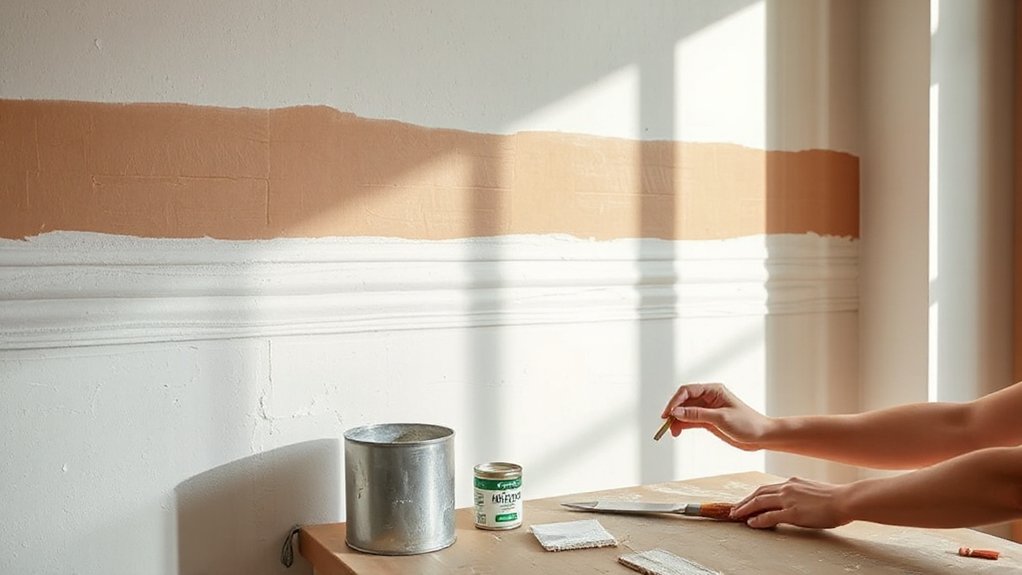
Whether you’re working with budget-friendly materials or cutting-edge tools, you can achieve stunning walls without overspending. Start with simple, high-impact techniques—think texture, color, and smart layering—that deliver big results for little cost.
Budget-Friendly Materials
Budget-friendly wall makeovers start with smart material choices that maximize impact while trimming costs. You’ll lean on durable, reusable staples and pair them with high-efficiency options to stretch every dollar without sacrificing look.
- Eco friendly paints that deliver rich color with low odor and minimal environmental impact.
- Reclaimed or repurposed surfaces—ply, shiplap remnants, or salvaged trim—for character at a fraction of new-material prices.
- Wall art alternatives like removable decals, fabric panels, or printable art posters to invent focal points without framing costs.
- Modular storage accents and bargain textiles that add texture and depth while staying versatile and affordable.
Simple, High-Impact Techniques
Here are five simple, high-impact techniques that lay the groundwork for affordable wall makeovers.
First, master color theory to select palettes that harmonize with lighting and furniture, avoiding clutter and maximizing mood with purposeful contrasts.
Second, experiment with texture through inexpensive materials—linen, burlap, or raised wallpaper accents—that add depth without a full rehaul.
Third, curate wall art thoughtfully; choose a focal piece and echo it with supporting pieces to create rhythm, not overload.
Fourth, leverage masking tape and stencils for clean lines and geometric motifs that look sophisticated on any budget.
Fifth, refresh with paint finishes—matte for softness, eggshell for durability—to transform surfaces swiftly.
These moves empower bold expression while keeping projects affordable and maintainable.
Chalk Paint Demystified: Soft Vintage Look for Beginners
Chalk paint can transform a dated piece into a soft, vintage charm with just a few simple steps. You’ll achieve a restrained, tactile finish that carries timeless appeal. Approach with confidence, knowing the chalk paint process is forgiving and approachable for beginners seeking a vintage look.
1) Prep lightly: clean, scuff, and remove dust to guarantee a smooth base.
2) Apply thin coats: one or two, allowing slight distressing for character.
3) Distress purposefully: focus on edges and raised details for authentic texture.
4) Seal with wax or a matte topcoat to protect the chalk paint finish and deepen the vintage look.
Peel-and-Stick Solutions That Actually Last
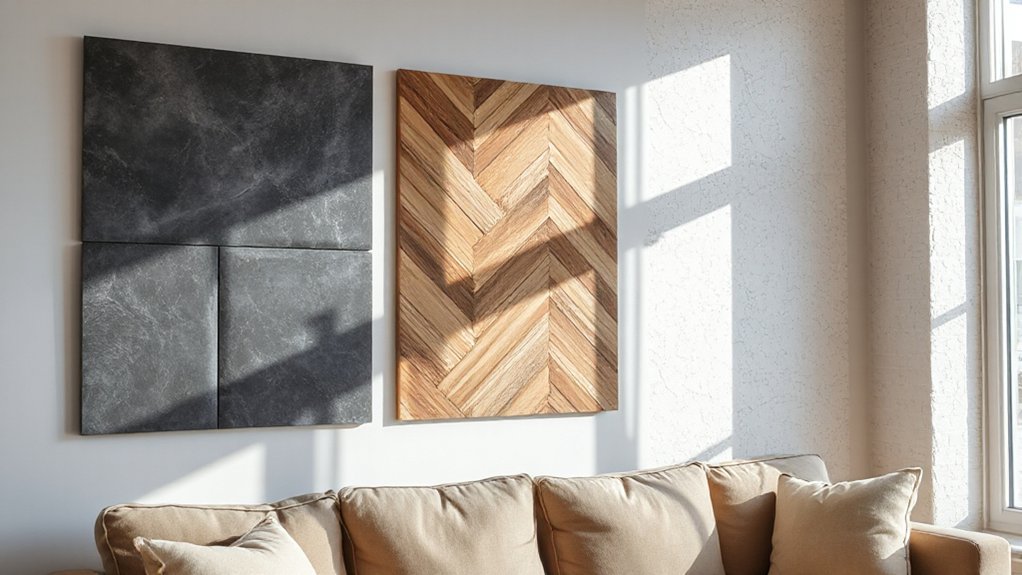
Peel-and-stick solutions can truly last when you start with lasting materials and proper prep. You’ll find clear tips on placement, secure adhesion, and wrinkle-free application.
Plus, a concise guide to durable care and maintenance is included. With the right technique, these modern finishes stay crisp, resist humidity, and age gracefully.
Lasting Peel-and-Stick Tips
When you’re aiming for lasting peel-and-stick results, prep matters more than the product you choose. Start clean, dry, and grease-free, then fixture the layout with painter’s tape to guide placement. Choose high-quality, self-adhesive materials designed for durability, and avoid ultra-thin options that curl or peel in corners. Let edges meet flush to reduce lifting and maintain a seamless look against wall textures and paint finishes.
- Measure twice, cut once, and align panels before pressing.
- Use a smoothing tool to eliminate air pockets from center to edges.
- Work in a steady, deliberate rhythm to prevent misalignment.
- Seal edges with a thin, clear top coat if applicable for extra longevity.
Application Techniques Guide
Applying peel-and-stick solutions that actually last starts with deliberate technique. You’ll prep the surface, wipe clean, and let it dry completely so adhesion isn’t compromised. Choose high-quality sheets, align them precisely, and mark reference points to guarantee straight lines.
Peel slowly, press firmly from center outward, and smooth out air pockets with a bristle squeegee or credit card. Work in manageable sections to maintain consistency and avoid peeling edges.
Consider color psychology when selecting hues to influence mood and perceived space, pairing muted tones with bold accents for balance.
For wall art ideas, rotate patterns seasonally or layer textures for depth, ensuring edges adhere evenly. Store extra pieces for future tweaks, and always test a small area first to confirm adhesion and response to ambient humidity.
Durability And Care Notes
Durability and care go hand in hand with the technique you’ve already mastered. Peel-and-stick solutions can last, with proper prep and maintenance, when you respect surface condition and selection. For enduring results, match wall textures and paint finishes to the adhesive’s claims, and avoid high-humidity zones that soften backing over time.
1) Prep boldly: clean, dry walls, remove dust, and fix any gouges before applying.
2) Choose quality: select a high-tack option suited for textured or glossy surfaces.
3) Install smartly: work from top down, smooth with a squeegee, and avoid stretching.
4) Maintain routinely: wipe gently, re-seat edges as needed, and replace damaged strips promptly to preserve cohesion.
Texture Play: Stencils, Stamps, and Raised Patterns
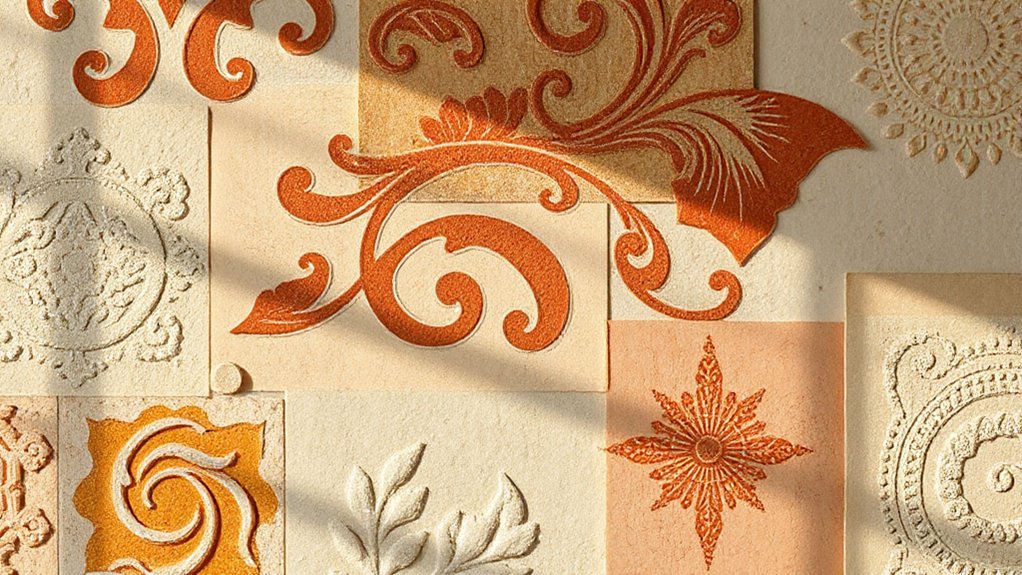
Begin with a tight color plan that supports the design, since color psychology guides mood—from calm neutrals to energizing accents. Elevate texture through layered applications: matte bases, lightly glazed highlights, and gentle embossing for subtle drama.
Align patterns with room function to honor wall feng shui, using repetitive rhythms to cultivate flow and balance. Practice clean edges with high-quality tools, and seal surfaces where needed to preserve the finish.
In short, precise technique combined with thoughtful composition delivers sophisticated, durable impact.
Bold Stripes and Geometric Tape Tricks
Start with crisp measurement, deliberate spacing, and a confident finish to elevate any wall with essentials from our DIY wall pattern tips.
Bold Stripes Techniques
Bold stripes instantly draw the eye and set a room’s mood, but achieving clean, crisp lines takes planning and the right technique. You’ll harness contrasting hues, alignment guides, and precise masking to guarantee symmetry and polish. Start with a level surface, map the pattern, and tape with confidence to prevent bleed-through.
Color psychology informs your palette, guiding energy and emphasis, while wall feng shui keeps balance in your space.
- Prep carefully: clean, prime, and score surfaces before taping.
- Measure twice, mark once: grid the wall for straight repeats.
- Use painter’s tape with the edge pressed firmly to prevent seepage.
- Remove tape while the paint is slightly tacky for razor-clean edges.
Geometric Tape Tricks
Begin with a subdued base color, then place tapes to create triangles, diamonds, or hexagons that feel deliberate rather than busy. Align edges with architectural features to preserve harmony, and vary scale to avoid monotony.
Color psychology informs your palette choices: cooler tones recede, warmer hues advance, shaping perceived room size and mood. Consider wall acoustics: even sharp shapes benefit from a matte finish that minimizes glare and echo, preserving clarity in dialogue and music.
Finish with a light seal to prevent fraying and maintain crisp lines over time, ensuring lasting sophistication.
DIY Wall Pattern Tips
You’ll build on the tape tricks you already know by blending bold stripes with geometric patterns for maximum impact. This approach turns blank walls into deliberate, gallery-worthy elements, letting color palettes drive the mood. Use clean edges, crisp lines, and strategic spacing to keep the composition cohesive and modern.
Pair high-contrast stripes with softer geometries to create visual rhythm without overwhelming the room. Consider symmetry for calm walls or playful asymmetry for dynamic spaces. Your wall art becomes a focal point, not noise, when you balance scale, repetition, and color. Experiment with layering, then step back to assess harmony and function.
- Start with a bold stripe foundation, then overlay triangles or diamonds.
- Alternate wide and narrow bands for tension and flow.
- Map patterns to furniture silhouettes for coherence.
- Choose three color tones to guarantee a unified palette.
Fabric and Textile Accents: How to Add Soft Texture
Textile accents instantly soften a space, inviting comfort and warmth. You’ll curate texture by layering fabrics in deliberate, tactile ways, from plush throws to nubby upholstery.
Begin with Textile layering: mix weights, weaves, and finishes to create depth without visual noise. Choose a dominant neutral base and introduce a contrasting accent fabric to guide the eye.
Next, consider placement—hang a lightweight drapery panel to smooth architectural lines, or mount a fabric-waced wall panel for subtle dimension.
Fabric installation requires precise tension and clean seams; use a staple or Velcro system that allows for easy adjustments. Keep color and pattern restrained to preserve cohesion.
The result is a refined, inviting room that feels curated, not cluttered.
Color, Contrast, and Ombre: Simple Two-Tone Techniques
Color and contrast can transform a room with simple, two-toned approaches that feel deliberate rather than gimmicky. You’ll leverage color psychology to evoke mood shifts, while maintaining balance through a controlled Ombre gradient that reads as cohesive rather than busy.
This technique emphasizes contrast balance, ensuring the lighter shade lifts space without overpowering focal elements. You’ll achieve a polished, aspirational look by selecting colors that support the room’s function and energy.
- Choose a dominant hue and a complementary secondary tone for a smooth progression
- Plane gradual steps in intensity to form a quiet ombré
- Keep edges clean with sharp lines and consistent application
- Pair with minimal accents to preserve balance and depth
Plaster Tricks at Home: Real Texture Without the Mess
You can achieve real texture without the mess by embracing smart plaster tricks you can control.
We’ll explore materials and techniques that deliver tactile depth while keeping cleanup minimal.
Ready to elevate walls with lasting impact, using precise, user-friendly methods?
Texture Without Mess
Plaster textures can transform flat walls into expressive surfaces, and you can achieve that real-deal look without the cleanup. You’ll enjoy tactile drama, subtle shadows, and polish without shop-mess, making every room feel curated.
- Build interest with a controlled sponge swipe that reads as wall art rather than busy texture.
- Layer thin plaster and joint compound for depth, then seal to keep color psychology moods intact.
- Use stencils sparingly to hint patterns—cohesive, not chaotic.
- Apply a matte topcoat in a calm tone to preserve sophistication and allow light to reveal texture.
This approach elevates spaces with precision and restraint, guiding you toward refined walls that reinforce intention and style.
Home Plaster Tricks
With plasters and compounds at the ready, you can coax real texture into walls without the mess of traditional methods. Home plaster tricks elevate ordinary surfaces into tactile statements, balancing craft with clean execution.
Begin by selecting a lightweight plaster that dries firm yet forgiving, then apply a thin base layer to slight undulations for depth. Use a trowel at varied angles to create subtle ridges, or opt for a stipple technique for a finely speckled finish.
After curing, mist lightly and seal with a matte glaze to preserve texture without shine. Consider color psychology when choosing tones—calm neutrals invite focus, bold hues energize spaces, and muted pastels soften rooms.
Pair textured walls with thoughtful wall art to anchor the composition and enhance your design narrative.
Freehand Murals: Confidence-Building Steps
Freehand murals can transform a room, and the path to confident execution starts with simple, repeatable steps. You’ll build skills quickly by practicing shapes, scaling, and edge control, then apply your learning to walls you actually live with.
Use color theory to choose palettes that harmonize with existing furnishings, and test swatches on poster boards before committing. As you gain precision, consider furniture integration to guarantee murals complement, not clash with, your room’s layout.
Start small, build consistency, and let the process teach you finesse.
1) Warm up with 3 simple shapes on a practice panel, then transfer to the wall.
2) Block major forms lightly, then refine edges with a soft brush.
3) Step back frequently to judge scale and balance.
4) Seal with a matte finish for longevity and polish.
Shiplap and Faux Beadboard: Wood Panel Look, No Heavy Work
Shiplap and faux beadboard offer the timeless warmth of wood paneling without the heavy labor, giving you the refined look with minimal disruption. You achieve clean, architectural texture that reads as timeless sophistication rather than busy detail.
Install options range from peel-and-stick panels to simple plank setups, allowing you to tailor scale and spacing to your space. The result is a versatile backdrop for wall art, harmonizing with existing decor while staying distinctly modern.
Pair the panels with strategic lighting to emphasize grooves and shadows, enhancing dimension without bulk. Consider color psychology when choosing shades: pale neutrals create calm, while warmer whites invite coziness.
This approach delivers an elevated ambiance—polished, durable, and update-ready—for years to come.
Metallic Accents on Walls: Affordable Shine
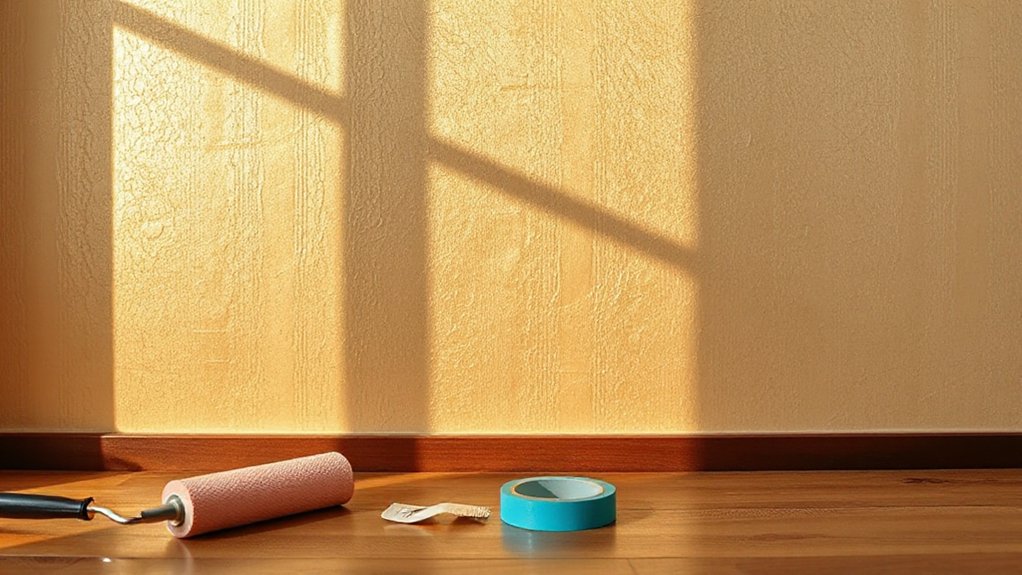
Adding metallic accents to your walls brings affordable shine that instantly elevates a room. You’ll transform a plain surface into a focal point with minimal effort, using metallic paint to achieve a soft glow or a bolder statement with high-sheen finishes.
The key is restraint: select one wall or a narrow panel to avoid overwhelm, then balance shine with matte elements elsewhere.
- Choose metallic paint in a tone that complements your decor and lighting.
- Apply in a single, controlled layer to prevent streaks and blotches.
- Pair shiny accents with a neutral palette for lasting sophistication.
- Seal with a low-sheen topcoat to protect the finish and deepen depth.
Shiny accents should feel intentional, not busy, adding depth and polish to your space.
Reusable Panels and Vinyls: Quick, Reversible Upgrades
If you crave a fresh look without commitment, reusable panels and vinyls offer an effortless path to transformation: they install in minutes, peel off cleanly, and let you experiment with textures, patterns, and colors. You’ll capitalize on color theory to pair hues that balance light and depth, expanding your design vocabulary without permanence.
Choose panels with tactile finishes that mimic textiles, stone, or wood, then switch when mood or lighting changes. Vinyls provide bold, scalable patterns and vintage finishes that feel timeless yet modern.
These upgrades respect your space and timeline, delivering high-impact results with minimal downtime. Reusable solutions empower you to iterate confidently, knowing you can revert or remix as trends evolve.
Surface Prep Masterclass: Patching, Priming, and Sealing
Surface prep sets the foundation for a flawless finish, so patching, priming, and sealing aren’t afterthought steps but the core of durable, professional results. You approach each surface with intent, evaluating imperfections and planning the fix before color. This is surface preparation in action, turning risk into reliability and ensuring long-lasting beauty. Wall evaluation guides technique, while patches and primers create a uniform canvas for sealing and sheen.
- Inspect for dents, cracks, and texture irregularities, then categorize repairs by size.
- Patch with appropriate compounds, smoothing beyond the surrounding plane.
- Prime to seal porous areas and unify absorbency across the surface.
- Apply seals or primers that lock in moisture, prevent staining, and boost finish cohesion.
Tools, Materials, and Safety for Everyday Crafters
Tools, materials, and safety aren’t afterthoughts—they’re the foundation you lean on for consistent results. You’ll select dependable brushes, rollers, and a brief toolkit that fits your project scale. Prioritize quality paints and sealants with a clear paint finish option you trust, plus primer compatible with your chosen wall art approach.
Stock a versatile set of abrasives, masking essentials, and a non-slip ladder for steady work. Safety first means goggles, respirators or masks, gloves, and proper ventilation—never skip.
Understand the specific surface and texture you’re treating, then match tools to tasks for smooth, professional outcomes. Maintain clean containers, label products, and store materials upright.
With disciplined mindset and correct gear, your wall art and paint finish will look intentional and durable.
Maintenance Plan: Keeping Your Wall Treatments Fresh
Maintaining fresh, lasting wall treatments starts with a simple, proactive plan you can rely on. You’ll protect your investment by scheduling regular checks and quick touchups, so your wall color stays vibrant and even. You’ll also consider furniture placement to avoid scuffs and to keep textures aligned with the room’s flow.
- Set quarterly inspection days to catch wear before it deepens.
- Clean surfaces with products that respect the finish and avoid buildup.
- Touch up chips or fading promptly to preserve color uniformity.
- Rotate accents and furniture to minimize stress on any single area.
This routine keeps your space cohesive, practical, and aspirational, ensuring your wall color endures.
From Plan to Painted: A Simple 4-Step Before-and-After Roadmap
To go from plan to painted, follow this simple four-step roadmap that turns your ideas into a stunning, cohesive result.
Step one, define intent: choose a mood and room purpose, then select a color palette guided by color psychology.
Step two, test and refine: preview swatches on the wall, observe lighting shifts, and narrow to two or three options.
Step three, prepare meticulously: repair imperfections, prime surfaces, and protect floors with clean lines for crisp results.
Step four, execute with intention: apply coats evenly, allow proper drying, and assess the balance of color, texture, and negative space.
Throughout, honor wall feng shui by aligning elements to flow, balance, and proportion.
You’ll finish with confidence, clarity, and a polished, cohesive transformation.
Frequently Asked Questions
Can I Test Wall Treatments Without Permanent Changes?
Yes, you can test wall treatments without permanent changes. Try temporary solutions like removable wall decals or fabric panels, and explore peel and stick options to evaluate effects before committing to lasting installations.
Which Finishes Work Best on Glossy Walls?
Glossy finishes grab glare, so you should select matte-sealing tactics to temper shine; scuff-resistant textures work best. You’ll favor durable, decorative options, with adhesive options tailored for glossy walls, ensuring seamless, splash-safe, spectacular, long-lasting results.
How Long Do DIY Wall Projects Typically Take?
DIY wall projects typically take a weekend or two, depending on scope. You’ll optimize color mixing and tool selection, block out time, and stay steady, finishing with crisp edges and a polished, aspirational result you’ll proudly display.
Are There Safe, Kid- and Pet-Friendly Options?
Yes, you can use non toxic paints and washable wallpaper to keep spaces safe for kids and pets. You’ll choose low-VOC options, test for odors, and prioritize washable finishes for easy cleanup and lasting beauty.
How Do I Remove Treatments Without Damage?
Removing wall treatments without damage is like tiptoeing through glass. Gently score the edges, peel slowly, and use warm, soapy water or a mild stripper as needed, monitoring for residue; this guarantees wall treatment removal with damage prevention.
Conclusion
You’ve got the blueprint to transform any wall into a personal statement. Stay curious, prep thoroughly, and let texture and color reflect your rhythm—like a quiet chorus beneath a bold chorus. Remember: small, deliberate steps compound into lasting impact, just as a quiet thread strengthens a tapestry. As you finish, imagine the room recalling your dedication the moment you enter, a subtle nod to your own credibility and taste. The wall isn’t finished; your story is.