
You’ll get a practical, step-by-step guide to restore and protect your wooden exterior window frames, from evaluating wood and repairing damage to priming, painting, and ongoing maintenance. Start by identifying wood type and condition, then repair rot, replace damaged sections, and prep surfaces for a smooth finish. Choose climate-appropriate primers and paints, apply in thin, even coats with the grain, and guarantee full drying. Regular upkeep stops problems before they spread, and more tips await you.
Key Takeaways
- Inspect and identify wood type, damage, and moisture to inform proper prep and repairs before painting window frames.
- Repair or replace rotten sections, seal seams with epoxy, and feather edges for a smooth, durable surface.
- Choose climate-appropriate primers and paints with UV resistance, mold resistance, and good adhesion for exterior exposure.
- Apply coatings in thin, even layers with grain direction, allowing full drying and light surface scuffing between coats.
- Maintain the finish with regular inspections, cleaning, touch-ups, and timely re-coats to prevent peeling and fading.
Identify Exterior Wood and Condition Before Painting
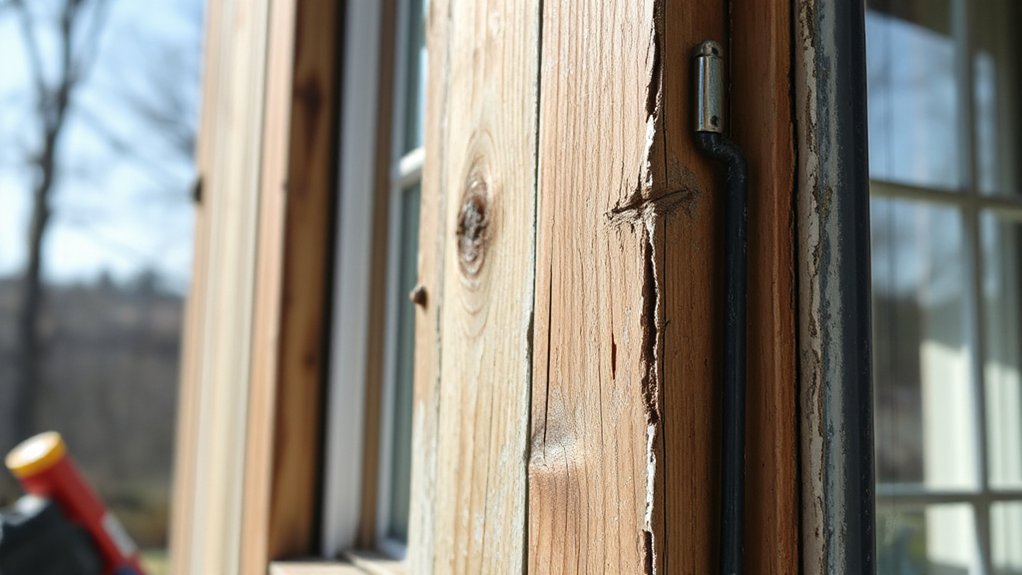
Before you start painting, inspect the wood to identify what you’re dealing with and its condition. You’re determining species, grain patterns, and any degradation. Check for soft rot, cracks, and peeling coatings, then note wood grain direction to guide sanding and application.
Assess moisture exposure, signs of previous repairs, and the presence of nails or fasteners that need extraction. Test for durability by probing with a thumbnail—soft spots indicate rot or decay. Verify surface dryness and climate compatibility for your chosen finish.
Color matching matters even before grit selection: compare the substrate with a controlled test patch to ensure uniform appearance. Document findings, select appropriate stain or paint, and plan priming needs accordingly.
This careful assessment prevents waste and supports durable, aesthetically consistent results.
Repair, Replace, and Prep Surfaces for a Smooth Finish
By repairing, replacing, and prepping, you create a stable foundation for a smooth finish. Begin with a thorough assessment: identify cracked paint, gnawed trim, or rotten battens, and prioritize structural fixes.
Remove loose coatings with controlled scraping, then wire-brush joints to reveal sound wood. If rot is present, cut out damaged sections and replace with matching stock, then seal seams with epoxy filler to deter moisture.
Sand surfaces evenly to a uniform tooth, feathering edges for seamless shift. Clean dust and debris, drying completely before any primer.
Address decorative accents carefully to preserve detail while stabilizing profile lines. For historical restoration, maintain authentic profiles and joints, repairing without altering character.
Prepare the surface to receive coatings that resist weathering and support a durable finish.
Choose Exterior Primers and Paints for Your Climate
Selecting exterior primers and paints suited to your climate starts with matching to exposure and moisture patterns. You’ll choose products that withstand sun, rain, and temperature swings, then verify labels for UV resistance and breathability.
Focus on the substrate’s condition and long-term color stability; select a compatible primer to reduce peeling and improve adhesion. For wood, favor stains or primers with mold and mildew resistance where humidity is high, or non-epoxy, low-water-absorption formulas in dry, sun-exposed regions.
Color matching matters: pick a base color that minimizes heat gain without sacrificing aesthetic intent. Assess paint sheen to balance maintenance and appearance—glossy finishes show wear, while satin or eggshell conceal imperfections.
Document climate-specific recommendations and apply per manufacturer instructions for durable, uniform coverage.
Apply Coatings for Weather Resistance and Longevity
Applying coatings is where weather resistance and longevity hinge on proper technique. You’ll seal all surfaces thoroughly before finishing, using protective sealants to deter moisture ingress and minimize swelling.
Apply a compatible primerless or primer-coated system, then lay down UV resistant coatings in even, thin layers. Work with the grain, maintaining a steady pace to avoid lap marks and holidays.
Between coats, let the surface dry fully and lightly scuff with a fine abrasive to promote adhesion. Inspect edges, corners, and detailing, touching up any missed spots.
For exterior exposure, favor breathable film-forming finishes that resist peeling while allowing moisture to escape. Recoat windows on schedule and shield freshly coated areas from direct sun and rain during curing.
Maintain Your Finish and Troubleshoot Common Problems
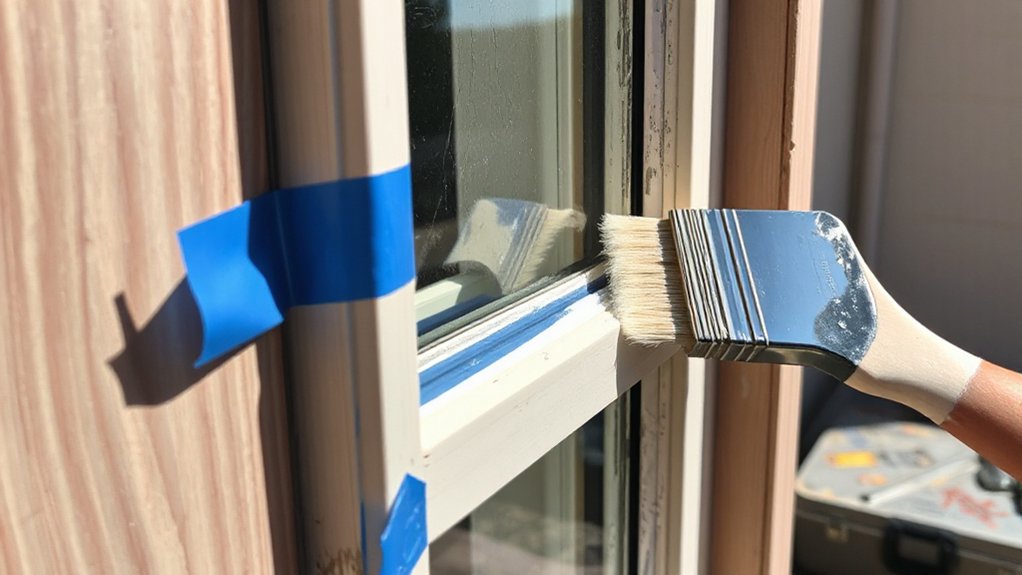
Maintaining the finish is a proactive, ongoing task: inspect for wear, identify trouble spots, and address issues before they escalate. You’ll spot peeling, cracking, and UV fading early, then plan targeted touch-ups rather than full refinishes.
Begin by cleaning surfaces, removing loose film, and roughing edges with a fine sandpaper to guarantee fresh adhesion. Color matching matters: test a small area under indirect light, compare with the existing coat, and adjust with subtle tinting if needed.
Brush selection influences results; choose natural bristle for oil-based and synthetic for waterborne finishes, applying with steady, even strokes to avoid lap marks. If you detect moisture staining, address the source before recoating.
Maintain seal integrity with consistent recoats and debris-free brushes to preserve long-term durability.
Frequently Asked Questions
How Long Does Exterior Paint Typically Last on Wood Frames?
Exterior paint typically lasts 5–10 years on wood frames, depending on prep, climate, and coat quality. To maximize longevity, you implement Color matching, guarantee Weatherproofing techniques, reseal edges, and maintain periodic inspections with proactive touch-ups.
Can I Paint Over Oily or Waxed Wood Surfaces?
Yes, you can, but prep. You must: remove oils, sand, clean, and de-fat; let it dry. Then, guarantee wood preparation and Paint adhesion, testing a spot first. You’ll improve durability and achieve lasting results with consistent technique.
Is It Necessary to Prime Cedar or Pine Differently?
Yes, you should prime cedar and pine differently. For Cedar treatment, use a tannin-blocking primer; for Pine preservation, apply a stain-blocking or shellac-based primer. Then finish with a durable exterior topcoat for lasting protection.
What Is the Best Method for Cleaning Before Painting?
Polish your approach like a measured heartbeat: start with Surface cleaning, removing dirt and loose paint. For Paint preparation, rinse, scrub, rinse again, dry completely. You’ll seal the surface, ensuring adhesion and a long-lasting, durable finish.
Should I Use Latex or Oil-Based Paint for Exterior Frames?
Choose latex for exterior frames to reduce cracking; it handles expansion better. You’ll guarantee color selection aligns with home style, then apply using even, overlapping strokes with proper primer. Maintain durability through sealant, drying times, and precise paint application techniques.
Conclusion
You’ve got a solid plan for durable exterior woodwork. Start by treating wood properly, repair damage, and prep cleanly, then seal with climate-appropriate primers and paints. Apply coatings methodically and inspect regularly to catch wear early. One interesting stat: properly maintained painted wood can last 7–10 years between major overhauls, versus as little as 2–3 years with neglect. Stay consistent, document any fixes, and touch up promptly to preserve curb appeal and structural integrity.