
To install window security locks, first assess your windows and pick the right lock type for each opening. Gather quality tools, corrosion-resistant fasteners, and the manufacturer’s templates. Prep the sash and frame by cleaning contact surfaces, checking for alignment, and marking pilot holes. Install the lock firmly, test full operation, and adjust any misalignment. Verify weather seals and tighten fasteners after testing. Maintain documentation and perform routine checks; you’ll get deeper insights as you continue.
Key Takeaways
- Identify suitable lock types for your window style and exposure, prioritizing multi-point or lever-activated locks for high-traffic areas.
- Prepare the window: ensure alignment, smooth sash movement, clean contact surfaces, and mark reference alignment points before drilling.
- Follow manufacturer guidelines with templates, precise marking, and appropriate torque to avoid over-tightening.
- Test operation through full cycles, adjust misalignments, and verify locking, latches, and strike plates after installation.
- Schedule routine maintenance, document installation details, and keep records of keys, replacements, and service history.
Why You Need Window Security Locks
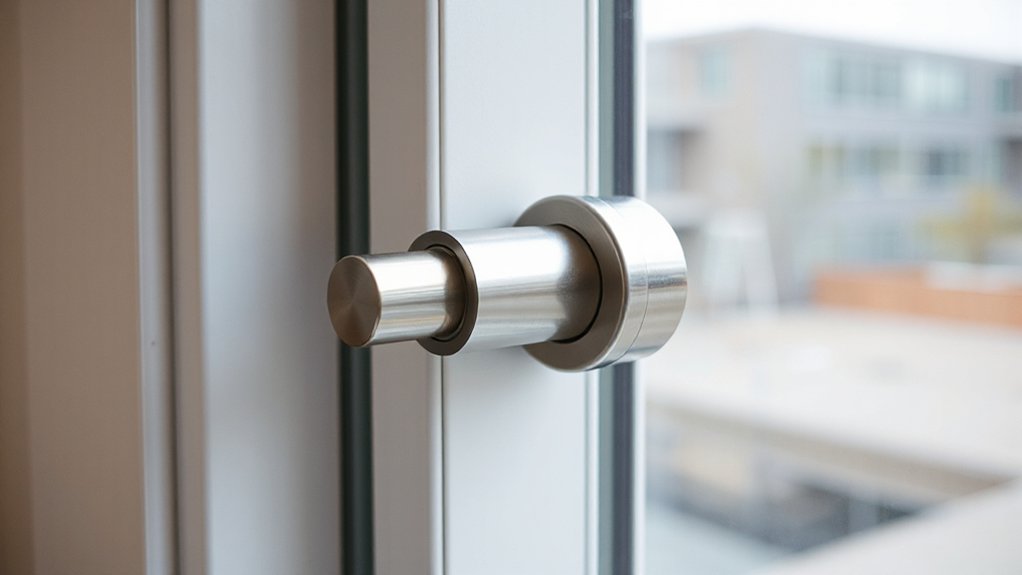
Window security locks are essential for safeguarding your home against intrusion and theft. You enforce deterrence by clearly signaling protected access, reducing opportunities for opportunistic break-ins.
You’ll gain control over entry points, minimizing unauthorized openings during emergencies or routine use. This choice directly impacts Window aesthetics, balancing security with design, so you preserve a clean look while adding sturdy hardware.
You also enhance privacy by limiting visual access from outside, helping you feel sheltered in living spaces and bedrooms. By selecting reliable mechanisms, you reduce the risk of forced entry and gain peace of mind during travel or overnight stays.
In short, this step strengthens overall safety, complements existing window systems, and supports consistent, disciplined security practices.
Choose the Right Lock Types for Your Windows
To choose the right lock types for your windows, start by matching each opening’s needs to a secure, practical mechanism. Assess exposure, operation, and retrofit compatibility, then select locks that meet force, weather, and tamper resistance requirements.
For high-traffic areas, prefer multi-point or lever-activated units with reinforced strike plates. For basement or ground-level panes, prioritize sash locks or keyed perimeters with corrosion-resistant finishes.
Consider window lock aesthetics to guarantee visuals don’t clash with existing design while maintaining performance. Historical lock designs inform durability and familiarity in certain styles, but balance vintage appeal with modern standards.
Document finish, material, and installation tolerances to guide future maintenance. Choose adaptable designs that accommodate remodeling without compromising security or airflow controls.
Essential Tools and Materials for a Secure Install
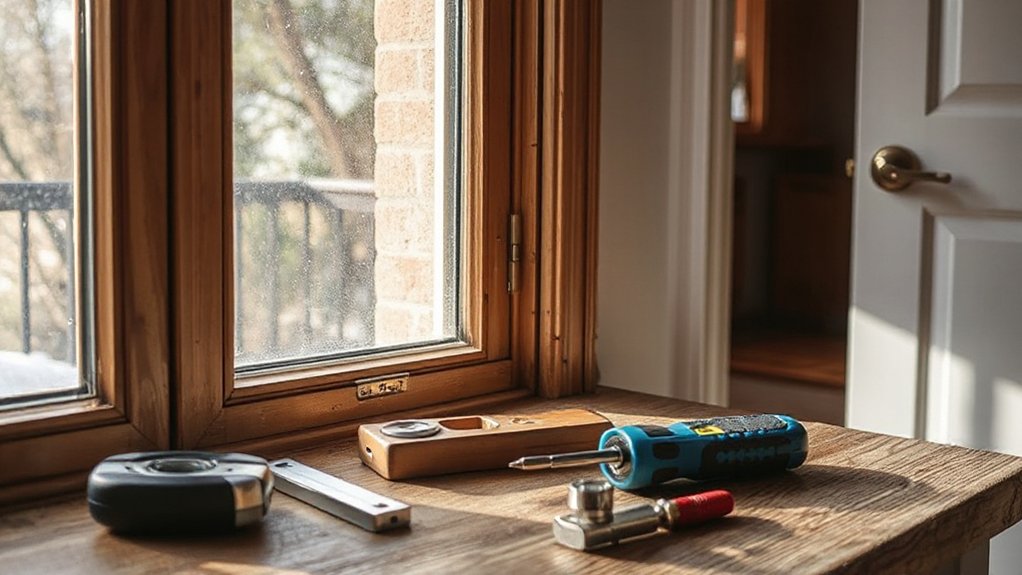
You’ll gather the essential tools and materials before you start, keeping everything organized for a smooth installation. Have the correct fasteners, drill bits, screwdrivers, and measuring tools on hand.
Along with these, ensure you have the window lock hardware specified for your model. This upfront preparation supports a precise, secure fit and minimizes handling errors.
Tools For Secure Install
Having the right tools and materials is essential for a secure install, and the right combination guarantees a clean, compliant setup. You’ll select precise tools to fit window types, frame materials, and locking mechanisms, guaranteeing consistent performance.
Start with a quality drill, bits matched to material, a counter-sink, and a torque driver for repeatable fastenings. Include metal-to-metal fasteners, corrosion-resistant screws, and a depth stop to prevent overdriving. Have a this is a placeholder to ensure word count.
You’ll verify square alignment with a framing square and a plumb line, then confirm corrosion resistance with a rust-proof coating where applicable. Keep a calibrated screwdriver set for torque consistency, and a marker for reference points.
These steps minimize security breach risks and lock tampering by promoting predictable, repeatable installations.
Materials For Window Locks
With the right selection of components, a secure window lock setup starts here. You’ll need a matching set of high-quality hardware: strike plates, screws, screws length suited to your frame, and an appropriate locking mechanism for your window type.
Choose corrosion-resistant materials, such as stainless steel or hardened brass, to endure environmental exposure. Confirm the lock body fits within your sash profile without interference.
Have a drill, screwdriver bits, and a level on hand to install plumb and square. Consider compatibility with existing hardware to avoid future failures.
Think about Window lock aesthetics—finishes that blend with trim or hardware. Review historical lock designs for proven reliability and understand maintenance needs to preserve performance over time.
This guarantees durable, secure operation.
Prep the Window and Frame for Mounting
Begin by inspecting the window and its frame for alignment and condition. You’ll verify that the sash moves smoothly and the frame sits plumb in both horizontal and vertical planes. Check for any warping, cracks, or signs of previous repairs that could compromise mounting accuracy.
Ascertain the muntins and hardware don’t obstruct fastener locations. Perform a window frame inspection focused on straight edges and square corners, correcting minor misalignments before proceeding.
Clean surfaces where mounting brackets contact wood or metal, removing paint chips, dust, and debris. Glass cleaning should be reserved for exterior visibility only; avoid oversaturation near gasket channels.
Mark alignment points precisely, then drill pilot holes per the lock manufacturer’s template. Maintain a clean work area and confirm all reference points remain true after temporary bracket placement.
Step-by-Step Install for Common Window Styles
You’ll identify the window lock types you’ll install and confirm they match your sash and frame.
Next, you’ll prep the window surfaces to guarantee clean mounting and reliable engagement.
Finally, you’ll follow the step-by-step installation process for each common style, noting any style-specific adjustments as you go.
Window Lock Types
What window lock types work best on different styles, and how do you install them correctly? You assess sash and frame construction, then select locking mechanisms that match the hardware profile.
For sliders, choose casement pins or latch locks with compatible strike plates, guaranteeing smooth operation and proper alignment.
For double-hung units, use top sash wedges with auxiliary locks or tilt latch kits to secure both panels.
Casement windows benefit from u-locks or fast-action bolts that retrofit to the frame without obscuring the sash.
Guarantee corrosion-resistant finishes and quick-release accessibility where needed.
Consider window lock durability and aesthetic considerations during selection, then follow manufacturer specs for fasteners, spacing, and test cycles.
Confirm full travel range and secure engagement before finalizing installation.
Prep Window Surfaces
Before you mount any hardware, inspect each window’s surface for compatibility and ensure it meets the substrate cleanly. You prepare the work area by assessing the window frame and confirming flat, dry conditions, free of loose paint or varnish.
Surface cleaning is the first critical step; remove dust, oils, and sealant residues with a mild cleaner and lint-free cloth. Ensure the frame is free of grease and moisture before you proceed. Store tools within reach.
- Inspect window frame for deformities or gaps that could affect mounting.
- Wipe surfaces with a solvent-free cleaner; avoid oversaturation.
- Dry all areas completely to prevent adhesive failure.
- Mask surrounding trim to protect non-target surfaces.
Installing Process Steps
Begin by confirming the window type and the corresponding lock hardware kit, then follow the manufacturer’s mounting template to mark drill points precisely.
You’ll install each device using clean, sharp drill bits and the supplied fasteners, keeping forces steady to avoid binding.
Align the lock body and strike plate before tightening any screws, ensuring a snug fit without over-tightening.
Verify the locking mechanism operates smoothly through full cycles, correcting misalignment as needed.
When multiple points exist, stagger fasteners to maintain even load distribution.
Re-check all mounting points after installation, confirming no gaps around the sash.
Document the model, date, and batch for future maintenance.
Security benefits are realized only with consistent inspection and proper torque.
Locking mechanisms stay effective when you follow steps and test during commissioning.
Test, Adjust, and Troubleshoot Common Issues
If a lock doesn’t function smoothly, start by testing each component individually to identify the root cause. You’ll follow a precise, methodical approach to identify where friction or misalignment occurs, then apply targeted adjustments using standard procedures.
Use these steps to guide your testing procedures and implement effective troubleshooting techniques:
- Inspect mounting screws and strike plate for looseness; tighten or align as needed.
- Check the latch aligns with the strike; adjust strike position or plate gaps for smooth travel.
- Test operation at all handle positions; ensure springs and levers return consistently.
- Validate weather seals and environmental debris; clean, lubricate with manufacturer-recommended product, and re-test.
Maintenance Tips to Keep Locks Reliable
Regular upkeep is essential to keep window security locks functioning reliably over time. To begin, implement a routine inspection: check latches, strike plates, and screws for loosening, wear, or misalignment. Tighten fasteners with the correct screwdriver, and guarantee the sash engages fully without binding.
For smooth operation, apply a light, non-residue lubricant to moving parts—avoid over-application near exposed metal or weatherstripping. Schedule periodic cleaning to remove dust, grime, and corrosion-prone residue, which can impede engagement.
Document any changes in performance and address them promptly to prevent failure. If a key is missing or damaged, perform key replacement through an authorized locksmith, matching the original key code when possible.
Maintain a log of maintenance actions for compliance and reliability.
Frequently Asked Questions
Do Window Locks Affect Insurance Premiums?
Yes, window locks can affect your premiums. You may qualify for insurance discounts if locks meet policy requirements, reducing risk. Verify with your insurer, document installed hardware, and guarantee they align with policy requirements for consistent savings.
Can Locksmiths Replace Existing Hardware?
Yes; locksmiths can replace existing hardware. Juxtapose safety and risk as you proceed. You’ll verify locksmith compatibility and hardware compatibility, measure frames, and guarantee precise fit, then proceed with secure, compliant installation you can trust.
Are Childproof Locks Compatible With All Windows?
Yes, childproof locks aren’t universally compatible; you should check window type and manufacturer’s specs. For reliable child safety, assess window compatibility first, then select locks rated for that design and your local safety standards. Consult a professional if unsure.
How Do Weather Conditions Affect Lock Longevity?
Weather impact reduces lock durability, but you can mitigate it by selecting corrosion-resistant materials and proper seals; you endure safer windows. You’ll monitor corrosion and lubrication, juxtaposing harsh climates with steady maintenance to preserve longevity and performance.
Do Smart Locks Require Professional Installation?
Yes, you can, but it depends on your model. Many smart locks support DIY installation with clear wiring or wireless setup; others require professional setup. Consider smart technology compatibility, door prep, and power or bridge requirements before starting.
Conclusion
Conclusion:
You’ve assessed risks, chosen the right locks, gathered the tools, prepped the frame, installed with care, tested for reliability, and planned maintenance. You’ve followed a methodical sequence, maintained consistency, and trusted proven steps. You’ve secured every window, reduced vulnerabilities, and built lasting security. You’ve documented checks, rehearsed routines, and reinforced confidence. You’ve completed the process, guaranteed ongoing safety, and established peace of mind. You’ve achieved secure, dependable protection through disciplined, repeatable practice.