

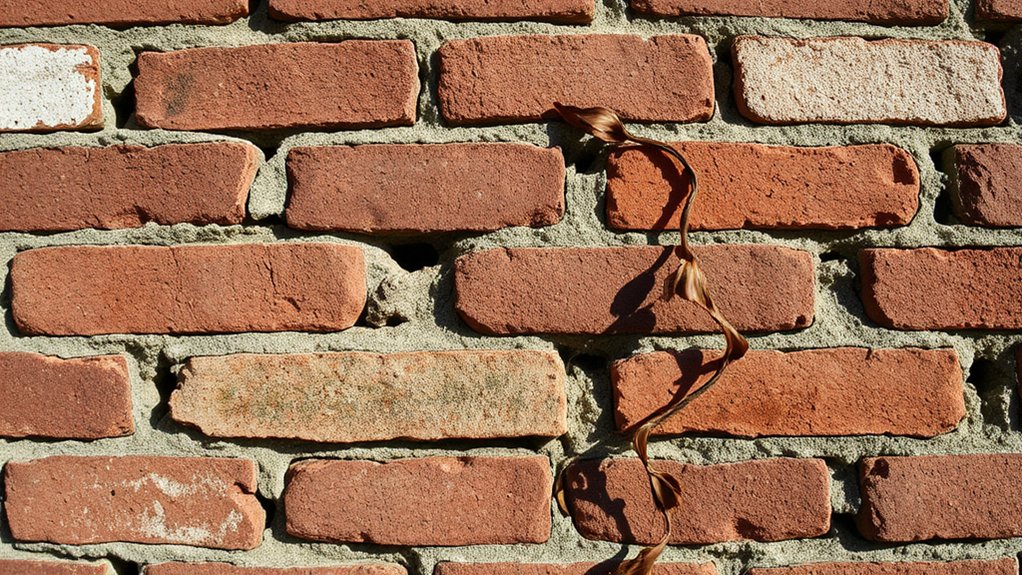

To repair and maintain brickwork on older properties, you should use breathable lime-based mortars matched to the original color, texture, and bond patterns, then repoint or replace bricks only as needed. Inspect regularly for cracks, efflorescence, and moisture ingress, and manage drainage to prevent damp. When repairs are required, prioritize authentic materials and gradual moisture movement to avoid spalling. For major work, hire a qualified mason with heritage experience—and if you want more precise steps, you’ll find them here.
Key Takeaways
- Assess structural integrity, brick resilience, and moisture signs (efflorescence, cracking, spalling) to guide repairs and maintenance.
- Prefer lime-based, breathable mortars for repointing to match historic fabric and moisture movement.
- Repoint or replace bricks only as needed, matching color, texture, and bond pattern to preserve authenticity.
- Implement regular quarterly inspections, cleaning, drainage checks, and protective measures during renovations.
- Document materials, methods, and conditions; keep a maintenance calendar and seek qualified professionals for major work.
Why Brickwork on Older Homes Is Special
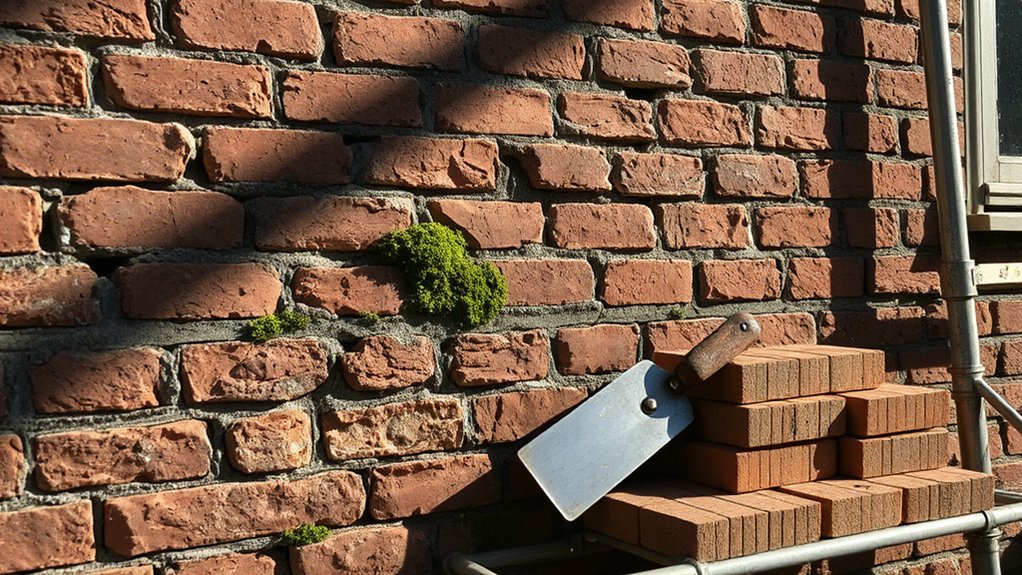
Brickwork on older homes carries a tangible historical value, and its materials and construction methods set them apart from modern buildings. You recognize brick aesthetics as more than surface texture; they define character, proportion, and light reflection across seasons.
The workmanship reflects local geology, clay composition, and traditional bonding patterns, delivering durability that modern mass production can’t replicate. Its historical significance lies in craftsmanship norms, labor organization, and regional design language that tells a community’s story.
You’ll notice variation in brick color, size, and mortar joints, each signifying era and method. This special value informs maintenance choices: you prioritize gentle cleaning, breathable mortars, and compatible repair techniques.
Preserving this heritage requires informed decisions that respect original aesthetics while ensuring long-term performance for the structure’s life.
Quick Signs of Trouble to Spot
You’ll want to monitor for visible cracks and gaps, as these often signal shifting or moisture ingress.
Look for shaling and spalling on brick surfaces, which indicate surface breakdown and possible structural stress.
Pay attention to mortar deterioration clues around joints, as crumbling or soft mortar jeopardizes the brickwork’s integrity.
Visible Cracks And Gaps
Small cracks and gaps in brickwork are quick trouble signs. You’ll notice hairline fractures, wider separations at corners, or misaligned courses that hint at movement or settlement. Pay attention to cracks that run vertically through multiple bricks, or mortar joints pulling away, which can indicate higher stress or moisture intrusion.
Gaps around openings, lintels, or belt courses invite water ingress and freeze-thaw damage if neglected. Distinguish surface efflorescence from genuine movement; the former may wash off while the latter persists.
When you observe cracking, assess consistency: uniform shrinkage differs from jagged, displaced breaks.
For aesthetic issues like brick staining, consider professional cleaning before repointing. Confirm mortar matching preserves breathability and compatibility with the original brickwork to maintain historic integrity.
Shaling And Spalling Signs
Shaling and spalling are telltale signs of internal pressure and deteriorating brick facade. You’ll notice surface flakes and chunked fragments breaking away, often exposing inconsistent brick underlayers.
Shaling issues typically begin as thin, papery or irregular shards that lift from the face without full detachment, signaling moisture movement and freeze-thaw stress beneath the surface.
Spalling causes larger, circular or polygonal holes where the brick face has delaminated, revealing the core and reducing protective capacity.
Both phenomena indicate failing protective coatings, moisture ingress, or thermal cycling that weakens brick enamel and binder.
You should assess surrounding bricks for looseness, moisture staining, and repeated cycle patterns.
Prioritize diagnostic steps, document affected areas, and plan targeted remediation before structural displacement occurs.
Mortar Deterioration Clues
Mortar deterioration shows up as crumbling joints, powdery dust, or a shadowy efflorescence on the brick surface, signaling moisture ingress and binder breakdown. You’ll notice gaps widening between bricks, soft or sandy textures when you poke with a finger, and consistent dark staining along mortar lines after rain.
Hairline cracks that run parallel to joints indicate shrinkage and cyclic freeze–thaw damage. Spalling at corners or along parapets suggests moisture retention within wall assemblies.
When joints crumble under broom pressure, the mortar has lost cohesion. Look for binder loss, chalky residues, or dust clouds rising from joints.
Apply modern techniques for assessment, and consider synthetic mortars where compatible with historic brick to balance breathability and durability without compromising appearance. Testing and documentation guide your remediation decisions.
When to Call in a Professional
You should call in a professional when you’re unsure about the extent of damage, when you encounter structural cracks that widen over time, or when moisture issues persist after basic repairs. Professionals bring tested methods and reliable diagnostics, using modern techniques to identify hidden failures and provide lasting solutions.
Relying on DIY tools alone risks misdiagnosis and further harm, especially near load-bearing walls or existing plaster.
- Structural cracks widening
- persistent damp or efflorescence
- failed repairs despite proper sealing
Engaging a contractor ensures compliance with building codes, proper brickwork resealing, and a durable performance plan. While you can supervise minor maintenance, reserve major repointing, repaving, or injections for experts.
A professional assessment saves time and mitigates safety risks, delivering precise scope, cost estimates, and a durable repair strategy based on modern techniques. You’ll regain stability, moisture control, and long-term bricks’ integrity.
Lime-Based Mortar vs Cement Mortar for Old Brickwork
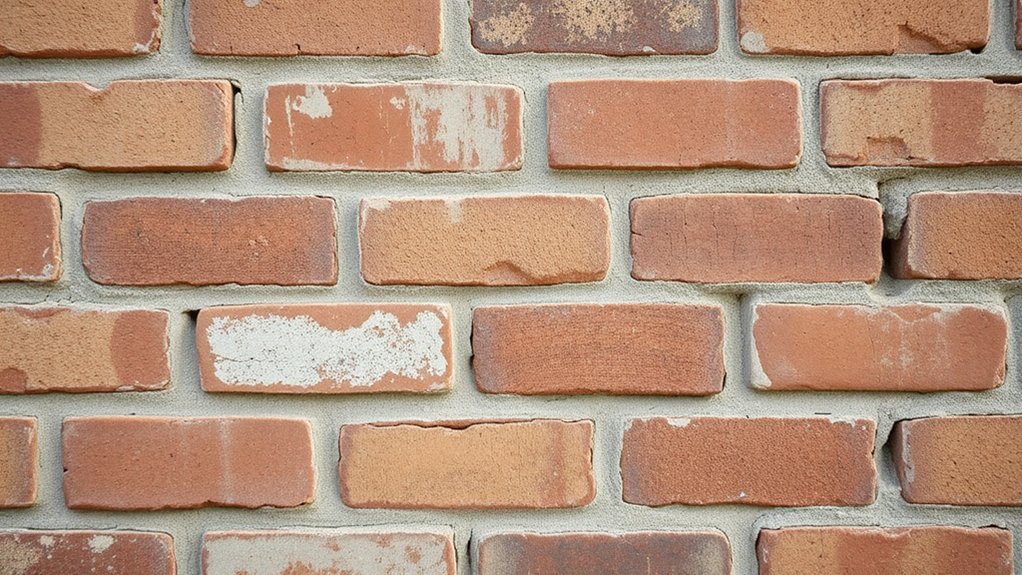
Lime-based and cement mortars behave differently in old brickwork, and choosing the right mix is essential for durability and compatibility with historic materials. You must prioritize breathability, thickness control, and substrate compatibility to prevent trapping moisture and causing deterioration.
Lime mortars allow gradual moisture movement, reducing cracking and salt damage, while cement mortars are stronger but rigid, risk spalling bricks, and can hinder drainage.
For preservation, lime-putty or lime-putty-sand mixes are preferred, often with NHL (natural hydraulic lime) for damp or historical contexts. Use modern sealing techniques and compatible aggregates to maintain porosity without sacrificing stability.
If you select cement, limit thickness and consider consolidation or retrofitting strategies.
Finally, document material choices for future maintenance and ensure professionals verify compatibility with surrounding bricks and bonds.
How to Choose Repairs: Repointing, Brick Replacement, or Consolidation
When you’re deciding repairs, weigh repointing against replacement and consider how consolidation fits in as an alternative.
Repointing preserves historic fabric but may be impractical for severely deteriorated bricks.
Replacement can restore integrity without overlayering stress, yet it alters the original character.
You should also assess structural impacts, since every option affects wall stability, moisture control, and load distribution.
Repointing vs. Replacement
Repointing, brick replacement, or consolidation each address different levels of damage and long-term performance, so choosing among them hinges on the condition of the masonry, the brick integrity, and the architectural significance of the wall.
You assess whether mortar deterioration, brick spalling, or movement demands minor remediation or major intervention.
Key considerations you’ll weigh:
1) Repointing treats mortar joints, preserving Brick color and facial appearance.
2) Replacement targets damaged bricks while maintaining overall appearance and historical significance.
3) Consolidation is reserved for severely deteriorated masonry where bricks remain structurally sound but mortar is failing.
Apply a precise material match, verify wind and moisture exposure, and document historical significance to guide decisions and preserve authenticity.
Consolidation vs. Replacement
Consolidation and replacement address different failure modes in aging brickwork, and choosing between them depends on brick integrity, structural role, and historical value.
You assess whether bricks are sound enough to retain load transfer, or if compromised units undermine stability and weather protection.
Consolidation stabilizes, reinforces, and preserves original fabric, prioritizing material conservation and the building’s lasting presence.
You select replacement when bricks are unsalvageable, missing, or unable to fulfill performance criteria without introducing modern incompatibilities.
In such cases, you balance fidelity to the historic appearance with practical resilience, sourcing units that match color, texture, and bonding pattern.
Always document decisions, as historical significance informs repair strategy.
You must weigh long-term performance against the goal of maintaining as much original material as possible.
Structural Impacts Considerations
Structural impacts drive the choice among repointing, brick replacement, or consolidation because each option alters load paths, moisture control, and thermal performance differently. You weigh how a repair affects overall stability, service life, and future maintenance.
Key considerations:
- Bridge reinforcement: ensure any crossing joints or adjacent arches remain coherent with brickwork, preventing new stress concentrations.
- Foundation stability: assess subgrade settlement, wall ties, and mortar cohesion to avert ongoing distortion.
- Long-term performance: select methods that maintain moisture management, drainage, and thermal efficiency without inviting further deterioration.
Apply a targeted approach by prioritizing consolidation for severe voids, repointing for surface deterioration, or brick replacement where structural decay is advanced, always documenting the rationale for future inspectors.
Matching Bricks and Mortar for Historic Accuracy
Color matching is essential; you evaluate existing mortar and brick hues under natural light, then select compatible Portland cement lime mortars or historically accurate blends.
You document the original bond pattern and joint profiles, ensuring replacements follow the same silhouette and spacing.
When matching color, you test multiple batches on inconspicuous sections, comparing photometric values and aging potential.
You favor materials suitable for historic preservation, opting for breathable mixtures that resist cracking and allow moisture movement.
You communicate with suppliers about compatible aggregates, impressions, and curing times.
Your goal is seamless integration that honors era-specific aesthetics while maintaining structural integrity.
Diagnosing Damp and Staining in Old Brickwork
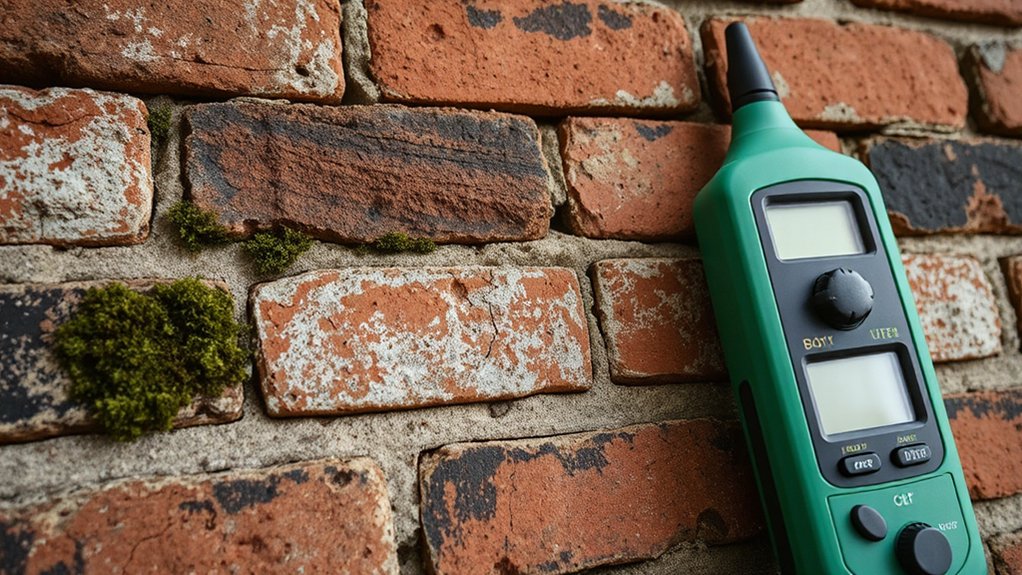
- Inspect flashing, joints, and mortar for cracks or gaps that admit moisture.
- Observe seasonal variations in dampness to distinguish persistent leaks from intermittent rainfall effects.
- Compare indoor and outdoor brick tones to separate superficial staining from genuine porosity changes.
Use findings to guide targeted repairs, ensuring any remediation respects historic fabric while mitigating future moisture ingress.
Breathability and Moisture Management in Historic Walls
Breathability is essential in historic walls because moisture must migrate in and out without becoming trapped. You assess wall assemblies to guarantee vapor pathways aren’t obstructed by modern sealants, impermeable renders, or overpainting that blocks diffusion.
Use breathable, lime-based mortars and breathable pointing to maintain capillary movement, while choosing compatible brick patterns that avoid creating moisture traps.
Monitor mortar hardness and porosity; too plastic or too dense mixes hinder evaporation and promote staining, freeze-thaw damage, and efflorescence.
Prioritize proper detailing at openings, sills, and junctions so damp air can ventilate outward rather than condensing inside.
Recognize the historical significance of traditional materials and techniques, matching textures and joints where feasible, because compatibility sustains both performance and character.
A Simple Preventive Maintenance Routine
- Conduct quarterly visual checks for cracking, efflorescence, and mortar softness.
- Photograph changes and map them to precise wall sections for trend analysis.
- Test repointing needs using a simple percussive tap method and moisture indicators before any intervention.
Maintain a ledger of materials, matching bricks and mortar to preserve historical context.
Prioritize noninvasive measures, clean gently with appropriate methods, and seal only where factory tests demonstrate benefit.
This disciplined routine reduces deterioration and supports long-term brick integrity.
Seasonal Care to Extend Brick Life
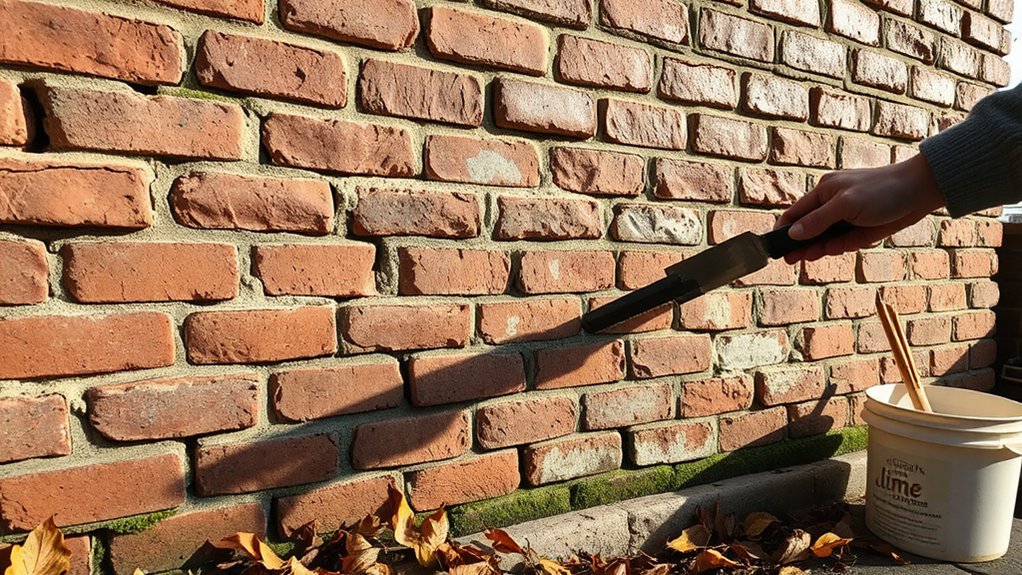
Seasonal brick checks help you catch minor issues before they become costly repairs, so inspect mortar joints, brick faces, and flashings at the start and end of each season.
Implement protective measures yearly—clear gutters, shield vulnerable brickwork from harsh weather, and guarantee proper drainage to minimize water damage.
Seasonal Brick Checks
Are you keeping a close eye on your brickwork throughout the year? Regular seasonal checks keep deterioration predictable and manageable. You’ll spot issues early, reducing costly repairs later.
- Inspect after extreme weather, looking for hairline cracks, spalling, and loosened joints.
- Compare brick color and mortar texture to earlier photos or seasons to detect fading or efflorescence.
- Test drainage around walls, ensuring puddles don’t linger against foundations or tuckpoints.
Carry out quick fixes when safe: brush away debris, re-point where mortar is deteriorated, and seal only where appropriate for long-term breathability.
Document changes, noting brick color shifts and mortar texture alterations. A concise seasonal routine preserves stability, aesthetics, and value without invasive intervention.
Protective Measures Yearly
Apply breathable sealants only where appropriate, avoiding solvent-heavy coatings that trap moisture; use modern materials compatible with historic fabric. Clean brick surfaces with low-pressure techniques, preserving historic patinas while removing deposits that invite moisture ingress.
Address drainage and landscaping issues to prevent water against foundations, ensuring grading directs runoff away from walls. Document every intervention for future reference and monitor changes annually.
Integrate landscaping elements to minimize damage, selecting drought-tolerant plantings and permeable surfaces. This disciplined approach supports long-term performance and curb appeal.
Lime-Based Repointing: Step-by-Step for Beginners
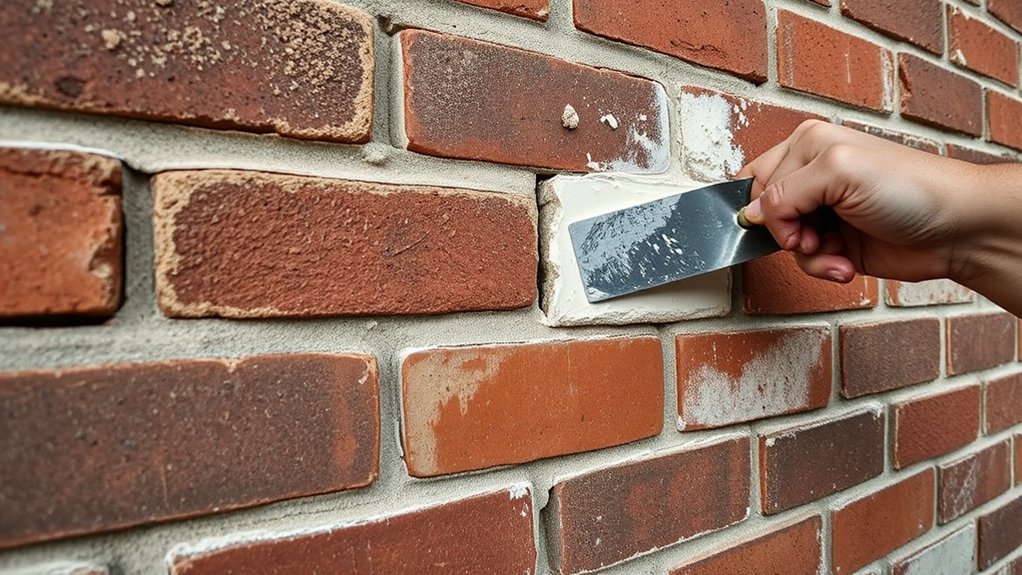
Lime-based repointing is a precise, time-tested method for restoring the mortar joints in older brickwork, and doing it correctly preserves breathability and texture while preventing future damage. You’ll work with lime mortar to match historic joints, ensuring compatibility with brick and wall membranes.
Follow these steps for reliable results:
- Clean joints thoroughly, removing loose material without exposing the brick faces.
- Dampen joints lightly, then apply lime mortar with a pointing trowel, pressing firmly to fill voids.
- Tool joints to a recessed profile, smoothing to blend with the surrounding mortar for a seamless finish.
Key focus: Lime mortar compatibility and Historic preservation principles keep walls durable and breathable, avoiding damage from inappropriate cement mixes.
When to Replace Bricks vs Tuckpointing
Deciding whether to replace bricks or simply tuckpoint hinges on the extent and type of deterioration. You’ll assess structural integrity, brick resilience, and the presence of efflorescence, cracking, or spalling.
If bricks are sound and misalignment is minimal, tuckpointing preserves history and saves cost while restoring weathertightness. When mortar deterioration dominates and bricks remain intact, tuckpointing is appropriate, with careful matching of mortar color and compression to avoid lime mortars that look out of place.
If brick faces are cracked, delaminating, or crumbling, replacement becomes necessary to maintain wall strength and stone-like continuity. In older properties, consider brick color consistency and the historic palette; selective brick replacement can harmonize with surrounding units.
Always document material choices to safeguard authenticity while ensuring durable performance.
Protecting Brickwork During Renovations and Landscaping
- Use clear separation between demolition zones and intact brickwork.
- Schedule brick cleaning and graffiti removal during ideal humidity and dry conditions.
- Apply temporary coverings and absorbent shields to minimize dust and paint overspray.
Prioritize surface protection, then proceed with minimal intervention, documenting pre-work conditions for accountability. This approach preserves historic character while enabling renovations and landscaping to proceed efficiently.
Hiring a Mason: Essential Questions and Checks
When hiring a mason for brickwork on older properties, start with a clear brief that defines the work scope, materials, and expected outcomes.
Then verify credentials, experience with historic masonry, and a proven track record of preserving architectural integrity.
You’ll ask about specific projects involving brick pattern restoration and lime mortar compatibility, plus adherence to historical significance guidelines.
Probe problem-solving methods for salt efflorescence, cracking, and repointing intervals, and request both references and case studies.
Confirm insurance, licenses, and workmanship warranties, plus the use of compatible tools and sourcing of traditional-recipe mortars.
Demand a written plan with timelines and inspection points.
Evaluate communication clarity, ability to document decisions, and responsiveness to revisions.
Choose a contractor who demonstrates technical precision, a respect for historical significance, and transparent budgeting.
Long-Term Care: Documenting Work and Planning Future Upkeep
After hiring a mason for historic brickwork, you should shift focus to long-term care by documenting what was done and setting up a clear plan for upkeep. Meticulous records support historical preservation and guide future repairs, ensuring material compatibility remains intact. You establish a framework that minimizes risk while preserving authenticity.
- Maintain a detailed log of all materials, methods, and dates used.
- Schedule regular inspections and early-repair triggers to protect integrity.
- Archive photos, drawings, and supplier data for reference and audits.
Implementation hinges on consistent documentation, accessible to future contractors, and a proactive maintenance calendar. Keep warranties, test results, and climate considerations organized. This disciplined approach sustains performance, honors heritage, and guarantees continued compatibility of brick, mortar, and restoration techniques.
Frequently Asked Questions
How Long Does Brick Repair Typically Last on Old Homes?
Brick repair longevity varies, but expect 15–25 years with proper repointing and moisture control. You’ll optimize results through brick cleaning and mortar analysis, ensuring repairs match historic mortar. You should inspect regularly and address deterioration promptly.
Are Modern Mortars Compatible With Historic Bricks?
Metaphor: think of your bricks as conversations—modern mortar isn’t automatically compatible with historic bricks. You should verify historic compatibility, as misfit causes damage; choose pliable, lime-based mortars for lasting, respectful, structurally sound results.
Can DIY Repointing Cause More Damage to Historic Walls?
Yes, DIY repointing can worsen mortar size, bonding, and moisture issues, causing further damage. You should apply restoration techniques carefully, recognizing preservation challenges, using appropriate lime mortars, matching textures, and testing on inconspicuous areas before proceeding.
What Financial Grants or Subsidies Exist for Brickwork Repairs?
Urgent: financial assistance exists through local grants and heritage funds. You could qualify for grant eligibility if your project preserves historic brickwork, complies with standards, and demonstrates documented need; consult your council, preservation societies, and fund databases tonight.
How Often Should Historic Brickwork Be Inspected?
You should inspect historic brickwork annually, plus after severe weather. Use weatherproofing tips to prevent moisture intrusion, and apply cleaning techniques that protect mortar. Regular checks catch cracks early, ensuring durability and preserving historic character.
Conclusion
You’re now equipped to care for brickwork on older homes with precision and care. Assess early, choose lime-based mortars when appropriate, and weigh repointing, brick replacement, or consolidation by risk and historic value. Don’t shy from expert help when signs worsen. Keep documentation tidy to guide future work and budgeting. Protect joints during renovations and plan ahead to avoid costly fixes. Maintaining brick is a long game—steady, informed action keeps history standing strong. You’ll thank yourself later.



