

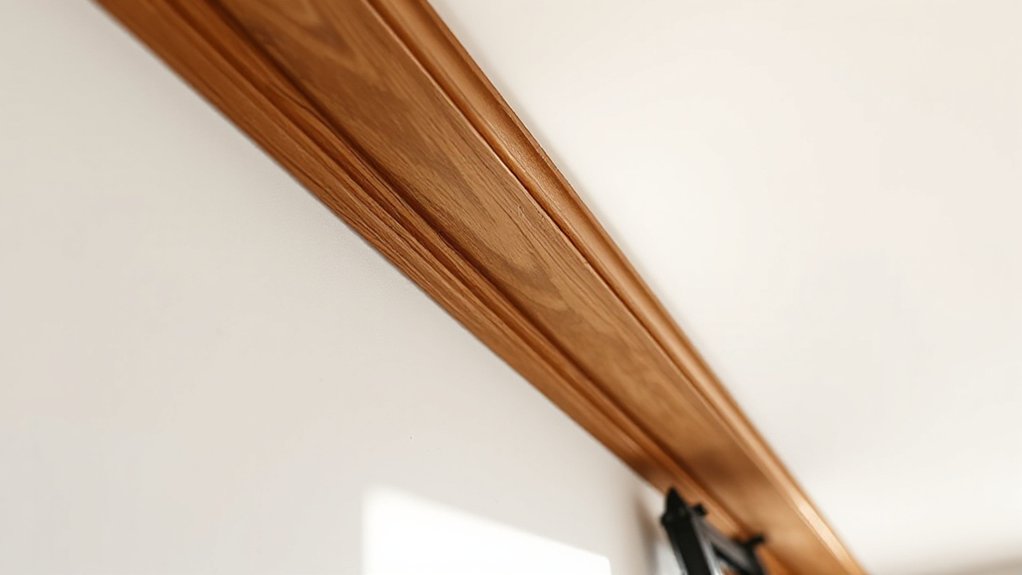

Installing crown molding elevates your space by visually tying walls and ceilings, while adding a refined architectural detail. Choose profiles and materials that fit your room’s scale, considering durability and moisture exposure. Measure carefully, transfer dimensions precisely, and use chalk lines for alignment. Dry-fit, cope or mitre joints as needed, seal with adhesive, and sand smooth. Finish with caulk, paint, and maintain joints over time. With proper steps, you’ll master clean seams and subtle shadow lines—and there’s more to come.
Key Takeaways
- Plan profile choice and materials to match room scale, ceiling height, and moisture exposure (hardwood vs. MDF).
- Measure carefully, mark straight lines, and verify corner angles before cutting; dry-fit sections first.
- Use appropriate saw angles for accurate miters and coping to ensure tight joints.
- Dry-fit, shim as needed, and hide joints behind shadow lines and returns; seal gaps with adhesive and caulk.
- Finish with light sanding, dust-free priming/painting, and annual inspection for caulk maintenance.
Crown Molding: Why It Elevates a Room

Crown molding elevates a room by providing a finished connection between wall and ceiling and by adding a subtle architectural detail that draws the eye upward. You improve proportion and scale, creating a sense of completion that enhances interior decor.
The effect is practical: it disguises minor gaps and shifts while clarifying room boundaries. By delivering a vertical cue, it can make ceilings feel higher and spaces feel more deliberate, especially in rooms with irregular shapes or varied lighting.
The choice of molding styles should reflect Historical styles to maintain harmony with existing architecture and period furnishings. When installed correctly, crown molding conveys craftsmanship, reduces visual clutter, and anchors decorative elements without overpowering them.
Choose Crown Molding Profiles and Materials
To select crown molding profiles and materials, start by matching your room’s scale and existing architectural details; the profile should complement rather than overwhelm. You’ll choose profiles that fit the ceiling height and wall proportions, avoiding aggressive curves in small spaces and overly flat forms in grand rooms.
Consider material durability, weight, and moisture exposure; hardwoods offer strength and finish quality, while medium-density fiberboard provides dimensional stability at lower cost. Profile aesthetics matter: a simple bracketed edge suits traditional spaces, whereas stepped or concave profiles read modern.
For plaster or gypsum walls, confirm compatibility with wall finishes and preparation requirements. If you’re painting, select a compatible base and sealant to prevent staining.
Balance visual impact, durability, and maintenance when finalizing your crown molding selection.
Measure, Cut, and Fit Crown Molding
Carefully measure the space, then transfer those dimensions to the molding with precision. You’ll establish your layout by chalking reference lines on the wall and against the ceiling, ensuring true alignment along both corners.
Use measuring techniques that emphasize accuracy: measure twice, confirm corner angles, and record length to hundredths of an inch where possible.
When cutting, select appropriate cutting tools and set the saw to the correct bevel and miter angles before each cut. Maintain consistent stock orientation to preserve grain and texture.
Dry-fit sections before fastening, adjusting minor gaps with shims if needed. Mark waste consistently to prevent errors, and keep fasteners aligned in a straight line for a clean finish.
Finalize with careful caulking and paint-ready seams.
Tackle Imperfections: Coping, Mitering, and Seams
If you encounter gaps or misaligned joints, tackle them with precise coping, mitering, and seam finishing to preserve a clean, professional look. You’ll apply controlled cuts, verify fit, and seal joints with appropriate adhesive techniques, ensuring a secure, seamless result.
Maintain attention to safety precautions, using protective eyewear and proper ladders when aligning crowns.
- Coping technique: trim profiles to fit irregular edges without pulling joints apart
- Mitering: cut at accurate angles, test-fit, adjust for tight seams
- Seam finishing: sand lightly, apply compatible adhesive, wipe excess
- Adhesive strategies and safety: follow manufacturer guidance, clean spills promptly
With careful execution, joints disappear behind shadows and returns, yielding a flawless crown line.
Finish and Protect: Sand, Caulk, Paint, and Maintain
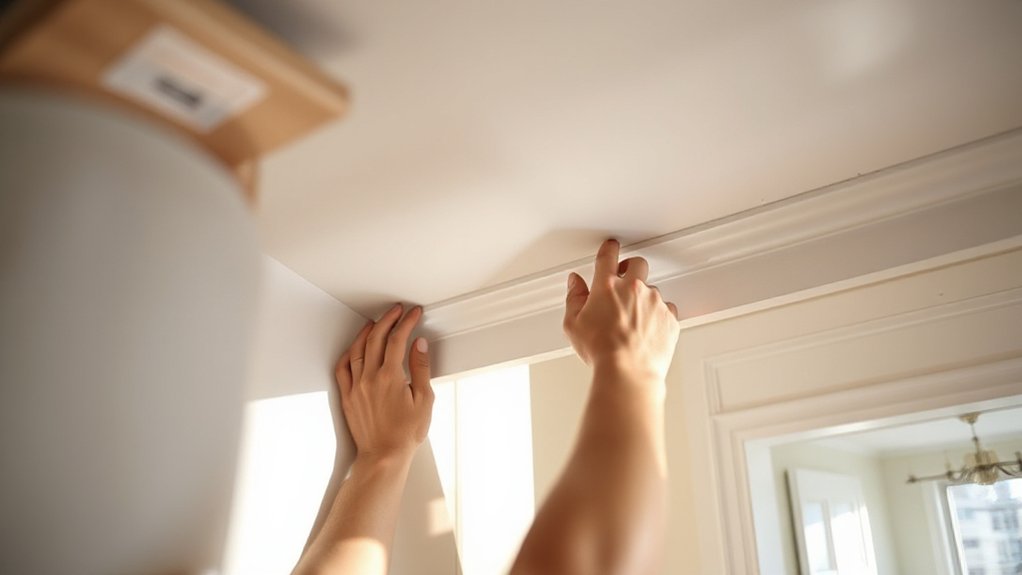
You’ll start by smoothing the joint lines from the crown to create a seamless surface, then apply caulk to gaps and seams to prevent moisture intrusion. Once set, sand the bonded areas with controlled strokes to achieve a uniform texture, using light pressure and long passes.
Focus on preventing visible ridges where the crown meets walls, and finish with a fine-grit sand for a flawless sheen. Wipe dust thoroughly before painting.
Apply primer as specified for your surface, then use high-quality enamel or acrylic paint to guarantee durability and washability.
For preservation, inspect joints annually and re-caulk as needed.
Practice proper caulking tips—seal in sections, smooth with a damp finger, and tool excess away from edges. Maintain ventilation during application and drying.
Frequently Asked Questions
How Do I Remove Old Crown Molding Without Damage?
You can remove old crown molding without damage by carefully prying nails, then supporting with a block and cutting behind nails. If drywall breaks, you’ll need removing nails, repairing drywall, plaster dust minimized, and touch-up paint applied promptly.
What Tools Are Essential for Beginners?
Begin with the basics: essential tools are a tape measure, miter box, handsaw, utility knife, level, stud finder, nail gun or hammer, and safety gear. Design inspiration, material options guide your choices for practical crown molding projects.
Can I Install Crown Molding Myself in a Rental?
Yes, you can, but check your lease first and use removable adhesive options. You’ll add decorative accents without permanent changes, preserving ceiling design while minimizing damage. Follow proper measurements, cutting angles, and clean installation for best results.
How Long Does Installation Typically Take?
Installing crown molding typically takes a few hours for a single room, depending on complexity. For example, you complete precise cuts and install custom styles; material options influence timing. Expect longer if you frame irregularities or add detailing.
Is There a Budget-Friendly Alternative to Wood Molding?
Yes, you can use PVC or high-density foam as budget-friendly alternatives to wood. DIY tips: compare costs, moisture resistance, and finishing; cost comparison favors these options. You’ll save material and labor time while achieving durable, polished results.
Conclusion
You lift the room with quiet precision, where simple trim meets bold detail. The corner’s tight coping contrasts with wide, airy crown, and your measured cuts stand apart from imperfect walls that beg for patience. As paint seals the work, texture softens the harsh line, yet the room’s character sharpens. You’ve turned raw space into refined height, practical and durable, while the craft’s fault lines remind you to measure twice, commit once, and enjoy the elevation.



