

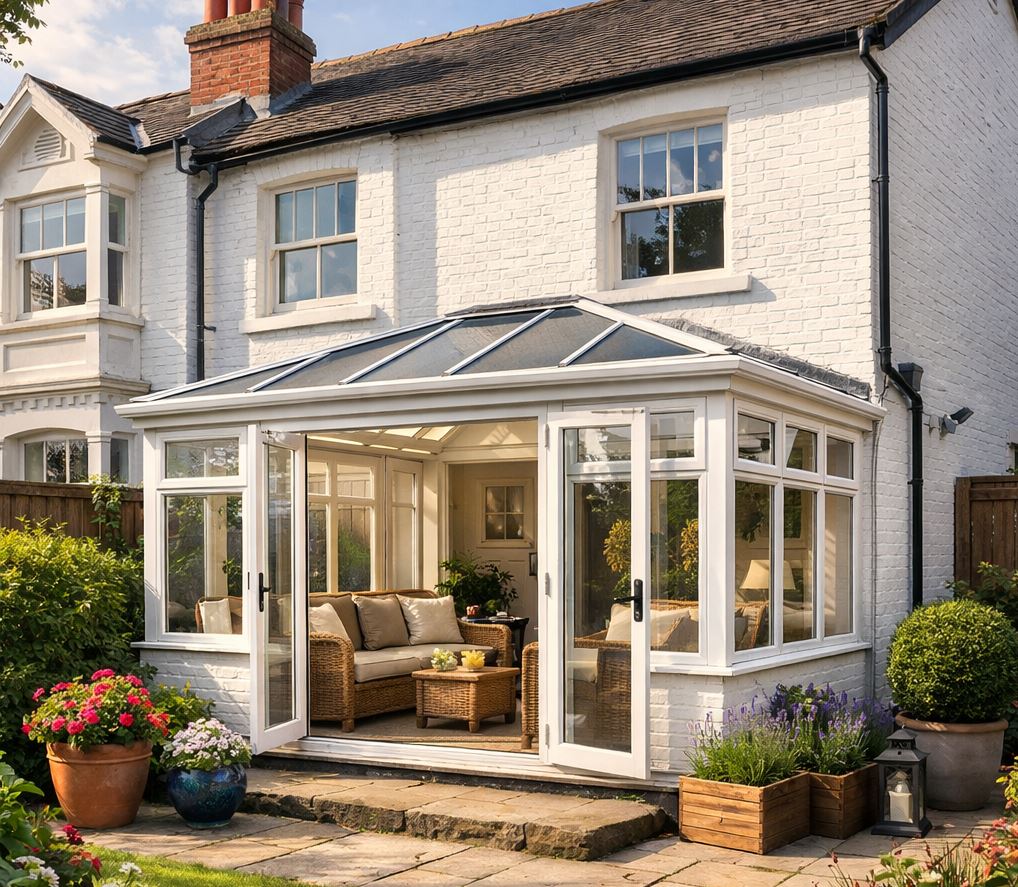

If you’re planning a single storey extension for your UK home, you’ll want to know what drives the price, from size and materials to permits and labour, so you can map a realistic budget. You’ll find that costs vary widely and depend on local rates, complexity, and the level of finish you choose. There are smart choices to make and hidden pitfalls to avoid, and a clear plan can keep your project on track—but there’s more to consider as you scope it out.
What Does a Single-Storey Extension Cost in the UK (and What Drives the Price)?
A single-storey extension in the UK can cost a wide range depending on size, finish, and location, but you’ll typically pay more for high-spec materials, complex layouts, and sites with restricted access.
You’ll gauge value by what the project adds to your home, not just the upfront price. Expect solid concrete bases, insulated walls, and a damp-proof course, plus finishes that suit your style.
Labour costs vary with regional rates and builder experience, while services like plumbing, electricals, and heating influence the total.
Structural work, such as supporting walls or steel beams, can shift the budget quickly. Permits, surveys, and soundproofing may add to expenses.
Ultimately, price reflects design intent, build quality, and how smoothly the project progresses from plan to completion.
Key Cost Drivers for UK Single-Storey Extensions
Structural requirements matter: replacing or removing walls, installing new foundations, and including a damp-proof course all affect costs.
Roof type and insulation levels influence pricing, as do glazing choices, doors, and the level of natural light you want.
Groundwork, drainage, and any-required planning permissions or building regulations checks add to the bill, too.
Finally, trades, labour timing, and project management impact the total; smoother coordination generally lowers overruns and overruns.
How Design Choices Affect Value and Budget
Design choices directly shape both value and budget, so pick options that match how you’ll use the space. Your layout, finishes, and fittings determine what buyers notice first, and they influence perceived quality as much as actual cost.
Bigger rooms feel livelier, but they’re pricier to build and heat, so balance openness with practical use.
Simple, modular designs save on labour and reduce risk of delays, keeping project control in your hands.
Materials matter: durable renders and energy-efficient glazing typically pay back over time through lower maintenance and running costs.
Consistency matters too; mismatched styles can deter buyers and complicate pricing.
Plan for simple, timeless elements now, then reserve flexible areas for future needs.
Thoughtful design choices protect value while keeping your budget predictable.
Planning Permission, Building Regs, and Approvals You’ll Need
Planning permission, Building Regulations, and other approvals shape when you can start work and what standards your extension must meet.
In most cases, a single-storey rear extension doesn’t need full planning permission if it stays within permitted development rights, but you’ll still check local rules and neighbour impact. You’ll likely submit a prior notification or full plans to your local authority, plus any required surface water or party-wall notices.
Building Regulations ensure structural safety, insulation, ventilation, and fire safety; you’ll need approved drawings and calculations, plus inspections at key stages. You’ll also confirm energy performance requirements and accessibility standards where applicable.
If you’re unsure, consult a planning consultant or builder early to avoid delays and ensure your project meets all mandatory approvals.
Typical Sizes and Price Ranges for UK Extensions
Typical sizes for UK extensions vary with your needs and plot, but most single-storey rear extensions run from about 3m to 6m in depth and 3m to 4.5m in width, enough to add a kitchen-diner, living space, or home office.
In price terms, expect ranges roughly from £10,000 to £25,000 for simple monos, up to £30,000 to £40,000 for larger, brick-faced builds with windows and doors.
If you opt for a lightweight frame, costs stay toward the lower end; solid brick or block can push prices higher. Labour, site access, and foundations influence totals significantly.
Plan for approximately £1,000 to £1,500 per m2 for mid-range finishes.
Materials That Balance Cost and Durability
When choosing materials for a single-storey extension, prioritize options that balance upfront cost with long-term durability. You’ll want components that resist weather, wear, and damp without breaking the budget.
Opt for standards-compliant framing, like treated timber or steel, with proper insulation to cut running costs.
For exterior walls, consider brick or render finishes that offer robustness at sensible prices. Blockwork with a sensible plaster or cladding can work well, too.
Roofing decisions should favor proven profiles with good warranties, such as concrete tiles or metal sheets, paired with reliable underlayment.
Windows and doors deserve energy-efficient, weather-sealed units to reduce heat loss.
Finish materials should be low-maintenance yet durable, like vinyl or composite options, avoiding high-cost, short-lived trends.
Balance upfront spend against expected lifecycle performance.
Labour, Timelines, and How to Avoid Delays
Coordinating labour and timelines well starts with a clear project plan and solid contractor commitments. You should map milestones, permissions, and lead times up front, so everyone knows what’s expected and when.
Vet tradespeople carefully—references, licences, insurance, and site punctuality matter, especially for a single-storey extension.
Build a realistic schedule that includes weather windows and potential access constraints; share it with your team and update it as needed.
Maintain daily progress checks, log delays, and root causes, then adjust sequencing to keep critical path tasks moving.
Communicate promptly with your builder if you spot conflicts or material shortages.
Have a straightforward change process to avoid scope creep, and lock in delivery windows for key materials to minimize disruption.
Hidden Costs and Contingency Planning
Hidden costs can quietly upend a budget if you don’t plan for them. Build a contingency line into your project from day one, typically 10–20% of the total. This isn’t extra profit for trades; it covers surprises like hidden structural issues, drainage corrections, or unexpected material price shifts.
Get a clear scope and fixed-price quotes where possible, and document any changes in writing. Set a separate contingency fund for contingency approvals, permitting delays, and site access restrictions.
Regularly track spend against your budget and update forecasts as plans evolve. Factor in temporary accommodation or storage costs if work blocks access to your home.
Communicate changes promptly with your contractor to avoid costly rework. Maintain audit trails for all approvals and receipts.
Smart Budgeting: Sample Project Plans and Timelines
Smart budgeting starts with a clear, practical project plan and a realistic timeline. You’ll map key stages: design finalization, planning approvals, contractor selection, material orders, and construction.
Draft a phased schedule with start and finish dates, plus buffer days for weather or approvals. Allocate budgets by phase: design fees, permitting, foundations, structure, utilities, finishes, and external works.
Set milestones that trigger payments, not the other way around. Use a simple Gantt view or checklist to track progress and adjust as needed.
Build in weekly touchpoints with your team to review risks, confirm supplier lead times, and confirm scope changes. Maintain a living document; update forecasts if prices or timelines shift.
A disciplined plan helps protect your budget and keeps the project on track.
Money-Saving Tips Without Compromising Quality
To save money on a single-storey extension without sacrificing quality, start with smart design choices that reduce costly surprises later. Plan dimensions that maximize usable space while fitting your plot, avoiding overhangs or unnecessary complexity. Choose a simple roofline and standard window sizes to cut fabrication time and costs.
Source locally produced materials where possible; bulk-buy common items to lock in prices. Prioritize essential structural upgrades first, postponing cosmetic upgrades until you have budget headroom. Use energy-efficient basics—good insulation and airtight seals—to save on long-term bills.
Get at least three quotes from reputable tradespeople and check references. Negotiate fixed pricing for labor and a clear scope. Document decisions in writing to prevent scope creep and ensure quality remains high.
Conclusion
You’ve got a solid handle on costs, planning, and what drives price. With careful design, multiple quotes, and clear scope, you’ll balance quality and value. Budget for the unexpected with a 10–20% contingency, plus permits and services. Choose durable, energy-efficient materials, and align your plans with local regs to avoid delays. Track timelines, manage trades, and stay flexible. If you do barbecue the plan into phased work, you’ll hit your goals without surprises. Quality extension, finished on time, within budget.



