

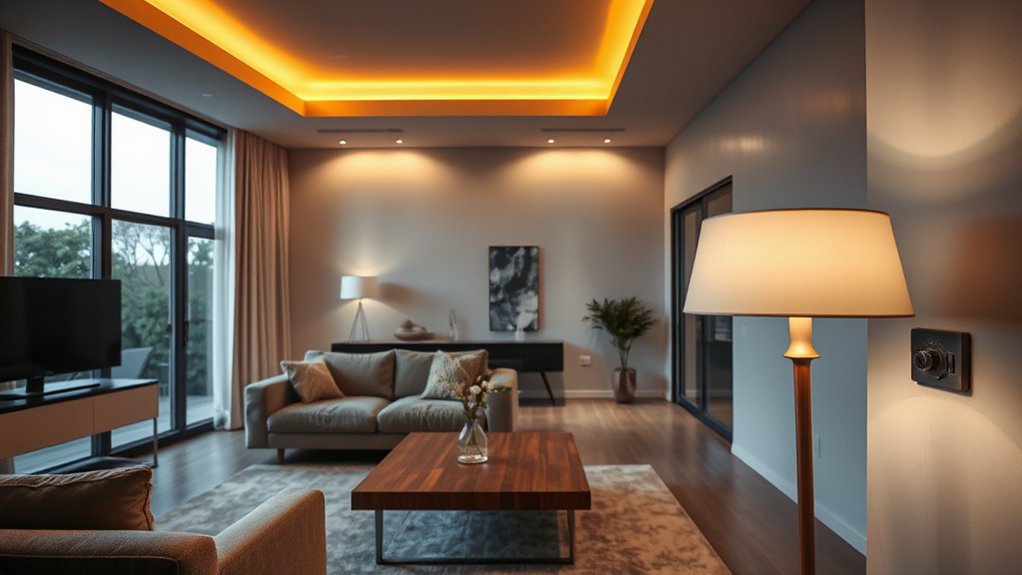

A practical, layered lighting plan transforms mood, safety, and energy use in your home. Start with a quick audit: map rooms, note tasks, and identify glow issues. Choose bulbs for mood and efficiency, favor dimmable LEDs in 2700K–4000K ranges, and layer ambient, task, and accent light for depth. Pick room-appropriate fixtures, check color rendering, and align temperatures across spaces. Tackle common mistakes and budget-upgrade strategically. If you want more, you’ll discover how to master shifts and optimization next.
Key Takeaways
- Understand lighting role: mood, safety, and architecture through layered ambient, task, and accent lighting across rooms.
- Conduct a thorough audit: map usage, inventory fixtures, check maintenance, and plan layers for consistent energy-efficient design.
- Choose bulbs wisely: balance color temperature (2700K–4000K) and high CRI for mood, focus, and cohesive scenes.
- Prioritize practical upgrades: dimmable LEDs, scalable fixtures, and smart controls to simplify transitions and savings.
- Plan transitions and maintenance: test color consistency, reduce glare, and schedule regular updates to preserve performance.
What Lighting Actually Does for Your Home
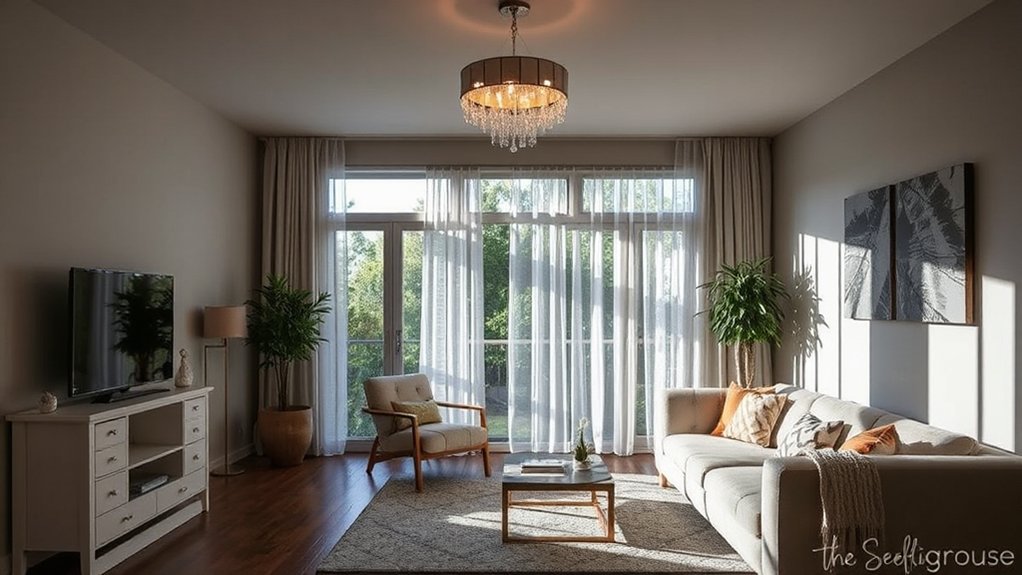
Lighting does more than brighten a room; it shapes mood, guides actions, and protects safety. You feel your spaces transform when you choose the right layers of light, because layers control glare, contrast, and task accuracy. You don’t just illuminate; you sculpt atmosphere, highlight architecture, and define moments.
With thoughtful planning, you align lighting aesthetics to daily routines, seasonal needs, and visual goals. You’ll improve performance in work areas, comfort in living rooms, and safety in hallways by balancing ambient, task, and accent illumination.
Decorative fixtures contribute personality while distributing light efficiently, and strategically placed fixtures reduce shadows that strain the eyes. Better lighting supports energy use, reduces fatigue, and elevates overall home quality.
Audit Your Current Lighting Setup
To begin auditing your current lighting setup, map every room and note how you actually use each space from morning through night.
Create a quick inventory: fixtures, switches, outlets, and any lamps that sit unused.
Assess lighting aesthetics by listing the mood each area should convey—bright for task zones, softer for lounging.
Check fixture maintenance: look for flickers, dust buildup, and worn lenses; note bulbs or components needing service.
Record natural light patterns across seasons, and identify gaps where lighting feels dim or harsh.
Compare current outputs to room function, then flag fixtures that underperform or overpower nearby furnishings.
This audit builds a precise baseline, guiding smarter upgrades later.
Keep findings organized, actionable, and ready to inform efficient, cohesive improvements.
Choose Bulbs for Mood, Task, and Efficiency
Choosing bulbs that suit mood, task, and efficiency sets the tone for every room. Use warm hues for relaxing spaces and brighter, focused light for tasks like reading or cooking, all while prioritizing energy savings.
I’ll walk you through balancing color temperature, brightness, and efficiency to fit your daily routines.
Mood-Appropriate Bulbs
Smart lighting isn’t one-size-fits-all: pick bulbs that match mood, task, and efficiency, then layer them for flexibility.
Mood-appropriate bulbs set the tone without overpowering the room. For relaxing evenings, choose warm, dimmable options around 2700K that soften edges and invite conversation.
In work areas, opt for brighter, cooler tones near 4000K to sharpen focus without harshness.
In social spaces, balance color temps to highlight artwork and decorative fixtures without glare.
Consider bulb shape and compatibility with dimmers to preserve control. Decorative fixtures deserve bulbs that complement their design, avoiding mismatched brightness.
Vintage bulbs can add character when paired with modern dimming.
Reassess rooms seasonally, swapping intensities to reflect changing activities and moods, maintaining efficiency while preserving atmosphere.
Task Lighting Efficiency
When it comes to task lighting, efficiency means bright, focused illumination without waste, glare, or energy drain. You optimize by pairing the right bulbs with purpose-built fixtures.
For reading desks or craft tables, choose cooler temperatures (around 3500–4000K) for clarity and reduced eye strain. For kitchen counters, aim for 2700–3000K with high CRI to reveal true colors and textures.
Favor directional fixtures that minimize shadows and glare, rather than diffuse, omnidirectional lamps. Consider dimmable options to adapt to tasks and time of day.
Lighting installation should prioritize placement above work surfaces, not in your line of sight. In fixture selection, ensure compatibility with existing wiring and insulation.
Prioritize efficiency: LED lamps, proper beam spread, and easy replacement paths to maintain consistent performance.
Layer Ambient, Task, and Accent Light
Layering ambient, task, and accent lighting creates a flexible, well-lit space you can adapt to any activity. Layered illumination guides how you use rooms, balancing mood with function.
Start with ambient light as a soft blanket that defines scale and reduces glare. Add task lighting where you need precision—kitchens, desks, mirrors—so you don’t strain eyes or posture.
Use accent lighting to sculpt features, highlight artwork, or create depth, drawing attention without overpowering other layers. Keep the lighting hierarchy simple: ambient, task, accent, in descending intensity.
Dim or brighten zones to suit activities, conserving energy when possible. Choose compatible controls—layered illumination benefits from dimmers and smart scenes.
This approach yields clarity, efficiency, and atmosphere, making every space feel intentional and adaptable.
Pick Fixtures by Room and Purpose
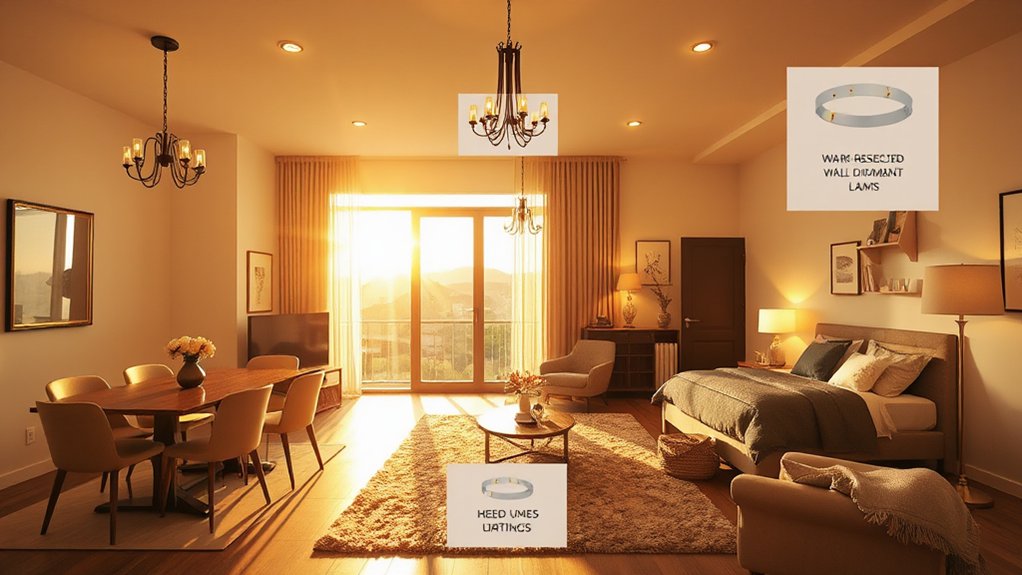
After establishing how to layer lighting, the next step is choosing fixtures that fit each room and its tasks. In practice, you’ll align lighting fixtures with function: work areas get bright task lighting, living spaces benefit from cozy decorative illumination, and entryways set the tone with welcoming accents.
- Prioritize task-focused fixtures in kitchens and desks to boost clarity and reduce shadows.
- Use decorative illumination in living rooms and bedrooms to create mood without overpowering the space.
- Match dimmable options everywhere to shift ambience for activities and timing.
Plan Ceiling Height, Shadows, and Glare
Optimizing ceiling height, shadows, and glare starts with a practical assessment: understand how room dimensions and lighting angles interact to shape visibility and comfort. You’ll plan by prioritizing ceiling design that supports even light distribution, avoiding abrupt contrasts and deep shadows.
Assess wall-to-wall spacing, HVAC plenums, and fixture heights to prevent glare from direct sources and to minimize unwanted reflections. Choose layer lighting that blends task, ambient, and accent needs, aligning fixture throw with seating and work zones.
Use dimming where possible to adapt to activities and daylight shifts. In shadow control, position key luminaires to fill corners without creating hotspots, and employ baffles, diffusers, or frosted lenses to soften lines.
This approach delivers consistent brightness, comfort, and visual clarity.
Smart Lighting Basics: Controls, Scenes, Automation
Smart lighting starts with controls that connect your devices and routines, so you can manage everything from one app or switch.
Next, you’ll build scenes for ambience, pairing brightness and color to fit each moment.
Finally, automation basics explain how timers, sensors, and rules keep your home lighting effortless and reliable.
Controls That Connect
1) Integrate hubs or bridges that support your preferred ecosystem, so devices synchronize seamlessly.
2) Choose dimmers and sensors placed with fixture placement in mind, ensuring smooth progressions and consistent brightness.
3) Create routines that align with daily habits, from wake-up brightness to evening scenes, while preserving a clean aesthetic.
These controls empower you to optimize ambiance, conserve energy, and simplify maintenance—without sacrificing performance or style.
Scenes For Ambience
Start with a neutral baseline for everyday tasks, then craft purpose-built moments—movie night, dinner, morning wake-up, or focused work. Use gradual shifts to avoid jarring shifts, and assign consistent color temperatures to each scene for cohesiveness.
Consider vintage fixtures and decorative bulbs when you design pleasing silhouettes and warm glows; they influence perception even at low brightness. Keep your scene library lean: name scenes clearly, store them in logical rooms, and test them under typical daylight.
Regularly prune unused presets to maintain fast, reliable performance.
Automation Basics Explained
Automation is the backbone of modern lighting, tying together controls, scenes, and scheduling so you can power, dim, and color lights with a single tap or voice command. You’ll gain predictable results by understanding three core elements: how controls translate intent into action, how scenes coordinate multiple fixtures, and how automation guarantees consistent manual adjustments.
- Controls: Choose switches, apps, or voice assistants that suit your daily routines and assure quick, reliable access to lighting design goals.
- Scenes: Build mood presets that activate multiple fixtures at once, matching room function and time of day.
- Automation: Schedule lighting to respond to occupancy or sunrise/sunset, enhancing convenience and energy efficiency. Fixture selection and proper layout are essential for consistent, balanced illumination.
Energy-Saving Strategies That Keep the Vibe
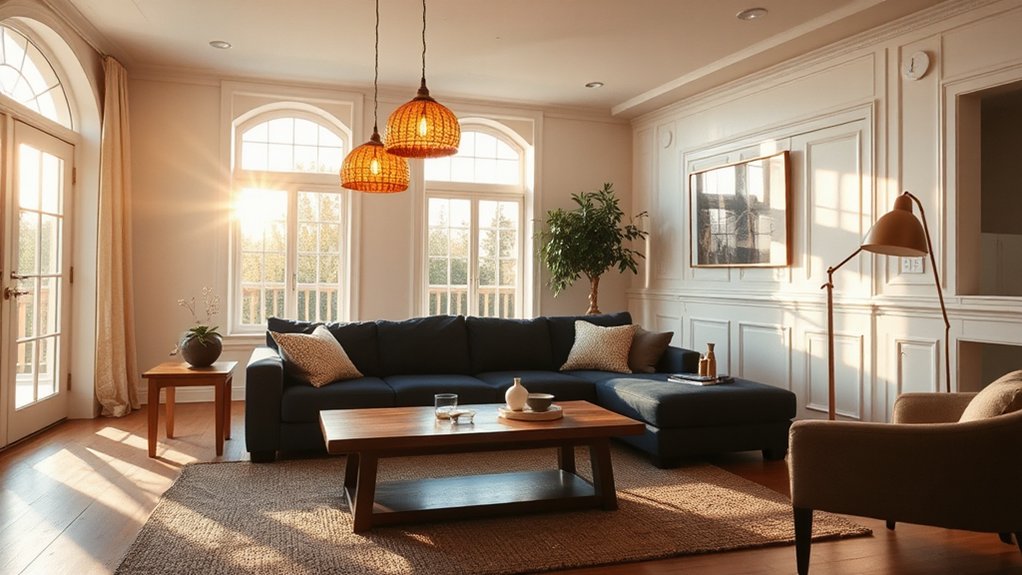
If you want to cut energy use without sacrificing ambiance, start with smart patterns that align with how you actually live. You’ll optimize lighting design by pairing dimmers, occupancy sensors, and timer controls with your daily routines, not rigid schedules.
Use layered lighting: task, ambient, and accent layers that you adjust as rooms evolve, so you conserve energy without losing vibe. Choose high-efficiency LEDs and enable daylight harvesting where possible, letting curtains and blinds modulate brightness.
Prioritize zones you inhabit most, and set energy conservation goals for those areas first. Harness scene presets for different activities—work, relax, entertain—so you don’t overlight.
Regularly audit fixtures, replace outdated components, and document gains to reinforce sustainable habits and continued ambiance.
Color Temperature and Rendering You’ll Love
Color temperature sets the mood and affects how colors read in your rooms, so you’ll want to choose temps that flatter your spaces and tasks. Remember the basics, like warm for cozy living areas and cool for task-focused kitchens.
And how rendering quality influences true color and contrast. With practical tips, you’ll learn how to mix temperatures and lighting layers to achieve consistent, appealing results.
Color Temperature Basics
Color temperature is a first-order way to shape how your rooms feel, and understanding it helps you pair lighting with tasks and mood. In practice, you’ll use warmer temperatures for relaxing spaces and cooler temps for work areas, balancing comfort with visibility.
Think about how color temperature interacts with color psychology to influence perception and energy in a room, and how technology integration makes this easier through tunable fixtures and smart controls.
- Warm (2700–3000K): inviting, cozy accents for living rooms and bedrooms.
- Neutral (3500–4100K): versatile, suits kitchens and home offices with clear task visibility.
- Cool (5000–6500K): crisp light for detailed tasks and focused work.
Use these targets to map tasks to mood, and choose fixtures that let you switch temps as needed.
Rendering Quality Notes
Rendering quality hinges on how well color temperature renders on your walls and objects, so you’ll want to test both spectral content and consistency across fixtures. You’ll assess how hues shift between lamps and spaces, then document what you observe.
Prioritize steady performance over time, since early brightness or tint changes can compromise ambiance. In Lighting design, consistency matters: match nearby sources for cohesive scenes, and avoid clashing tones that distort skin or fabrics.
When choosing bulbs, bulb selection matters more than wattage alone; favor high-CRI options with stable color output. Don’t rely on a single reference point—compare with real furniture and artwork under typical usage.
Finally, record your findings to guide future upgrades and guarantee dependable rendering quality.
Practical Lighting Tips
To get the most from your lighting, start with practical checks that you can apply every day: match color temperature across rooms, test how hues render on common surfaces, and note any shifts when you dim or raise brightness. You’ll optimize ambience by aligning tones with function, not just style, and you’ll spot inconsistencies before they bother you.
- Compare similar rooms side by side to ensure consistent color perception and avoid jarring transitions, especially where decorative fixtures are visible.
- Assess outdoor lighting at dusk and after sunset to confirm the warmth complements interiors and resists glare on façades.
- Map lighting layers—task, ambient, accent—to minimize energy use while maximizing depth and texture in every space.
Budget-Friendly Updates That Feel Premium
If you’re aiming for a premium feel without breaking the bank, start with simple, high-impact upgrades that elevate both function and aesthetics. Focus on color temperature and dimming to instantly improve mood and versatility.
Swap dated fixtures for affordable, well‑scaled designs that echo classic or contemporary lines. Prioritize key rooms: entry, kitchen, and bath, where you’ll notice the most return on perception and utility.
Layer light with a mix of ambient, task, and accent sources to create depth without clutter. Consider vintage fixtures to add character without a full remodel, pairing them with modern bulbs for safe efficiency.
Outdoor lighting should be functional and inviting—think path lighting and subtle uplights that extend the day’s usable hours while maintaining curb appeal.
Common Lighting Mistakes and Fixes
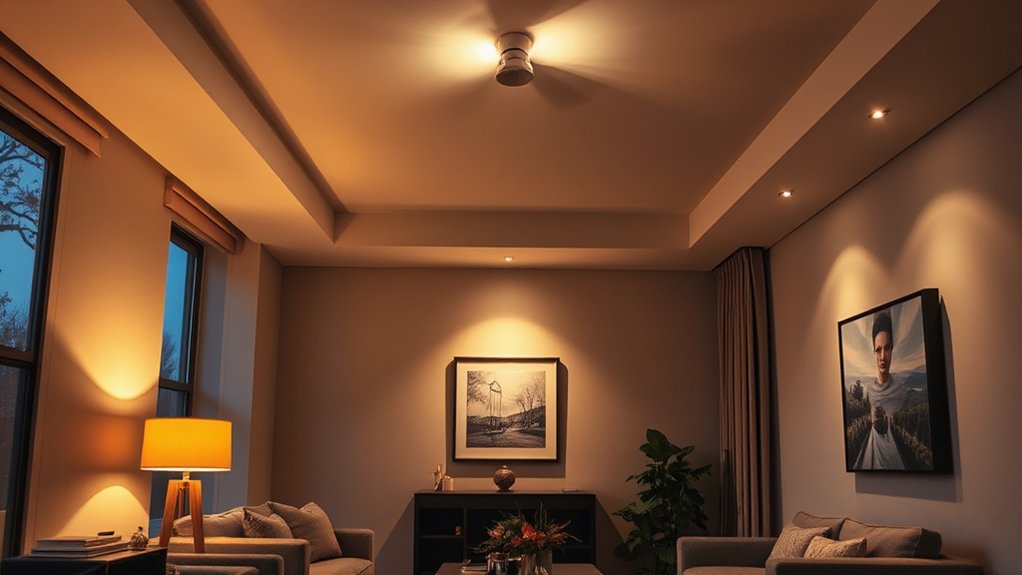
Common lighting mistakes can undermine a space’s mood and function, but fixes are straightforward. You’ll fix glow imbalances, glare, and color drift with targeted tweaks rather than a full redraw.
Start by balancing layers: ambient, task, and accent lighting should work together, not compete.
Next, avoid over-bright ceiling planes; use dimmers so you tailor intensity for tasks and vibes.
Finally, choose expression over excess—decorative fixtures should enhance, not distract, and vintage bulbs can create warmth without sacrificing clarity.
- Layer lighting thoughtfully, combining ambient, task, and accent to remove harsh shadows.
- Install dimmers and choose bulbs with consistent color temperature to prevent color drift.
- Integrate decorative fixtures and vintage bulbs to add character while maintaining accuracy and efficiency.
Room-By-Room Lighting Checklist for DIY or Pro Help
Start with a room-by-room plan that matches how you actually live. Create a checklist that covers task, ambient, and accent lighting for each space.
Begin with the kitchen and workspaces, noting under-cabinet task lighting, bright ceiling ambient options, and decorative accents that elevate texture.
In living areas, prioritize natural illumination where possible, adding layered light with dimmers and lamps to suit activity and mood.
For bedrooms, focus on calming layers—soft task light by reading nooks and gentle ambient glow.
Bathrooms demand bright, color-accurate task lighting and water-safe fixtures.
Hallways and entryways benefit from dispersion and accents that guide flow.
Don’t overlook exterior lighting for security and curb appeal.
Decide DIY feasibility or professional scope, and plan a consistent color temperature across zones for cohesion.
Frequently Asked Questions
How Do I Calculate Total Lumen Output per Room?
You calculate total lumen output by multiplying each room’s square footage by your target lux level and adding fixtures’ lumens, ensuring you meet lighting design goals while prioritizing energy efficiency and balanced ambiance. Adjust for task areas and dimming.
Which Dimmer Types Work With LEDS and Dimmable Bulbs?
Dimming compatibility varies; LED dimmer switches often work, but choose models labeled compatible with LED bulbs. You’ll avoid flicker by using dimmers designed for LEDs, not standard dimmers. Confirm compatibility before wiring, and test gradual, smooth dimming.
Can Lighting Impact Indoor Air Quality and Health?
Yes—lighting affects air quality and your health. Proper ventilation and low-emission fixtures reduce pollutants, while daylighting and circadian-friendly lighting support sleep and well-being, delivering tangible health benefits and better overall air quality in your home.
How Many Watts Does a Typical Living Room Need?
You’ll typically want about 2–3 watts per square foot for a living room, depending on light layers. Lighting design matters; aim for layered, adjustable fixtures while prioritizing Energy efficiency and practical, comfortable illumination.
What Are the Best Plug-In Smart Lighting Options?
You should choose top plug-in smart lighting like Philips Hue or LIFX, ensuring Smart bulb compatibility, and consider plug in fixture options that support dimming and scheduling for seamless, authoritative, practical control in any room.
Conclusion
You’ve got the tools to transform every room, but here’s the kicker: lighting isn’t just about brightness—it proves a true theory, too. The more layers you layer, the more space feels intentional and alive. Start with a clear plan, audit what you have, and upgrade thoughtfully. When you mix ambient, task, and accent light, you’ll see mood, function, and efficiency rise together. Do this, and your home won’t just glow—it’ll perform.



