
To make wooden cornice boards for windows, start by measuring your window width at three points and the height at three points, using the smallest width minus 1/4 inch for clearance and the longest height for board length. Choose a beginner-friendly wood, prep stock with square edges, and plan a profile that suits your space. Cut, dry-fit, then glue, clamp, and nail. Finish with stain, paint, or varnish, mount securely, and conceal hardware for a built-in look; you’ll pick up more steps as you continue.
Key Takeaways
- Plan the cornice: choose profile, size to window, and mounting depth, considering room finish and treatments.
- Select materials: softwoods for ease, pre-mill and check moisture; plan stock dimensions and grain direction.
- Take precise measurements: window width and height at multiple points; compute board length with allowances.
- Cut and join: dry-fit, cut miters, glue and clamp, then secure with appropriate hardware and hidden fasteners.
- Finish and mount: sand, apply moisture-resistant finish, predrill for anchors, level, support during mounting, and conceal hardware.
How Building Wooden Cornice Boards Transforms a Room
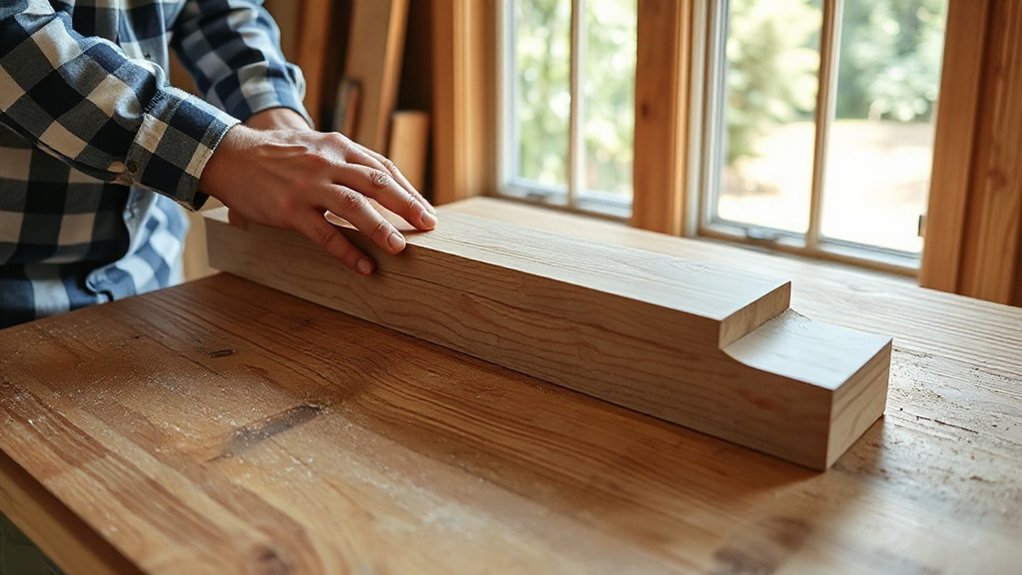
When you build wooden cornice boards, you instantly gain a cleaner, more polished window area. You’ll notice the room feel quieter and more cohesive as decorative motifs pull attention upward and establish a unified line.
The boards offer a tailored frame that highlights existing features, making wall colors and fabrics read as intentional rather than random. With thoughtful color coordination, you create contrast or harmony that guides the eye without shouting.
Subtle detailing—profiles, grooves, or a light crown—adds texture without clutter. The result is a room that reads as deliberate and balanced, where architectural elements align with your palette and furnishings.
In short, wooden cornice boards transform sightlines, proportions, and perceived quality with straightforward, purposeful design.
Tools and Materials You Truly Need (No Fluff)
You only need a focused set of tools and materials to build wooden cornice boards, so start with the essentials and skip the fluff. You’ll need basic hand tools (measuring tape, square, saw, sander) and a dependable drill.
For materials, choose lightweight lumber or plywood, a wood conditioner, wood glue, nails or screws, and a finish like stain or polyurethane. Pick a straight, smooth board and cut to width and length that match your window.
Plan for decorative patterns or a simple edge profile if you want a hint of character, without overcomplication. Consider historical styles you admire: clean lines or subtle moldings, then translate that into a practical, modern build.
Keep joinery simple and durable, and seal all surfaces before installation.
Beginner-Friendly Woods for Cornice Boards
You’ll want woods that are easy to work with and readily available, like softwoods, for beginner cornice projects.
Consider budget-friendly options first, since you’re building a lot of samples before finalizing a trim design.
And weigh exotic woods only if you’re sure you’ll use them.
We’ll compare availability, cost, and workability to guide your first builds.
Softwood Availability
Softwoods are a reliable starting point for beginner-friendly cornice boards. You’ll find many options in local lumberyards and big-box stores, often labeled as softwood or pine.
Look for straight grain and minimal knots to ease planing and routing, which suits beginners. Softwood characteristics include lighter weight, easier nail or screw acceptance, and good dimensional stability when dried properly.
For sustainability, prioritize pieces from reputable suppliers with documented sustainable sourcing practices and certified mills. Consider common varieties like pine, spruce, and fir, which typically respond well to sanding and staining.
Availability is year-round and predictable, helping you plan cut lists without delays. Always check moisture content, aiming around 6–12% for most interior trim projects.
Exotic Wood Pros
Exotic woods can be beginner-friendly options for cornice boards when you choose stable, easy-to-work species and plan for their quirks. You’ll find options that finish well and cut cleanly, reducing effort on angles and decorative edges.
Exotic wood benefits include strong dimensional stability, good screw-holding capacity, and attractive grain with unique character. Start with straight, kiln-dried stock to minimize warping risk, and acclimate it in the room where the cornice will install.
Use sharp blades, slow feeds, and appropriate dust collection to keep edges clean. Check for resin pockets or mineral streaks early, addressing them before routing or planing.
Rare wood characteristics may require pre-milling seams and moisture checks. Choose compatible finishes and sealers to preserve color and reduce movement over time.
Budget-Friendly Options
For durability, consider hardwoods labeled as “hard maple-lite” or beech substitutes, which offer solid material durability without the premium price. Look for straight grain, minimal defects, and consistent thickness to reduce planing and sanding.
Pre-cut or pre-veneered panels can speed installation and reduce waste. Seal and finish promptly to protect against moisture and UV exposure.
You’ll achieve clean profiles and sturdy results with basic joinery and a light, even finish.
How to Measure Your Window for a Perfect Fit
To get a perfect fit, start by measuring the window itself, not the old trim or any surrounding wall. Begin with width: measure at three heights (top, middle, bottom) and use the smallest, subtract 1/4 inch for clearance.
For height, measure from the top of the window opening to the sill at three points, using the longest vertical distance to guide board length.
Record in inches, rounding to the nearest 1/16 inch.
Note the framing depth if you’re mounting flush or inset, so you know if you need shims.
For depth, determine how far the cornice can project without crowding casing or curtain stacks.
Include the window treatments you’ll pair with— Curtain styles, then plan brackets, return, and mounting points.
Accuracy avoids trim gaps and sag.
Designing a Cornice Profile That Suits Your Space
Designing a cornice profile that fits your space starts with your window’s proportions and finish goals in mind. You’ll choose a silhouette that mirrors architectural features and is visually balanced with room height.
Consider scale: a bulky profile can overwhelm small windows, while a slim one may underplay your view. Profile options range from simple flat boards to stepped, curved, or decorative crowns.
Decide how the cornice will read with trim and wall color, aiming for harmony rather than competition. Color options matter; you can paint to match trim, wall, or ceiling for a seamless look, or create contrast for emphasis.
Material durability matters, so pick a solid core and robust casing to resist warping. Keep practical dimensions in mind for install ease and long-term stability.
Plan Dimensions and Stock Preparation
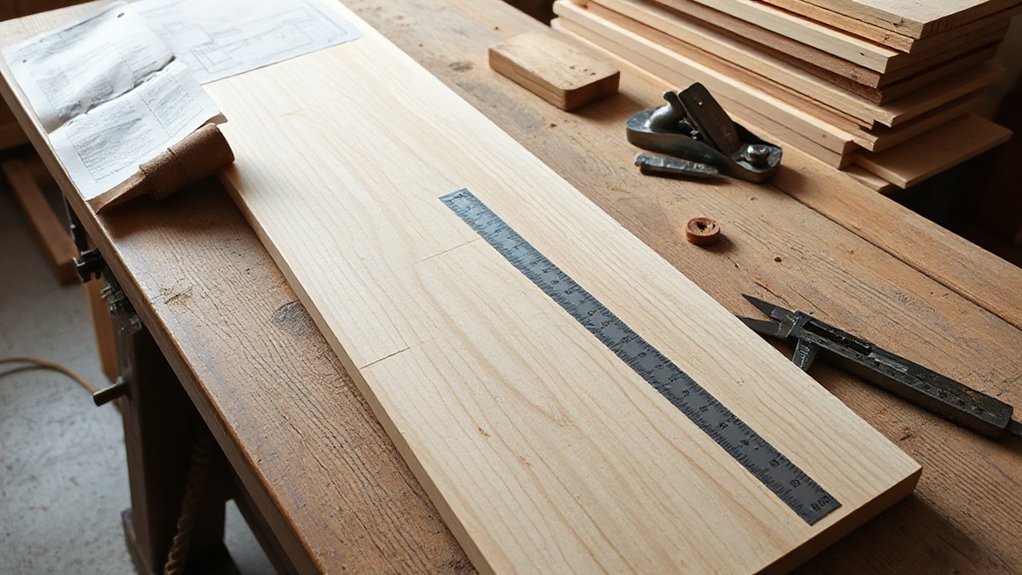
Start by selecting stock that’s straight, dry, and close-grained for a clean profile.
Measure your window opening precisely and add the needed allowances for mounting and trim, then cut stock to those final lengths.
Prep the material with a light sanding and a consistent edge square to keep joints tight and finishes even.
Stock Selection Basics
Stock selection for wooden cornice boards starts with plan dimensions and proper stock prep. You determine thickness, width, and depth from your window casing and desired profile, then select stock that fits those numbers with minimal waste.
Choose solid wood for strength or plywood for warp resistance, paying attention to flatness and straightness. Inspect for defects, splits, and checks; reject anything beyond your tolerance.
Plan for waste and predictable finish exposure around edges, so you’ll either resaw or buy slightly oversized stock. Color matching matters; pick stock that accepts your stain or paint evenly, and consider taping scraps to preview results.
Hardware options vary—choose mounting methods, fasteners, and brackets that secure the cornice without visible screws.
Measuring For Fit
To measure for fit, you start with exact plan dimensions from the window opening and the desired cornice profile, then translate those numbers into stock thickness, width, and length. You’ll verify clearances, account for moldings, and plan for finish. Precision here saves rework later.
1) Measure twice, cut once—confirm openings, sill depth, and wall setback before committing to stock.
2) Choose color coordination thoughtfully, aligning trim shade and cornice profile to room style for historical accuracy.
3) Mark and cut to exacts, then test-fit on a flat surface to ensure straight edges and proper angle seating.
Focus on these steps to prevent gaps, maintain symmetry, and honor historical accuracy in your project.
Plan Material Prep
Joint and edge- square stock edges to guarantee clean, accurate joins later. Dimension planing should leave precise faces for fast, predictable sanding and finishing.
Reserve pieces for decorative accents, confirming grain direction and alignment with your design intent. Sand surfaces in progressive grits, then plane or trim to final thickness, width, and length.
Confirm stock pieces fit without forcing joints, and mark each piece for its intended location. Coordinate color and finish across all components, ensuring cohesive color coordination and durable, even coverage.
Safe, Simple Cutting Methods for Beginners
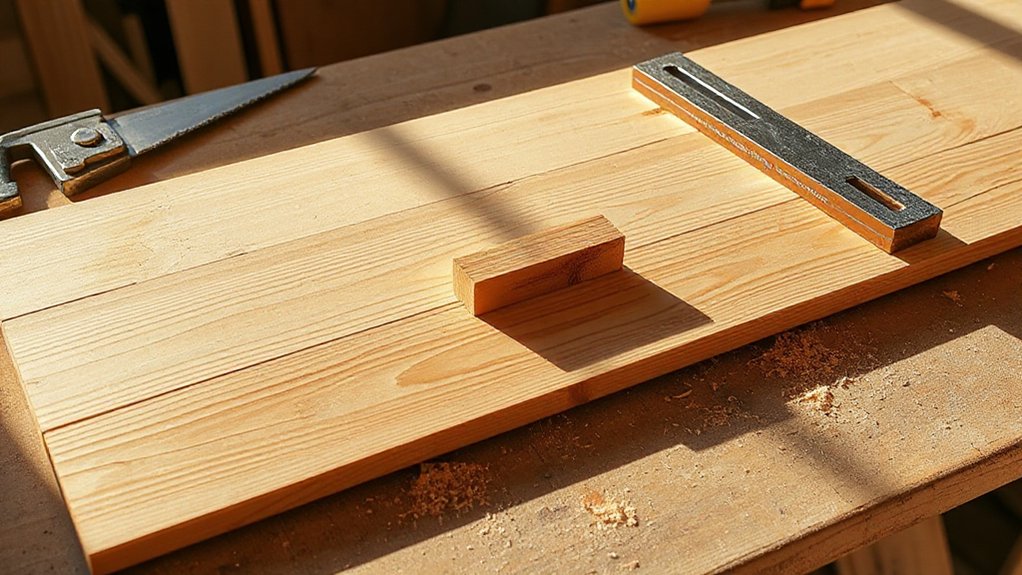
When you’re cutting wood for cornice boards, start with a clean, well-secured workpiece and a sharp blade. Keep your cuts steady, and let the saw do the work—don’t force it. Prioritize safety precautions and maintain your tools with quick-daily checks.
- Clamp firmly, measure twice, cut once, staying focused to avoid slips.
- Use a sharp blade and proper feed rate; dull edges cause wander and risk.
- Inspect blades and guards after every session; good tool maintenance prevents surprises.
How to Join Pieces Cleanly for a Seamless Look
Master the joints by keeping a tight corner alignment as you go. Use edge miters to create clean seams, and plan your glue and clamp timing so pieces set firmly without shifting.
Start by dry-fitting, then glue, clamp, and check for flush surfaces before final nailing.
Tight Corner Alignment
To achieve a tight corner alignment, start by precisely cutting each molding piece square and to the exact lengths needed for the window opening.
- Align edges first, then check for a perfect 90-degree corner before securing.
- Use clamps to hold gaps tight while you fit miter joints, ensuring flush surfaces.
- Dry-fit every piece, fine-tune angles, and reveal any misalignment before final fastening.
This approach reinforces corner alignment, minimizes gaps, and creates clean seams. Remember, precise miter joints enhance the visual continuity of the cornice board.
Maintain consistent stock, use sharp blades, and verify plumb throughout. When you secure the final nail or screw, recheck the joint fit. Small adjustments now pay big dividends in a seamless look and durable finish.
Corner alignment hinges on careful measuring, clean cuts, and controlled assembly.
Edge Miter Techniques
Edge miters lock pieces together with tight, invisible seams by matching precise angles and flush surfaces. You’ll use edge mitering to create seamless cornice profiles where boards meet.
Set a sharp bevel on the saw and cut both pieces at the same angle for accurate corner joints. Dry-fit first: check alignment, then tweak minor gaps with careful sanding rather than forcing joints.
Mark reference lines along the face so each miter stays true as you work. Support long cuts with a straightedge to prevent drift and confirm square ends.
Maintain consistent blade height and feed rate to avoid chipped edges. When you’re satisfied, verify that all miters sit flush across the full width, ensuring strong corner joints and a clean, professional finish.
Glue and Clamp Timing
When gluing boards for a seamless look, plan your timing around panel movement and squeeze-out. You’ll want precise clamping pressure and steady curing conditions to prevent gaps or shifting. Apply glue evenly, then align joints promptly before the adhesive skins over.
Use bar clamps or sash clamps to maintain flatness across the length, checking for twists as you go. Wipe excess glue immediately to avoid staining decorative accents, and keep the work surface clean to protect historical styles from damage.
Allow the correct cure time per adhesive spec, without disturbing the assembly. Move the piece only after the glue grabs; avoid re-clamping mid-cure.
1) Time your clamps with the glue’s set window to avoid misalignment.
2) Maintain flatness and clean squeeze-out for a crisp seam.
3) Preview the finish impact on decorative accents and historical styles.
Sanding and Deburring for Smooth Edges
Smooth edges are essential for a clean, professional look and to prevent splinters. You’ll deburr and smooth by hand, then verify fit against the window opening.
Start with a medium-grit block or sanding pad, following the wood grain to avoid cross-grain fuzz. Focus on flush corners and straight edges, removing tool marks with deliberate, even strokes.
Move to a finer grit to refine the surface, maintaining consistent pressure and speed. When you reach the final pass, check for remaining rough spots under light from the side.
For long edges, use a sanding block to maintain flatness and prevent dips. Remember wood grain alignment and proper sanding techniques matter for a true, smooth finish before finishing coats.
Install the Cornice Board to the Wall Securely
To secure your cornice board, choose a reliable mounting method suited to your wall type.
Use proper wall anchors and fasteners, and account for load by spacing supports evenly.
Start with precise measurements and confirm alignment before tightening to keep the board stable.
Secure Mount Methods
Secure mounting guarantees the cornice board stays put across all conditions. You’ll want a solid, clean attachment that supports decorative accents and supports lighting integration without sagging. Use mounting studs or a high-strength ledger rail, not drywall alone. Pre-drill holes, then drive screws at a slight angle for maximum bite, and countersink for a smooth cover. Check plumb as you mount, and shim where needed to keep the crown aligned with the window frame.
1) Align, level, and secure with proper hardware to avoid shifting.
2) Use brackets or a ledger rail that blends with trim, ensuring decorative accents remain cohesive.
3) Integrate lighting thoughtfully—conceal wires, test heat tolerance, and secure cords away from moving seams.
Wall Anchoring Tips
Wall anchors provide a solid foundation for your cornice board by distributing weight across the wall rather than relying on drywall alone.
To begin, locate studs with a stud finder and mark their centers.
Use long, corrosion-resistant screws that penetrate at least 1.5 inches into each stud for secure mounting.
If you can’t hit studs, opt for wall anchors rated for heavy loads and use a minimum of two anchors per mounting point.
Pre-drill pilot holes to prevent wood splitting.
Mount the cornice board bracket or cleat to the wall, level it, and tighten evenly.
Check alignment after final screw installation.
This method supports sturdy wall decor and keeps window treatments aligned and tidy.
Recheck periodically, especially after heavy use or seasonal changes.
Add Decorative Molding to Cap the Cornice
Could simple molding really cap the cornice and finish the look? You add decorative molding to create a clean, cohesive cap that hides joints and nails. Measure the cornice top, cut molding with a miter saw, and test fit before securing with finish nails. Sand lightly, then flush the edges for a seamless connection to the wall. The goal is a subtle uplift, not a bulky crown.
- Choose decorative molding that complements the wood tone and window trim
- Dry-fit, then secure with nails and wood glue for a solid cap
- Finish flush, with minimal gaps, so the cornice reads as a single piece
Finishing Options: Stain, Paint, or Varnish
When choosing a finish, weigh appearance, protection, and ease of maintenance. You’ll select from stain, paint, or varnish based on how you want wood grain to appear and how much surface protection you need.
Stain enhances wood grain and lets natural tones show through, but requires a clear top coat for durability.
Paint hides grain and creates a uniform look, offering strong color control and moisture resistance with proper priming.
Varnish preserves color and provides a durable finish without changing the profile of the grain, making it ideal for a subtle, low-maintenance option.
Prepare surfaces by light sanding and dust removal, apply thin coats, and let each dry fully.
Finish options should balance aesthetics with longevity and cleaning ease for windows.
Finishes That Resist Moisture in Damp Rooms
Moisture-resistant finishes are essential in damp rooms because excess humidity can compromise wood and coatings. To keep your cornice boards durable, choose treatments that resist moisture and minimize swelling or peeling. Apply products labeled for moisture resistance and follow manufacturer directions for surface prep and cure time.
Use a sealing system that forms a barrier against humidity while allowing the wood’s grain to show or accept color evenly. Damp room finishes should be selected with UV and mildew resistance in mind, to preserve appearance over time.
Proper ventilation and steady humidity help longevity too.
- High-resin polyurethane for hard, wipeable protection
- Waterborne acrylic with mold inhibitors for quick cleanup
- Marine-grade varnish with flexible film for fluctuating moisture
Mounting Tips to Avoid Wall or Trim Damage
Mounting cornice boards without damaging walls or trim starts with a careful plan and the right tools. Measure window width and decide screw placement before you touch a board. Use a stud finder to locate solid anchors, and mark the exact spots for brackets or hooks.
Protect walls with painter’s tape along lines, then drill pilot holes to prevent splitting. If you must mount on trim, consider shallow fasteners and trim-safe brackets to minimize impact.
Use a level to keep the cornice square, and temporarily support the board as you secure it. Use wall protection materials like felt pads behind brackets when possible.
Finish with slight caulk or paint touch-ups to maintain trim enhancement without introducing gaps or misalignment.
Conceal Hardware for a Clean, Built-In Look
Concealing hardware starts with selecting brackets and fasteners that disappear behind the trim and blinds, then mounting them flush so the cornice reads as a single, built-in unit. You’ll achieve a seamless profile by choosing low-profile brackets and screws that sit behind the trim line, preventing any protrusion.
Align hardware with the cornice depth to maintain flush surfaces, ensuring aesthetic integration from every angle. Precision here reduces gaps, boosts stability, and minimizes visible hardware, delivering a polished, professional finish.
- Choose brackets that vanish behind trim for a cleaner silhouette
- Install screws flush with the cornice back to avoid gaps
- Test operation after mounting to confirm smooth, unobstructed movement
Hardware concealment matters; it elevates craftsmanship and reinforces a built-in look.
Maintenance Tips to Keep It Pristine
To keep your wooden cornice boards pristine, start with regular cleaning to remove dust and grime. Then wipe with a soft cloth and a mild cleanser.
Polish to restore shine and protect the wood, using a product suited to the finish you chose.
If you want lasting durability, consider refinishing and applying a protective sealant to preserve color and resist wear.
Cleaning And Polishing
Dust the cornice boards regularly to remove surface dirt, then wipe them with a damp cloth and a mild soap solution to lift oils without soaking the wood. You’ll maintain a smooth base for cleaning tips and polishing techniques, keeping finish intact and color true.
- Inspect and dust weekly, then spot-clean with a gentle cleaner to prevent buildup.
- Polish with a soft, lint-free cloth in the direction of the grain for even shine.
- Reevaluate humidity and avoid excessive moisture to protect joints and avoid warping.
Keep sessions short and deliberate; avoid harsh chemicals. After polishing, wipe away any residue and allow air-drying to prevent streaks.
Regular care guards antique texture, reveals natural grain, and preserves the board’s pristine appearance.
Refinish And Protect
Refinishing and protective care isn’t about masking wear—it’s about restoring beauty while preventing more damage. You start by *evaluating* finish quality: dull spots, scratches, or water marks signal worn layers. Lightly sand with fine-grit paper to smooth edges without removing grain, then wipe clean.
Choose Finishing techniques suited to your wood type and desired sheen, from satin to semi-gloss. Apply a pre-stain conditioner if the timber is porous, then stain evenly and wipe excess to avoid lap marks. Once dry, seal with Protective coatings that suit indoor exposure—polyurethane for durability, or water-based options for low odor.
Sand between coats for uniformity, and cure fully before rehandling. Maintain with dusting and occasional gentle cleanings; recoat every few years to sustain look and protection.
Common Beginner Mistakes and How to Avoid Them
Common beginner mistakes often lie in planning and measuring, so start strong by double-checking your dimensions and square corners before you cut. You’ll avoid costly rework if you choose the right stock and plan cuts to minimize waste. Stay focused on fit and finish, not haste.
- Design mistakes – misjudging proportions and decorative profiles, leading to awkward gaps or mismatched edges.
- Material misjudgments – choosing plywood or softwood without considering grain, hardness, or finish compatibility.
- Process errors – skipping test cuts, rushing joints, or neglecting masking and sanding prep.
Tip: Mark layout lines, test-fit dry assemblies, and verify squareness at every stage to ensure a clean, durable result.
Budget-Friendly Style Tweaks That Work
Low-cost tweaks can give your wooden cornice boards a polished look without breaking the bank. You can add subtle, durable finishes that enhance grain without full refinishing. Pick a clear varnish or matte sealant to protect edges and maintain a natural tone.
If you want a hint of color, stain in a single shade and air-dry fully before topcoating. Consider lightweight, artistic embellishments like carved rosettes or simple inlay strips applied with wood glue and clamps.
Tape off sections to create clean lines during painting, using a restrained palette to avoid overpowering the wood. For a historic vibe, mimic historical styles with profile shapes that echo period moldings, but keep joints tight and gaps small.
Regular dusting and care preserve the look longer.
Quick-Start Checklist Before You Begin
Before you immerse yourself, gather the basics: a clean workspace, the right tools, and your chosen finish. This quick-start checklist keeps things focused and efficient as you plan decorative accents and guarantee material durability.
1) Inspect raw lumber for flaws, knots, and warps; set aside compromised pieces to prevent future issues.
2) Align tools and safety gear, test cuts on scrap, and establish a precise reference line for consistent results.
3) Choose a finish that enhances both looks and longevity, applying in a dust-free, controlled environment for even coverage.
Troubleshooting Common Install Hiccups (Bonus Safety Notes)
When installing wooden cornice boards, hiccups are normal, but you can fix them quickly with a few practical checks.
First, verify alignment with a level; small shifts show up on the top edge, so adjust before fastening.
If paint drips or runs appear, pause, wipe clean, and recoat thinly once dry to avoid texture flaws.
Check screws and nails for head visibility; countersink if needed to prevent snagging.
If boards bow, clamp and re-seat until flush, then re-secure.
For paint issues, troubleshoot paint issues by reviewing brush technique, surface prep, and drying times to prevent peeling.
Always wear safety equipment essentials—goggles, gloves, and a dust mask—when cutting or sanding.
Keep a spare sanding block and a damp rag handy for quick cleanups.
Frequently Asked Questions
How Long Does a Typical DIY Cornice Project Take?
A typical DIY cornice project takes a weekend, about 8–12 hours total. You’ll pace Material selection and Design inspiration first, then cut, assemble, finish, and install. Stay practical, precise, and concise as you work through each step.
Can I Reuse Old Boards for a Cornice Project?
Yes, you can reuse old boards. Reclaimed wood handles well if youdiail- or plane them flat, then prefinish. Think like vintage decor treasure, aligning grains. Allegorically, you’re recycling stories, turning weathered bark into sturdy, practical cornice boards.
Are Power Tools Required for Beginners or Manual Methods Suffice?
Power tools aren’t strictly required for beginners; manual methods can suffice with patience. You’ll mix both approaches as needed, using power tools for accuracy and speed, and relying on manual methods for fine-tuning and safe, controlled finishing.
What Is the Best Placement Height for a Cornice Board?
Keep cornice boards about 4 to 6 inches below the ceiling for a balanced look, around eye level when seated. You’ll focus on decorative finishes and material choices, ensuring scale fits your room’s proportions.
How Do I Fix Warping or Bowing in Wood?
To fix warping or bowing, straighten wood while damp, then apply wood treatment and use clamps; store properly when not in use. Follow proper storage techniques, maintain humidity, and seal edges to prevent further distortion.
Conclusion
You’ve got the steps, the tools, and the decision to choose the right wood. Keep measurements true, cut with care, and secure the cornice firmly to the wall. Start simple, perfect one window, then scale. Don’t skip safety—dust, blades, and lifting matter. If you hit a snag, revisit your measurements or profile—you’ll fix it faster than you think. Remember: haste makes waste, but steady progress builds a timeless finish you’ll enjoy every day.