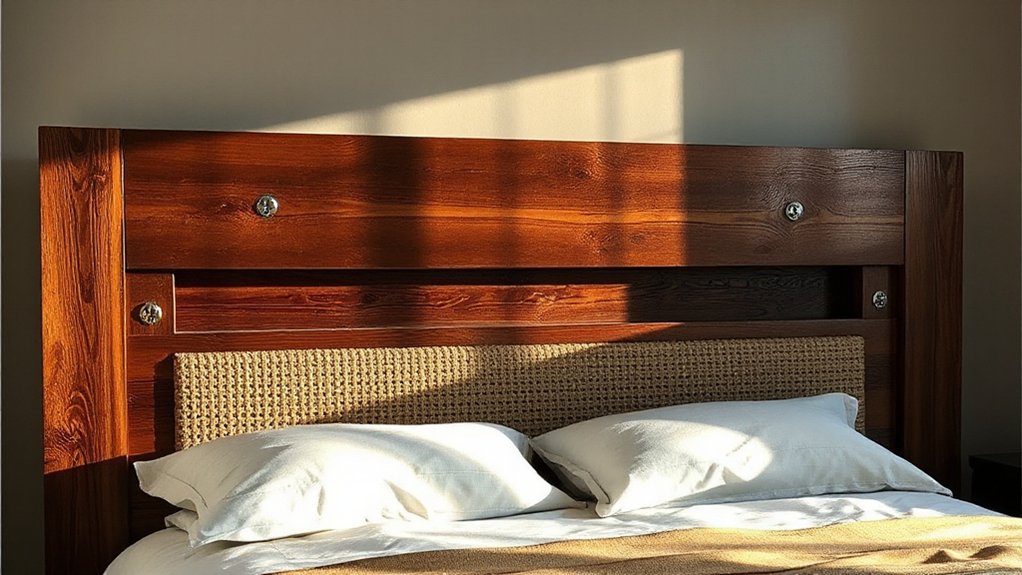

Creating a DIY headboard lets you customize style, texture, and mood while staying on budget. Start by measuring your bed width, wall clearance, and desired height, then choose a style—wood, upholstery, or a mix—that fits your space. Gather sturdy materials, proper hardware, and basic tools, plan mounting to studs, and account for finishes that resist wear. Build in layers for durability and comfort, and finish with clean edges and neat upholstery or paint. Stick with this plan, and you’ll open a stylish focal point—plus more tips ahead.
Key Takeaways
- Assess space and bed dimensions to determine headboard width, height, and mounting clearance.
- Choose materials (wood, upholstery, or mixed) based on budget, weight, and maintenance needs.
- Plan a design with a unifying theme, texture, and color to suit lighting and decor.
- Align mounting points with studs, use proper hardware, and verify level during installation.
- Use layered padding and durable fabric or finishes, then test for comfort and secure attachment.
What a DIY Headboard Can Do for Your Room
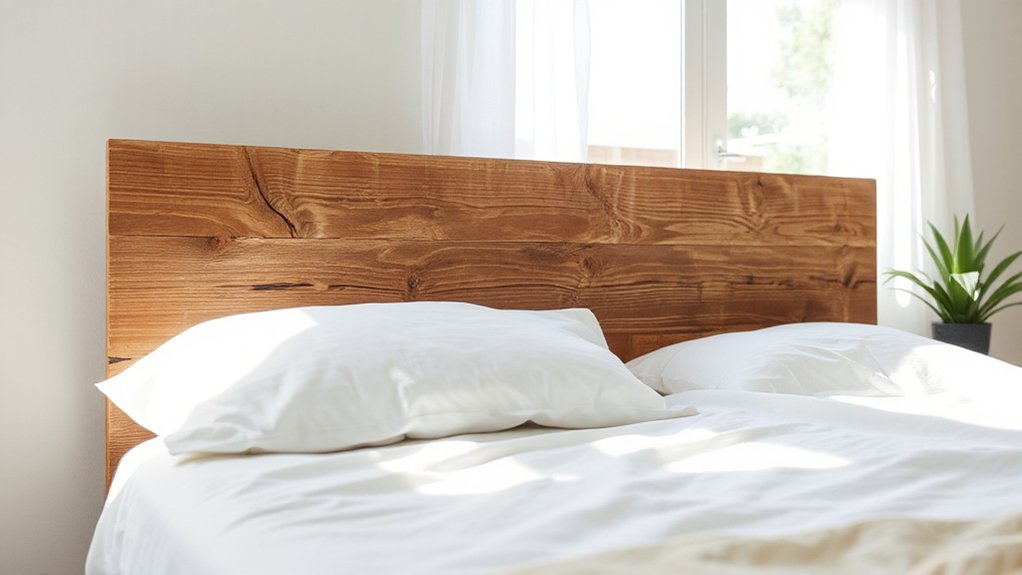
A DIY headboard can transform a room by adding focal style and personalized texture without the costly remodel. You’ll see instant impact on your space’s balance and mood, guiding the eye upward and anchoring your bed.
By choosing a design you love, you elevate bedroom decor with tangible, personal detail, not generic factory finishes. A headboard also functions as a practical anchor for bedding, lighting, and accessories, simplifying arrangement decisions.
It creates a defined backdrop for art, shelves, or plants, enhancing cohesion across the room. Through DIY projects, you control materials, color, and scale, ensuring durability and fit.
This approach saves money while delivering customization, versatility, and a sense of accomplishment you’ll notice every morning.
How to Choose Your DIY Headboard Style: Wood, Upholstery, or Mixed
When you’re choosing your DIY headboard, weigh the look and feel you want: wood for warmth and structure, upholstery for softness and drama, or a balanced mix for texture and versatility.
Consider how much crafting you want to do and how you’ll attach the piece to your bed frame.
Start with a clear style goal, then map materials and construction steps that keep durability and maintenance in mind.
Wood Or Upholstery
Choosing between wood, upholstery, or a mix comes down to function, style, and budget. Wood headboards offer durability and a clean, timeless silhouette you can finish to match any room. They’re easy to paint or stain, and you can add carved details or bevels for texture without compromising structure.
Upholstery brings softness, comfort, and a sound anchor for reading or watching TV in bed; pick a sturdy frame and high-density foam for longevity. When you choose fabric textures, consider maintenance and room lighting—darker colors hide wear, lighter tones brighten spaces.
Color schemes should harmonize with existing furniture and wall tones, keeping contrast intentional. If you lean toward a mix, pair a wooden border with a padded center for a balanced, versatile look.
Mixed Materials Balance
Blending wood with upholstery isn’t about mixing random pieces; it’s about balance that anchors the room and cushions comfort. When you mix materials, aim for a unifying theme—finish, texture, and scale—to avoid visual conflict.
Choose one dominant material (wood) and let upholstery play a supporting role with restrained color and pattern. Consider color psychology: soft neutrals calm, deeper hues create focus, and metallic accents add sparkle without overwhelming.
Guarantee ergonomic design by aligning height, mattress support, and headboard reach with your bed dimensions for comfortable sitting up or reading. Keep edges clean and shift smooth to preserve legibility of the silhouette.
Test swatches, measure twice, and review lighting to confirm the balance remains cohesive across day and night.
Measure and Plan Your Headboard Fit
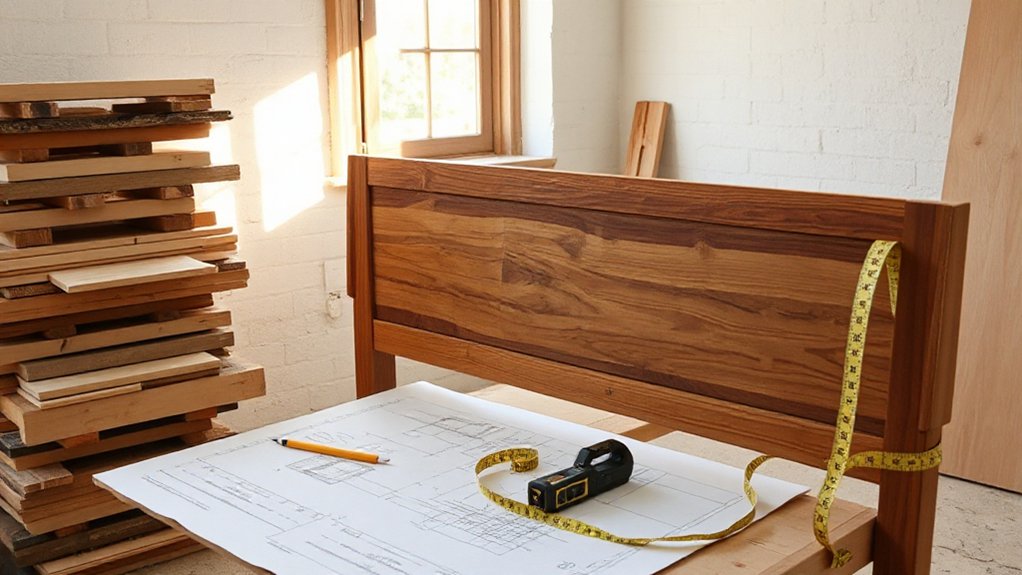
First, measure the available space precisely so your headboard fits without sticking out or leaving gaps.
Then choose materials that suit that space and your style, ensuring they’re sturdy enough for the mounting method you plan.
Finally, plan a safe mounting method that matches the wall type and headboard weight, so installation is solid and long-lasting.
Measure Space Accurately
To guarantee a proper fit, measure your space carefully before cutting or building. Start with the bed area: note wall clearance, baseboard intrusions, and any trim. Determine the visible headboard width and the gap between nightstands or posts. Check bed frame compatibility and confirm you’re aligning with standard dimensions. Decide on the headboard height that suits your ceiling line and mattress setup. Record exact numbers for width, height, and depth, plus any protrusions like outlets or mounting surfaces.
Verify clearance for doors, windows, and light switches. Mark measured points on paper or a quick sketch so you don’t misread later.
- Measure width including any decorative caps
- Note headboard height relative to mattress top
- Include edge-to-wall clearance
- Check hardware mounting positions
- Confirm room obstructions and angles
Choose Suitable Materials
When choosing materials, start by matching strength, weight, and look to your headboard plan and space. You’ll pick boards, plywood, or engineered composites that handle anticipated load without sagging. Consider thickness for rigidity, and avoid overkill that adds unnecessary heft.
Match finishes to your color schemes and lighting options to keep the room cohesive. Plan for grain direction and machining ease, so you don’t fight warp or miscuts. Think about substrate compatibility with attachments and wall fasteners, ensuring you have clean edges for a flush fit.
Prioritize moisture resistance in humid spaces and easy maintenance for long-term durability. Budget smartly by estimating waste and stock sizes, then adjust materials to your design without sacrificing strength or style.
Plan Safe Mounting Method
How will you guarantee a safe, secure mounting for your headboard? Measure your bed frame width, headboard thickness, and clearance to the wall. Plan mounting points that align with studs, using appropriate mounting hardware rated for the load. Verify screw length, bracket type, and anchor strength before you drill. Mark anchor locations, perform a quick safety inspection, and adjust for any wobble. Double‑check height alignment with the mattress top for a balanced look. Keep tools handy and wear eye protection during installation. Use a level to ensure straightness and recheck after mounting. Finish with a light test by applying gradual pressure. Safety inspection and correct mounting hardware prevent failure and injury.
- Measure and mark stud-aligned points
- Choose load-rated brackets
- Confirm screw length and type
- Check level and alignment
- Perform final safety test
Tools and Materials You’ll Need for Beginners

Starting with a clear, basic setup, you’ll need a focused list of tools and materials that keep the project simple and affordable. Gather a tape measure, pencils, and a level for accuracy. Have a saw, sandpaper, and a power drill with bits ready for fast assembly.
Cut materials to the chosen headboard size, then sand smooth edges. Use wood glue and clamps to secure joints, plus basic screws or nails appropriate for your frame.
Choose a durable plywood or solid board, plus a backing option to hide hardware. For finishing, keep a small packet of wood filler, a brush or cloth, and a protective finish.
Historical origins and cultural significance echo in simple design choices, guiding material quality and finish expectations for lasting appeal.
Build a Rustic Wood Slat Headboard: Step-by-Step
To build a rustic wood slat headboard, start with a straightforward plan: cut evenly spaced slats, assemble a solid frame, and attach the slats securely for a clean, durable look. You’ll gain a sturdy centerpiece with minimal complexity, plus flexible design potential.
- Measure twice, cut once to ensure uniform gaps
- Build a rectangular frame with screws and wood glue
- Space slats evenly and pre-drill to prevent splitting
- Secure slats to the frame with finishing nails
- Sand and seal for durability and headboard safety
Maintain alignment as you work, checking for wobble at each step. This approach fuels DIY inspiration while delivering a safe, long-lasting result. Finish with a clear sealer and you’re ready to attach the headboard to rails.
Create an Upholstered Headboard on a Budget
You can create an upholstered headboard on a budget by choosing budget-friendly materials and repurposing finds you already own. I’ll share quick upholstery hacks that save time and money without sacrificing look or durability.
We’ll keep the process practical and affordable, so you get a polished result you’re proud of.
Budget-Friendly Materials
- Recycled foam remnants for cushioning, trimmed to fit
- Linen or cotton blends sourced secondhand or on sale
- Plywood sheets with a simple cut, sealed for longevity
- Reclaimed wood framing for a sturdy core
- Upholstery batting from discounted rolls to add depth
Apply a tight cover with a neutral tone to suit multiple decors, then add trim or buttons sparingly for refined texture.
Quick Upholstery Hacks
Pick a cover with clean lines to reduce sewing complexity, then attach it with a simple welt or even a hidden zipper to keep edges crisp.
For comfort and longevity, aim for moderate padding and consider a slightly curved headboard for ergonomic design benefits.
Color psychology matters: select hues that soothe or energize your space without overwhelming it.
If you’re tight on material, double up on batting in key zones for a plush look at a lower cost.
Finish with a durable spray seal or indoor-safe wax to deter stains.
Your budget-friendly, stylish headboard is within reach.
Upcycling Headboard Components: Reclaimed Boards, Shelves, and Metal Details
Upcycling headboard components like reclaimed boards, shelves, and metal details can give your piece character while keeping costs low. You’ll pair sturdy reclaimed wood with simple metal accents to create visual contrast and durability.
- Source reclaimed wood with straight edges for clean lines
- Add floating shelves as risers or storage nooks
- Drape metal brackets for decorative yet functional support
- Sand rough patches to prevent splinters and even the finish
- Seal with a lightweight, matte finish to preserve texture
Choose boards with natural knots for texture, then mount metal details sparingly to avoid crowding. Reclaimed wood provides warmth, while metal accents offer modern contrast. Keep joints simple and secure for long-lasting strength.
Padding, Upholstery, Paint, and Hardware: Finishing Touches
Now that your base is solid and the upcycled components are in place, it’s time to finish with padding, upholstery, paint, and hardware.
Begin with cushion layering: stack dense you-know-what foam, a quilted layer, and a final cotton cover to create a smooth, durable surface. Secure with spray adhesive and evenly distribute to avoid lumps.
Choose a fabric that resists daily wear and is easy to clean; wrap corners neatly and staple from the center out for even tension.
For decorative tacks, lay them out in a simple pattern along the headboard’s edges to add weight and finish.
Paint or stain any exposed wood with a thin, even coat; allow drying between passes.
Attach hardware firmly, test by applying gentle pressure, and enjoy your refined, sturdy headboard.
Common Hiccups and How to Troubleshoot Them
Hiccups are normal, but they don’t have to derail your project. You’ll recognize common pitfalls early and fix them with practical troubleshooting tips that keep you moving.
- Mismeasured panels? Recheck dimensions, cut once, and test-fit before attaching.
- Loose screws or brackets? Tighten, then add a dab of wood glue for lasting durability.
- Finish mismatch? Lightly sand, wipe dust, and recoat evenly in a single pass.
- Warped boards? Temporarily clamp and acclimate in the project area, then replace if needed.
- Attachment gaps? Fill with filler, sand smooth, and reseal to preserve look.
Budget Breakdown and Quick-Start Plan
To get your headboard project moving without surprises, map out a lean budget and a quick-start plan that covers essentials first. You’ll allocate funds to core materials (panel or boards, fasteners, foam or batting, fabric or paint), basic tools, and a small reserve for mounting hardware.
Prioritize versatility: choose finishes and colors that align with color theory principles—complementary or analogous tones to create impact without overspending.
List decorating tips that maximize impact with minimal cost: reuse scrap fabric, repurpose an old frame, or DIY padding to save.
Track every expense in a simple ledger, and set milestones for procurement, assembly, and installation.
Keep the plan flexible, buy only what’s needed, and test fits before finalizing. This keeps momentum and quality aligned throughout the project.
Frequently Asked Questions
How Long Does It Take to Complete a DIY Headboard?
Typically, it takes 2–6 hours, depending on complexity and tools. You’ll pick headboard styles, prep and upholster or mount, and finish with DIY tips for accuracy. You’ll work efficiently, measuring carefully and staying organized to finish strong.
What Are Budget-Friendly Material Alternatives?
Around 60% of budget-conscious projects use recycled materials, and you can cut costs further with upholstery options like fabric scraps or reclaimed foam. Consider recycled materials, DIY foam, and thrifted frames for a budget-friendly headboard makeover.
Can I Mount on a Non-Wall Surface?
Yes, you can mount on a non-wall surface if you choose sturdy, compatible materials and secure fasteners. Guarantee proper wall mounting isn’t required, verify surface compatibility, and use brackets or freestanding frames to distribute weight safely.
How Do I Remove Squeaks From a Headboard?
Yes, you can fix it: apply lubricant to joints, tighten screws, and replace worn brackets. For long-term Headboard maintenance, inspect for looseness regularly and use felt pads. Practice squeak prevention by stabilizing legs and anchoring to secure surfaces.
What Safety Precautions Are Needed for Tools?
You should follow tool safety basics: inspect blades and cords, unplug before adjustments, and use guards. Practice good tool maintenance and wear protective gear. Keep workspace clean, handle bits firmly, and never rush cuts or sanding.
Conclusion
You’ve got the basics to design a headboard that fits your space and budget. Start with a clear plan, then choose a style and build steps you’re comfortable with. One eye-catching stat: DIY headboard projects can cut décor costs by up to 40% compared with store-bought options. Keep measurements tight, test fit, and finish thoughtfully to avoid common hiccups. With practical materials and patience, you’ll transform your room without breaking the bank.