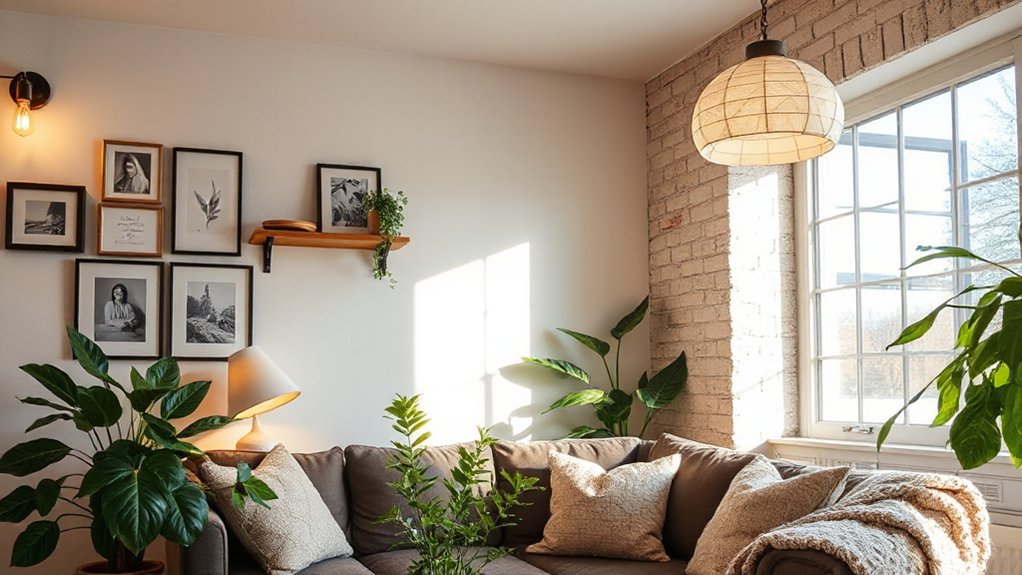

A small living room once relied on a single ceiling light, but you can brighten it with a layered approach using warm ambient glow, a strategic task lamp at the sofa, and a hidden LED strip to emphasize architectural nooks. You’ll explore budget-friendly DIY fixtures and practical wiring tips that empower you to upgrade safely without a full remodel. Curious how these choices come together to transform your space and mood? Let’s start shaping a brighter, more functional setup.
Key Takeaways
- Plan layered lighting to brighten spaces: ambient, task, and accent to reduce shadows and create depth.
- Use energy-efficient LED bulbs with warm to cool temperatures tailored to room purpose and mood.
- Maximize wall lighting with slim sconces or wall washes to reduce glare and visually expand the room.
- DIY fixtures can brighten spaces; repurpose bottles, jars, or pipes with proper safety and heat management.
- Prioritize smart controls and tunable color temperature to adjust brightness and atmosphere as needed.
Start With a Weekend Lighting Plan for Small Rooms
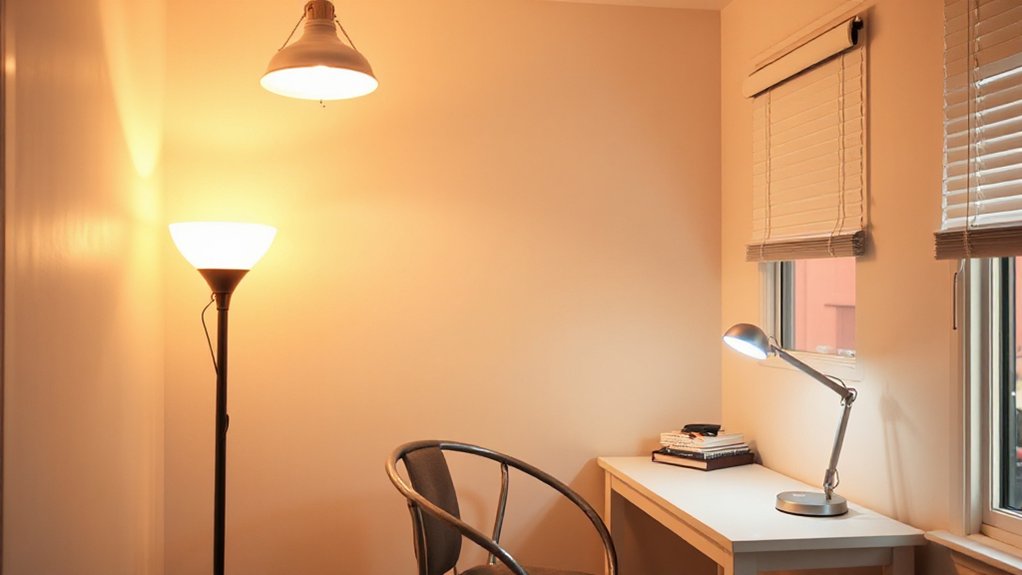
Starting with a weekend lighting plan for small rooms keeps projects manageable and results clear. You’ll map each area you want brighter or cozier, then decide on a few practical lighting fixtures that cover task, ambient, and accent needs.
Begin by sketching doorways, furniture, and wall-adjacent corners to determine glare and shadows. Choose scalable options: a ceiling fixture for general light, a couple of adjustable lamps for tasks, and a slim strip or sconces where space is tight.
Keep wiring simple and components accessible, so you aren’t met with surprises mid-project. Consider bulb longevity when selecting bulbs—opt for longer-lasting options that still deliver the right warmth and brightness.
This disciplined approach saves time and delivers consistent, polished results.
Choose Energy-Efficient Bulbs for Every Mood
Energy-efficient bulb options let you tailor light to any moment, from reading to relaxing. Start by matching mood with color temperature and brightness.
Then pick energy-saving LEDs that fit your fixtures and budget. You’ll gain long-term savings and flexible lighting that supports every activity.
Energy-Efficient Bulb Options
Looking to cut costs and elevate mood with every room? You’ll prefer energy-efficient bulbs that don’t sacrifice performance. Choose options that balance longevity, light quality, and scale to your needs. Here are standout picks:
- LEDs with high Color rendering index (CRI) for true colors in any setting
- Smart bulbs offering remote control, scheduling, and scene presets
- LED filament bulbs for a vintage aesthetic with modern efficiency
- CFLs for budget-conscious areas where lighting is less constant
Opt for bulbs labeled 800+ lumens per 60W equivalent to maintain brightness without waste.
Prioritize long lifespans and low heat output.
Pair with smart controls to adjust mood and energy use.
Mood-Driven Light Temperatures
When you tune mood with light, temperature matters as much as brightness, and energy-efficient bulbs make it easy to shift ambiance without waste. Mood-driven light temperatures guide your choice beyond wattage, pairing efficiency with feel.
For relaxed evenings, select warm-toned LEDs (soft white) to cultivate an ambient glow that settles rooms without glare. In task zones, cool white or daylight LEDs boost focus and color accuracy, revealing true details and improving color contrast on walls and fabrics.
Dim-to-warm options are ideal for gradual changes, preserving energy while evolving the scene. Use zoning and smart controls to switch temperatures by room or activity, maximizing efficiency.
Your lighting decisions become precise, polished, and responsive—consistent, controllable, and never dull.
Layer Lighting: Ambient, Task, and Accent in One Space
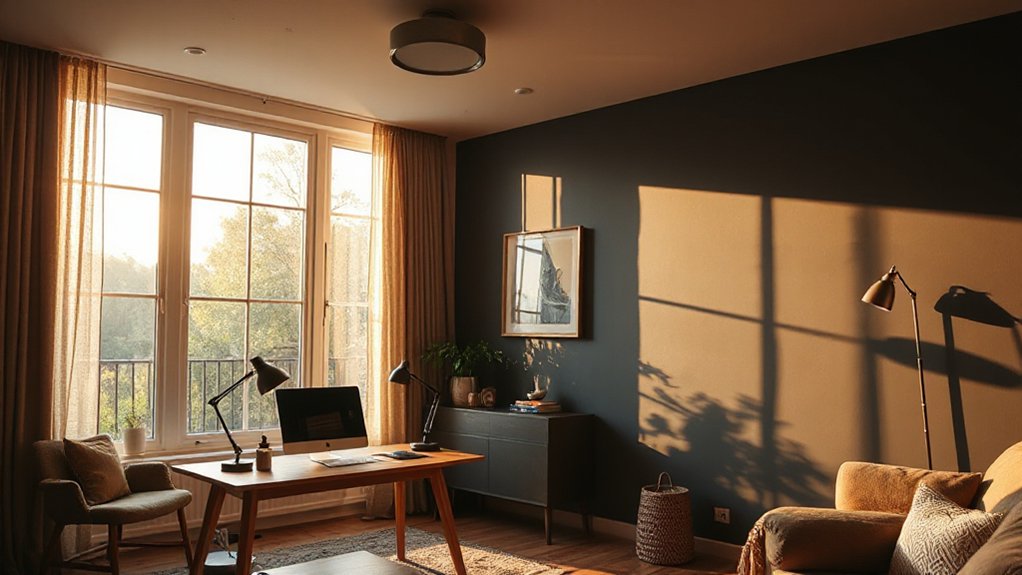
Layering lighting in one space means combining ambient, task, and accent layers so you have soft general illumination, focused work light, and visual interest without clutter.
- You’ll balance brightness to preserve color contrast across surfaces.
- You’ll pair dimmable fixtures with natural illumination for day-to-night flexibility.
- You’ll layer sources to define zones without harsh boundaries.
- You’ll use warm and cool tones strategically to avoid flatness.
In practice, map zones: combine ambient glow, task-focused fixtures, and a few accents that highlight art or architecture.
Aim for cohesion rather than overload, letting light breathe. This approach keeps the room inviting, functional, and visually dynamic, especially when you leverage natural illumination alongside color contrast to maintain depth and texture.
DIY Fixtures: Clever Projects Using Everyday Objects
Transform everyday objects into functional fixtures with simple, clever builds that save money and personalize your space. You’ll explore DIY fixtures that mix style and practicality without heavy investment.
Begin with decorative lamps crafted from bottle jars, mason jars, or repurposed glass shades; these pieces cast warm, ambient glows while showcasing your personality.
For ceiling statements, suspend industrial pipes or reclaimed wood timbers paired with LED strips to achieve a modern silhouette.
Repurpose vintage items—think vintage fixtures—and update them with safe, modern sockets for a timeless look.
Keep safety in mind: use proper wiring and enclosures, and test heat output. Finish with subtle paint or patina to unify color schemes.
Your clever projects transform clutter into character without sacrificing function or efficiency.
Practical Task Lighting for Kitchens and Desks
You’ll set up task lighting that keeps kitchens and desks bright without glare. Start with core task lighting, layer with adjustable accents, and tailor it to your workflow.
From kitchen prep to focused desk work, learn how to balance brightness, color, and direction for every task.
Task Lighting Essentials
Are you making the most of your workspace with practical task lighting? Here’s a concise guide to essential task lighting for kitchens and desks, focusing on efficiency and precision. Implement these fundamentals for consistent, glare-free illumination:
- Positioning: place primary lights above work zones to minimize shadows.
- Brightness: aim for 300–500 lumens per square meter; adjust with dimmers.
- Color temperature: choose neutral to cool white (3500–4500K) for accuracy.
- Controls: integrate smart controls and light sensors to auto-adjust brightness.
Smart controls optimize energy use and keep you productive, while light sensors respond to ambient conditions without manual tweaks.
Prioritize fixture quality, beam spread, and glare reduction to ensure comfortable, reliable performance during long tasks.
Kitchen Desk Illumination
When it comes to kitchen desks, practical task lighting should blend clarity with flexibility, letting you see fine details without glare. You want focused, shadow-free illumination that guides tasks like chopping, reading recipes, or handwriting notes at a desk nook.
Pendant lighting provides direct overhead brightness with style, while maintaining a balanced ceiling glow that reduces eye strain during long sessions.
Under cabinet lights offer near-surface coverage, removing dark corners where you work closest. Mount them at a height and angle that avoids glare on your screen or papers, and choose a color temperature around 4000K for precise visibility.
Install switches or dimmers for adaptive control, so you can brighten for details and soften for casual prep. Consistency across fixtures keeps a cohesive, professional look.
Adjustable Light Layers
Flexible, layered lighting lets you switch from bright task beams to diffuse ambient glow without shifting fixtures. Adjustable light layers give you precise control over intensity and spread, preserving focus on desks or counters while maintaining mood in the room.
By combining ambient, task, and accent layers, you create layered illumination that adapts to work, cooking, or reading moments without clutter.
- Identify zones: set separate layers for kitchen prep, desk work, and dining or relaxing.
- Use dimmers or smart controls to modulate each layer independently.
- Choose fixtures with adjustable beam angles and color temperature options.
- Layer thoughtful accents to amplify depth and reduce glare.
With adjustable light layers, you tailor brightness, contrast, and ambiance, achieving efficient, comfortable spaces.
Brighten Corners: Wall Mounts and Shadow Play
Wall-mounted fixtures can transform tight corners from dim afterthoughts into focused lighting zones, pairing practical reach with sculptural interest. You’ll gain defined shadows and intentional highlights, guiding the eye without clutter.
Choose slim, adjustable sconces or low-profile LED bars that hug the wall, preventing glare while maximizing reach. Position luminaires to create a deliberate shadow contrast between wall art and ambient surfaces, emphasizing textures and shapes.
Orient light to cast soft accents on nearby corners, shelves, or framed pieces, reinforcing depth and atmosphere. Use dimming options to shift mood from crisp daytime clarity to cozy evening drama.
Keep finish and style cohesive with existing decor, ensuring the wall mount becomes a deliberate design element rather than an afterthought.
Weekend-Smart Lighting: Budget, Buy, and Schedule
Smart weekend lighting starts with a clear budget, a practical shopping list, and a simple purchase-and-schedule plan. You’ll gain control by prioritizing needs, matching products to rooms, and outlining a realistic timeline.
Smart scheduling and Budget planning keep overruns at bay and guarantee you finish on time.
- Define your target rooms and lighting goals.
- List must-haves vs. nice-to-haves, with prices.
- Schedule delivery windows and installation steps.
- Reserve a contingency fund for adapters, dimmers, and bulbs.
With these steps, you buy purposefully, install efficiently, and schedule tweaks as needed.
You’ll enjoy consistent illumination without waste, and you’ll see how smart planning translates to brighter rooms, fewer late-night trips, and smoother weekends.
Color Temperature and Placement to Make Spaces Look Bigger
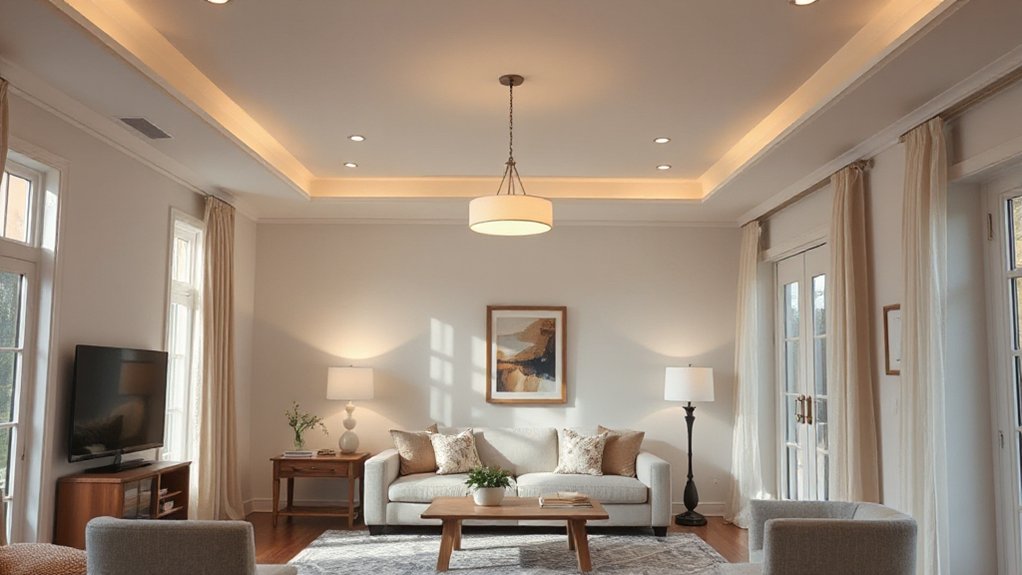
Color temperature and placement can dramatically alter how large a room feels. You’ll optimize perceived space by balancing light levels and shadow. Aim for even ambient light with fixtures placed to reduce harsh edges and glare, then add targeted highlights to architectural features.
Choose color temperatures to support space perception: warm light (roughly 2700–3000K) can cozy a room, but too much warmth in small areas may shrink them visually. Cooler light (around 3500–4000K) increases perception of airiness.
Use layered lighting to create color harmony, mixing sources to avoid jarring contrasts. Place uplights or wall washes along vertical planes to extend ceilings, and position task lights where you’d naturally focus.
Warm vs cool should complement furniture and finishes, not fight them, for an expansive, cohesive feel.
Safety First: Easy Wiring Tips You Can Do This Weekend
Nice lighting setup starts with safe, simple wiring habits you can handle this weekend. You’ll protect yourself while upgrading, keeping a sharp eye on wiring safety and practical electrical upgrades that pay off long term.
- Inspect visible outlets and switches for loose screws or scorch marks, then tighten or replace as needed.
- Power down the circuit, test with a non-contact tester, and label the breaker before any work.
- Use correct rated components, connect ground wires, and avoid overloading outlets with adapters.
- Plan fixtures and routes, noting hidden spaces where insulation or moisture could challenge safety.
These steps guarantee reliable lighting and set you up for confident electrical upgrades without unnecessary risk.
Frequently Asked Questions
How Do I Measure Room Brightness Before Buying Lights?
To measure room brightness, use a light meter to check lux levels at desk height, noting 300-500 lux for task areas and 100-300 lux for general spaces, considering natural light variations throughout the day.
Can Lighting Affect Room Mood and Function?
Yes, lighting can shape mood and function. You create an ambient atmosphere with layered layers and color, while functional illumination targets tasks. You’ll notice calmer spaces with soft, even light and energized areas with brighter, focused lighting.
What’s the Best Color Temperature for Small Spaces?
Color temperature for small spaces? Go bright, you’ll want 2700–3000K for warm coziness, or 3500K for a crisp, energetic vibe. Consider LED options that blend well with your decor and room function. Satire aside, you decide.
How Can I Dim Lights Without Wiring Changes?
You can dim lights without wiring changes by using smart switches with remote dimming. Install a compatible dimmer, connect to the switch app, and enjoy precise control, convenient schedules, and hands-free adjustments any time.
Are Outdoor Lights Suitable Indoors for Ambiance?
Yes, outdoor lights aren’t ideal indoors, but you can recreate ambiance with properly rated, indoor-approved string lights and indoor fixtures that mimic outdoor aesthetics. Avoid outdoor fixtures indoors; choose indoor-rated string lights and stylish, glare-free options. Anachronism: zeppelin.
Conclusion
So you’ve got simple, stylish ways to brighten any room with DIY lighting. By planning a weekend project, choosing efficient bulbs, layering ambient, task, and accent light, and repurposing everyday objects, you can transform spaces without breaking the bank. Ready to start your glow-up? Think safety first, test placements, and keep smart scheduling simple. When lighting serves every mood and corner, why settle for dull when you can create warmth, clarity, and character in minutes?