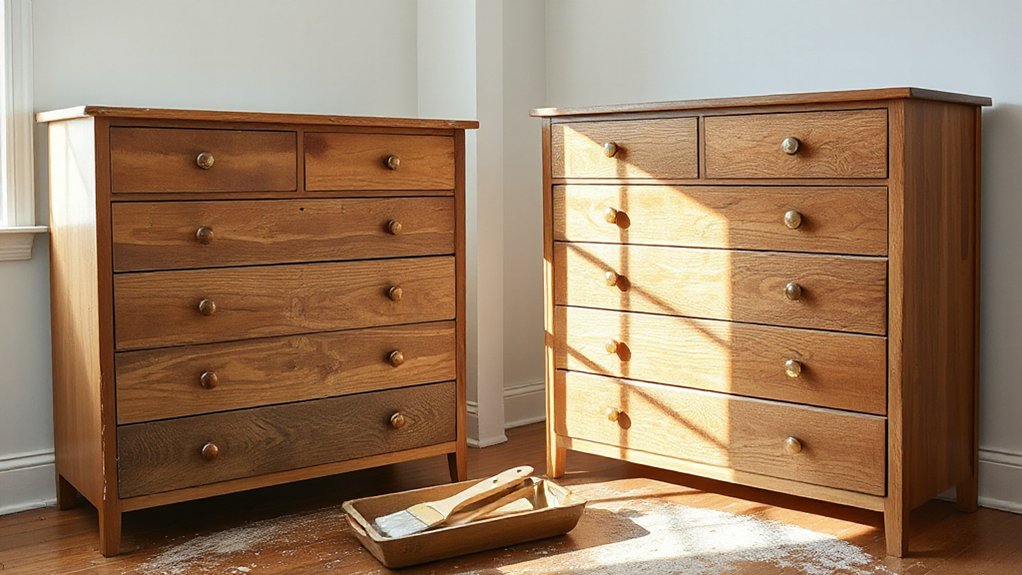

Did you know you can transform a sturdy, budget-friendly piece into a near-new statement with just a simple prep and finish? Start by cleaning and sanding to reveal a solid base, then choose a finish that fits your space—bold color for modern or a soft glaze for vintage charm. It’s practical, not fussy, and the next steps will determine durability and how long it stays fresh, so you’ll want to keep going and see what you can achieve.
Key Takeaways
- Start with a solid candidate: check joints, hardware, and size to ensure a durable base for upcycling.
- Prep thoroughly: clean, sand, and prime to achieve smooth, even paint or stain uptake.
- Choose durable finishes: latex or chalk/milk paints, with wax or sealant for protection and depth.
- Decide a style direction early: Vintage, Modern, or Farmhouse guide color, texture, and hardware choices.
- Plan maintenance: tighten joints, re-seal periodically, and document modifications for future updates.
Choose the Right Piece to Transform
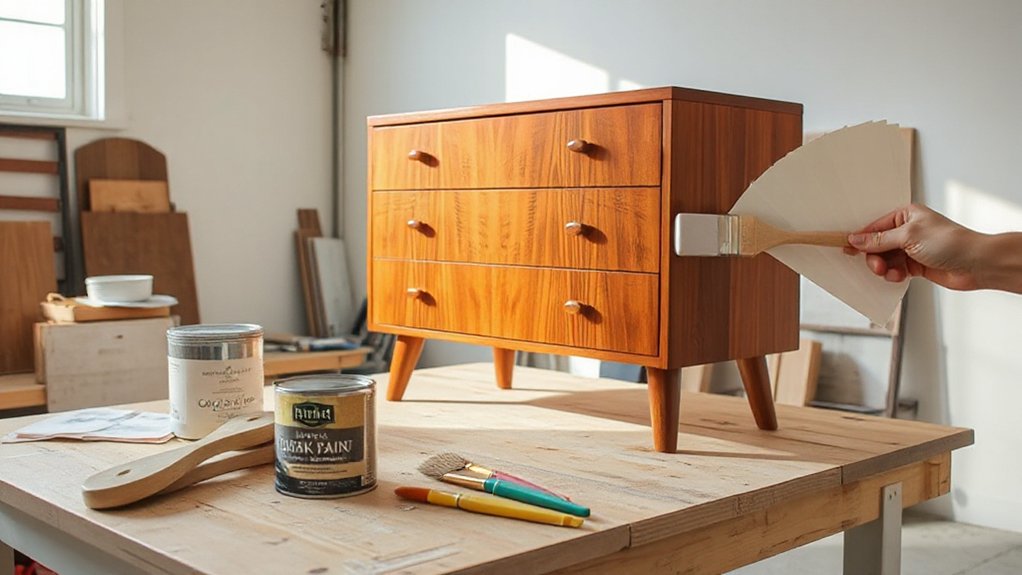
Choosing the right piece starts with a practical test: look for furniture with solid joints, a sturdy frame, and minimal damage to its core structure. You’ll save time and effort by picking pieces that don’t require major reconstruction.
Focus on potential, not perfection: a minor veneer crack can be repaired, but warped panels or loose rails signal deeper issues.
Consider color coordination from the start; a piece that fits your room’s palette reduces repaint work and choice fatigue.
Assess hardware selection as well: intact or easily replaceable hardware speeds up transformation and keeps proportions right.
Confirm the piece isn’t overly bulky for its footprint, and that drawers or doors move smoothly.
With a solid foundation, your upcycle progresses efficiently, delivering a balanced, cohesive result.
Prep Like a Pro: Sanding, Cleaning, and Priming Essentials
Prep work sets the foundation for a durable finish: you’ll sand, clean, and prime to create a smooth, receptive surface.
1) Sand smartly: start coarse, finish fine, remove gloss, and avoid gouges that show through.
2) Clean meticulously: wipe dust, grease, and residue with a mild solution; dry completely before priming.
3) Prime purposefully: choose a compatible primer for your material, seal porous wood, and tighten adhesion for color matching.
4) Prep for hardware selection: note screw sizes and placement, so future hardware updates fit cleanly without third-party tweaks.
Color matching and hardware selection play into final appearance—nail both early and you’ll minimize surprises.
With disciplined prep, you’ll achieve even color uptake, secure joints, and a professional look that holds up to use.
Finishes and Techniques: Paints, Stains, Waxes, and Tips
With your groundwork in place, you’ll move from prep to the finishing touch that defines each project: paints, stains, and waxes, plus practical tips to pair them with your furniture’s material and use.
Choose paints for durability and look—latex for easy cleanup, chalk or milk for a matte, tactile finish. If you want depth, layer stains under a tinted wax or sealant to control sheen and color. Experiment with color blending to soften edges or create subtle shifts, especially on grain.
For texture layering, apply a base coat, then a glaze or dry brush highlight to reveal wood patterns. Wax adds protection and warmth; buff to reveal lifelike luster. Always test on a hidden area and adjust grip, nib, and brush size for consistent results.
Furniture Transformations by Style: Vintage, Modern, Farmhouse
Vintage, modern, and farmhouse styles each redefine how furniture reads in a space, so start by identifying the look you want and the key features to emphasize.
- Vintage: emphasize patina, decorative hardware, and aged patina while preserving function.
- Modern: focus on clean lines, minimal hardware, and bold contrast for a streamlined silhouette.
- Farmhouse: highlight sturdy construction, repurposed surfaces, and warm, inviting tones.
- Transitions: blend elements carefully, balancing time periods to avoid clash and reduce upcycling challenges.
To execute, select pieces that align with one style, then adjust with color, texture, and hardware choices.
Prioritize durability and scale, and document changes to guide future refinements.
Troubleshooting and Maintenance: Common Repairs and Longevity Tips
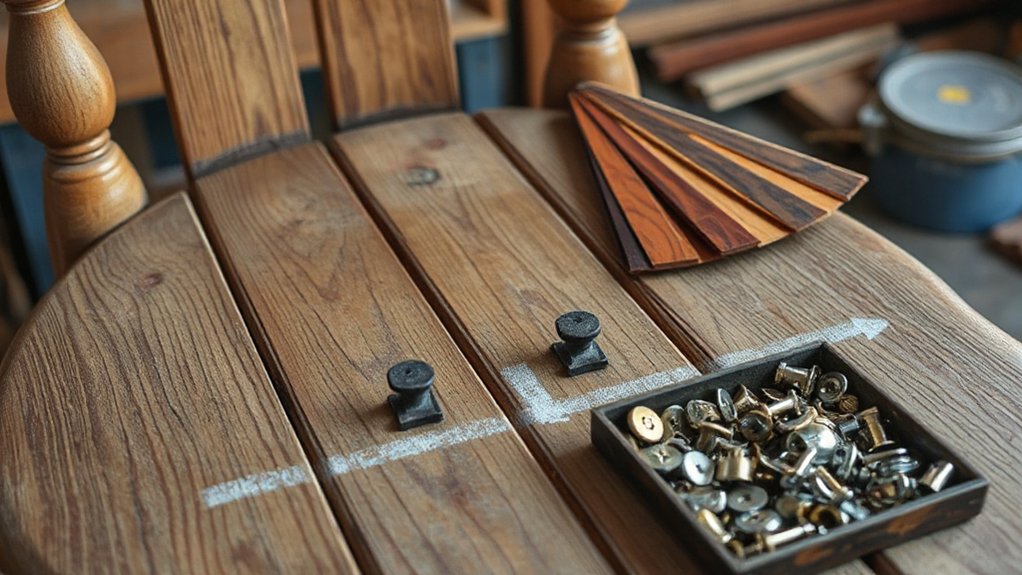
If you want your upcycled furniture to last, start with a proactive maintenance mindset: inspect regularly, address wear promptly, and use straightforward repairs to prevent bigger problems. In this section, you’ll learn practical troubleshooting steps and maintenance habits that save time and money.
Start with basic checks: secure loose joints, test hinges, and tighten screws before they fail. For finishes, clean gently, reapply sealant when shine fades, and sand lightly before touching up.
When a repair seems risky, weigh DIY safety and budget planning; simple fixes often prevent costly replacements. Prioritize durable joints over cosmetic fixes, and document, then schedule routine care.
Create a simple maintenance calendar, timebox tasks, and keep a small toolkit handy. This approach sustains longevity without compromising safety or budget.
Frequently Asked Questions
How Long Does an Upcycle Project Typically Take From Start to Finish?
Typically, it takes a weekend to a couple of weeks, depending on scale. You’ll plan, prep, paint, and finish with patience. You’ll compare Furniture styles, test paint techniques, and finalize a durable, stylish update you’ll love.
What Budget-Friendly Tools Are Essential for Beginners?
Surprising stat: 70% of beginners abandon projects midstream; start strong with budget tools, beginner essentials. You’ll stay efficient, you’ll save money, and you’ll finish faster. Prioritize a good drill, sandpaper, sanding block, basic safety gear.
Can You Upcycle Furniture Without Removing Old Finishes Completely?
Yes, you can upcycle without removing old finishes completely. Preserve some patina, sand lightly, and seal. Embrace Vintage charm with strategic distressing. Focus on clean Surface prep, then apply paint or stain to achieve cohesive, durable results.
How Do You Choose Hardware That Matches the New Look?
You should pick hardware styles that echo your overall design, and guarantee Matching metals across accents. Think of a subtle nod to classic forms, then contrast with modern finishes for cohesion and durability in everyday use.
What Are the Best Eco-Friendly Finishes for DIY Projects?
Eco friendly paints and Natural sealants are your best bets. You’ll minimize toxins, enjoy durable finishes, and sustain the environment. Choose low-VOC options, apply evenly, cure properly, and recoat when needed for long-lasting, professional-looking results.
Conclusion
You’ve got the plan to upcycle with confidence: pick solid furniture, clean and sand well, prime if needed, and apply durable finishes that fit your style. Don’t fear touch-ups—minor scratches can be fixed with a quick wax or fresh coat. Anticipated objection: “It’s too hard.” Not true—you’ll build skills with each project, and the payoff is a unique piece that lasts. Stay consistent, trim details, and enjoy the transformations you’re proudly making.