

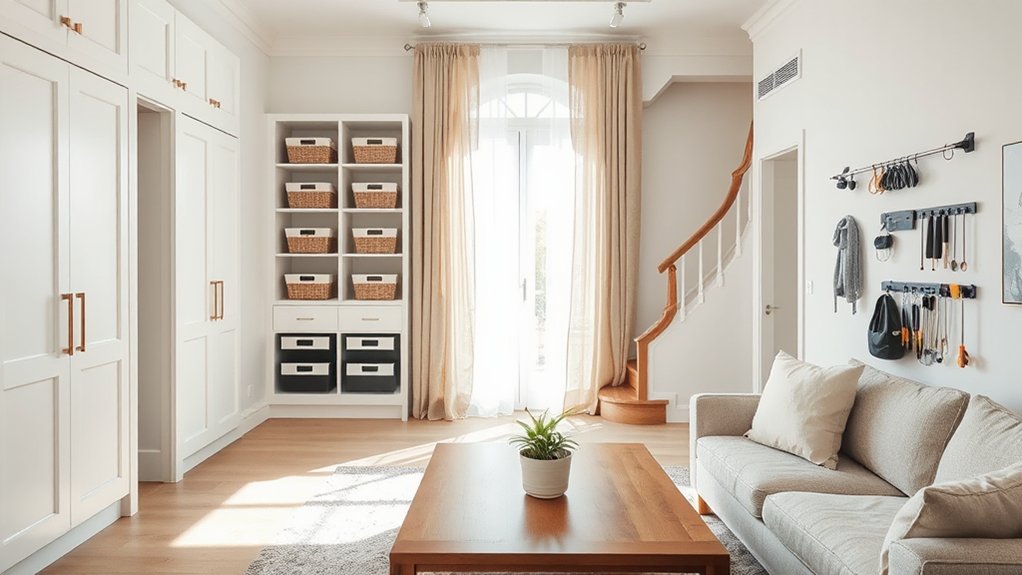

To get clutter-free living, start with foundational choices that fit your space and goals: pick durable, expandable storage and label everything clearly. Wall-mounted systems save floor space, use proper anchors, and mix staggered shelves with slim racks for quick access. Create quiet corners with furniture hacks—slim desks, ottomans, and soft dividers—plus cozy accents for acoustics. Budget-friendly organizers keep habits simple: labeled jars, crates, and modular drawers. Ready to map your plan and tools? More tips await.
Key Takeaways
- Assess needs and spaces first, then choose modular, expandable storage to avoid overbuying and misfit kits.
- Use wall-mounted systems to save floor space, secure items, and allow flexible reconfiguration.
- Create quiet, focused corners with multi-functional furniture and soft boundaries for better concentration.
- Opt budget-friendly organizers (jars, crates, baskets, modular dividers) to reduce clutter invisibly.
- Plan with a step-by-step DIY process: audit, target, assemble tools, execute, and schedule maintenance.
Foundations: How to Choose DIY Storage That Actually Works
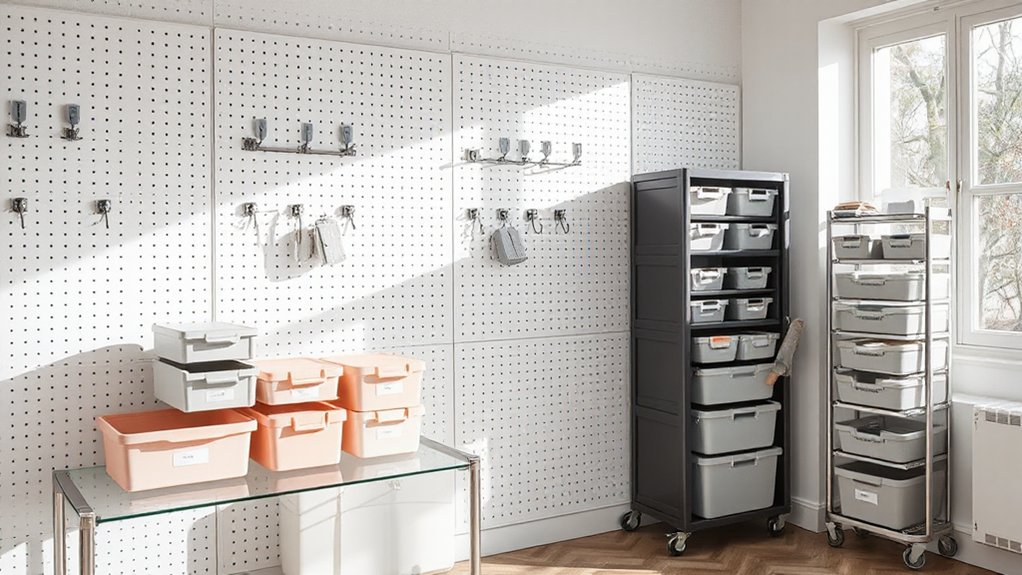
When choosing DIY storage, start with a clear understanding of what you actually need to store and where it will live. You’ll map items to zones, then pick systems that fit those flows, not fashionable trends.
Beware Organizational myths that push oversized kits for every room; instead, size up by actual use, frequency, and access. Identify storage myths that equate abundance with order—often, fewer, well-labeled compartments beat bulky towers.
Choose components you can install safely, anchor to walls or studs where required, and plan for expansion without overhauling.
Consider durability, material compatibility, and maintenance needs, since daily use tests each option.
Finally, document a simple maintenance routine so your DIY storage stays reliable, functional, and easy to reconfigure as life changes.
Wall-Mounted Solutions That Stay Put
Mounting storage on the wall isn’t just about saving floor space; it secures your gear into place where you actually use it, which reduces clutter and boosts accessibility.
When you design wall-mounted systems, prioritize load paths and secure anchors that match your wall type. Use staggered shelving for frequently accessed items and slim racks for tools, cords, and small hardware.
Choose modular components you can reconfigure as your needs shift, and label zones clearly so you don’t hunt for essentials.
Wall decor can double as organization when you pick finishes that blend with your space.
For greenery, integrate hanging plants in sturdy hooks or rails rather than on crowded surfaces. This keeps areas tidy and ensures plants thrive without tipping the balance.
Clever Furniture Hacks to Create Quiet Corners
If you crave a serene retreat at home, start by transforming underused furniture into quiet corners. You’ll turn everyday pieces into focused spaces with practical tweaks, then observe how intent seating changes mood and flow. Here are effective hacks:
- Creative seating options—nest a small sofa, ottoman, or upholstered chair into a nook to invite short, undisturbed breaks.
- Multi-functional tables—slip a slim desk or tray over a bench for a convenient, clutter-free surface.
- Soft boundaries—use curtains or a tall screen to visually separate the corner without closed-off vibes.
- Decorative accents—add a warm rug, a lamp, and a plant to soften acoustics and boost coziness.
This approach yields quiet corners that feel intentional and inviting.
Budget-Friendly Organizers: 10 Upgrades Under $20
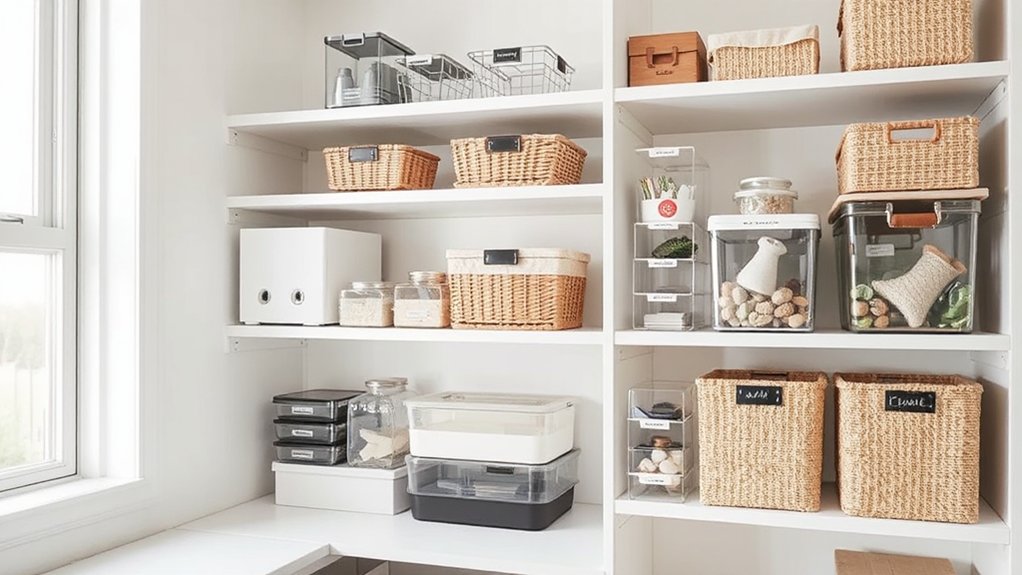
With a calmer, more organized space already in mind from creating quiet corners, you can extend that clarity by prioritizing budget-friendly organizers.
Start with vintage containers for small items—minimalist jars, labeled lids, and clear fronts help you see contents at a glance. Use them on open shelves or in a pantry to reduce rummaging time.
Next, choose upcycled crates to corral magazines, toys, or craft supplies; stack them or mount them for versatile vertical storage.
Add modular drawer organizers in desks or vanity tables to separate accessories without buying bulky furniture. Labeling is key: apply simple, durable tags to keep routines fast.
Finally, repurpose nine-dollar baskets for entryways and closets, delivering quick habit boosts without breaking the bank.
Smart, durable, and invisible clutter blockers.
DIY Materials Guide: What to Buy and What to Skip
A practical DIY materials guide starts with knowing what actually earns its keep: clear, durable basics you’ll reach for again and again, and a few smart shortcuts to skip. You’ll prioritize versatile, long‑lasting staples and skip gimmicks that don’t move the needle.
- Invest in a quality foundational toolkit: scissors, utility knife, measuring tape, multi‑bit driver.
- Choose modular storage bins and clear organizers for easy visibility, plus color coordination to reduce search time.
- Scout for vintage finds that can be repurposed or refreshed with minimal effort.
- Favor items with interchangeable components and compatible fasteners to adapt as needs evolve.
This approach keeps clutter minimal while maximizing options, so your space stays cohesive, practical, and stylish.
Step-by-Step Projects: From Plan to a Fully Tidied Space
Start by translating your plan into concrete tasks, then tackle them in logical order: audit what you have, define targets for each space, assemble your toolkit, and set a realistic timeline. You’ll map a clear path from plan to action, then execute with focus.
Begin with a quick room-by-room inventory, categorize items, and establish what stays, what goes, and what gets stored. Define space-specific targets that align with your decorating styles and daily routines, not just aesthetics.
Build a simple, repeatable workflow: sort, purge, label, and place. Use modular storage and hooks to maximize flexibility, and schedule quick maintenance checks weekly to prevent clutter creep.
End with a short, disciplined storage maintenance routine to keep momentum and results lasting.
Frequently Asked Questions
How Do I Measure What Storage I Actually Need?
You measure storage you actually need by listing all items, estimating volumes, and then comparing to available space. Use measurement techniques like width, height, depth, and container sizes, then add a safety margin for growth and accessibility.
Can DIY Storage Work in Rental Spaces?
Yes, you can, but watch Rental restrictions and choose Temporary solutions that secure without drilling or damaging walls; use freestanding units, removable organizers, and adhesive hooks, ensuring portability, compliance, and easy relocation when your lease ends.
What Are Risks of Wall-Mounted Solutions?
Imagine this: you’ll risk wall damage and compromised structural safety if you misplace heavy loads. You ought to carefully assess weight limits, mounting methods, and studs, then use proper anchors and professional guidance to prevent damage and guarantee safety.
How to Maintain Clutter-Free Results Long-Term?
Prioritize daily routines and periodic audits to maintain clutter-free results long-term. Use Personal organization habits and Space optimization strategies, like quick de-clutter checks, labeled bins, and scheduled re-evaluation, ensuring systems stay functional, scalable, and habit-forming for you.
Which Tools and Safety Steps Are Essential?
To handle this, you need power tools and safety gear. Always inspect tools, wear eye and hearing protection, gloves, and a dust mask. Secure work, unplug when changing bits, keep cords managed, and follow manufacturer safety guidelines.
Conclusion
You’ve got the tools, the plan, and the know‑how to turn clutter into calm. By choosing only what truly serves you, installing sturdy wall solutions, and mixing smart furniture hacks with budget upgrades, you’ll reclaim space without breaking the bank. Stay consistent: label, measure, and maintain. Think of your home as a workshop—every organized corner pays it forward. Like a well‑built shelf, your routine bears the weight of daily life and still stays strong.



