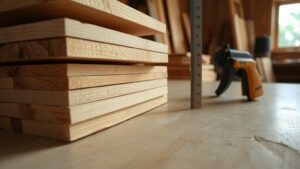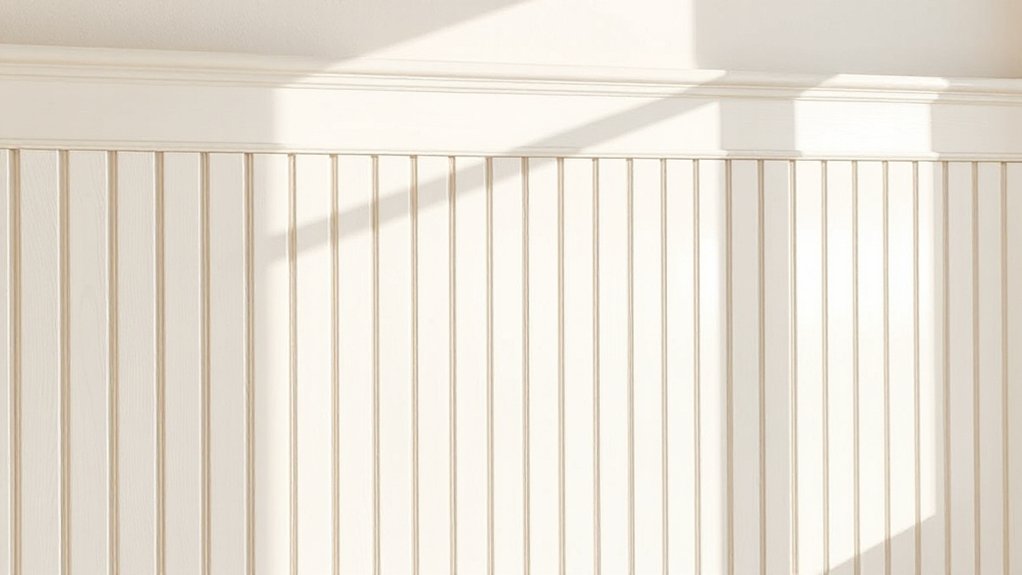

To create a board-and-batten accent wall, start by defining a cohesive style and selecting durable materials with low VOC finishes. Plan precise layout; measure twice and mark anchor lines for even battens. Gather essential tools, fasteners, and spacers, then install the first row true to level. Use caulk for seams, prime porous edges, and apply even coats of paint with UV-stable pigments. Maintain alignment, monitor moisture, and expect clean, lasting lines as you progress. More details await.
Key Takeaways
- Define style and materials: choose appropriate battens, spacing, and finishes to fit the room’s theme and lighting.
- Measure and map layout: mark grid lines, anchor lines, and reference points before cutting or installing.
- Prepare surface: clean, repair, and prime walls to ensure strong adhesion and smooth batten installation.
- Install battens: install starting from a baseline, keep plumb and level, and maintain consistent gaps and edges.
- Finishing and maintenance: seal gaps, paint with the right sheen, and periodically check for loose panels or gaps.
Define Your Board-and-Batten Style
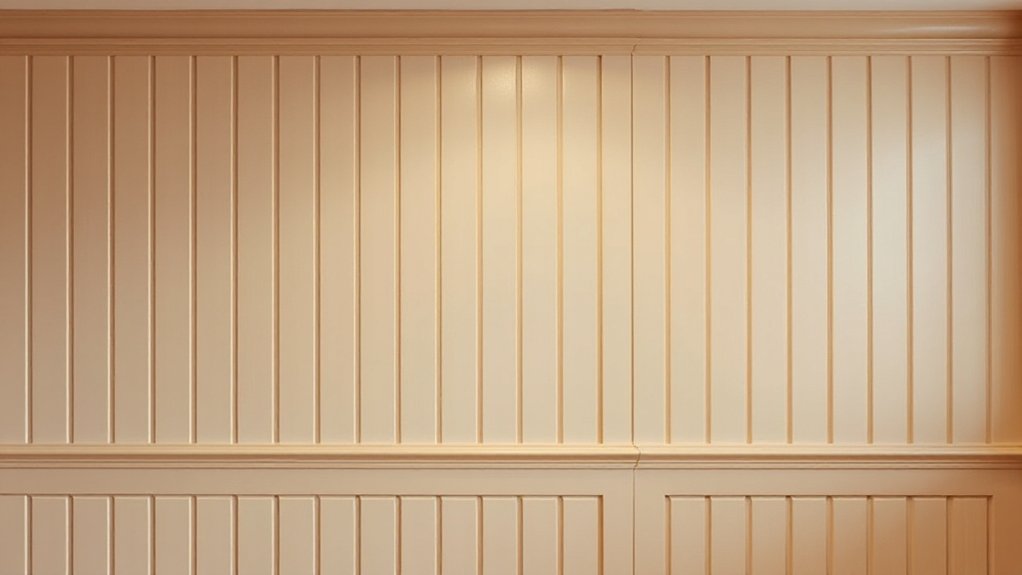
Defining your board-and-batten style starts with choosing a proportional rhythm and material vibe that fits your space. You’ll specify pattern density, beam width, and panel spacing to achieve a cohesive silhouette. Prioritize clean lines and consistent joints, because precision underpins a polished result.
Consider decorative panels as accent moments that echo your overall theme, whether classic, contemporary, or rustic. Texture matters: textured finishes on battens or panels add depth without complicating installation, so select treatments that tolerate expected wear.
Balance contrast and harmony by aligning batten intervals with door or window scales. Document your decisions in a simple spec sheet: dimensions, finish type, and tolerances.
With a defined style, you’ll streamline material ordering, framing, and alignment during installation, delivering a durable, refined focal wall.
Choose Materials for Long-Lasting Wall Coverage
Choosing durable materials for a long-lasting wall coverage starts with selecting options that resist moisture, UV exposure, and daily wear. You’ll evaluate siding-grade boards, medium-density fiberboard, PVC, and cementitious options for durability and ease of finish.
Opt for coatings and sealants with low VOCs that resist peeling and mold in high-humidity rooms. Consider thickness, edge profiles, and installation tolerance to reduce gaps where moisture can creep in.
For color stability, pick finishes with UV inhibitors and uniform pigments that minimize fading over time. Balance aesthetics and performance by testing color palettes in lighting conditions typical to the space.
Finally, align material choices with lighting options to ensure consistent brightness and avoid stark contrasts that distort color.
Plan Layout and Measure Precisely for Your Space
Measure twice and map every dimension to your wall before you cut.
Plan your layout first, plotting the battens to match key sightlines and openings so you can anticipate adjustments.
With precise measurements and a clear layout, you’ll guarantee consistent spacing and a clean, professional finish.
Measure Twice, Plan
Have you double-checked the space to guarantee accuracy before cutting anything? You’ll plan layout with precision, ensuring clean lines and balanced panels. Measure twice, cut once, and document every dimension for consistency and future reference. Use a practical workflow to avoid wasted material and misaligned joints.
Below is a concise process to guide you:
- Map key references: walls, baseboard, and ceiling lines to anchor your grid.
- Confirm plank width and spacing, adjusting for trim and overlaps.
- Record final measurements and note any deviations for color coordination and decorative accents decisions.
This disciplined approach minimizes error risk and supports a polished result. By prioritizing accuracy, you secure an appealing, durable board and batten accent wall.
Map Your Space Precisely
To map your space precisely, start by establishing anchor lines where the board and batten will align—baseboard, ceiling, and window or door frames define the grid. You’ll then translate that grid into a scalable layout, marking where battens will land and how they relate to architectural features.
Take careful measurements: wall length, ceiling height, door widths, and any drywall irregularities. Use a laser or steel tape for consistency, and verify twice before cutting.
Consider historical inspiration to guide proportion and spacing, ensuring the rhythm feels authentic. Build a simple color palette and note where high-contrast versus subtle tones will occur to emphasize verticals.
Document measurements clearly, annotate adjustments, and confirm that the finished grid aligns with your chosen color palette and lighting plan.
Layout Before Cuts
Before cutting a single batt is, lock in your layout by translating the grid from map to wall with a precise plan. You’ll transfer measurements, mark reference lines, and confirm level criteria before any cut. This prevents waste and misalignment as you establish wall placement and cut patterns.
- Verify ceiling and base references against your wall grid, adjusting for plumb and square.
- Translate horizontal batt positions onto the wall, ensuring even spacing and true alignment with existing features.
- Double-check measurements, then label each cut pattern for quick, accurate execution during installation.
Gather Essential Tools and Fasteners for the Install
Gathering the right tools and fasteners sets the foundation for a clean, secure board-and-batten installation. You’ll want a sequence of essential items organized for efficiency.
Begin with a quality tape measure, speed square, level, and carpenter’s pencil to guarantee precise alignment and consistent spacing.
For cutting and shaping, use a miter saw or handheld circular saw, plus a utility knife for inset trim.
Fasteners matter: choose stainless or coated screws compatible with your wall substrate, plus finishing nails for temporary holds.
A stud finder helps locate solid anchors, while a drill/driver powers screws with control.
Include impact drivers for high-torque scenarios and a small level to verify vertical battens.
Keep spacers, chalk line, adhesive for decorative accents, and sandpaper handy to respect wall textures throughout the install.
Compare Classic and Modern Board-and-Batten Profiles
Classic and modern board-and-batten profiles shape both texture and rhythm in your wall. You’ll compare cap profiles, widths, and spacing to gauge how each option alters visual weight and scale.
This discussion sets the stage for selecting a profile that matches your room’s lighting, furniture, and overall design intent.
Classic vs Modern Profiles
What distinguishes classic from modern board-and-batten profiles, and how does that choice affect installation and finished appearance? You’ll see two core differences: scale and detailing that drive both fit and texture. Each choice alters how the wall reads from a distance and up close.
- Profile geometry: Classic uses wider battens with deeper grooves, while modern favors slimmer battens and flatter reveals. This influences cut precision and fastening methods.
- Shadow lines: Classic creates pronounced texture contrast, whereas modern yields subtler, even lighting along the seams.
- Finish strategy: Classic pairs with traditional paints and antiqued stains; modern aligns with saturated Color schemes and clean matte sheens.
Opt for the option that matches your space, then finish with deliberate Texture contrast and cohesive Color schemes.
Visual Impact Comparison
The visual impact of board-and-batten walls hinges on how profile choices read from afar and up close. Classic profiles emphasize vertical rhythm with bold shadows, delivering timeless formality that pairs with warm, natural finishes.
Modern profiles favor flatter planes and tighter joints, creating a streamlined silhouette that reads as contemporary and airy.
Color options influence perceived depth: deeper stains heighten contrast along battens, while light whites soften the texture for a seamless backdrop.
Lighting effects further define each profile, sharpening edges with directional cues or washing surfaces for a flatter, more uniform glow.
Consider how these elements interact at room scale and in adjacent spaces. Your final choice should balance architectural intent with practical maintenance, ensuring a cohesive mood from every viewing angle.
Prep the Wall for a Durable Finish
Preparing the wall thoroughly is essential to guarantee a durable finish. You’ll establish a clean, stable base by addressing surface irregularities and choosing the right materials for long-term performance. Focus on these steps:
- Inspect and repair: fill cracks, holes, and gaps; sand flush with the surface.
- Clean and degloss: remove dust, oils, and old finish residues to assure good adhesion.
- Prime with intent: apply primer to even porous areas and improve coating adhesion, setting up a consistent substrate for the finish.
Note that surface preparation and primer application determine durability. Use high-quality, compatible products and follow manufacturer timing to prevent peeling or staining later.
Maintain a controlled environment, avoiding rapid humidity shifts during curing, and mask adjacent trim precisely to protect edges.
Install the First Row of Battens With Accuracy
Once you’ve marked the battens’ layout, start installing the first row with precision to establish a true baseline. Position each batten square to the line, then snug it against the spirit level as you fasten. Use galvanized nails or trim screws, driven at consistent intervals to prevent shifting. Check plumb and level after each placement, adjusting temporary shims as needed.
Align the top edge to maintain even gaps for decorative patterns and clean visual rhythm. Maintain consistent overhang and edge alignment so subsequent rows nest neatly. As you proceed, document color schemes in your notes to guarantee cohesive accent progressions.
Avoid over-tightening that could warp the substrate or pull the wall. Finish by verifying overall straightness and preparing for the next row with deliberate, repeatable steps.
Secure the Drywall or Wall Substrate Correctly
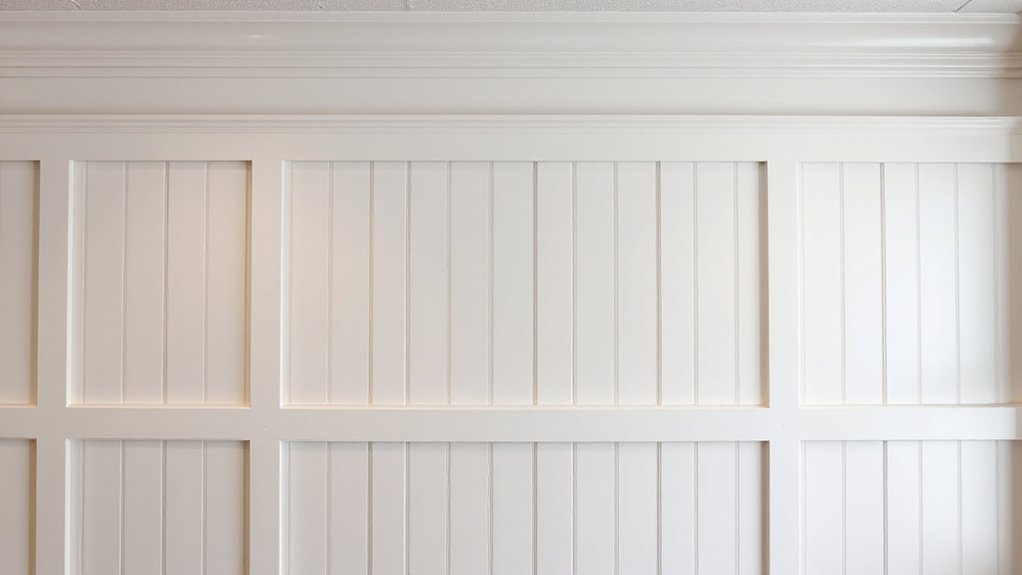
To secure the drywall or wall substrate correctly, verify the surface is clean, dry, and flat before fasteners go in. You’ll guarantee dependable wall anchoring and drywall reinforcement by approaching adhesion and fastening with precision.
1) Inspect substrate edges for levelness and joint integrity, repairing any gouges or ridges that could telegraph through battens.
2) Secure the base layer with corrosion-resistant screws or nails, spacing per manufacturer guidelines to prevent nail pops and guarantee uniform load transfer.
3) Check plumb and square after initial fasteners set, adjusting as needed to maintain true alignment before proceeding with battens.
Then, recheck for flatness and overall stability, confirming a solid, reliable base for the board and batten system.
Align Battens and Space for Perfect Symmetry
To align battens, start with a precise vertical grid and mark consistent spacing along the stud line.
Use a level and a measuring tape to verify equal gaps between battens, adjusting as needed for a symmetrical layout.
Record your spacing and check against the template before fastening to guarantee a clean, balanced result.
Align Batten Spacing
Aligning batten spacing is about achieving consistent, symmetrical gaps between battens across the wall. To nail this, you’ll plan from the base line upward, recording measurements and adjusting for any wall irregularities. This keeps a clean rhythm and prevents visual drift as you work.
1) Measure twice, mark once, then clamp battens in place to hold the line.
2) Use a spacer or temporary shims to verify even gaps before fastening permanently.
3) Recheck spacing after last fasteners, then trim any edge battens for uniform width.
With decorative accents in mind, maintain color coordination by selecting battens and trim that complement your wall color and architectural style.
Precision here sets the stage for a cohesive, polished finish across the entire feature wall.
Achieve Symmetrical Layout
Could you guarantee perfect symmetry by aligning battens and spacing precisely from the start? You can, with a disciplined method. Establish a master grid: mark a central axis, then lay out evenly spaced battens using a tape measure, level, and chalk line.
Ensure each batten’s face aligns flush against the wall, not tucked behind trim. Compute the remaining gaps to avoid fractional divisions; adjust spacing at edges so the pattern remains balanced.
Verify vertical alignment with plumb checks at multiple heights, and re-measure after fastening. Color coordination matters: select battens and base panels from complementary tones to unify the wall, reducing visible deviations.
Lighting enhancement should highlight symmetry; position fixtures to cast uniform shadows and emphasize rhythm, not flaws. Consistency in practice delivers a precise, polished result.
Apply Caulk, Paint, and Choose the Right Sheen
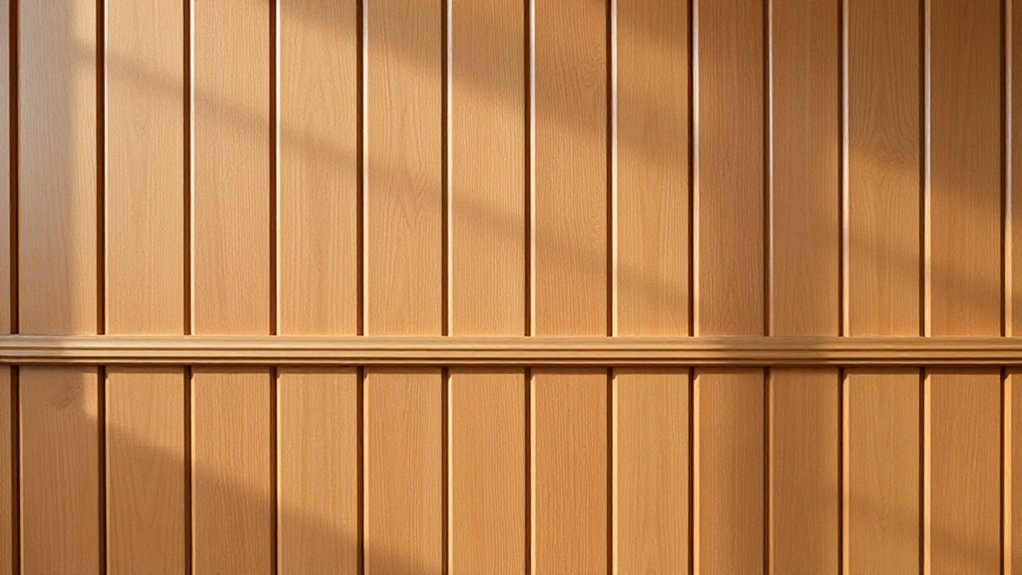
Once you’ve primed the surface and installed your board and batten, seal gaps with caulk to create a seamless joint between trim, wall, and edges. Caulk application should be meticulous, staying smoothed after tooling to prevent texture differences.
Then, apply paint in deliberate, even coats, observing proper technique for a durable finish and uniform coverage. Paint sheen matters; choose a mid to high gloss for trim and a flatter sheen for the wall to balance light reflection and depth.
- Select caulk compatible with materials and seams, apply evenly, and tool while wet.
- Prime if needed on porous edges, then lay down primer before topcoats to ensure adhesion.
- Verify sheen compatibility, test on a hidden area, and adjust lighting before final coat.
Troubleshoot Common Install Hiccups
Even with careful planning, installation hiccups happen; addressing them quickly keeps the project on track. When a miscut or misalignment appears, stop, verify the layout, and recheck plumb and level before proceeding.
If panels bow, clamp and allow adhesive to set evenly, then reseat rather than forcing flush contact. For gaps, use compatible caulk or shims to maintain uniform battens without compromising detail.
Nail spacing should follow your layout rather than force; adjust as needed to avoid splitting. If panels react to temperature or humidity, acclimate materials per manufacturer guidelines and re-measure after a short acclimation period.
Leverage creative color combinations to mask minor inconsistencies, and document innovative installation techniques for future projects.
Maintain a disciplined workflow, and test each section before moving onward.
Style the Finished Wall to Complement the Room
With the wall dressed and battens firmly in place, you’ll style the finish to harmonize with the room’s scale, lighting, and furniture. A disciplined approach guarantees cohesion across elements and avoids visual clutter.
Focus on color coordination and decorative accents that reinforce the design intent without overpowering features.
- Align color tones: choose a wall shade that echoes the dominant hues in nearby textiles and flooring, and introduce a muted contrast for depth.
- Choose decorative accents: select art, vases, and fixtures that repeat shapes or metal finishes found in the space.
- Calibrate lighting: ensure fixtures render the battens evenly, preventing harsh shadows and highlighting the wall’s texture.
Result: a balanced, refined focal wall that integrates seamlessly with the room.
Maintain and Care for Your Board-and-Batten Wall
Maintaining a board-and-batten wall requires regular inspection, timely cleaning, and proactive upkeep to preserve its texture and integrity. You’ll schedule quarterly checks for fastener tightness, caulk integrity, and paint condition, focusing on joints and battens where moisture can migrate.
For routine cleaning, use a damp microfiber cloth and a mild detergent, avoiding abrasive pads that could scratch decorative paint or smooth faces. If you detect loose panels, reseal with low-VOC caulk and re-secure nails or screws to prevent gaps.
Monitor surface wear on wall textures and touch up chips promptly with compatible paint. When updating aesthetics, apply decorative paint in thin, even coats to prevent sheen differences.
Protect from humidity spikes with proper ventilation to extend color uniformity and overall durability.
Frequently Asked Questions
How Long Does a Board-And-Batten Project Typically Take?
Typically, a board-and-batten project takes a few days, depending on wall length and prep. You’ll do wall preparation first, then install battens and trim. Use tool recommendations like a saw, level, nailer, and tape measure.
Can I Install Over Wallpaper or Textured Walls?
Yes, you can, but remove wallpaper first. Do wallpaper removal, then textured surface prep to guarantee solid mounting. Expect adhesion issues on stubborn textures; prime, seal, and use appropriate fasteners for a durable board-and-batten installation.
Is There a Temporary Option for Renters?
Yes, you can, with removable panels or temporary wallpaper. Use removable panels for a clean, in-place look, or apply temporary wallpaper to protect walls while creating a board and batten appearance during tenancy. Guarantee easy removal and low residue.
What Are Budget-Friendly Batten Alternatives?
You can use cost effective materials like PVC boards, MDF, or high-density foam as budget-friendly batten alternatives, then apply DIY installation tips: measure accurately, pre-pinish edges, prime before painting, and secure battens with proper fasteners for lasting results.
How Often Should I Re-Seal or Refresh the Finish?
You should reseal every 2–3 years for interior finishes, or sooner if wear or gloss loss appears. Sealing frequency depends on traffic and sunlight; this maintains finish longevity, prevents moisture intrusion, and keeps your Board and Batten looking crisp and protected.
Conclusion
Picture your wall as a ship’s hull, each batten a plank that steadies the course. You defined the style, chose durable materials, measured with precision, and armed yourself with the right tools. The caulk seals leaks, paint shields against weather, and the profiles balance form with function. Troubleshooting is your compass, and styling is the flag you raise. With care and routine, your board-and-batten wall stays sturdy, timeless, and ready to weather whatever rooms you steer next.