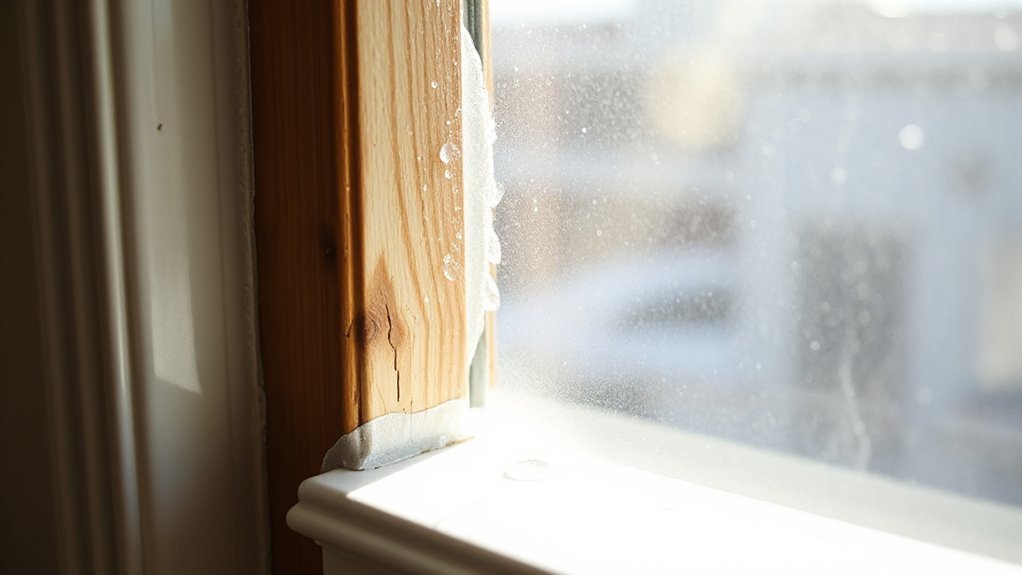

To fix water dripping from the top of a window frame, identify whether flashing, seals, or drainage is allowing entry. Inspect flashing for rust, gaps, or lift; check sealant for cracks or missing sections; and verify drainage paths, including weep holes and drip edges, for obstructions. Track water paths with a flashlight and moisture tests, then reseal and reseal-cap with compatible sealant, rework flashing as needed, and guarantee the sill slopes outward. If issues persist, you’ll learn more beyond this step.
Key Takeaways
- Identify leak source by inspecting flashing, sealant lines, and drainage paths for gaps or rust with a flashlight at oblique angles.
- Track water flow from the top edge, test moisture levels in dry and wet conditions, and mark suspected areas for targeted repair.
- Clean and prepare surfaces: remove debris, dry the area, check for corrosion or soft substrate, and photograph edges for reference.
- Reseal and reflash where needed: replace cracked sealant, ensure proper backing and tooling, and apply exterior-grade flashing with 2-inch overlap.
- Verify drainage and slope: ensure a slight outward pitch, clear weep holes, and test water flow to confirm unobstructed runoff.
Identify the Leak Source: Flashing, Seals, or Drainage
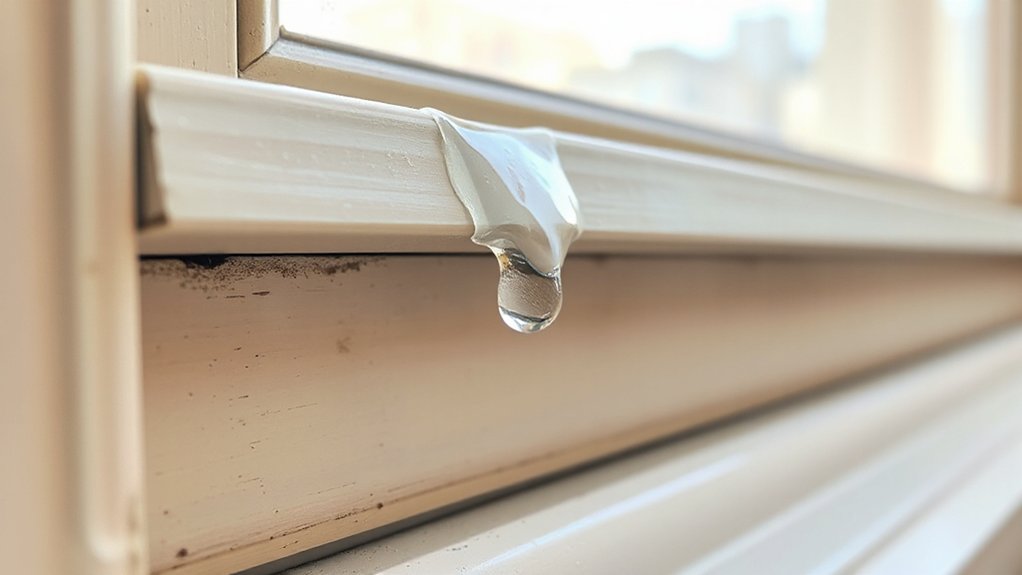
To identify the leak source, examine three likely pathways: flashing, seals, and drainage. You approach methodically, noting conditions at the top edge where the frame meets the wall.
Inspect flashing for rust, gaps, or lift that could channel water inward. Examine sealant lines for cracks, shrinkage, or missing sections that allow infiltration behind the sash.
Check drainage paths—weep holes, channels, and exterior drip edges—for obstruction or misalignment that cause pooling at the sill.
Compare findings against historical architecture cues: ornate trim, lapped flashing, and mortar joints that influence water flow.
Assess window aesthetics in context, distinguishing cosmetic gaps from structural defects.
Prioritize sources with the greatest water exposure, documenting dimensions and locations for accurate repairs.
Proceed to targeted remediation with precise material choices.
Safety First: Inspect Without Causing Damage
You should inspect the window area with minimal contact to avoid damage. Use gentle pressure only when necessary and document any changes without forcing components.
Track water sources by observing patterns and noting where moisture appears, without altering seals or frames.
Inspect Without Damaging
Carefully inspect the window frame for signs of damage without altering its structure. You perform a deliberate visual check along the frame joints, sill, and glazing beads, noting any irregular gaps or discolored patches.
Use a small flashlight at oblique angles to reveal hidden defects behind trim. Avoid prying or levering; document findings with precise measurements, if needed.
Focus on evidence of interior condensation that may indicate moisture intrusion, and assess any paint peeling as a surface symptom rather than a cause.
Don’t remove caulk or trim beyond what’s necessary to observe; preserve original fasteners and seals.
Record moisture exposure levels and, if present, mark locations for future testing, ensuring no additional stress is placed on the frame during inspection.
Use Gentle Pressure
If you must apply pressure, do so gently to avoid damaging the frame. Begin with light, incremental force, evaluating resistance after each touch. Maintain a steady, controlled motion to prevent gaps or flexing that could worsen leaks.
Use only your fingertip or a non-abrasive tool to test for soft spots; avoid hammering or prying. Apply gentle pressure along the top sash edge where the drip originates, not across the entire surface.
If you feel resistance, pause and recheck alignment before continuing. Maintain a clean, dry surface to monitor changes in moisture, and avoid excessive force that could crack or warp materials.
Document any unusual deformation for later inspection, ensuring window pressure remains within manufacturer tolerances and doesn’t compromise seal integrity.
Track Water Sources
To locate the source of the dripping without causing damage, begin with a systematic visual inspection of the window and surrounding frame, noting any gaps, cracks, or deteriorated seals.
Next, trace water paths from the top edge downward, observing for concealment behind trim or glazing beads. Identify whether moisture originates at the sash, sill, or frame joint, then assess for compromised waterproof coatings and degraded glazing seals.
Use a flashlight at low angles to reveal hidden leaks through microgaps, and test with a controlled spray on uncommon contact points to confirm flow direction.
Document affected areas, prioritize critical seals, and consider the impact of window glazing on drainage.
If water accumulates near the exterior surface, plan protective waterproof coatings before resealing.
Confirm ongoing inspection after remedies.
Check Window Slope and Drainage Paths
Start by checking the window slope to guarantee it encourages outward drainage and prevents pooling at the top edge.
Inspect the drainage routes for obstructions or misalignments that could divert water away from the frame.
Verify the overall water runoff path from the top of the frame to the exterior to confirm continuity and proper direction.
Check Slope Alignment
Proper slope alignment guarantees water follows the intended drainage path away from the window. You’ll verify slope by measuring both horizontal and vertical planes at the top edge, ensuring a slight forward pitch toward the exterior.
Use a level or laser gauge to confirm that the top frame plane declines about 2–3 degrees toward the outer surface.
Inspect junctions where the frame meets the wall; any sag or reverse pitch must be corrected with shims, packing, or reseating the frame.
Document slope readings and adjust until runoff clears the sill without pooling.
Apply Waterproofing techniques only after confirming alignment, to avoid trapping moisture.
Consider Window frame materials compatibility when reshimming to prevent binding or gaps.
Recheck after temporary water exposure.
Inspect Drainage Routes
- Check slope continuity across the top rail and side jambs
- Inspect for debris that could impede water movement
- Verify alignment of channels with exterior drainage outlets
- Assess blockages in weep holes and grooves
- Note how frame materials affect drainage performance over time
Verify Water Runoff Path
To verify the water runoff path, assess how slope and channels direct moisture from the frame to exterior outlets. Begin by inspecting the window sill and frame plane for a consistent downward pitch; note any deviations that could trap water.
Trace drainage channels from the top of the frame to weep holes, ensuring unobstructed flow and that no midline hollows collect standing water. Confirm that sill joints shed water toward exterior walls, not into the interior cavity.
Test with a controlled water pour along the top edge, observing flow speed and diversion to outlets. If slow drainage occurs, apply waterproof coatings along contact surfaces and seals, then recheck.
Consider integrating window treatments to channel incidental moisture toward drainage paths and reduce splashback. Document findings for future maintenance.
Look for Hidden Leaks With Tests and Moisture Checks
If you suspect hidden leaks, start with moisture tests and visual checks to pinpoint the source. Use a handheld moisture meter to scan sash pockets, glazing beads, and frame joints, noting readings that exceed ambient levels.
Inspect seals under stress points and corners for delamination or gaps. Create a baseline by testing during dry and wet conditions to reveal transient moisture. Mark suspected areas with removable tape for later verification.
Use a damp cloth to test for capillary movement along surfaces, and compare with exterior observations. Document locations and readings for repair planning.
Hidden leaks, Moisture detection, and systematic testing help you avoid unnecessary disassembly.
- Test during rainfall or simulated rain for accelerated findings
- Measure moisture at multiple depths
- Compare interior vs. exterior readings
- Check weep channels for blockages
- Log results and planned actions
Clean and Inspect the Top Surface for Wear
You inspect the top surface for wear and damage, noting any gouges, cracks, or cupping.
Then you clean the surface thoroughly to remove dust, residue, and old sealant so you can evaluate its condition.
Finally, you check the sealant around the edge for cracking or separation and plan next steps if replacement is needed.
Inspect Top Surface Wear
Inspecting the top surface for wear is the first step to determine if the window frame’s sealant or jambs have degraded.
- Check for material corrosion at metal components and fasteners.
- Inspect paint deterioration, including peeling or blistering.
- Note any chipping, cracking, or gouges along the top edge.
- Assess surface flushness and detect gouging from water exposure.
- Identify any softness or sponginess indicating substrate damage.
Proceed to document findings with photos, focusing on edge joints and corners. Avoid extensive cleaning during this subtopic; save surface prep for later steps.
If corrosion or paint failure is evident, plan targeted repairs before resealing.
Verify you maintain a dry, organized workspace and use appropriate PPE.
Record age of coatings and prior maintenance to inform replacement intervals.
Material corrosion and paint deterioration are critical indicators of underlying frame weakness.
Clean Surface Thoroughly
To thoroughly clean the top surface, remove loose debris, dust, and prior sealant residue using a damp rag or microfiber cloth; avoid soaking the wood or metal components. Begin by wiping along the grain or frame edges to prevent embedding particles.
Next, inspect for surface wear, scratches, or lifting paint that could trap moisture. If you encounter tackiness or residue, apply a mild cleaner sparingly, then wipe dry with a lint-free cloth.
Avoid abrasive tools that could scratch frame materials or affect window aesthetics. After cleaning, verify the surface is dry before proceeding.
Note any discoloration or uneven sheen that may indicate underlying moisture intrusion. Document observations for maintenance records and guarantee compatibility with the frame materials and finish.
Final condition should be clean, dry, and visually uniform.
Check Sealant Condition
Carefully evaluate the top sealant for wear and damage. You’ll inspect the sealant layer for cracking, peeling, hardening, or gaps that admit moisture.
Check adhesion along the window frame material and compare against original profiles.
Note any color fading or texture changes that indicate aging.
Document irregular edges where sealant is uneven or detached.
Consider seasonal expansion and contraction effects on sealant durability.
If you detect breakdown, plan resealing with suitable material for your window frame material and climate.
Verify the correct backing and tooling are used to achieve a continuous, watertight bead.
Prioritize secure bonding to prevent further leaks and maintain overall energy performance.
- Identify cracking, peeling, or gaps in sealant
- Assess adhesion at the window frame material interface
- Note color, hardness, or texture changes
- Check bead continuity and edge integrity
- Plan resealing with material matched to frame and environment
Choose Sealant and Flashing Materials for Windows
Choosing sealant and flashing materials is essential to stop water intrusion. You’ll select products compatible with your window type and climate, then verify performance specs before purchase.
Assess substrate conditions: clean, dry, and dust-free to guarantee adhesion.
For sealants, favor silicone or polyurethane formulations with low VOCs and rated UV resistance; consider modular joints if gaps vary. Confirm elongation, cure time, and resistance to temperature swings.
For flashing, choose self-adhesive metal or flexible membrane options designed for exterior use and overlap seams by at least 2 inches. Ensure compatibility with existing finishes and frame materials.
Apply according to manufacturer instructions, maintaining a continuous bead and proper tooling.
Document batch numbers and installation dates for future maintenance and warranty tracking.
Sealant durability and flashing materials influence long-term performance.
Step-by-Step: Reseal the Top Frame and Fill Gaps
If the top frame shows gaps or leaks, start by removing loose debris and dampening the surface to guarantee the sealant bonds properly.
Then apply a continuous bead along the outer edge of the frame, and tool it smooth to create a uniform contact with the sash.
- Assess window frame materials to select compatible caulking types
- Clean joint surfaces to remove dust, oil, and old sealant
- Apply masking tape to define edges and protect glass
- Load caulk into a compatible gun and cut the nozzle at a 45-degree angle
- Tool the bead with a damp finger or caulking tool for a finished, uniform seal
Caulking techniques and Window frame materials guide you to durable, leak-free results.
Rework Flashing and Drainage to Prevent Backups
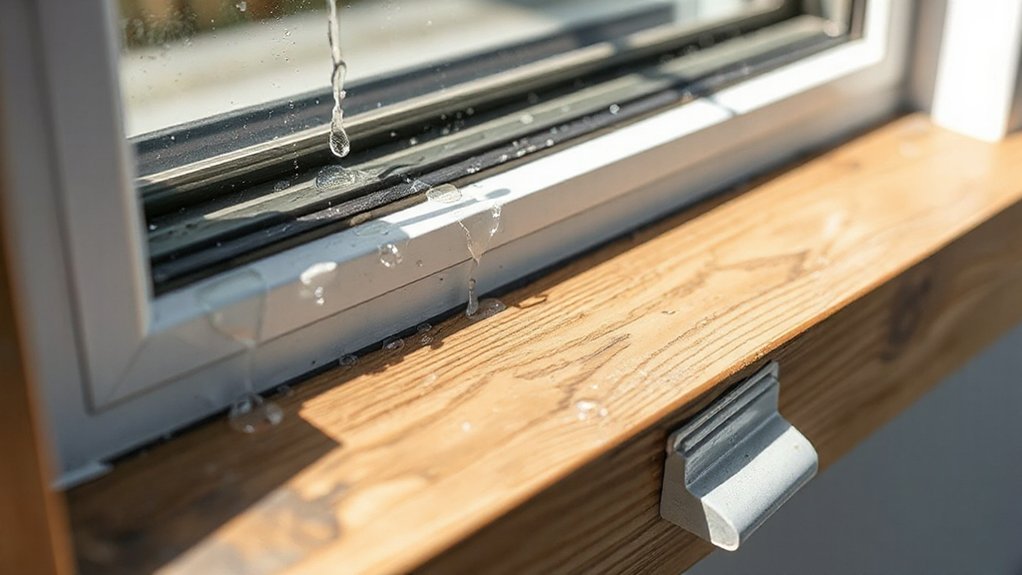
To prevent backups, rework the flashing and drainage so water is directed away from the window and out of the frame. Inspect flashing seams for cracks, gaps, or lifting. Remove old sealant and reseal with exterior-grade flashing tape, applying it in a continuous bend around corners.
Channel the sill drip edge outward and ensure a clear slope away from the frame. Install ancillary drainage troughs if existing lines are clogged, then test with a water spray to verify proper flow.
Confirm that flashing sits under the cladding and above the exterior wrap to avoid capillary draw. Implement weatherproofing tips during resealing, and install venting paths to prevent pressure buildup.
Consider ventilation strategies to reduce condensation while maintaining seal integrity.
Prevent Future Leaks With Simple Maintenance Routines
Prevent leaks in the future by establishing simple, repeatable maintenance routines that you can perform on a schedule. You’ll reduce risk by embedding checks into a fixed cadence, so small issues don’t become rot, mildew, or drips.
Implement a concise sequence that targets water entry points and drainage efficiency. Prioritize roof inspection and gutter cleaning as core components, then address seal integrity around the window frame.
Document findings and corrective actions for each cycle to track patterns and prevent regressions.
- Schedule biweekly roof inspection during high rainfall season
- Clean gutters and downspouts to maintain free flow
- Inspect window flashing and sealant condition
- Remove debris from sash channels and weep holes
- Re-test for leaks after rainfall or heavy wind events
When to Call a Pro: Signs You Need Expert Help
When cracks or gaps in the window frame persist after basic maintenance, it’s time to call a professional. You should seek expert help if you notice persistent water intrusion despite resealing and caulking, warped frame edges, or mold growth behind trim.
Signs include recurring puddling on sills after rainfall, sudden drafts despite good sealing, or compromised glazing that reduces energy efficiency. A pro will perform moisture tests, inspect flashing and sill drainage, and verify window operation without forcing hinges or latches.
If damage exceeds simple repairs, or if structural movement is detected, escalation is required. Discuss window aesthetics priorities and potential ventilation improvements with the contractor to guarantee long-term performance and reduced condensation.
Schedule a certified inspection promptly to prevent secondary damage.
Frequently Asked Questions
Can Interior Condensation Mimic External Leaks at the Top Frame?
Yes, interior condensation can mimic external leaks at the top frame. You detect it by inspecting for damp spots, cold surfaces, and mold growth; address moisture sources, improve ventilation, and seal leaks to prevent mold growth and repeated condensation.
Will Repainting Affect Top-Frame Sealant Longevity?
A sealant event: repainting can affect top-frame sealant longevity if you choose incompatible products. You’ll guarantee Sealant compatibility and Paint adhesion before starting; test adhesion, follow manufacturer specs, and allow proper curing to prevent leaks and failures.
Do All Leaks Originate From Flashing or Drainage Issues?
Not all leaks originate from flashing or drainage issues; inspect the window frame first. If water enters around seams, perform flashing repair, sealant reapplication, and verify flashing angles, ensuring proper slope and waterproofing for continued protection.
Can DIY Venting Help Reduce Top-Frame Water Intrusion?
Ventilation improvement can reduce top-frame intrusion by guiding damp air away; you should seal with proper sealant techniques and monitor for leaks. You’ll improve airflow, then reseal joints, ensuring vents stay clear and moisture won’t linger.
Should I Remove Old Sealant Before Applying New Sealant?
Yes, you should remove old sealant before applying new sealant. Perform sealant removal and surface preparation meticulously, using a utility knife and scraper, then clean, dry, and prime the area to guarantee proper adhesion.
Conclusion
Conclusion (75 words, second person, active voice, satirical edge, precise and procedural):
So you’ve traced leaks, cleaned seams, and resealed the top frame like a cupcake decorator with a caulking gun. Congratulations, you’ve earned a minor victory over gravity. If those droplets still audition as waterfall, call a pro before you wallpaper your living room with towels. But otherwise, perform routine checks, monitor the drainage, and reapply sealant every season. Remember: better to patch a leak than explain to guests why your window joined the aquarium club.