

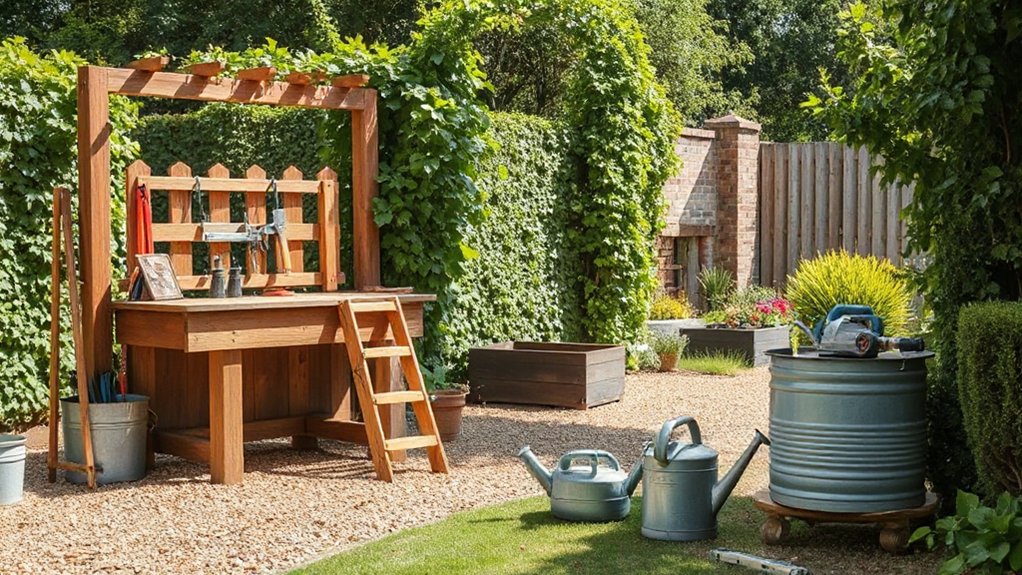

Like a quiet invitation from a well-kept garden, you’re about to redefine your outdoor space this season. You’ll plan a compact makeover, pick budget-friendly tweaks, and layer in rain capture, solar lighting, and stepping stones for ease and charm. You’ll need clear priorities and simple setups that work now, with room to expand later. Ready to map it out and choose your first small win that pushes the project forward?
Key Takeaways
- Plan a seasonal garden layout that pairs sun exposure with plant needs and adds reflective elements to brighten shaded areas.
- Build raised beds (12–18 inches) with quality soil and compost to boost accessibility and fertility.
- Create weatherproof outdoor seating and storage using durable materials and modular, space-efficient designs.
- Install efficient pathways and lighting with solar options, motion sensors, and layered lighting for safety and ambiance.
- Implement water-smart irrigation and rain harvesting, plus upcycled containers as decorative planters.
Plan a Compact Garden Makeover: Your Step-by-Step Kit
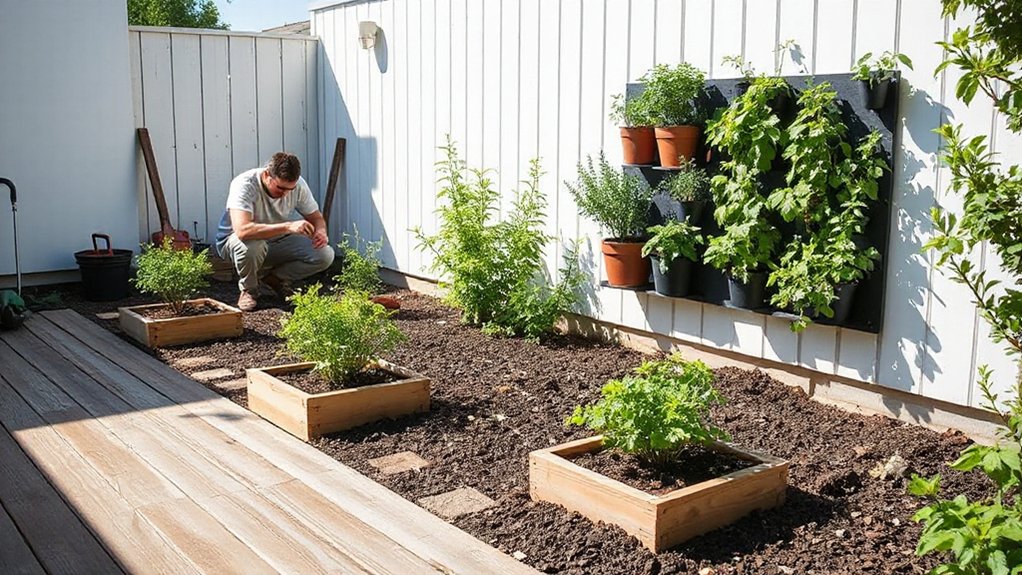
Ready to transform a small outdoor space? You’re shaping a compact garden makeover with a step-by-step kit.
Begin with a precise goal: what’ll you use the space for, and what mood should it convey?
Prioritize plant selection that thrives in your light and soil, then map zones for color, texture, and structure.
Choose compact, high-impact varieties and plan for maintenance ease.
Garden decor should complement scale without clutter, so opt for streamlined containers, a focal plant, and unobtrusive accessories.
Sketch a simple layout to prevent crowding and ensure airflow.
Install irrigation efficiency first, then place elements to maximize sightlines and accessibility.
Finally, track progress, adjust plant placements, and document the transformations for future tweaks.
You’ll finish with a cohesive, livable outdoor space.
Build a Cozy Outdoor Seating Nook on a Budget
You can start by choosing budget-friendly seating that still feels inviting, like salvaged benches, DIY cushions, or repurposed pallets.
Plan a space-saving nook layout that keeps traffic flow clear while maximizing comfort, so every inch earns a purpose.
Then level up with simple DIY comfort upgrades—weatherproof fabric, quick-dry cushions, and discreet lighting—to make the area usable year-round.
Budget-Friendly Seating Ideas
Are you looking to create a cozy outdoor seating nook without breaking the bank? You can achieve comfort and style with budget-minded choices that hold up season after season.
Prioritize seating comfort by selecting modular pieces you can rearrange, and opt for cushions with removable, machine-washable covers for easy upkeep.
Choose materials known for durability, like powder-coated steel, treated wood, or all-weather resin wicker, which resist moisture and sun fade.
Build a simple frame from affordable lumber and secure weatherproof finishes to extend life.
Use simple, scalable options—two benches, a compact loveseat, or a daybed—with outdoor throws for warmth without clutter.
Space-Saving Nook Layout
Need a compact layout that maximizes seating without crowding? You’ll design a cozy outdoor nook that fits tight spaces and feels expansive.
Start with a smart bench-and-throw-pillow setup along a wall or fence, then add a pair of slim, weatherproof chairs that tuck under a small table.
Choose modular cushions to rearrange for gatherings.
Use vertical gardening to add greenery without footprint, installing wall planters or railing boxes to keep the floor clear.
Build a simple canopy or shade sail to define the space and protect from sun.
Integrate garden art as focal points at eye level to draw the eye without clutter.
Keep lighting minimal and functional: solar lanterns or string lights for ambiance.
This layout delivers comfort, efficiency, and style.
DIY Comfort Upgrades
To upgrade comfort without breaking the bank, focus on smart, low-cost tweaks that boost coziness and usability. You’ll create a welcoming nook by layering simple, functional elements that elevate garden furniture and outdoor decor without overspending.
Prioritize weather-friendly cushions, durable throws, and a compact shade option to extend usability into sunny days. Consider a small storage bench to hide essentials and keep the space tidy.
Plus, add a ground cover or outdoor rug to soften the feel underfoot. Incorporate subtle lighting for evenings and a portable side table for drinks and devices.
This approach blends practicality with style, delivering a charming, usable seating corner you’ll actually use.
- Choose moisture-resistant cushions and throws
- Opt for a fold-away or stackable shade solution
- Integrate a storage bench for essentials
- Add a low-profile outdoor rug and lanterns
Create Raised Beds for Easier Planting and Weeding
Building raised beds makes planting easier and weeding faster, and it helps you control soil quality from the start. Raised beds define spacing, reduce soil compaction, and improve drainage, so you work smarter, not harder. Choose sturdy materials and a height of 12–18 inches for accessibility and efficient root development.
Plan bed layout for sun exposure and companion planting, keeping paths clear for quick movement. Fill with high-quality soil mix, and layer compost to jumpstart fertility. Install edging to prevent soil washout and to keep mulch in place.
Use mulch to suppress weeds and conserve moisture, then monitor soil health with periodic soil testing. For ongoing garden pest control, rotate crops and inspect beds regularly to catch issues early. This approach keeps tasks focused and productive.
Install Simple Shade Solutions for Comfort
Want relief from blazing sun during outdoor tasks? You can install simple shade solutions that boost outdoor comfort without a lot of effort. Start with a lightweight awning or shade sail anchored to your house or posts. These options block direct sun while letting breeze through, keeping your space cooler and usable midday.
Consider retractable options for flexibility. Use fabric with a UPF rating for stronger protection, and pick colors that reflect heat. Position shade to cover high-heat zones—workbenches, seating, and paths. Maintain visibility and airflow by avoiding solid, opaque barriers.
- Choose shade sails or a retractable awning for versatile coverage
- Align shade to mid-day sun and prevailing breezes
- Use UV-rated fabrics in light colors for cooler feel
- Verify secure mounting and simple upkeep for lasting shade
shade solutions, outdoor comfort
Refresh Pathways With Creative, Affordable Paver Alternatives
A smart way to refresh outdoor pathways without breaking the bank is to swap in affordable paver alternatives that still deliver curb appeal and durability. You can start with stepping-stone layouts using concrete. They’re inexpensive, durable, and easy to cut to fit curves.
For a softer look, use compacted gravel or crushed stone topped with edging to define borders. Mulch and rubber mulch chips create a quiet, forgiving surface in low-traffic areas. Recycled rubber tiles offer interlocking, weather resilience for patios or walkways.
Consider flagstone-inspired concrete slabs or stamped concrete that mimics natural stone at a fraction of the cost. Maintain drainage by grading slightly and adding a simple base layer.
This pathway refresh boosts style and function without overspending, while keeping installation straightforward and lasting.
Power Up Your Garden Lighting for Ambience and Security
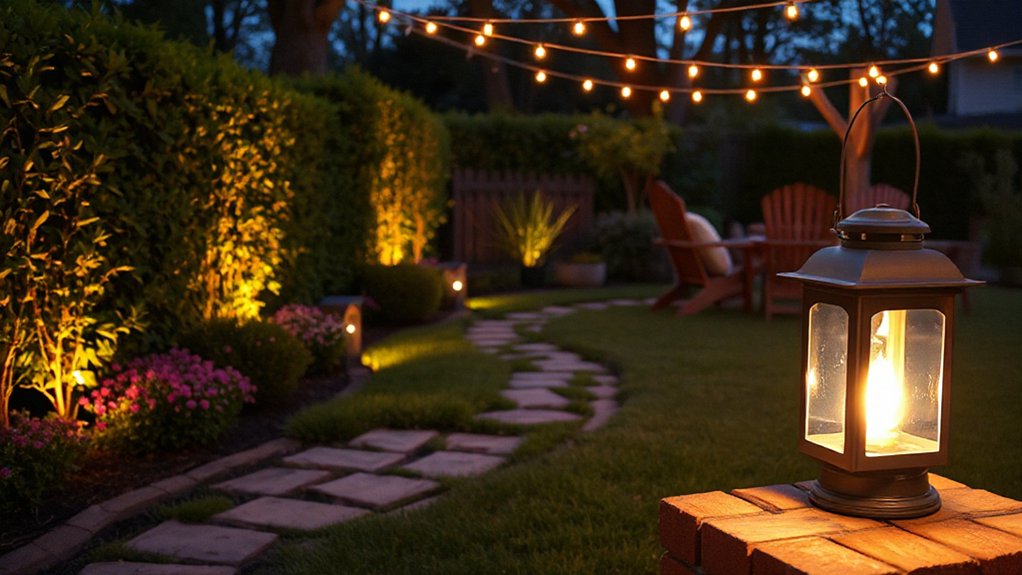
Explore solar-powered lighting options to keep costs down and maintenance simple, so your yard stays bright without electrical work.
Plan layered outdoor lighting—path, accent, and security lights—so you can adjust mood and visibility from dusk to late night.
Start with smart placement and durable fixtures, then scale as needs evolve.
Solar-Powered Lighting Options
Solar-powered lighting offers a simple, cost-effective way to extend outdoor usability after dark. You’ll get atmosphere and security without wiring hassles. For reliable performance, choose solar garden fixtures with durable casings, adequate lumen output, and recommended IP ratings.
Place solar panels where they harvest full sun, not shaded areas, and aim lights to cover walkways, entrances, and key landscaping features. Use motion-activated options for perimeter protection and conserve battery life with timers.
Consider color temperature between warm (2700–3000K) and neutral (3500K) for natural outdoor illumination. Maintain batteries and clean panels seasonally to sustain efficiency.
Avoid overloading spaces; balance lighting with dark sky considerations for a calmer, safer yard.
- Solar garden placements for ideal sun exposure
- Motion-activated security lighting with smart timers
- Warm versus neutral color temperatures
- Battery upkeep and panel cleaning routines
Layered Outdoor Light Planning
Layered outdoor lighting builds on reliable solar basics by layering illumination to serve both ambiance and security. You’ll map zones: pathway, entry, seating, and focal points. Use a mix of low-voltage, solar, and smart options to balance consistency and flexibility.
Start with primary fixtures at eye level for safe navigation, then add ambient washes to soften textures along walls or trees. Accent lighting highlights focal points—statues, planters, or water features—without glare.
Dim or switchable controls let you adjust garden lighting as the evening deepens, preserving outdoor ambiance while conserving energy. Create a cohesive feel by repeating color temperatures and finishes across fixtures.
Finally, verify timing: ensure lights illuminate just after sunset and fade near bedtime for practicality and security.
Weatherproof Storage Solutions for Tools and Toys
To keep tools and toys protected from rain, heat, and theft, choose a weatherproof storage solution that fits your space and budget. You’ll reduce garden clutter and simplify tool organization with a sturdy, sealed unit or well-sealed shed.
Prioritize ventilation, adjustable shelves, and secure latches. Consider mounting options, pest protection, and UV-resistant materials to extend life. Seal gaps, and label bins for quick access so you minimize rummaging.
Regularly inspect seals and hinges to prevent leaks. Use wall-mounted racks inside to maximize floor space and keep frequently used items reachable. A weatherproof option should blend with your terrain while deterring moisture and rodents.
- Choose a sealed shed or cabinet with rust-resistant hardware
- Install labeled bins and adjustable shelves
- Ventilate without sacrificing security
- Seal gaps and inspect seals routinely
Upcycle and Reuse: DIY Planters From Everyday Materials
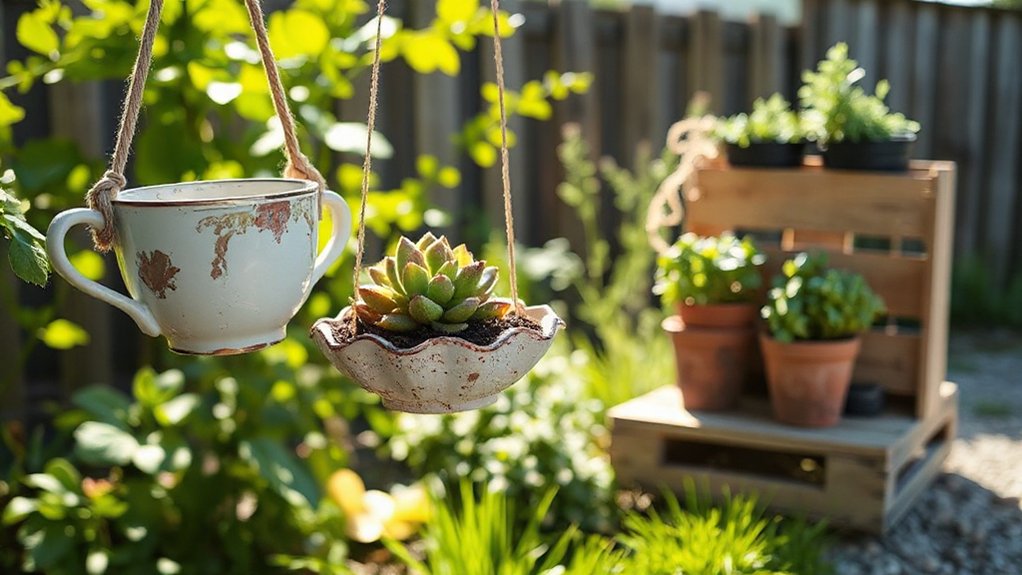
Turn everyday finds into practical planters by reimagining containers you already have, from tin cans to jars, basketry, and old boots.
You’ll maximize space and minimize waste while keeping plants healthy with proper drainage and soil.
Start with a simple idea, test outcomes, and expand with confidence using the upcycled planter ideas and everyday materials reimagined.
Upcycled Planter Ideas
Upcycling planter ideas lets you turn everyday junk into useful, decorative pots without buying new containers. You’ll boost garden decor while keeping clutter out of landfills, and you’ll gain cost-efficient containers that suit any space.
Focus on drainage, lightweight materials, and stable bases to guarantee plant care remains robust and plants thrive. Choose paint or fabric accents to personalize textures without harming roots, and label pots for easy identification.
Use upcycled items that won’t leach toxins or rot in wet conditions, and consider sun exposure for color longevity and soil moisture.
- Tin can galvanized or lined for safe drainage
- Teapot or kettle repurposed as a whimsical planter
- Pallet wood planters with proper sealing
- Reused shoes or boots for quirky, compact setups
Everyday Materials Reimagined
Sustainable planters can start with items you already have sharing a new purpose, proving that everyday materials are full of potential. You’ll transform ordinary containers into thriving planters by choosing sturdy shapes, drainage, and correct soil.
Start with recycled materials like tin cans, jars, or plastic bottles; rinse, depattern, and cut lids to create breathable, root-friendly pots. Score and seal rough edges to prevent injuries and leaks.
Lean into upcycling by using palettes, boots, or teapots as quirky planters that add character to your outdoor decor. Drill drainage holes, line interiors with breathable fabric, and fill with quality potting mix.
Position sun exposure according to plant needs, and group sizes for visual impact. This practical approach yields durable, stylish results with minimal waste and cost.
Water-Smart Solutions: Irrigation and Rain Harvesting
Efficient irrigation and rain harvesting start with a simple assessment: know your plant needs, your soil, and your climate. You’ll optimize water use by pairing drip irrigation with precise scheduling and planters that drain properly.
Use rain harvesting to capture runoff and supplement irrigation during dry spells, reducing utility costs and reliance on municipal water.
- Assess soil moisture and adjust the irrigation duty cycle
- Install a drip irrigation network for targeted delivery
- Collect and store rainwater for storage and reuse
- Schedule watering to align with local rainfall patterns and plant cycles
This approach avoids waste, minimizes evaporation, and supports healthier growth. You’ll gain control, improve resilience, and keep your garden thriving through variable weather.
Implement these steps now for immediate, measurable results.
Soil Health Hacks: Composting and Mulch Mastery
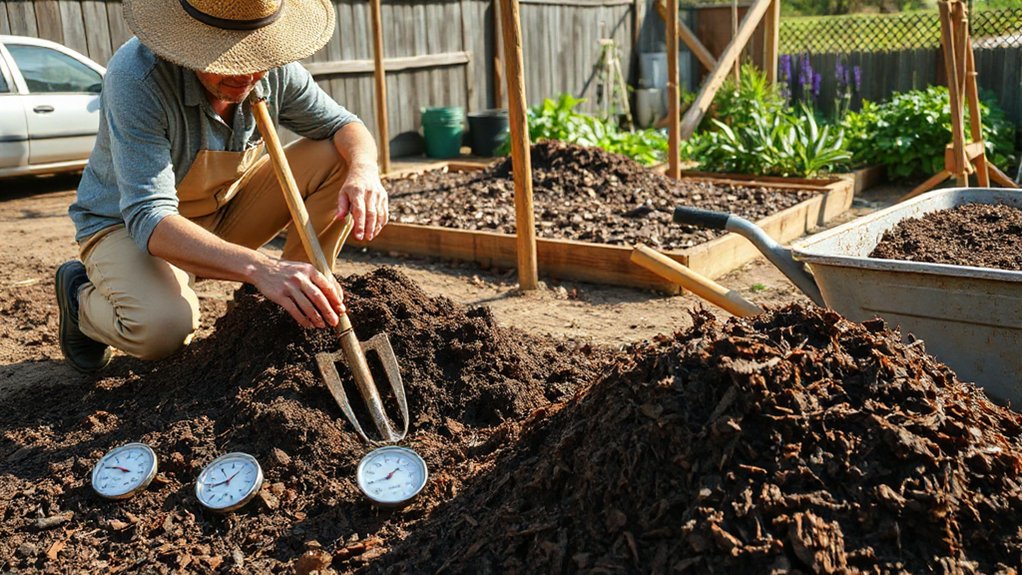
Compost and mulch aren’t add-ons; they’re essentials for soil longevity. You’ll optimize soil health by turning yard waste into nutrient-rich compost and layering mulch to conserve moisture and suppress weeds.
Start with a balance: greens (kitchen scraps, grass clippings) and browns (leaves, straw) to accelerate decomposition without odors. Apply a 2–4 inch mulch layer, replenishing annually, and keep compost aerated and moist for steady breakdown.
This practice boosts soil enrichment, feeding plants as microbial activity flourishes. Monitor texture; aim for crumbly, dark material with earthworm presence as a sign of vitality.
Use compost tea or finished compost sparingly to avoid nutrient shocks. Keep mulching consistent, integrate diverse organic inputs, and you’ll nurture microbial diversity, improve structure, and extend soil life for long-term garden resilience.
Quick Win: Container Gardening for Instant Impact
Choose compact containers that fit your space and budget, then place them where sun meets demand.
Choose plants that match available sunlight, and group for easy care and faster impact.
Expect a quick harvest by selecting fast-growing herbs or greens and using proper drainage, soil, and watering routines.
Choosing Compact Containers
What compact containers should you reach for first to maximize impact in container gardening? Start with a compact plan: prioritize size, drainage, and weight. For portability, choose lightweight materials like fiberglass or resin, but guarantee sturdy bases.
Consider depth for root growth; deeper pots support herbs and salad greens, while shallow options work for trailing plants. Match container selection to sun exposure and plant needs, avoiding oversized pots that waste soil and water.
Use self-watering inserts for low maintenance, and plan for drainage mats to prevent root rot. Pair with a bright, balanced mix and a consistent watering routine.
- Durable, lightweight containers with good drainage
- Varied depths for diverse plant needs
- Self-watering or drainage-safe options
- Child- and balcony-friendly sizes for instant impact
Planting For Sunshine
Sunlight is your best ally in container gardening, so start with sunny spots that deliver at least 6 to 8 hours of direct light daily. You’ll maximize growth and color by choosing south or west-facing containers, then arranging your plants by sun needs.
Prioritize Sunlight optimization: group sun-loving varieties together for consistent exposure and easier maintenance. For partial shade, select shade-tolerant herbs and compact ornamentals, and place them where they’ll still receive bright light.
Rotate plants weekly to prevent leaning toward the source and to maintain even growth. Use reflective surfaces or light-colored pots to boost illumination in low-coverage areas.
Monitor midday intensity and adjust placements as seasons shift. If intense heat arrives, implement shade considerations like lightweight row covers or movable screens to protect delicate foliage.
Quick Harvest Tips
Quick harvests pay off fast in container gardens, letting you enjoy fresh flavor without waiting for full maturity. You’ll pick tomatoes, herbs, and greens at peak flavor, then move on to quick storage and continuous production. Focus on harvest techniques that reduce plant stress and encourage ongoing yields. Snip stems cleanly, handlebars away from mulch, and avoid tearing foliage. Harvest early in dry mornings to preserve sweetness and reduce disease risk.
For leafy greens, cut outer leaves first and leave inner growth intact. For herbs, trim above a pair of leaves to promote bushier growth. Crop storage matters: rinse, pat dry, refrigerate promptly, or freeze for longer use. Plan successive plantings to maintain a steady harvest.
- Use clean snips and cut above the node
- Harvest in morning, then cool promptly
- Store leafy greens with airflow, not damp
- Freeze or preserve herbs for long-term use
Kids’ Corner: Safe and Fun Garden Projects
Getting kids involved in the garden teaches responsibility and builds confidence, so start with simple, safe projects that deliver quick wins. You’ll guide them to build a sturdy seedling pot or a mini trellis using kid-friendly materials, then celebrate each small success with a quick, visible result.
Choose tasks that teach basic safety, measurement, and cleanup, and keep sessions short to maintain focus. When you introduce garden pests and wildlife encounters, frame them as science lessons rather than problems, turning every sighting into curiosity.
Use labeled observation journals and color-coded charts for tracking. Emphasize hand hygiene after handling soil, tools, or compost, and store tools safely.
End with a quick reflection, reinforcing responsibility and a love for nature.
Outdoor Cooking Spaces: Built-In Bar and Fire Features
A built-in outdoor bar and fire features transform any yard into a functional entertaining space, so plan for durability, safety, and ease of use from the start. You’ll optimize layout, incorporate weatherproof materials, and select appliances that handle exposure and traffic.
Align fuel choices with local codes, and position the grill, sink, and storage for efficient flow. Prioritize venting, heat shields, and accessible controls to reduce chili-chili moments when guests arrive.
With smart lighting and a durable countertop, your outdoor cooking becomes a seamless extension of indoors. Keep fire features well-sealed and maintainable to guarantee year-round use and quick cleanups.
Outdoor cooking shines when safety and reliability back your gatherings.
- Choose weather-ready countertops and cabinetry for durability
- Install proper clearance, venting, and spark arrestors for fire features
- Plan zoning for prep, seating, and serving within reach
- Maintain grills, burners, and fuel storage with simple routines
Seasonal Maintenance Checklist to Keep Your Garden Fresh
Seasonal maintenance keeps your garden vibrant year-round, so start with a targeted checklist for the current season and tackle tasks in a logical order. You’ll begin with observation: assess plant health, soil moisture, and mulch depth.
Next, perform Seasonal pruning to remove deadwood, shape skylines, and improve air circulation. Then prune selectively to encourage strong growth where needed.
Address soil nutrition by implementing a Fertilizer schedule suited to your beds and containers, applying balanced, slow-release formulas as recommended.
Clean and organize tools, containers, and irrigation, fixing leaks and testing valves.
Mulch to conserve moisture and suppress weeds.
Finally, set reminders for upcoming tasks—reseed gaps, edge borders, and monitor pests.
Frequently Asked Questions
How Long Does a DIY Outdoor Project Typically Take?
Typically, a DIY outdoor project takes a few hours to a weekend, depending on scope and weather. You’ll plan how to pace tasks, and focus on Garden decoration and Plant maintenance for steady progress and reliable results.
What Tools Are Essential for Beginners?
Sure—essential beginner tools: a sturdy trowel, hand pruners, a folded tape measure, a level, a watering can, and basic gloves. You’ll master plant care and garden design with these basics, staying efficient, precise, and confidently prepared.
Are There Safety Tips for Using Power Tools Outdoors?
Yes—follow power tool safety and Outdoor safety tips: wear goggles, ear protection, and gloves; inspect cords and blades; secure work area; keep bystanders away; unplug before adjustments; store tools safely; and never rush. Stay vigilant and cautious.
Can These Projects Be Reversed or Moved Later?
Opposites coexist: you can relocate or reverse most projects, though durability matters. Garden flexibility hinges on modular, movable elements; Project reusability increases with reversible connections and portable components. Plan for flexibility, and you’ll preserve value.
What Is the Approximate Cost Range for Starter Projects?
Expect roughly $50–$150 for starter projects. Start small with simple garden decor and basic planting techniques, expanding as you save. You’ll invest gradually, prioritize durable, reusable pieces, and measure costs against durability and seasonal plant needs.
Conclusion
Ready to transform your outdoor space? Follow these simple, budget-friendly steps and watch your garden flourish this season. Plan a compact makeover, add cozy seating, raise beds for easier planting, and install shade and solar lighting. Refresh paths with affordable paver alternatives, start container gardening, and involve the kids with safe projects. Then cap it off with a built-in cooking nook and a practical seasonal maintenance checklist. This is your garden’s turning point—watch it thrive, confidently and beautifully.



