

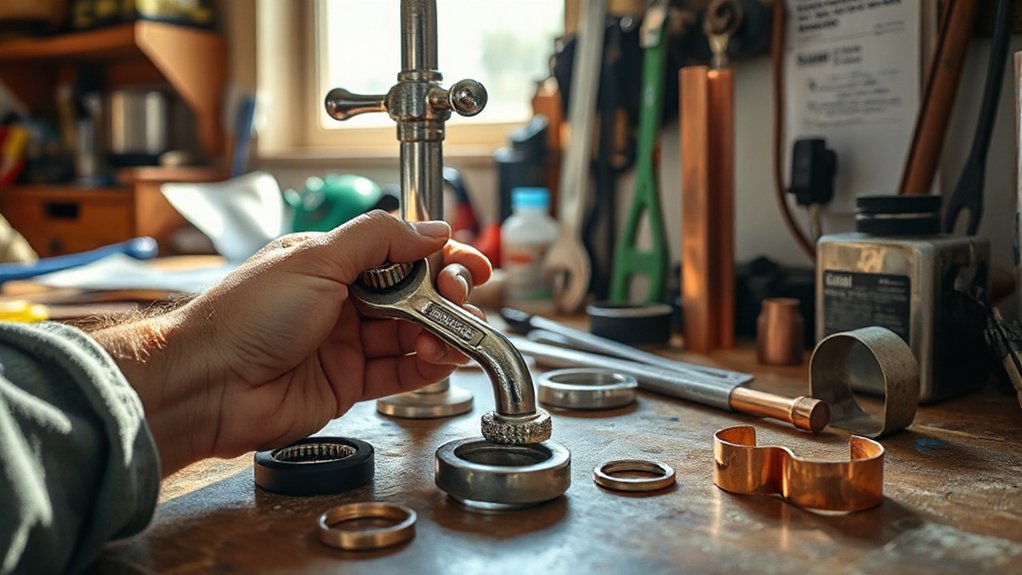

You can tackle essential home repairs with a focused toolkit, a safety plan, and a methodical approach. You’ll learn to shut off water and power, fix leaks, unclog drains, patch drywall, and swap switches or outlets safely. A few well-timed checks prevent common mistakes, and knowing when to call a pro keeps you from overreaching. Start with the basics, build consistency, and you’ll manage small issues before they snowball—and there’s more to cover beyond the basics.
Key Takeaways
- Build a basic, quality toolkit and practice safe shutdowns for water and power before any DIY home repair.
- Master quick plumbing fixes: shut off valves, replace worn gaskets, and stop toilet runs by adjusting floats.
- Learn electrical basics: reset tripped breakers safely, test for power, and replace switches/outlets with proper precautions.
- Practice drywall and painting basics: clean, patch, sand, prime, and apply thin, even coats for a clean finish.
- When in doubt, recognize signs to call a professional to avoid safety risks and costly damage.
Build Your Essential DIY Home Repair Toolkit (And Why Each Item Matters)
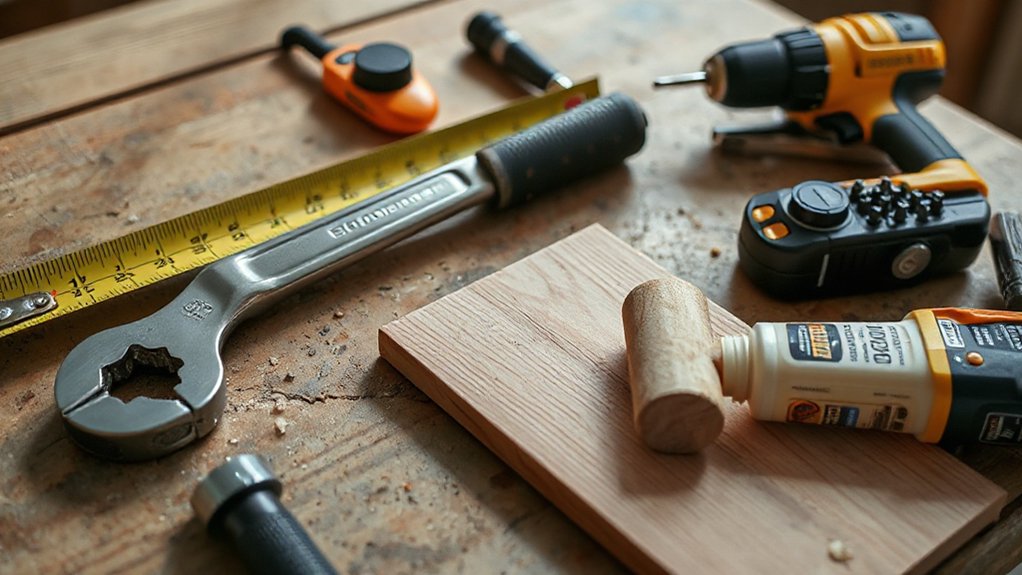
A well-equipped toolkit is your first line of defense when a repair pops up, so assemble a core set of versatile, durable tools that cover common tasks. You’ll focus on quality over quantity, choosing stainless steel or high-carbon options for longevity.
Keep a magnetic screwdriver, a set of bit drivers, and a precision blade for tight spots. Add adjustable pliers, a tape measure, a utility knife, and a compact hammer for everyday fixes.
Include a level, a drill/driver, and a basic socket or nut driver set to tackle fasteners fast. Maintain blade sharpness and rust prevention through regular tool maintenance.
In home improvement tasks, organized storage and labeling save time. Routine upkeep guarantees reliability, enabling confident, efficient repairs.
Safety First: Shut Off Water and Power Before You Start
Before you grab a tool, shut off the main water supply and the house power to prevent floods, shocks, or fires. This precaution keeps you safe while you work, and it protects nearby circuits and plumbing from accidental damage.
In any DIY task, verify that the main disconnect switches are off and that shutoff valves are fully closed before you begin. Return to check gauges, meters, and pressure after you re-engage systems to confirm nothing unexpected is happening.
This discipline isn’t optional; it underpins garden maintenance and pest control efforts that involve water lines or electrical outlets, reducing risk and mess. If you’re unsure, pause and consult manuals or a pro.
Safety first keeps projects efficient and injuries minimal.
Fix a Leaky Faucet in Minutes : A Simple Step-by-Step
First, turn off the water supply to stop the drip.
Then inspect the faucet components for worn seals or o-rings.
Look for loose connections, damaged cartridges, or mineral buildup that could be causing the leak.
Turn Off Water Supply
Need to stop a leak fast? Turning off the water supply is your first step. Locate the shutoff valves closest to the faucet—one for hot, one for cold. If you share a common line with other fixtures, shut off the main valve only if individual stops won’t seal.
Turn handles clockwise until they stop, then test by trying the faucet. If pressure remains, wait a moment and confirm no drips before proceeding. Label the valves for quick future access and note their position.
Remember: this simple action protects your home from water damage and saves water, supporting Water conservation. Regularly verify valve operation as part of plumbing maintenance to prevent surprises during repairs.
When finished, reopen slowly to restore steady flow.
Inspect Faucet Components
Ever wondered what’s actually inside a faucet when it leaks? You’ll inspect components to pinpoint the issue fast. Begin with the handles, then remove the escutcheon to expose the valve seat and cartridge. Look for mineral buildup, worn O-rings, or loose connections.
As you tighten fittings, avoid overdoing it to prevent damage. Check the supply lines for drips, and replace gaskets if they show wear. If you have a cartridge, remove it carefully and inspect seals, seats, and the stem for cracks or erosion.
Clean mineral deposits with a soft brush and vinegar solution, then reassemble. This faucet maintenance reduces ongoing leaks and preserves efficiency.
Remember: conduct a thorough component inspection, document wear patterns, and replace only what’s necessary for a lasting fix.
Stop a Running Toilet Quickly and For Good
If a toilet keeps running, you can stop it quickly by diagnosing the flapper or fill valve and making a precise fix.
First, check the flapper seal; a worn or warped Toilet flapper lets water flow continuously. If it doesn’t seat fully, replace it with a compatible model and verify a tight seal.
Next, inspect the water level in the tank; too high or too low can trigger endless refill cycles. Adjust the float to achieve the correct level—about 1 inch below the top of the overflow tube, or per manufacturer guidelines.
If the fill valve leaks or the refill tube is misrouted, replace the valve or reposition the tube.
Recheck each step after flushing to confirm the running stop is permanent.
Stop Squeaks: Patch a Squeaky Door and Restore Solid Closure
Squeaky doors usually come from loose hinges, rubbing boards, or a worn strike plate, and you can quiet them fast by tightening or replacing parts, then restoring a solid closure.
You’ll locate the source, inspect door hinges for looseness, and verify the strike plate aligns with the latch. If hinges are loose, remove the screws, apply fresh wood filler, reinsert, and tighten with a screwdriver or impact driver.
For rubbing boards, sand the hinge side or adjust the frame for proper clearance. If the latch alignment is off, reposition the strike plate or hinge pins.
Use a high-slip lubricant on hinge pins for ongoing quiet. This is a clear, practical approach to door hinges and squeak elimination, restoring a solid closure efficiently.
Unclog Drains: Beginner-Friendly Methods That Work
You’ll start by plunging before you mess with anything else, because a good plunge clears many clogs fast.
Natural drain helpers can assist without harsh chemicals, while safe drain techniques keep you in control and avoid damage.
Use these points—Plunge Before Mess, Natural Drain Helpers, Safe Drain Techniques—as your guide to quick, effective results.
Plunge Before Mess
Ever clogged drains can stop you in your tracks, but a simple plunger often clears the issue without calling a pro. Start with a clean, dry plunger, ensuring a tight seal over the drain opening. Add enough water to cover the cup, then push and pull with steady, full strokes.
Maintain pressure, break the seal, and re-seal as needed, repeating for 20–30 seconds. If the clog holds, switch to a different plunger style or re-evaluate the seal for maximum suction.
Avoid rushing; consistent motion yields results. Plunge before mess to minimize splashes and prevent residue spreading. If the water remains stubborn, stop before forcing the system and risk damage.
Remember: a disciplined approach reduces chances of clogs resurfacing and helps you avoid water damage.
Natural Drain Helpers
Natural drain clogs don’t have to mean a call to a pro; start with simple, beginner-friendly methods that use common household items. You’ll find quick wins with eco friendly solutions and natural enzymes that break down buildup without harsh chemicals.
1) Boiling water and baking soda: pour boiling water, then a baking soda flush followed by hot water to loosen residue.
2) Vinegar and baking soda duo: a 1:1 mix, let fizz, then flush with hot water to clear minor blockages.
3) Natural enzyme cleaners: choose enzyme-based formulas; run water, apply, and allow time to digest organic material.
Tip: avoid harsh drain cleaners unless needed, and re-test after each step.
Safe Drain Techniques
If hair or grit remains, try a hand-cranked snake or a flexible auger to reach the blockage without damaging pipes. Hot water flush can aid dish soap and dissolved fats, but avoid boiling water on PVC connections.
When simple methods fail, consider non-chemical options like enzyme-based solutions that digest organic buildup over time, or chemical drain cleaners as a last resort, following label safety instructions.
Protect yourself with gloves and eye protection, and never mix cleaners. Regular maintenance prevents future clogs and preserves drainage.
Reset a Tripped Circuit Safely and Restore Power
If a circuit trips, you can reset it safely and restore power, but you must first identify the cause and take precautions. You’ll reconnect power only after clearing the immediate issue or confirming it’s safe.
Circuit troubleshooting centers on reducing electrical hazards and inspecting the load, outlet, and breaker. If you’re unsure, don’t force a reset; address the underlying fault or call an electrician.
- Turn off affected breakers and unplug devices on the circuit before resetting.
- Reset the breaker firmly after ensuring no scorch marks, warm components, or buzzing.
- Restore power gradually and test devices one by one to locate the fault.
Patch Minor Drywall Dents and Touch Up Paint
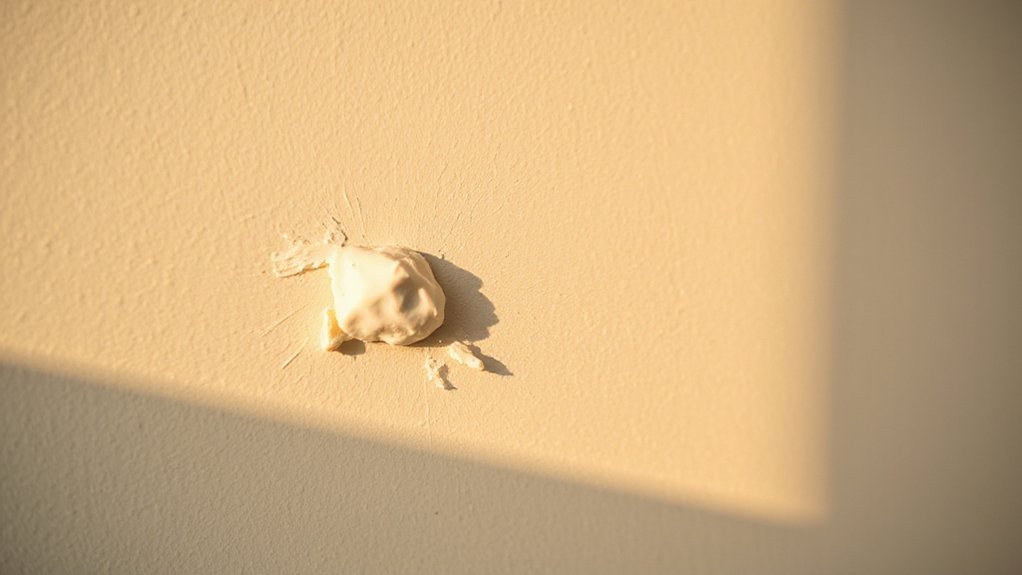
Small dents in drywall aren’t hard to fix, and you can restore a smooth surface with basic supplies. First, sand the area lightly to remove loose paper and create an even edge. Wipe away dust, then apply a thin coat of joint compound, feathering beyond the dent. Let it dry completely, then sand smooth.
If the dent is shallow, a second thin coat may be needed. When the surface is flush, prime the repaired area to seal the drywall and prevent texture mismatch. Once dry, apply paint to blend with the surrounding wall.
For durability, use a matching finish and multiple thin coats rather than one thick coat. This is drywall repair and paint touch up done efficiently, with minimal disruption.
Replace a Faulty Switch or Outlet Safely
Swapping out a faulty switch or outlet is a straightforward repair you can do safely with the right steps. Before you begin, shut off power at the breaker, verify zero voltage, and gather an insulated screwdriver, voltage tester, and new device. Replace only with the same type and rating, and secure the box and ground properly to support electrical wiring and circuit maintenance.
1) Power down, test, and remove the faceplate, then disconnect the old device.
2) Connect wires to the new switch or outlet, maintaining color correspondence, tighten screws, and reattach to the box.
3) Restore power, test for function, and inspect for warm parts or flickering that signal issues.
Note: Always follow local codes and consult a professional if unsure.
Quick Safety Checks to Prevent Common DIY Mistakes
To prevent common DIY mistakes, start with a quick safety scan before you pick up tools. Check your workspace for clutter, tripping hazards, and adequate lighting. Confirm power is off at the circuit or appliance, and test detectors if you’re near water or wiring. Wear gloves and eye protection, and keep a fire extinguisher handy.
Plan the task, gather the right fasteners, and verify measurements twice to avoid rework. Maintain a tidy area to prevent lost screws or dropped parts.
When you handle garden maintenance or furniture restoration, know where you’ll store solvents and adhesives, ventilate properly, and follow manufacturer instructions.
If you feel uncertain about electrical or structural work, pause and reassess before proceeding.
When to Call a Pro (and Why)
If you notice persistent leaks, wiring issues, or structural concerns, it’s time to call a pro.
Look for signs like ongoing failures, unfamiliar noises, or safety risks that you can’t safely address.
Weigh the cost of professional help against potential damage and downtime to decide if the pro is worth it.
When to Seek Help
Sometimes a repair is beyond your skill set or tools; recognizing when to call a pro protects your home and your safety. You should seek professional help when hazards are present, systems are involved, or renovations require permits. Missteps can escalate damage and void warranties, so err on the side of caution.
Prioritize emergency preparedness by knowing who to contact and what to tell them. Maintain your tools and document issues to speed up the process, but don’t push through risky work. If unsure, stop and consult a pro.
You should seek professional help when:
- Electrical or gas concerns
- Structural or plumbing failures
- Complex HVAC, roofing, or load-bearing issues
Signs You Need Pros
Recognizing when to call a pro avoids bigger problems and protects your safety. You should contact a professional if a job exceeds your tools, time, or expertise, or if risks rise.
Look for signs that DIY attempts won’t suffice: persistent leaks, odd sounds, or weak structural parts. If you notice mold growth, electrical buzzing, or flickering breakers, stop and call a licensed tradesperson.
Garden pests that resist sprays or cause unexpected damage require expert inspection to avoid spread and future harm.
For Roofing repairs, avoid DIY fixes on steep sections, sagging areas, or extensive damage; professionals ensure proper sealing, ventilation, and code compliance.
Quick, decisive pro involvement minimizes cost, liability, and future failures.
Cost-Benefit of Pro Help
Weighing the costs and benefits of hiring a professional upfront saves time, money, and risk. A clear cost analysis helps you decide when to call in a pro versus DIY. You’ll avoid overruns, safety hazards, and partial fixes that cost more later.
In many cases, professional vs DIY is the smarter choice for complex or high-stakes tasks. You gain guaranteed results, proper testing, and compliant work that protects your home and resale value.
1) Compare hourly rates, parts, and warranty coverage to determine true long-term value.
2) Assess skill limits and potential safety risks before proceeding.
3) Consider time you’ll save versus learning curves and repeated attempts.
Frequently Asked Questions
How Do I Identify the Correct Screw Sizes for Repairs?
To identify screw sizes, measure the screw diameter with calipers or a caliper joke—actually a standard ruler works: match the shank to labeled gauges, and note thread pitch; use a thread gauge for precise measurements.
What PPE Is Essential for Basic DIY Tasks?
You should wear Personal protective equipment, such as eye protection, gloves, and a dust mask, for basic tasks. Follow Safety precautions, keep a clean workspace, and unplug tools before adjustments to minimize risk and injuries.
Can I Mix Different Brands of Caulk Safely?
“Like mixing oil and water, you shouldn’t mix caulk brands.” You should avoid brand compatibility issues; choose a single caulk type and stick with it. Caulk types vary, and brand compatibility isn’t guaranteed across products.
How Often Should I Test GFCI Outlets?
You should test GFCI outlets monthly. Follow GFCI testing procedures, and never skip safety precautions. If the test button trips, reset and substitute if needed. Regular checks ensure ongoing protection and electrical safety throughout your home.
Are Repair Tools Compliant With Local Codes?
Yes, you must check that your repair tools meet code compliance before use; they must be safe and up to date. Like a precision instrument, Tool safety hinges on proper selection, maintenance, and adherence to Code compliance guidelines.
Conclusion
You’ve got the basics to handle most home hiccups on your own—save time, save money, and stay safe. With your toolkit ready, you’ll fix leaks, quiet squeaks, patch walls, and swap switches like a pro. Remember to shut off water and power first, measure twice, and test gently. Think of DIY mastery as your home’s safety net—steady, dependable, and always there when you need it. You’ve got this.



