


You might not realize how small tweaks can shift a room’s mood in a single weekend. You’ll learn practical, fast steps you can take now—without a big budget or a full makeover—that reset flow, light, and texture. From painting an accent wall to swapping hardware and adding bold textiles, these ideas deliver instant results. Ready to map a weekend refresh that fits your space and schedule? Keep going to discover a concise plan you can actually execute.
Key Takeaways
- Plan a Sunday refresh with two core tasks: space flow mapping and quick furniture tweaks to open sightlines.
- Optimize small spaces using low-profile furniture, hidden storage, and open shelving to reduce clutter and improve circulation.
- Refresh surfaces and lighting: light neutral paint, energy-efficient LEDs, and dimmers for instant brightness and ambiance.
- Use cohesive decor: repeat motifs with rugs and pillows, rotate accents, and add bold textures for instant focal points.
- Implement simple organization: designated zones, labeled containers, and reusable systems to maintain tidy surfaces post-refresh.
Plan Your Weekend Refresh
Kicking off your weekend with a plan in hand sets you up for momentum and momentum yields results. You start by outlining a concrete Sunday agenda, prioritizing two core tasks that set the tone for the entire refresh.
First, map your space’s flow and purpose, then translate bold ideas into action. Consider garden planning as a living extension of your home, noting sun exposure, plant heights, and maintenance needs so choices endure.
Next, assess furniture arrangement to maximize function without crowding—test sightlines, traffic paths, and cozy focal zones. Leave buffers for breaks and improvisation, but keep decisions tightly scoped to today’s goals.
Document measurements, keep tools accessible, and schedule quick, decisive checks to stay on track. Your weekend gains clarity, efficiency, and immediate impact.
Set a Simple Budget for Instant Results
Set a simple budget now to see quick results.
Track reusable costs so you can reuse tools and materials without overspending.
You’ll stay on track by allocating a small buffer for surprises and measuring every purchase against your goals.
Set A Budget Quick
Quick budgeting can turn chaos into clarity. You can set a budget quick by focusing on two core actions: budget planning and expense tracking.
Define a tight spending ceiling for this project, then map each item to a price, including supplies, tools, and a small contingency. Use a single-page rundown to avoid overcomplication.
Track every purchase in real time, updating the total as you go so you don’t overshoot. Prioritize essential items and cut nonessential add-ons from the outset.
Leave room for small substitutions if needed, but lock in essential quantities before you shop. Review the plan aloud before you buy to confirm it aligns with your goals.
This disciplined approach yields instant, tangible results and keeps you in control.
Track Reusable Costs
Tracking reusable costs is about keeping a simple, repeatable budget loop so you know exactly what you’re reusing and what it costs to do so. You’ll track every item’s reuse, from scrap wood to hardware, and assign a clear value to each saving.
Use a simple ledger or spreadsheet with columns for item, source, quantity, and cost avoided. Update weekly, not quarterly, to keep momentum.
Compare total reuse savings against a modest monthly cap to prevent scope creep.
Prioritize sustainable materials and durable equivalents to maximize impact, while noting any adjustments needed for quality.
This approach helps you quantify results, reinforce eco friendly choices, and maintain transparency with collaborators.
With consistent tracking, your weekend projects stay affordable, efficient, and aligned with your green goals.
Quick Cabinet and Hardware Makeovers
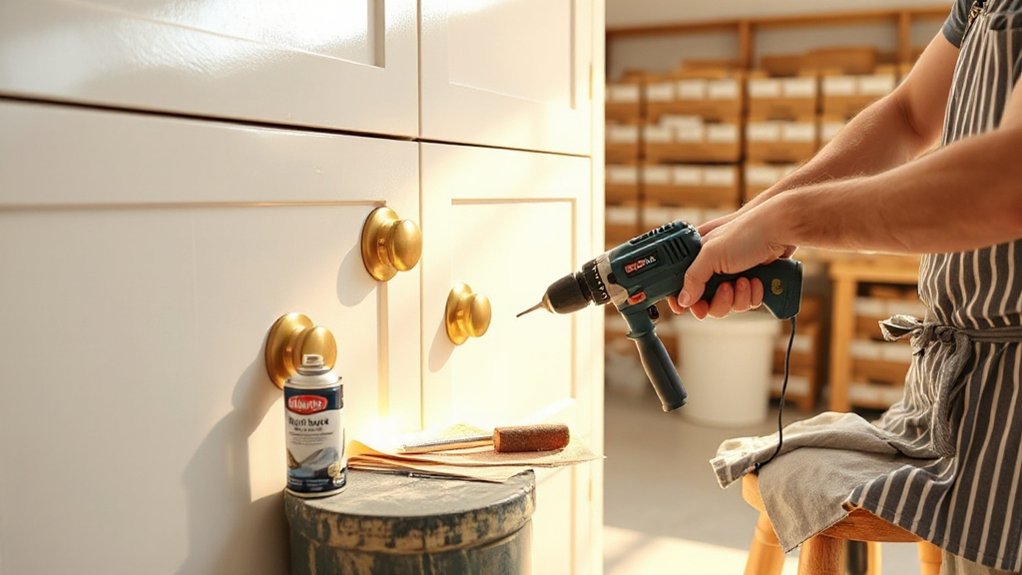
Ever wondered how to transform a dated kitchen or bathroom without a full remodel? You can achieve a fresh look fast by focusing on cabinets and hardware. Start with a plan that emphasizes Custom cabinetry and thoughtful hardware selection.
Choose a cohesive finish and update hinges and pulls for instant polish. You don’t need to swap boxes; new doors, veneer, or a clean coat of paint can do the trick. Replace dated knobs with streamlined pulls to create a modern silhouette.
Refinish or replace cabinet interiors to brighten spaces and improve perceived storage. Prioritize crisp alignment and even gaps to maintain a high-end feel, then step back and admire the transformation.
- Matte-black handles paired with light cabinetry for contrast
- White doors with wood-toned accents and minimal hardware
- Soft-clamped drawers glide on quiet, precise slides
Declutter in Two Fast Passes
Ready to declutter efficiently, you’ll start with a Quick Declutter Pass to separate essentials from non-essentials.
Then you’ll apply the Two-Step Purge Method to eliminate duplicates and buried items, keeping only what earns its spot.
This approach keeps your space practical and your weekend project moving forward.
Quick Declutter Passes
Decluttering in two fast passes isn’t about perfection—it’s about momentum. You’ll sweep through spaces with focused intent, not aimless sorting. The goal: quick wins that inform longer-term storage decisions, reinforcing clutter control without burning you out.
Target high-visibility areas first, then corners you use daily. Use a simple rule: keep only what you’ll use in the next month. Immediately sort rejects into a discard bin, then set aside keeps for a simple, labeled tote.
Evaluate storage solutions as you go; don’t overthink aesthetics—function comes first. By parallel batching items, you create headroom and clarity, empowering better choices later.
- A sunlit tray on a coffee table, instantly organizing clutter
- A labeled bin system by the entry, guiding quick pickups
- A compact charging station, freeing surface space and focus
Two-Step Purge Method
With two fast passes, you’ll purge clutter quickly and decisively. In the first pass, identify what earns a spot based on utility and frequency of use. Separate essentials from redundancies, resisting emotional attachments.
For items you use weekly or monthly, place them in labeled storage solutions; for long-unused pieces, decide to donate, sell, or recycle.
In the second pass, tackle surfaces, drawers, and bins, applying color coordination to create visual order. Group like items—office, hobby, and daily essentials—so each zone has a single purpose.
Keep only what supports your current lifestyle, then rehome everything promptly. The result is clearer spaces and faster cleaning.
This method optimizes storage solutions and strengthens intentional living, transforming rooms with minimal effort and maximum impact.
Paint a Tiny Space for Big Impact
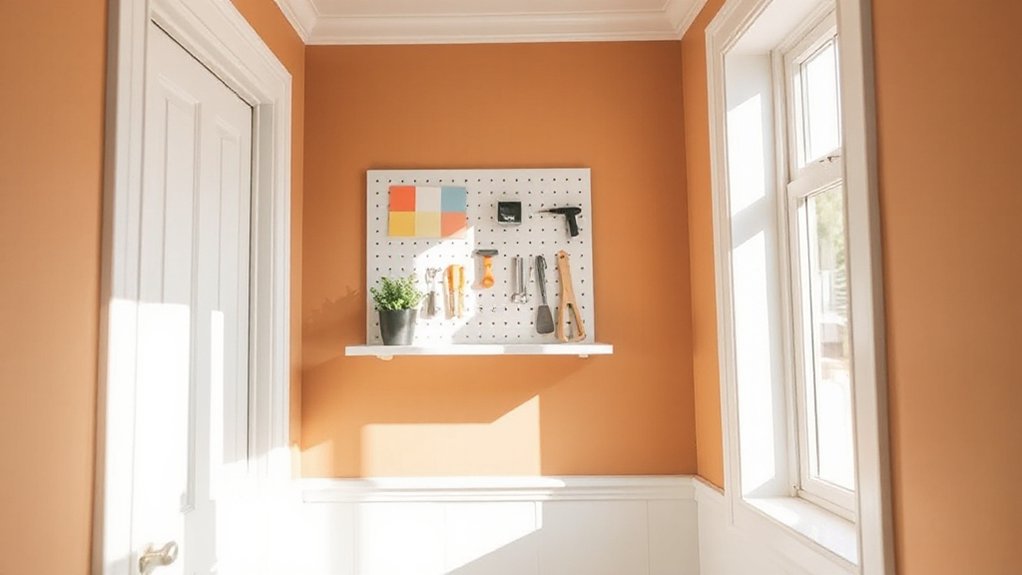
Want to make a tiny space feel expansive? You can achieve it with a strategic paint plan. Choose light, neutral tones to reflect more light and visually extend walls. Embrace a cohesive color palette to prevent jarring edges that shrink the room.
Consider color psychology: cooler whites and soft grays feel airy, while subtle warm undertones add comfort without claustrophobia. Pick a paint finish that enhances brightness without glare; flat or eggshell minimizes imperfections, while satin surfaces add a touch of sophistication and durability.
Apply strategic accent walls sparingly to create depth without overpowering. Maintain clean edges along trims and ceilings to preserve the seamless flow you want.
- Light, airy neutrals that reflect natural light
- A single, soft accent wall for depth
- Smooth, durable finish with minimal sheen for continuity
Refresh Lighting and Switch Covers
Ever wonder how a small switch can brighten a room? You can refresh lighting and switch covers with minimal effort and maximum impact.
Start by evaluating lighting fixtures: swap old bulbs for bright, energy-efficient LEDs and choose color temperatures that suit the space. Add a dimmer for versatile mood control and reduce glare on walls and work surfaces.
Next, update switch covers to match your decor—flat, brushed metal, or clean white options create a polished, cohesive look. Remove outdated, yellowed plates, clean the boxes, and screw in new covers snugly.
Consider recessed or task lighting in key zones to improve function without clutter. With thoughtful placement and durable finishes, you’ll transform ambiance while keeping maintenance low.
Hidden Storage Hacks for Small Spaces
Hidden storage can be the quiet backbone of a small space, letting you keep surfaces clear while still having what you need within arm’s reach. You’ll gain efficiency by choosing proven solutions that maximize every inch, using hidden compartments and smart layouts to minimize clutter.
Focus on closet organizers that divide and streamline, and install under-bed drawers or ottomans with lift mechanisms to convert unused volume into usable space.
- A pivoting or cantilevered shelf inside a slim cabinet for seasonal items
- A bed frame with built-in drawers and a removable lid for rapid access
- Hidden compartments in furniture edges, doubling as discreet storage nooks
These ideas keep essentials accessible without sacrificing style, ensuring your small space feels larger and calmer.
Refresh Cabinets With Stain or Paint
cabinets can totally transform a space, and your first move is choosing between a stain that highlights grain or a paint shade that modernizes the look.
I’ll guide you through essential staining techniques and quick-reference color ideas so you can pick a finish that fits your style and routine.
Let’s compare pros and cons of popular stains and paints, so you can decide what complements your cabinets and your lifestyle.
Staining Techniques Quick Guide
Staining your cabinets can dramatically refresh framing and reveal the wood’s character, but success hinges on proper prep and a steady hand. You’ll achieve even color and depth with clean surfaces, light sanding, and a tack-free finish.
Choose a stain that complements your wood type, then test color on hidden areas to verify color matching before proceeding. Wipe excess evenly, work with a controlled grain, and seal with a compatible topcoat for durability.
- Visualize the grain as you wipe, guiding the stain with deliberate, even strokes
- Compare swatches under typical lighting to confirm color matching before finalizing
- Maintain a steady pace to prevent lap marks and uneven depth
Painted Cabinet Color Ideas
Choosing a paint color for your cabinets can refresh the space without a full remodel. Start with color palettes that align with your existing decor—think soft neutrals for a timeless look or bold hues for a statement.
If you prefer a classic feel, opt for whites, creams, or greiges that brighten without overpowering. For contrast, pair dark lower cabinets with lighter uppers, or vice versa, to create depth.
Consider finish options that suit your lifestyle: matte for a modern, understated vibe; satin for easy cleaning; semi-gloss for durability in kitchens and baths.
Test swatches at room lighting to confirm your choice, and don’t overlook cabinet hardware, which can subtly shift the overall tone.
Finish confidently, and enjoy a refreshed, cohesive space.
Refresh Grout and Caulk for a Clean Look
Revitalizing grout and caulk instantly freshens a bathroom or kitchen and prevents water damage, so you should tackle it with a methodical, step-by-step approach. You’ll inspect joints, choose appropriate products, and stay focused on long-lasting results.
Begin with a clean surface, then remove old caulk and loosen grout with careful tools. Next, apply Grout sealing to guard against moisture, followed by precise caulk removal and reapplication for a seamless seal. Smooth the line, wipe excess, and let it cure fully before use.
This small refresh boosts durability and cleanliness, making every tile edge appear crisp and new.
- Visualize pristine grout lines catching light, the caulk line disappearing into the seam
- A tidy, uniform finish that resists mold and grime
- A refreshed, professional look with minimal disruption
Add a Bold Pillow or Rug for Instant Flair
Bold patterns instantly shift a room from quiet to bold space, so start with a statement pillow or rug as a focal point.
Pair striking textiles with neutrals to keep balance, then repeat the motif in smaller accents for cohesion.
You’ll create a confident, polished look by coordinating colors and patterns rather than overloading the space.
Bold Patterns, Bold Space
Add a bold pillow or rug to instantly elevate a room, because pattern-packed accents create focal points without overhauling your space. When you choose bold patterns, you define a mood and guide the eye across the room, transforming a plain backdrop into bold space with minimal effort.
Keep scale in mind: a large motif makes a statement, while smaller prints layer texture without overwhelming. Balance is key—pair loud patterns with solid neutrals to maintain harmony and prevent visual clutter.
- A charcoal rug with a geometric print anchors a seating area amid light furnishings
- A emerald pillow with a high-contrast motif adds depth to a neutral sofa
- A navy-and-white throw pillow earns extra pop atop a charcoal chair
Rug And Pillow Pairings
Pairing rugs with pillows creates instant flair by tying patterns and colors together. You can elevate a room by repeating a single motif across both surfaces, then vary scale for visual rhythm.
Start with color coordination: pull a dominant hue from the rug and echo it in a pillow, or reverse for drama.
When pattern pairing, mix a bold print with a solid or micro-patterned companion to avoid overload. Aim for balance: choose one large print and a supporting textile that contrasts in texture and weight.
Consider the space’s light and existing furniture to guide contrast levels.
Finally, test placement by rotating cushions and shifting the rug edge; subtle shifts yield fresh energy without clutter.
Bring Greenery to Life With Low-Maintenance Plants
If you want greenery that thrives with minimal effort, start with low-maintenance plants that suit your space and routine. You’ll build an indoor jungle fast by choosing resilient varieties, brightening shelves, and keeping care simple.
Opt for species that tolerate partial light, steady temps, and occasional neglect, and you’ll enjoy lush foliage without the upkeep. Use compact pots to define islands of life along your countertops or desk, creating a breathable, invigorating backdrop for weekend projects.
With the right plants, your home gains texture, color, and air quality without demanding constant attention.
- A jade plant catching afternoon sun on a sunny kitchen sill
- A pothos vine cascading from a hanging planter, thriving in low light
- A snake plant standing upright by the entry, enduring and tidy
Indoor jungle, Low maintenance greenery.
Upcycle Old Furniture With a Quick Makeover
Begin with a sturdy assessment to guarantee joints and screws are secure; address any wobble or loose components.
Next, choose a concise finish update—paint, stain, or a clear seal—that complements your decor without overpowering the room. If you’re aiming for a fresh look, consider antique restoration techniques like distressing edges or applying a glaze for patina.
Finally, opt for furniture upholstery or new hardware that aligns with your color story and enhances usability.
Achieve showroom appeal in a weekend with deliberate, selective improvements.
Tidy Surfaces With Easy Organization Tricks
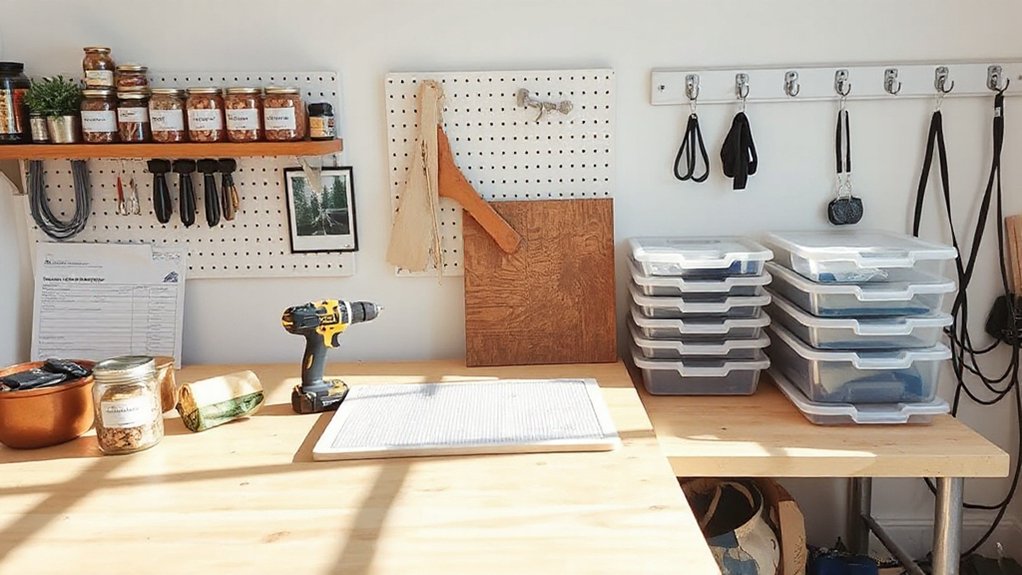
A tidy surface sets the stage for any project, and quick organization tricks keep your space—and your weekend—efficient. You’ll master clutter control by designating zones, sorting items, and removing what you don’t need, so every horizontal plane serves a purpose.
Embrace surface smoothing with a tray, mats, and clear organizers that create clean lines and reduce visual noise. You’ll feel calmer when you see balance between function and form, and you’ll finish faster with a system you can reuse.
- Visualize a single, calm stretch of counter with matched trays and a shallow tray for quick-access items
- Use labeled, uniform containers to maintain order and minimize dust-collecting crevices
- Place essentials near the point of use, keeping surfaces uncluttered and inviting
Restore Mirrors and Glass for More Light
Restore mirrors and glass to brighten a room quickly and affordably. You’ll start by evaluating grime buildup, then choose practical methods that won’t damage surfaces.
For mirror restoration, gently remove specks with a microfiber cloth and a mild glass cleaner, wiping in circular motions to avoid streaks. If silvering is tarnished, consider a professional-grade cleaner or a tiny dab of toothpaste as a gentle polish, then buff until reflective again.
For glass cleaning, mist with a vinegar-water solution, wipe with a lint-free cloth, and finish with a dry, spotless pass to prevent water spots. Dry edges thoroughly to prevent residue.
Maintain clarity by performing quarterly touch-ups and addressing hard water deposits promptly. Consistent care yields brighter rooms and easier maintenance.
Maximize Small-Space Flow With Furniture Tweaks
To maximize small-space flow, start with strategic furniture placement that opens sightlines and improves circulation. You’ll feel the room breathe as your furniture arrangement clears paths, prioritizes functional zones, and invites effortless movement.
Emphasize low-profile pieces, corner storage, and seamless progressions between living, dining, and work areas. Open shelving can visually extend walls without crowding floors, while keeping essentials within reach.
Choose leggy or slim-profile furniture to preserve openness and prevent blockages. Use symmetry and focal points to ground the space, then adjust rug boundaries to guide traffic.
Simplify surfaces to reduce clutter, and layer lighting to create depth and warmth.
- Open shelving accents that lighten walls and reduce visual bulk
- Furniture arrangement that creates clear, fluid sightlines
- Thoughtful scale and placement for continuous flow
Create a Weekend Refresh Plan You’ll Actually Do
Plan a weekend refresh that actually sticks by prioritizing small, doable steps, then scripting a realistic timeline and choosing cues that keep you accountable. You’ll start with a 90-minute sprint for one area, then cap tasks with a clear end-time to prevent drifts.
Define your target color schemes before shopping or swapping decor, so choices stay cohesive. Draft a simple checklist: one room, one project, one budget, one deadline. Use cues—alarm prompts, calendar reminders, or a visible progress board—to reinforce momentum.
Pair tasks with decisive, low-friction decisions, like installing a fresh window treatment or rearranging furniture for flow. Capture quick wins in a photo log to sustain motivation.
Finish with a brief review: what worked, what didn’t, and how you’ll apply it next weekend.
Frequently Asked Questions
How Long Will Each Weekend Project Realistically Take?
Typically, weekend projects take 4 to 8 hours, depending on scope. You can mix decorative accents with light furniture rearrangement for noticeable refresh without overstretching. Plan breaks, prep, and carpentry-free tweaks to stay efficient and motivated.
What Tools Are Essential for a Quick Refresh?
Satirically salvaging your dignity, you’ll need a basic toolkit: a hammer, screwdriver, tape measure, level, utility knife, basic drill, and safety gear. Budget friendly options and Eco friendly materials guarantee quick, polished results for any refresh. You’ve got this.
Can I Complete a Project Without Painting?
Yes, you can. You can use wall decals and furniture rearrangement to refresh a space without painting, creating instant impact with minimal mess and downtime. These options let you personalize boldly while keeping the project quick and budget-friendly.
Which Areas Yield the Biggest Visible Impact?
Target the entry and living room: adjust color schemes and optimize furniture arrangement for instant impact. You’ll notice brighter spaces, cohesive flows, and focal points guiding attention. Keep accents balanced, avoid clutter, and contrast tones for depth.
How Do I Stay Within a One-Weekend Plan?
Hit the ground running with a tight plan: you’ll finish in one weekend. Focus on Decor selection, Budget planning, and prioritize high-impact areas. You stay on track by a daily tasks list and strict time blocks.
Conclusion
You’ve got the blueprint for a weekend refresh—now start with tiny, powerful moves that compound into big change. Plan, budget, and tackle fast wins; declutter in two passes; freshen a tiny space with paint; harmonize surfaces; and coax more light with mirrors. As you rearrange and refresh, you’ll feel the shift in mood and flow. The door to a brighter home isn’t waiting—it’s waiting to be walked through, one decisive, stylish weekend at a time. Metaphorically, you’re; you’re painting possibility.



