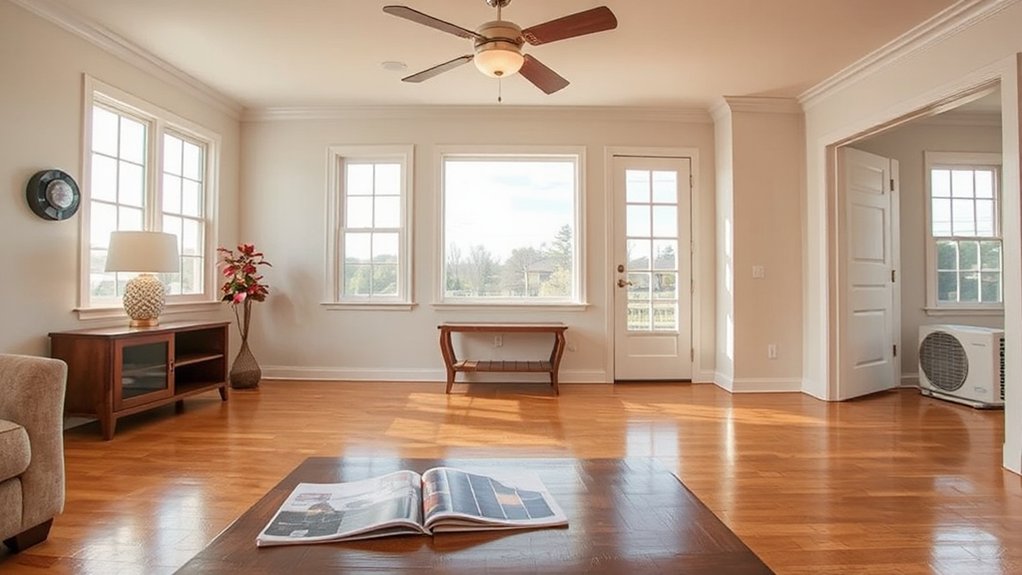

Seal leaks first to cut heat loss, then upgrade to energy-efficient appliances and smart controls. Start by sealing gaps, weatherstripping doors, and insulating attics, basements, and penetrations. Choose ENERGY STAR appliances, LED lighting, and heat pumps to reduce operating costs. Use zoning and automated schedules to tailor comfort and curb waste. Upgrade windows and insulation in high-heat-transfer areas, and adopt water-heating best practices with low-flow fixtures. Ready to explore more practical steps and incentives? You’ll find them next.
Key Takeaways
- Start by sealing leaks and insulating to reduce drafts and convective heat loss in ceilings, doors, windows, and attics.
- Choose ENERGY STAR appliances and LED lighting to cut operating costs and environmental impact.
- Implement smart, zoned controls for heating and cooling with automated schedules and energy monitoring.
- Upgrade windows and insulation with double/triple glazing and proper insulation to minimize heat transfer.
- Improve water heating efficiency with correct thermostat settings, pipe insulation, low-flow fixtures, and mindful usage.
Seal Leaks First: Quick Ways to Cut Heat Loss
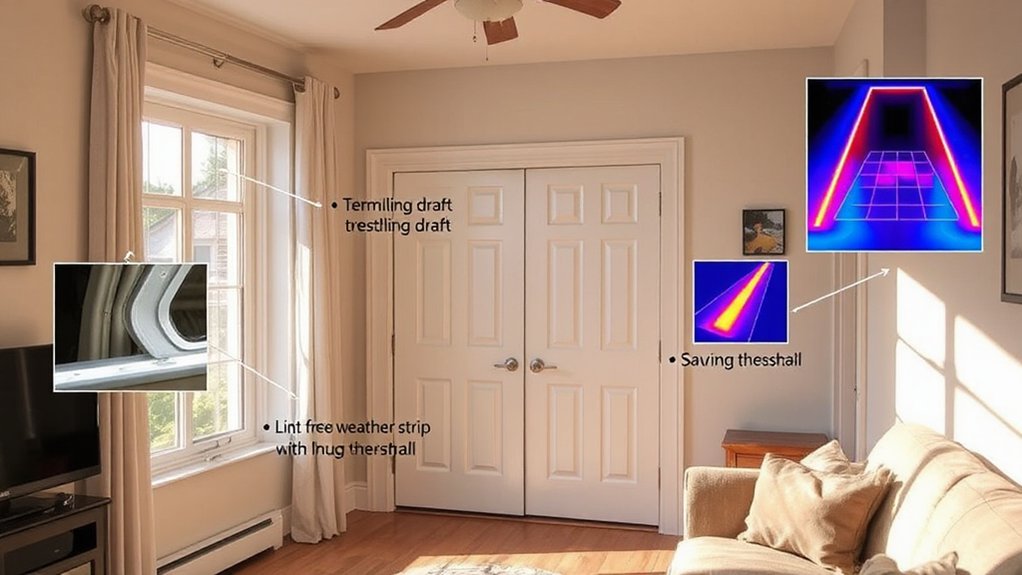
Seal leaks first, and you’ll feel the difference in your energy bills fast. You’ll start with the obvious culprits: gaps around doors and windows, electrical outlets, and attic hatches.
Conduct a simple audit by standing in a taped-up draft and noting cold spots. Prioritize sealing methods that curb air leakage and maximize draft reduction.
Use weatherstripping on moving joints and foam sealant for large gaps, then add caulk to static seams. Insulate attic access points and basement openings to stop convective losses.
Seal penetrations where pipes and wires enter living spaces. Consider door sweeps on exterior doors and proper sealing at windows.
With disciplined sealing, you cut heat loss, improve comfort, and achieve meaningful, ongoing energy savings.
Choose Energy‑Efficient Appliances and Lighting
Once you’ve limited leaks, the next big savings come from choosing energy‑efficient appliances and lighting. Start by selecting ENERGY STAR or similar ratings, which signal lower operating costs and reduced environmental impact.
Prioritize heat pumps, efficient refrigerators, dishwashers, and laundry machines that match your household needs without excess. Replace incandescent bulbs with LED lighting; this cuts wattage while improving color and longevity.
When possible, choose appliances with components built from eco friendly materials and design that minimizes standby energy. Plan for renewables by sizing systems to complement your home’s usage, not oversizing to chase comfort alone.
Look for durable, repairable models to extend lifespan and reduce waste. This approach aligns with renewable energy goals and long‑term savings.
Smart Controls for Heating and Cooling
Zoning systems let you tailor temperatures by room or area, preventing overcooling or overheating in unused spaces. Pairing zoned layouts with automated schedules minimizes energy waste without compromising comfort.
Use online dashboards to monitor consumption and trends, and create cost-effective presets for weekdays and weekends. Guarantee compatibility with your current equipment and a stable Wi‑Fi connection for reliable control.
Regularly review reports to fine-tune settings and maximize savings over time.
Targeted Windows and Insulation Upgrades
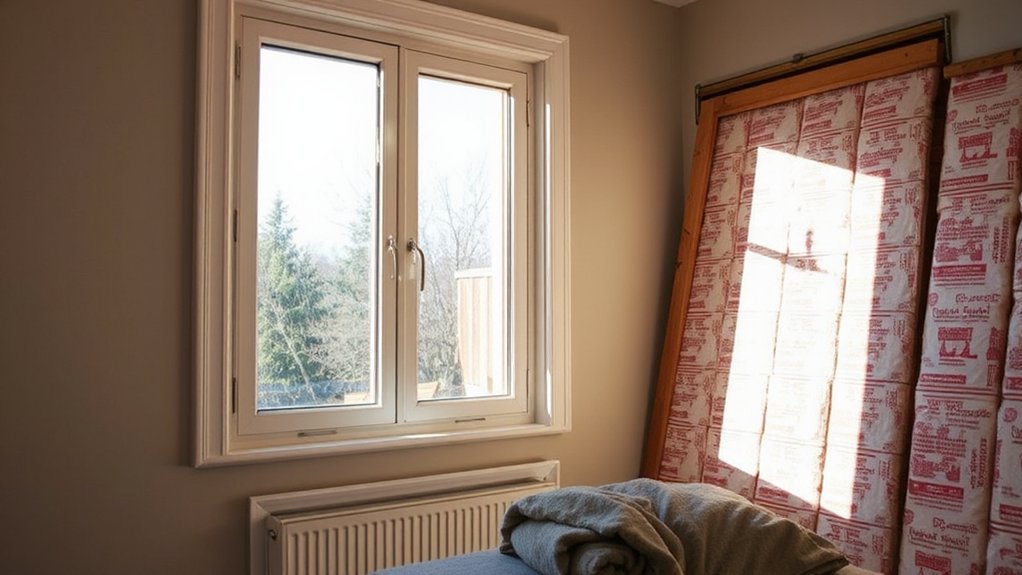
If you’re targeting energy savings, start with focused window and insulation upgrades that curb heat loss and gain. Targeted improvements focus on sealing gaps, choosing efficient window materials, and selecting appropriate insulation types for your climate.
Begin with a solid air barrier around the attic, then replace or retrofit leaky panes with double- or triple-glazed options that fit your budget. Consider low-emissivity coatings and properly sized frames to minimize thermal bridging.
Insulation types matter: dense-pack or blown-in cellulose for walls, spray foams for small cavities, and rigid boards for basements. Prioritize zones with the greatest heat transfer, like above-grade walls and attic entrances.
Pair upgrades with accurate testing to quantify gains, ensuring you capture long-term savings and improved comfort.
Efficient Water Heating and Smart Habits
Start with temperature control: set the thermostat to 120°F (49°C) to save energy and prevent scalding. Fix leaks, insulate pipes, and drain the tank periodically to maintain efficiency.
If you have storage or on-demand options, size and condition matter; upgrade only when needed to avoid oversizing. Use low-flow fixtures and shorten showers without sacrificing experience.
Schedule hot water use strategically, like running full loads and staggering cycles. Implementing these practices lowers bills and reduces environmental impact without sacrificing convenience.
Financing, Incentives, and a Quick‑Start Checklist
You’ll start by surveying financing options and choosing the best fit for your project.
This section guides you through incentives and rebates so you can stack savings effectively.
Use the quick-start checklist to kick off upgrades confidently and without delay.
Financing Options Overview
Finding financing options for energy-efficient upgrades can feel intimidating, but there’s a clear path to affordable improvements. You have practical, concrete routes to fund efficiency gains without delaying essential work.
This overview covers how to evaluate options, balance costs, and minimize interest over time. You’ll compare costs, terms, and flexibility to choose solutions that fit your budget and goals.
Remember, you don’t need perfect equity to start; modest upfront costs can still yield long-term savings through reduced energy bills.
1) Alternative financing options you can explore now, including unsecured and secured loan options that align with your cash flow.
2) Loan options with favorable terms, such as fixed rates, rebates, or energy-efficiency incentives you may qualify for.
3) Quick-start steps to gather credit info, estimates, and quotes for an informed decision.
Incentives and Rebates Guide
Are incentives and rebates worth chasing for energy upgrades, or is the paperwork just another hurdle? You’ll find these programs can lower upfront costs and shorten payback periods.
Start by identifying federal, state, and local options, plus utility-administered rebates. Compare eligibility, required documentation, and timing, then map incentives to your project scope.
Prioritize upgrades that align with Renewable sources and energy management goals, like heat pump systems, advanced HVAC, insulation, and efficient lighting.
Many programs stack, but caps and compatibility rules apply, so verify before you buy.
Use a quick-start checklist: pre-approval where possible, track spend, and document performance metrics. Keep an organized ledger of receipts and contractor notes; return on investment improves when incentives are anticipated and integrated into your financing plan.
Frequently Asked Questions
How Do I Prioritize Upgrades Within a Limited Budget?
Prioritize high-ROI upgrades first, then plan within your budget. Assess energy savings, payback periods, and comfort gains. Use budget planning to map costs, and align project steps with upgrade timing to maximize value and minimize disruption.
What Is the Typical Payback Period for Common Upgrades?
A typical payback period varies, but you’ll usually see 5 to 15 years. Smart thermostats and solar panels often shorten that span, boosting savings as you upgrade; you’ll notice benefits sooner with proper installation and incentives.
Can DIY Fixes Achieve Long-Term Energy Savings?
Yes, DIY fixes can help long-term, especially when you install Smart thermostats and optimize solar panels, but true savings come from disciplined habits and proper installation; monitor usage, seal leaks, and maintain equipment regularly.
How Do Climate and Home Type Affect Upgrade Choices?
Climate considerations steer your choices, and home type factors shape what’s feasible. You tailor upgrades to your climate, consider insulation and systems accordingly, and adjust scope based on home type, efficiency goals, and budget.
Are There Any Hidden Costs After Installation?
Yes, there can be hidden costs after installation. You’ll face maintenance costs and potential hidden fees for permits, warranties, and service calls, so budget for ongoing upkeep and review terms to avoid surprises down the line.
Conclusion
You can slash bills and boost comfort by tackling leaks, upgrading to efficient appliances, and smartly controlling heat. Start with sealing gaps, then add efficient lighting and appliances, plus targeted insulation. A simple stat to hook: heating and cooling account for up to 50% of home energy use, so smart controls cut costs quickly. Keep a quick-start checklist handy, and finance incentives can cover much of the cost. Act now for lasting savings and a more comfortable home.