

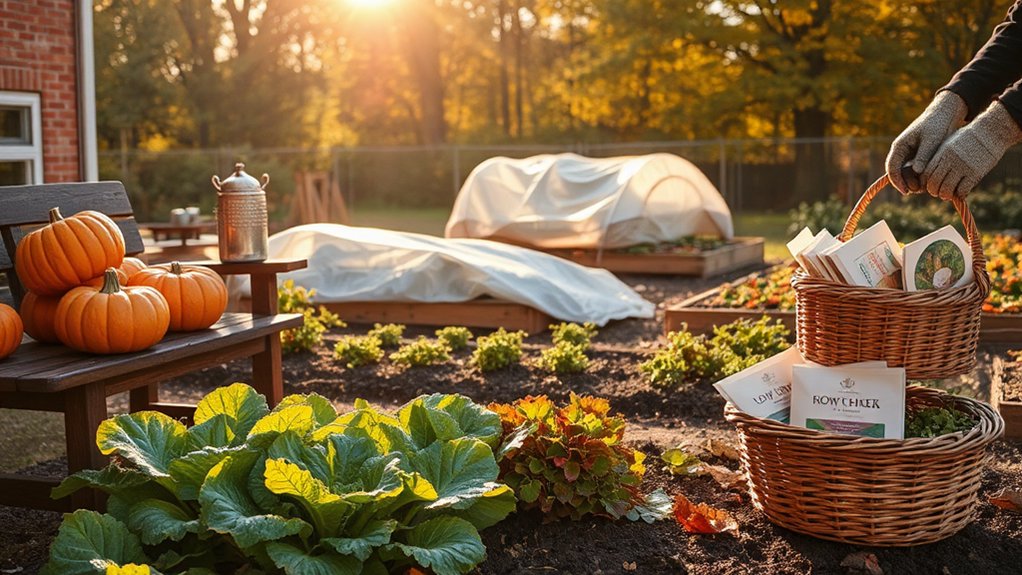

To prepare your garden for colder weather, start with quick soil checks and adjust pH if needed, then test moisture and mulch areas 2–4 inches deep to conserve moisture and regulate temperature. Protect tender perennials and seedlings with row covers or frost cloth, prune during dormancy to reduce stress, and layer mulch to shield roots. Plan a fall cleanup and keep tools ready. If you keep going, you’ll uncover practical steps for a smooth spring restart.
Key Takeaways
- Test and adjust soil pH now, rechecking after amendments to support winter planting and early spring growth.
- Mulch beds with 2–3 inches of organic matter to conserve moisture, insulate roots, and reduce weeds.
- Protect tender perennials and seedlings with row covers or frost cloths and position potted plants indoors when needed.
- Prune dormantly to remove damage and improve structure, then layer around plants with mulch and insulating materials.
- Plan a simple fall cleanup schedule with tools ready, bag debris, and set 3 milestones for pre-frost, post-leaf drop, and winter prep.
Why Prepare Your Garden for Cold Weather
Cold weather can threaten your garden’s health and yield, so preparing it now avoids costly losses later. You’ll protect roots, reduce disease, and extend harvest potential by acting early. Understanding why matters: cold snaps stress plants, shorten growing windows, and disrupt nutrient uptake.
Proper planning helps you align garden design with seasonal realities, choosing hardy varieties, protective mulches, and strategic spacing that minimize temperature swings and drought stress.
Pest management remains essential, as pests seek overwintering sites and can rebound in spring.
By delaying tasks, you risk compounding damage and losing blooms. A proactive mindset keeps you ahead of surveys, cleanup, and resource allocation.
Prioritize a simple, modular plan—assess, protect, and prep—so your beds recover quickly and rebound when warmth returns.
Quick Soil Checks to Do Before the First Frost
Before the first frost, you should check your soil pH and adjust if needed, since pH affects nutrient availability for the roots you’re protecting. Test soil pH levels now to confirm whether amendments are necessary for your plant beds.
Also, quickly gauge soil moisture content so you can water or dry the soil appropriately to support rooting before cold snaps.
Test Soil pH Levels
Testing soil pH is quick and essential before frost hits. You’ll test where you plan to plant winter crops or legumes that fix nitrogen because pH influences nutrient availability.
Use a reputable test kit or your local extension service to measure soil pH in representative spots. Note target ranges: most vegetables prefer slightly acidic to neutral soil, while many greens tolerate near-neutral conditions.
If readings show soil acidity outside ideal ranges, plan a precise pH adjustment strategy rather than broad amendments. Apply lime to raise pH or sulfur to lower it, following label rates and timing for autumn incorporation.
Recheck after adjustments, then label test results for next season. Timely, accurate data helps your soil nurture crops through the cold.
Inspect Soil Moisture Content
Inspecting soil moisture is the next step you should take as frost nears. You’ll gauge moisture so roots aren’t stressed by drought or rot from excess water.
Start with a simple hand test: insert a screwdriver or dowel 6 inches deep; it should go in easily when the soil is properly moist. If it meets resistance, water lightly and recheck after 24 hours.
For larger beds, use a moisture meter or probe to track across several spots, noting hot, dry areas vs. soggy zones. Record readings for soil testing trends and plan adjustments.
Aim for evenly moist conditions before hard freezes. Consistent moisture supports hardening off, improves overwintering, and reduces transplant shock.
Monitor moisture, adjust watering, and tidy beds for winter.
Mulching for Moisture, Warmth, and Weed Control
Mulching locks in moisture and keeps soil steady, so your beds stay hydrated without frequent watering.
It also suppresses weeds, giving you cleaner paths and less competition for nutrients.
Start with a 2–3 inch layer of shredded mulch, keeping it away from plant crowns for best results.
Mulch Moisture Retention
A thick layer of mulch helps keep soil from drying out, moderates temperature, and cuts weed growth, so you’ll retain moisture and protect roots as temperatures drop. Mulch moisture is best achieved with an even, 2-3 inch layer over prepared beds, avoiding trenching against stems.
In fine-textured soil, quicker-drying conditions call for slightly deeper coverage; in heavy clay, maintain consistent depth to prevent crusting. Use organic materials that decompose gradually, such as shredded leaves or straw, and mix in compost layering at the start of the season to boost moisture-holding capacity.
Water thoroughly before applying mulch, then monitor soil feel rather than calendar days. Mulching now reduces evaporation, stabilizes temps, and supports rain or irrigation input through the cold season.
Weed Suppression Benefits
Weed suppression is a key benefit of mulching that complements moisture retention and warmth. By covering bare soil, you block light and hinder weed seeds from germinating, saving you time and effort in weeding sessions.
A proper mulch layer also moderates soil temperature, making it harder for stubborn weeds to take root during chilly spells. To maximize effects, pair mulching with smart practices like companion planting and organic pest control, which reduce weed pressure without harsh chemicals.
Keep mulch layered at 2–4 inches to maintain air and water movement.
- Choose coarse materials for better light-blocking efficiency
- Refresh mulch annually to maintain density
- Apply around established plants to protect roots
- Avoid piling mulch against stems to prevent rot
Protecting Tender Perennials and New Seedlings
Move potted plants indoors or to a sheltered spot, and group outdoor containers to create a microclimate. Use row cover, frost cloth, or breathable fabric to shield exposed beds on cold nights, removing it when temps rise.
For new seedlings, keep soil surface moist but not muddy; light mulch helps. Label tender perennials and new seedlings to track protection needs, and check steadily for damage after temperature swings.
Smart Pruning to Reduce Winter Stress
Prune during the dormant season to minimize stress and recover quickly come spring.
Start by removing damaged branches early so they don’t sap energy or invite disease.
Keep cuts clean and intentional to protect plant structure through cold snaps.
Prune During Dormant Season
Dormant-season pruning sharpens tree and shrub structure while minimizing stress; prune now to promote strong growth next spring. You prune during dormancy to assess shape, remove crossing branches, and reduce future disease risk. This is winter trimming that strengthens structure without stressing leaf flush.
- Inspect from base to tips, identifying weak or crowded limbs.
- Remove dead, diseased, or damaged wood first.
- Trim back overly vigorous shoots to encourage balanced growth.
- Maintain clear central leaders and well-spaced branches for air circulation.
Keep cuts clean and angled just above buds or outward-facing joints. Avoid heavy pruning in late cold snaps; target modest reductions now and resume selective shaping in late winter.
Remove Damaged Branches Early
As winter tightens its grip, start by removing damaged branches now to minimize stress on your shrubs and trees. This is smart pruning that prevents issues later. Focus on removing dead, diseased, or crossing limbs first, then sort remaining branches to improve structure.
Use clean, sharp tools to make clean cuts just above a healthy bud or lateral branch. Avoid leaving stubs that invite rot or pests. Consider pruning techniques that encourage airflow and light penetration through the canopy, reducing moisture buildup.
When in doubt, remove the branch at its point of origin to maintain natural shape. After pruning, dispose of debris to prevent overwintering pests.
Layering to Insulate Roots and Crowns
Layering is a simple, effective way to shield roots and crowns from frost. You’ll layer materials to create a cold buffer that slows heat loss.
- Start with a mulch base around plants, keeping it away from stems to prevent rot.
- Add a breathable, insulating layer like straw or pine needles for root insulation.
- Cover crowns lightly with compost to maintain moisture and warmth.
- Finish with a protective mulch cap, wide enough to deter temperature swings and pests.
This approach minimizes stress on roots and supports crown protection during sudden freezes. Check depth and air pockets regularly, replenishing materials as needed. Avoid packing too tight; airflow matters.
Involve you, not guesswork, for consistent insulation gains. Your garden stays steadier, and plants emerge ready for early spring.
Watering Practices to Help Plants Survive Dormancy
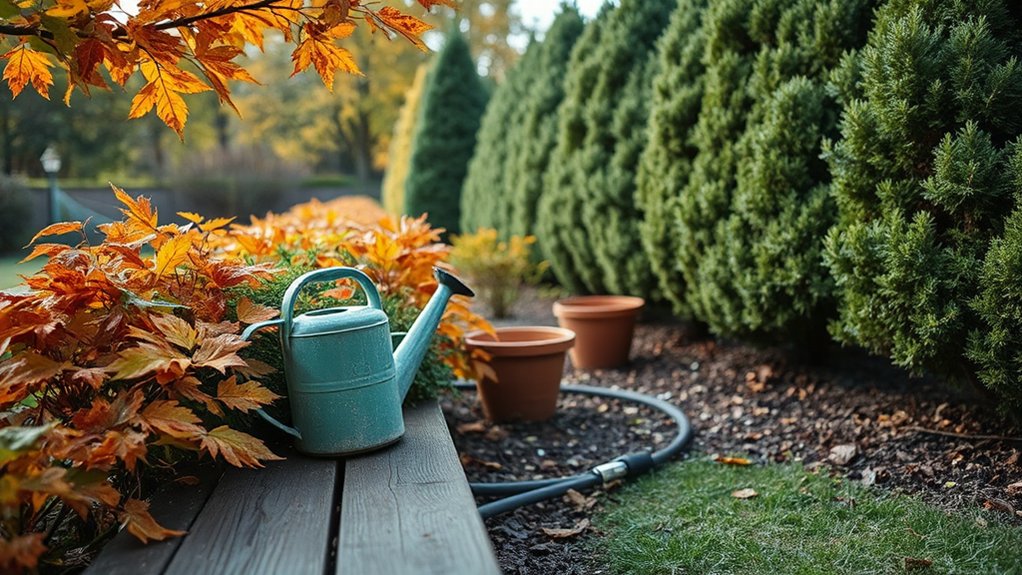
Watering during dormancy matters, because even when growth slows, roots still need steady moisture to prevent desiccation and split-up. You should water deeply but infrequently, encouraging roots to explore moist soil rather than surface wetting only.
Apply early in the day on mild days, avoiding frost conditions that can trigger runoff. Use slow, evenly-distributed watering to promote uniform moisture retention around the root zone.
Mulch helps conserve moisture and buffers soil temperature, so keep a thin layer after watering. Monitor soil moisture a few inches deep; if it feels dry, irrigate again, but never soggy.
Favor watering techniques that target root zones rather than foliage. Prioritize consistent moisture, not volume, to support plants through dormancy and protect long-term vigor.
Storing and Recycling Plant Remnants for Soil Health
Turning plant remnants into soil health is a practical, high-impact step you can take now: store and recycle prunings, fallen leaves, and kitchen scraps to feed soil biology and improve structure. You’ll benefit from keeping organic matter out of waste streams and feeding biology that enhances nutrient cycling and moisture retention.
- Build a simple compost pile with a balanced mix of greens and browns.
- Chop materials to speed decomposition and reduce odors.
- Add kitchen scraps sparingly and avoid meat or fats.
- Use finished compost to enrich beds, mulch, and soil surfaces.
Compost recycling boosts soil enrichment by returning nutrients and creating a living soil ecosystem. Use the resulting material as mulch or amendments to improve structure and resilience.
Create a Fall Cleanup Plan You’ll Actually Follow
Is your yard ready for fall with a plan you’ll actually follow? Start with a simple cleanup calendar. Break tasks into three zones: lawn, beds, and perimeter. Set three concrete milestones—before first frost, after peak leaf drop, and a final winter prep sweep. Write each step as a clear action: prune, rake, mulch, bag, or compost.
Prioritize consistency over perfection; 15 minutes daily beats a weekend chore marathon. Use a checklist you’ll reuse each year, and keep it visible—on the fridge or a garden journal. Include garden decor removal early to prevent damage and a basic pest control inspection to catch trouble spots.
Maintain edges, tidy paths, and store tools properly so your spring garden springs to life.
Tools and Materials That Make Autumn Prep Easy
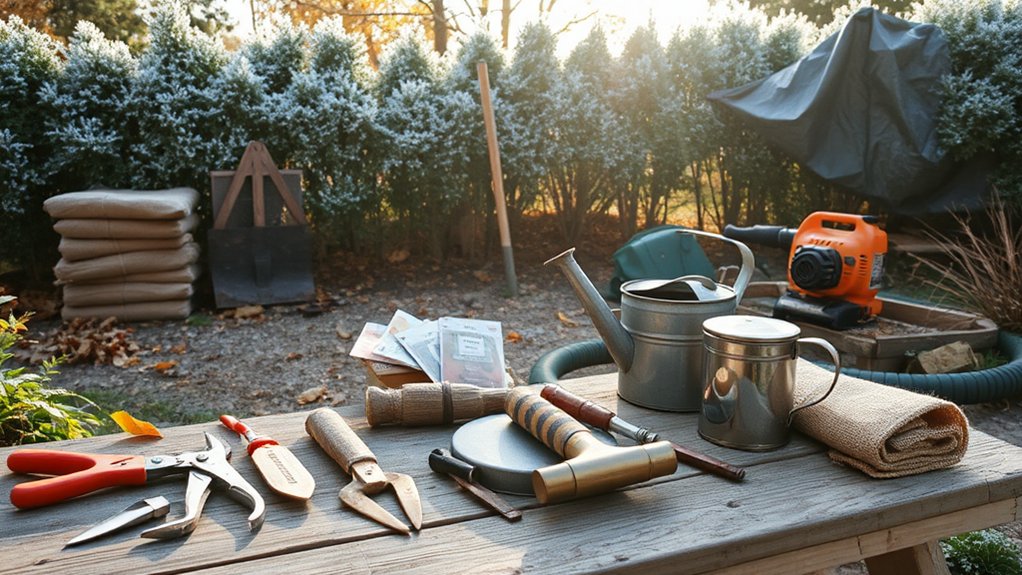
To make autumn prep easy, start with reliable tools and materials that save time and prevent delays. Your setup should prioritize efficiency, durability, and quiet operation, so you can breeze through tasks without backtracking. Choose versatile items that handle multiple chores, from cleanup to insulation.
- A sturdy leaf rake, heavy-duty tarps, and a collapsible wheelbarrow for quick debris transport.
- A quality pruning saw, hand shears, and a sharp hori-hiki knife for precise cuts and safe handling.
- Durable storage bins with tight lids to protect garden decor and seasonal supplies from moisture.
- A compact blower, gutter scoop, and pest-control spray or traps for fast cleanup and deterrence.
With the right gear, you’ll keep pests at bay and preserve decor while prepping beds and borders.
Quick-Start Guide for a Fast Spring Restart
Spring kickoff is simple: prioritize a fast, efficient restart by tackling the essentials first and restoring flow quickly. When you reawaken beds, begin with clean edges, mulch fresh paths, and inspect irrigation for leaks. Clear debris that invites pests and disease, then prune selectively to improve air circulation.
Set a tight schedule: seed or split perennials, then mark last frost dates to time blooms suitably. Stock up on season-ready basics: soil amendments, fast-gix fertilizers, and sturdy supports for new growth.
For curb appeal and morale, integrate garden decor that guides focus to the healthiest plants, not clutter. Implement pest control measures proactively: monitor hotspots, use targeted treatments, and favor preventive barriers.
Keep rhythms simple and document your observations for continuous improvement.
Frequently Asked Questions
How Do I Protect Container Plants From Freezing Temperatures?
To protect container plants from freezing, insulate roots with mulch application and use frost blankets on nights predicting frost. Move containers to sheltered spots, water deeply, and remove coverings during sunny days to prevent heat buildup.
When Is the Ideal Time to Prune for Winter Health?
You should prune now for winter health. Use frost timing insights to determine timing, and apply pruning techniques that encourage durable structure. Prune after active growth slows but before freezes, ensuring wounds dry promptly and air circulates freely.
Can I Use Kitchen Scraps for Composting Landfill-Free?
Yes, you can: indoor composting effectively handles kitchen waste, reducing landfill. You’ll mix greens and browns, keep moisture balanced, and aerate regularly. Use a sealed bin or tumbler, and avoid meat, fats, and dairy to prevent odors.
Do All Perennials Need Wrapping for Winter Cold?
Not all perennials require wrapping; many survive with smart mulching techniques. Use a thick organic mulch for cold protection, monitor moisture, and apply mulch after the ground freezes. Mulching techniques help, while pest prevention remains essential.
What Tools Are Essential for Quick Autumn Garden Prep?
You’ll need pruners, gloves, a rake, wheelbarrow, shovel, tarp, and a sturdy kneeler. Soil testing guides your fertilizer application; keep a sharp blade for quick cuts. Don’t forget a soil probe and proper baggies for samples.
Conclusion
Fall settles like a patient traveler, tucking your garden’s notes into a warm notebook for tomorrow. You’re the keeper of a tiny ship, ballast ready, sails stowed but eyes open. Each action—checking soil, mulching, protecting roots, pruning—acts as a quiet anchor and a hopeful compass. Do these tasks now, and you’ll sail into spring with less drift, steadier growth, and a clearer map. The cold isn’t an end; it’s a staged pause before renewal.



