

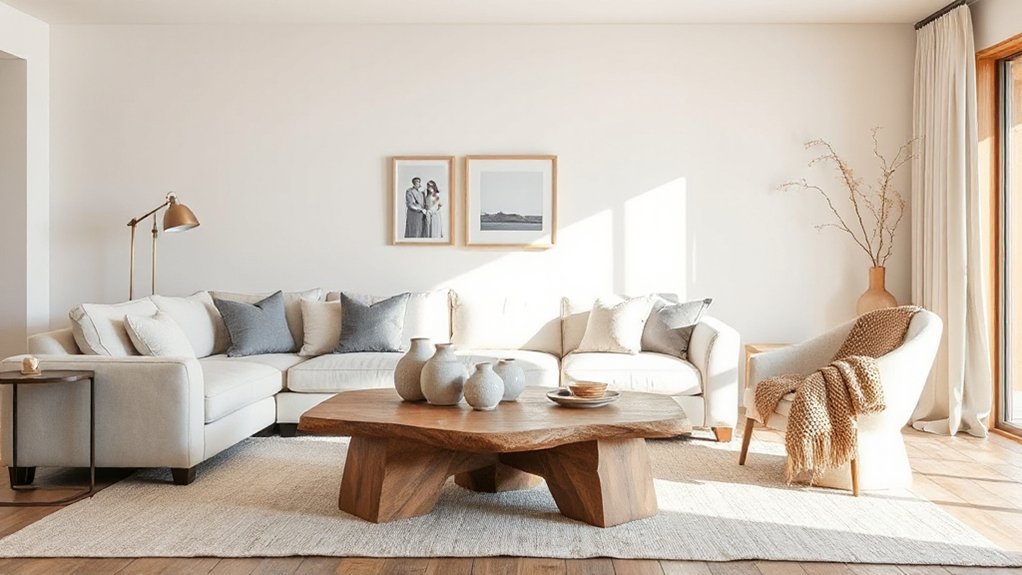

Home improvements that add real value mix curb appeal with lasting practicality. Start with durable landscaping, proper drainage, and low-maintenance evergreens to frame your home. Upgrades to insulation, double- or triple-glazed windows, and smart lighting cut energy costs and boost security. Within interiors, quick wins include fresh neutral paint, updated hardware, and clever storage in kitchens and baths. Focus on durability and timeless materials, then plan your project with ROI in mind—and you’ll discover more value than you’d expect.
Key Takeaways
- Invest in exterior curb appeal with durable materials, smart landscaping, and moisture-directed design to boost first impressions and long-term value.
- Improve energy efficiency via updated insulation, well-sealed windows, and solar enhancements to lower operating costs.
- Upgrade kitchens and bathrooms with practical, high-impact touches like new hardware, efficient fixtures, and smart lighting.
- Implement smart home basics (security, lighting, hubs) for modern convenience and resale appeal.
- Optimize durability and compliance through weather‑resistant materials, proper sealing, and thoughtful planning for long-term maintenance.
Which Home Improvements Deliver the Most ROI Right Now
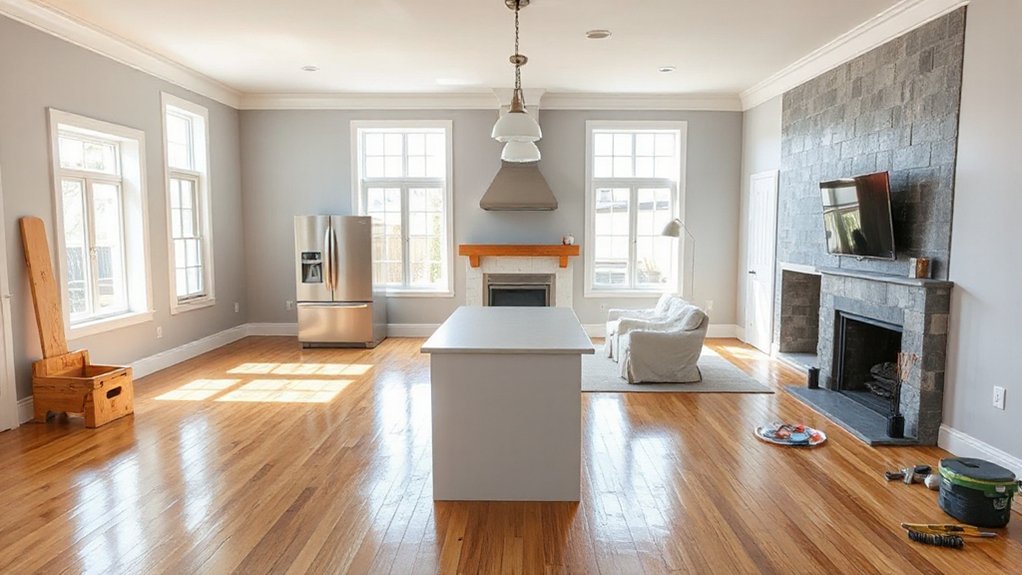
In today’s market, the smartest ROI comes from upgrades that boost both appeal and efficiency. You’ll prioritize changes that cut costs, heighten curb appeal, and add lasting value.
Garden landscaping isn’t vanity; it frames your home, delays depreciation, and lowers maintenance once mature. A thoughtful planting plan, tidy borders, and drought-tolerant options offer visual punch with sensible ongoing care.
Home security isn’t flashy paperwork; it protects equity and reassures buyers, from sturdy doors to smart lighting. Choose practical, scalable upgrades: outside lighting, secure entry points, and reliable cameras that blend with the house aesthetic.
Inside, improve energy efficiency with smart thermostats and proper insulation. Pick projects you can complete in phases, so progress remains deliberate, not reckless, and your investment compounds as style meets practicality.
Quick Cosmetic Upgrades That Pay Off Fast
A quick color refresh can brighten a space without a full redo, and it’s surprising how far a new hue can go in lifting mood and light.
Pair that with refreshed hardware and fixtures, and you’ll notice sharper details and a more polished feel fast.
Let’s discuss which colour ideas and hardware upgrades deliver the most impact for your budget and timeline.
Quick Color Refresh
Ever thought a quick colour refresh could transform a room without a full makeover? You can sharpen ambience with a fresh coat in a focused palette.
Start with a light, neutral base to widen spaces, then add an accent wall or trim in a calmer hue to cue calm or focus. Consider colour psychology: cooler shades feel airy, warmer tones invite coziness, and mid-tones strike balance for multipurpose rooms.
Choose paint durability that withstands traffic and cleaning, especially kitchens and hallways. Premium matt or eggshell finishes reduce glare while making cleaning more practical.
Use strategically placed colour to guide movement and highlight architectural features, not overwhelm them. Finish with neat edges, minimal coats, and proper ventilation to maximise longevity and minimise touch-ups.
Hardware and Fixtures Upsell
You’ve refreshed with colour, now let the details do the talking. In this hardware and fixtures upsell, you’ll focus on quick wins that quietly lift value.
Opt for durable finishes, like brushed brass or matte black, to complement modern interiors. Small changes—new handles, taps, or lighting fixtures—deliver high impact without a full renovation.
Prioritise fixture enhancements that improve daily use and perceived quality, not gimmicks. Budget-smart choices keep resale appeal intact while staying design-conscious.
- Replace cabinet handles and knobs with cohesive hardware upgrades
- Swap outdated taps and bathroom fixtures for streamlined, water-efficient models
- Update ceiling or wall lights to warmer, consistent tones
- Choose matching door hardware to unify the space
Budget-Friendly Kitchen Upgrades That Impress
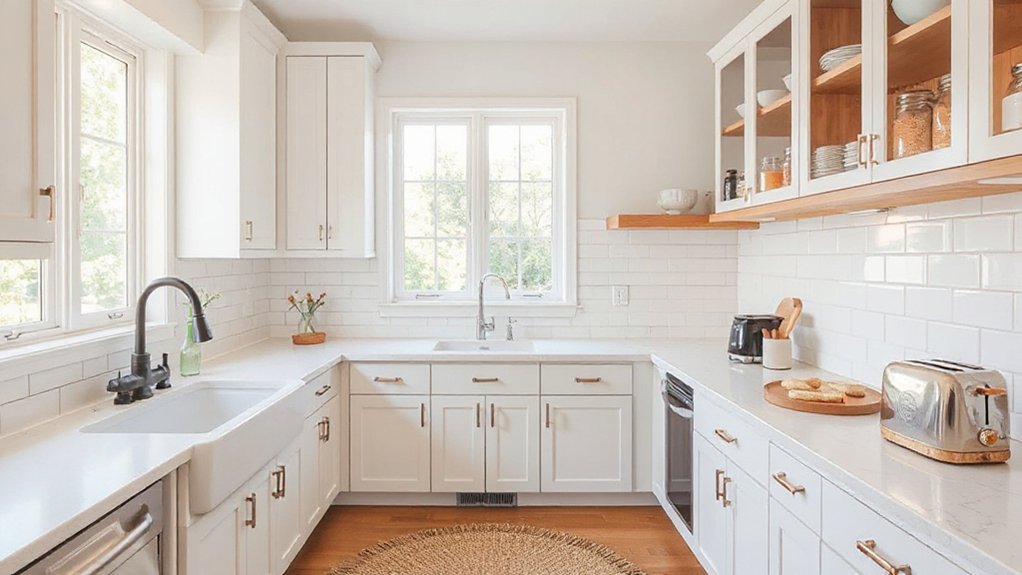
If you’re aiming for a refreshed kitchen without breaking the bank, start with the details that change perception: fresh hardware, smart lighting, and practical storage tweaks can dramatically elevate the space.
You’ll notice instant impact from new handles and pulls, plus under-cabinet LEDs that brighten tasks without glare.
Prioritise creative storage: pull-out organisers, slim pantry solutions, and modular shelves make every inch functional.
Swap to easy-clean, durable surfaces and eco-friendly materials where possible, balancing cost with longevity.
Choose a neutral, timeless palette to maximise perceived space.
Smart layout tweaks—drawer dividers, corner carousels, and a compact island—boost flow without major disruption.
Keep it tidy with visible, accessible storage that reinforces a calm, design-minded kitchen you’ll love using daily.
Spa-Like Bathrooms Without Breaking the Bank
You can create a spa vibe on a sensible budget with clever, budget spa-style upgrades and smart DIY touches.
Think understated luxury in the details, from subtle lighting to practical, easy-to-install bathroom features that feel premium.
We’ll tease value-boosting finishing touches that elevate the look without inflating the bill.
Budget Spa-Style Upgrades
Are you craving a spa retreat at home without blowing the budget? You can craft calm, spa-style vibes with smart swaps, not splurges, and still feel a sense of budget indulgence. Think simple upgrades that pay off in atmosphere and function.
1) Swap towels and textiles for soft, high-absorbency options in neutral tones.
2) Install a rainfall shower head or upgrade to a multi-function shower for a boutique feel.
3) Add ambient lighting with dimmable LEDs and hygge-look candles (scented, safe, flameless where possible).
4) Introduce plants and a wooden mat to bring warmth and texture without breaking the bank.
A few well-chosen accents create a genuine spa retreat, proving you don’t need excess to feel luxe.
DIY Luxury Bathroom Details
Five smart, budget-friendly details can elevate a bathroom from functional to luxe without a showroom price tag. You’ll gain spa-like atmosphere without splashing cash by focusing on tactile, high-impact touches.
Choose exterior finishes that echo boutique hotels: matte brass or nickel hardware, subtly beveled mirrors, and a ready-made shelving system that stays tidy.
Invest in a quality shower head with adjustable spray, and pair it with a simple, water-efficient mixer to achieve a spa feel.
Layer lighting with dimmable LEDs around mirrors for flattering, versatile brightness.
Introduce spa accessories like plush towels, a weighted shower curtain, and a small, scented diffuser to hint at luxury.
Finish with one standout item—luxury fixtures as a quiet statement that elevates daily routines.
Value-Boosting Finishing Touches
Small changes can deliver big lift in a spa-like bathroom without blowing the budget. You can transform the feel with careful, affordable tweaks that read as luxe, not costly. Think streamlined fixtures, warm lighting, and tactile textures that echo high-end spaces.
A few smart, well-chosen updates go a long way, especially when you pair them with eco-friendly materials.
- Install motion-activated LEDs and a dimmer to create ambience without waste.
- Swap vanity hardware and taps for matte brass or brushed nickel finishes.
- Use large-format tiles or textured wall panels to elevate the space with minimal grout.
- Choose smart technology features like a programmable shower or intelligent mirrors for efficiency.
Curb Appeal That Really Works: Practical Landscaping Ideas
If you want curb appeal that lasts, start with a plan that blends form and function: establish focal points, rough lawn lines, and durable materials, then layer color, texture, and scale. You’ll strike balance by choosing low-maintenance evergreens for structure and seasonal_perhaps.
Think garden pathways that guide visitors, not overwhelm them, and keep paving materials consistent with your house tones. For flower bed design, use a clear rhythm: taller specimens behind, mid-height in the middle, and groundcovers at the front so edges stay neat.
Introduce colour with selective blooms and two or three recurring hues for cohesion. A tidy boundary, sized for your plot, prevents spillover. Finally, invest in edging and mulch to reduce upkeep while elevating overall polish.
Energy Wins: Insulation and Windows That Matter
Insulation and windows aren’t luxuries; they’re the frontline of comfort and efficiency. You’ll notice warmer rooms, fewer drafts, and lower bills when you choose properly sized insulation and high-performance glazing.
Think long-term value: better comfort, reduced noise, and smarter solar upgrades that balance heat gains with shade. How you approach it matters for the whole home.
- Assess insulation benefits to prioritise gaps, attic spaces, and external walls.
- Pick double- or triple-glazed units with low-E coatings and good air seals.
- Match window types to room orientation for daylight without heat loss.
- Plan solar upgrades alongside insulation to maximise overall energy performance.
Flooring Upgrades That Change a Room’s Feel
You’ll feel the Hardwood Aesthetic Impact in every step, as grain, tone, and finish set the room’s mood with a single choice.
Consider Installation Time for a smoother reveal—some planks go in fast, others need pacing to keep walls and decor aligned.
For Budget-Friendly Options, weigh durable engineered floors and smart finishes that deliver big style without blowing the budget, keeping you on track for a cohesive look.
Hardwood Aesthetic Impact
Hardwood can instantly recalibrate a room’s character, because the grain, finish, and tone set the mood before you even add furniture.
You’ll notice how the right floor elevates spaces, guiding light, texture, and airiness with subtle authority. Consider these practical cues to sharpen your hardwood aesthetics and nod to vintage floors without nostalgia fatigue:
1) Choose a finish that harmonises with natural light and room height.
2) Opt for mid-to-dark tones for rooms with secure, timeless appeal.
3) Balance grain patterns to avoid visual clutter in small spaces.
4) Pair with period-inspired furnishings for cohesive vintage vibes.
Installation Time Considerations
Installing new flooring can transform a room’s feel in days, not weeks, so plan for the right pace and disruption. You’ll want clear boundaries between rooms and a sensible sequence to minimise mess. Assess material quirks—some floors need acclimation, others can be fitted quickly with pre-finished planks.
Consider timing flexibility to accommodate delivery windows and trades, especially if you’re juggling carpets, underlay, or radiant heating. Build a practical schedule that accounts for unpacking, acclimation, removal of old flooring, and waste disposal.
Prioritise a tidy work zone and protect high-traffic areas early on. For most projects, set a realistic start time, then recheck nightly progress. Good project scheduling reduces downtime, preserves aesthetics, and keeps the project moving without unnecessary delays.
Budget-Friendly Options
Could you achieve a dramatic room refresh without blowing the budget? You can, with careful flooring choices that transform feel without a full overhaul. Think tactically: select materials that deliver warmth, texture, and acoustics without breaking the bank.
Subtle upgrades often yield the strongest change, especially when paired with smart tech and outdoor flow.
- LVT or engineered wood: durable, stylish, and easier to install than solid wood.
- Area rugs over solid floors: define zones, add colour, and absorb noise.
- Radiant focus: optimize underfoot comfort with carpet tiles in high-traffic areas.
- External cues: extend the look with garden pathways visible from indoors to unify spaces.
Pair with Smart thermostats for efficiency; garden pathways influence perceived value, porch-to-living passages, and daily comfort.
Open-Plan Living on a Budget: Smart Layout Tweaks
Open-plan living on a budget doesn’t mean sacrificing flow or style; with smart layout tweaks, you can carve distinct zones and keep the space feeling cohesive. You focus on practical zoning rather than walls, using furniture placement, rugs, and lighting to define areas without crowding.
Start with a balanced focal point—perhaps a sofa alignment that guides traffic—so your eye moves naturally through the room. Use low-profile storage and slim shelving to cut clutter, keeping surfaces calm and usable.
Consider multi-functional pieces, like an ottoman with hidden storage or a dining bench that doubles as a work area. Choose a cohesive palette with two or three neutrals and a budget-friendly accent colour.
Open plan, budget friendly design rewards careful scale, texture, and light.
Smart Home Upgrades That Boost ROI and Buyer Interest
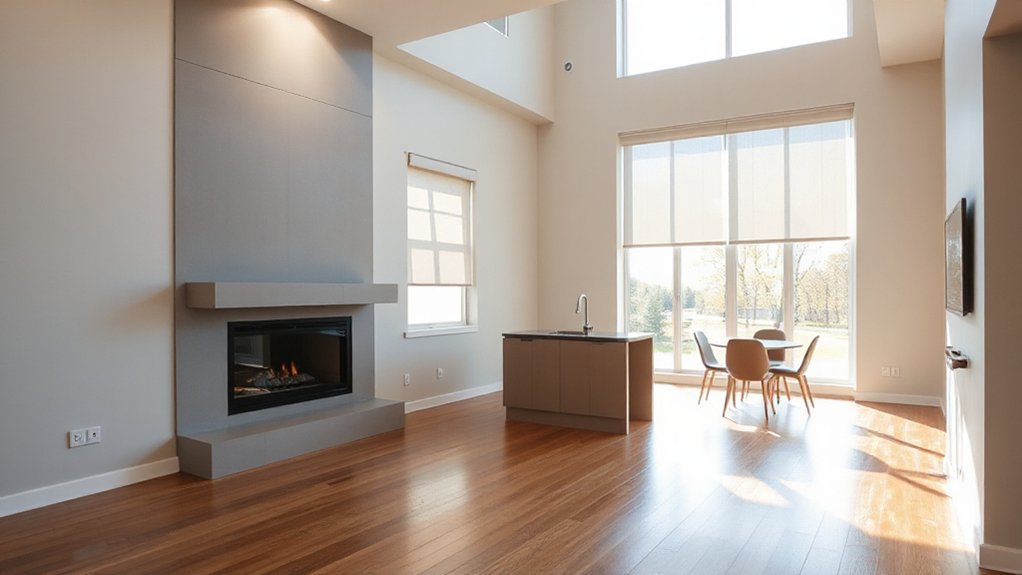
Smart home upgrades pay off when they’re genuinely useful and easy to use, so focus on features that buyers expect and that integrate smoothly with daily life. You’ll want a balance of practicality and polish, with a design mindset that feels effortless yet premium. Prioritise control that’s intuitive, reliable, and scalable—think seamless home automation and smart security that’s unobtrusive.
The goal is quicker moves, not gimmicks, so pick systems with clear interfaces and strong support.
- Implement core smart security features that trigger alerts and allow remote access.
- Choose a robust home automation hub for effortless scene-setting and routine automation.
- Video doorbells and smart lighting create curb appeal and daily convenience.
- Opt for secure, updatable devices with future-proof compatibility.
Garage and Storage Solutions That Add Usable Space
If you’ve been prioritising smart upgrades, you’ll appreciate how a well-organised garage and storage system can extend that practicality into daily life. A considered layout reduces clutter and speeds chores, turning wasted space into usable area.
Begin with wall-mounted solutions and modular cabinets to keep frequently used tools at eye level, freeing floor space for a task area. Invest in clear bins and labels so you can assess what you own at a glance, supporting effective garage organization.
Implement ceiling hooks and ceiling-mounted racks for seasonal gear, freeing shelving for daily items. For storage optimization, zone zones by activity—DIY, garden, and bikes—so everything has a dedicated home.
The result is tidier, more functional space that enhances value with minimal disruption.
Let There Be Light: Design Choices to Maximize Natural Light
Think about maximizing window placement to capture the most daylight without sacrificing warmth or privacy. Use optimised lighting strategies—natural daylight first, then layered artificial light—to keep spaces bright and inviting.
Opt for light-colored surfaces and finishes to reflect more light and visually expand the room.
Maximize Window Placement
Natural light can transform a room, so place windows where daylight travels farthest across the day and lighting feels even. You’ll optimize ambience and energy use by smartly locating openings to chase sun paths, minimize glare, and frame views. Consider proportion, symmetry, and shading to keep comfort steady through seasons.
- Plan window placement to balance room zones, ensuring seating, work areas, and entryways benefit from natural light.
- Use taller or wider windows on the sunward side for breadth, while smaller panes or clerestories control heat gain.
- Align windows with interior focal points—fireplace, art, or architectural features—to amplify daylight without distractions.
- Add light shelves or reflectors to bounce light deeper, preserving even distribution across walls and floors.
Optimize Natural Lighting
Optimizing natural light starts with smart choices that build on well-placed windows. You’ll maximize daylight by aligning window sizes and orientations with room use, minimizing obstructions, and embracing glazing that suits British climates.
Pick clear or lightly tinted panes to balance brightness with insulation, and consider glazing with low emissivity to curb heat loss. Smart lighting remains complementary, letting you sharpen illumination without overpowering daylight.
Use reflective surfaces and strategically placed mirrors to bounce light deeper into corners, avoiding dark niches. Window treatments should heighten glare control while preserving views; choose light, breathable fabrics or slim, unobtrusive curtains that can be drawn back fully.
Keep aesthetics coherent with your space, ensuring simplicity, function, and a calm, well-lit atmosphere.
Use Light-Colored Surfaces
Light surfaces reflect daylight deeper into rooms, making spaces feel brighter without adding glare. When you choose light-coloured walls and floors, you maximise natural light while keeping a calm, cohesive vibe that ages well. Color psychology suggests softer hues can elevate perceived space, while surface materials determine texture and warmth. You’ll notice the difference from morning to evening as reflections shift across panels and plaster.
- Pick matte finishes over high-gloss for subtler light bounce and easier maintenance.
- Use pale neutrals on walls complemented by timber or stone accents to ground the room.
- Opt for large-format tiles or boards to reduce grout lines and enhance continuity.
- Balance brightness with ceiling tones slightly lighter than walls to avoid glare.
Exterior Updates That Stand Up Over Time
Exterior updates that stand the test of time hinge on durable materials, careful detailing, and simple maintenance. You’ll prioritise low‑maintenance finishes, smart colour palettes, and sturdy joinery that ages gracefully.
Start with the shell: brick, stone, or high‑quality timber cladding, all chosen for weather resistance and timeless appeal. Windows and doors should be well sealed, with protective coatings that weather gracefully.
Plan honest detailing: eaves, bead runs, and sills that can be repaired rather than replaced.
Landscape design matters, guiding moisture away from foundations and framing focal points.
Choose outdoor furniture and lighting that resist fading and rust, ensuring consistency with the home’s character.
The aim is a cohesive exterior that gains character, avoids frequent updates, and remains welcoming year after year.
Permits and Codes: What You Need to Know for ROI
Permits and codes can feel like a maze, but getting them right early saves time, money, and rework later. You’ll see ROI when you align your plan with local expectations, so you avoid costly backtracks and delays.
- Understand the permitting processes for your project scope and jurisdiction, not just the popular shortcuts.
- Check code compliance early—inspectors reward proactive preparation and clear documentation.
- Hire a design-minded pro to translate intent into compliant plans that won’t derail timelines.
- Schedule approvals alongside material orders to minimise downtime and uncertainty.
Materials to Prioritize for Longevity and Return
When you’re planning for longevity and solid ROI, start by pinning down materials that resist wear, weather, and time. You’ll prioritise durable surfaces and reliable foundations, then balance cost with long-term performance.
Sustainable materials deserve a second look: reclaimed timber, recycled metal, and responsibly sourced stone can age gracefully while cutting maintenance.
Choose finishes that resist fading and staining, rather than chasing trend-led looks.
Incorporate Smart technology where it truly saves upkeep—think sensor-led lighting, smart thermostats, and durable, easy-to-maintain roofing or cladding that communicates with home systems.
Prioritise modular components that can be replaced or upgraded without a full overhaul.
With careful material choices, you’ll enjoy reduced upkeep, steadier resale value, and a design-forward, low-stress home.
Planning Your Renovation: Priorities, Budget, and Timeline
Careful planning starts with clarity on what you want to change and why. You’ll map priorities, set a sensible budget, and sketch a realistic timeline, all with a design-minded eye and practical British practicality.
Focus on two essentials first: interior paint and flooring options, then expand as your budget allows.
- Define non-negotiables and nice-to-haves to keep decisions sharp.
- Allocate a realistic budget with a contingency for trade-offs.
- Create a phased timeline that avoids downtime and overspends.
- Compare finishes and compatibility to maintain a cohesive style.
With clear priorities, you’ll avoid overbuying, waste, and delays, delivering a refined result that elevates value while staying within sensible limits.
Measuring ROI Across Projects: A Practical Timeline and Checklist
Measuring ROI across projects isn’t guesswork; it’s a disciplined, hourly audit of costs, benefits, and time. You’ll map every project to a timeline, then compare actual spend against forecast, updating as needed.
Begin with a simple checklist: define scope, log upfront costs, record ongoing expenses, and note energy or maintenance savings. Use a pragmatic dashboard to track milestones—design, procurement, installation, and finish.
Prioritise small, measurable wins that compound value, like improving comfort with garden oasis features or integrating smart technology for efficiency.
Review iterations monthly, not quarterly, to catch drift early. Keep communications crisp with your team and trades; document decisions and rationales.
At project end, calculate net gain, adjust for confidence, and carry lessons forward in the next build.
Frequently Asked Questions
How Long Before ROI Becomes Noticeable After a Project?
Renovation timing varies, but you’ll see investment return within months to a year, depending on scope. You’ll notice value accelerates as you finish rooms precisely, with thoughtful details. Plan strategically, because timing affects ROI and long-term appeal.
Which Upgrades Add Value for Renters vs. Owners?
Think of upgrades like a tailored suit: luxury fixtures appeal to owners, while renters value smart technology that lowers costs. You’ll gain appeal by balancing premium touches with practical, design-minded practicality across both groups.
Do Energy-Efficient Fixes Always Boost Resale Price?
Energy savings don’t always boost resale price, you’ll see nuanced gains, but they mostly preserve value. You’ll improve property appreciation when fixes align with practicality, style, and efficiency, delivering quiet, lasting appeal for buyers.
What Are Low-Cost, High-Impact Exterior Improvements?
Exterior paint and smart Landscaping design are your cheapest, high-impact moves. Think of a cottage garden as a brisk haircut: sharper curb appeal. You’ll boost charm, not cost, by concise brushwork and thoughtful plant choices.
Does Project Timing Affect Resale Value or Marketability?
Timing does affect resale value; align projects with market trends and seasonal timing to maximize appeal. You’ll boost marketability by coordinating finishes, materials, and curb appeal, making sure your home reflects current preferences and practical, design-minded priorities.
Conclusion
You’ve got the blueprint, now shape the outcome with measured care. Think of the home as a well-loved novel: every room a chapter, each upgrade a precise sentence. Prioritize lasting value, budget wisely, and time your tweaks like a careful craftsman. When you blend curb appeal, practical upgrades, and compliant planning, ROI answers with a quiet, confident nod—an unmistakable, lasting glow. In your hands, the property speaks of thoughtful design, not fanciful flashes.



