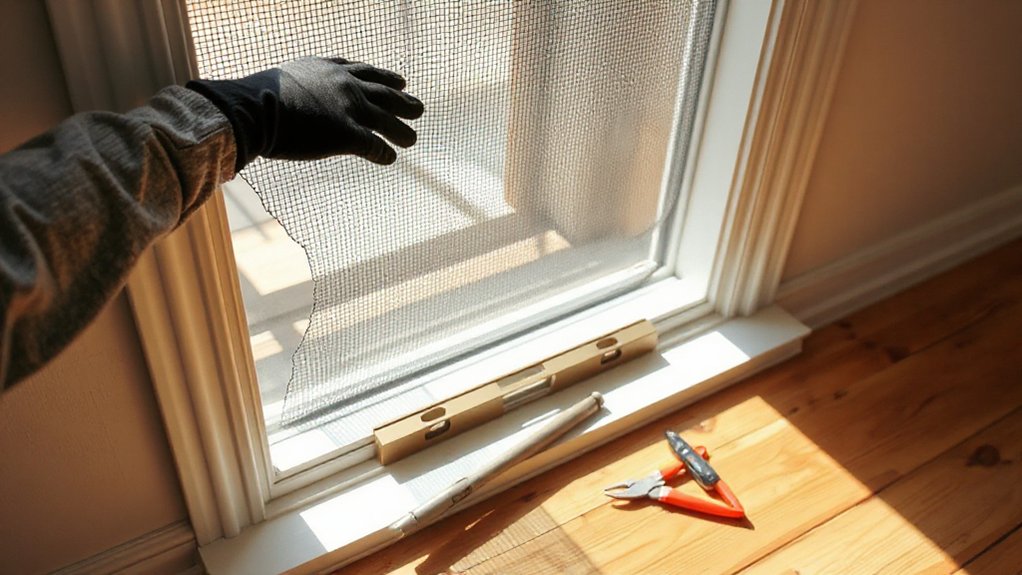

Replacing broken window screens is a straightforward DIY that blocks pests, boosts energy efficiency, and restores a clean view. Start by measuring openings to the nearest 1/16 inch, then choose a screen material suited to your climate— Aluminum or fiberglass for humid areas, vinyl-coated fiberglass for strong sun, or coastal-friendly metals if you’re near salt. Gather tools, prep the frame, fit the new screen, and tension with a spline. With proper maintenance, gaps and pests stay out; more tips await.
Key Takeaways
- Choose the right screen material (aluminum, fiberglass, or coated options) based on climate and durability needs.
- Measure window openings accurately to the nearest 1/16 inch and account for frame irregularities.
- Gather essential tools (spline tool, utility knife, scissors, etc.) and have spare spline and screen material.
- Install by cleaning and squaring the frame, guiding spline smoothly, and trimming excess for a taut fit.
- Maintain and seal gaps regularly to prevent pests and ensure long-lasting performance.
Benefits of Replacing Broken Window Screens: Fewer Bugs and Better Insulation

Cracked or torn window screens let in more than just sunlight: they invite bugs and drafty air. When you replace damaged screens, you reduce insect intrusion and create a tighter seal around openings.
This directly supports insect prevention by eliminating frequent entry points and minimizing attractants near openings. You’ll notice fewer yard pests indoors and fewer on-wall nuisances in adjacent rooms.
Beyond bugs, a new screen frame and mesh improve energy efficiency. A snug fit reduces air leakage, helping maintain stable indoor temperatures and lessening the load on heating and cooling systems.
The result is lower energy bills and more comfortable spaces. Invest in replacement now to reinforce protection, practicality, and ongoing comfort.
Choose the Right Screen Material for Your Climate
Choosing the right screen material depends on your climate and how you use your windows.
In hot, humid areas, opt for aluminum or fiberglass screens with tight weave to resist corrosion and keep debris out.
For dry, dusty regions, consider polyester or aluminum with a corrosion-resistant coating to maintain airflow without rapid wear.
If you face strong sunlight, choose vinyl-coated fiberglass; it resists fading and holds up under UV exposure.
In coastal environments, aluminum or stainless screens offer the best longevity against salt corrosion.
Consider pore size to balance airflow and insect protection, but don’t skimp on durability.
Material durability matters for long service, while environmental impact should guide your choice toward recyclable or low-toxicity options.
Tools and Prep: What You Need Before You Start
Before you start, gather these essential tools and supplies so the job goes smoothly and you don’t have to pause to hunt down anything. You’ll need a utility knife, tape measure, straight edge, needle-nose pliers, spring-loaded window screen spline tool, and a sharp pair of scissors.
Have spare spline and screen material on hand, plus a magnetic Phillips screwdriver for frame screws. Choose compatible screen colors to match your home’s look, and stock a few screens with different Window screen colors for future tweaks.
Consider Screen frame styles and verify the frame’s condition—replacing broken sections is faster when frames are sturdy. Work on a clean, flat surface, protect nearby finishes, and keep a small trash bag handy for debris.
Prep guarantees clean cuts, precise fits, and fewer re-dos.
Measure Window Screens for a Precise Fit
Measure before you cut to guarantee a precise fit. Start with accurate frame sizing, then confirm each opening against your screen material.
This keeps you aligned with the exact measurements and reduces rework.
Measure Before Cutting
To guarantee a precise fit, measure each window opening carefully before cutting any screen material. Start by recording width and height to the nearest 1/16 inch, accounting for any frame irregularities or protrusions. Check multiple points at both sides and top to confirm consistency, using the smaller measurement as the controlling dimension.
Mark your cut lines clearly on the screen material, then add a small waste margin if your frame isn’t perfectly square. When selecting material, match the mesh type to the window’s use and climate.
Focus on screen framing alignment and stable edge support, not guesswork. Apply clean, straight cuts with appropriate cutting techniques, using sharp shears or a utility knife guided by the marks.
Verify fit before framing and securing the screen.
Accurate Frame Sizing
Check for frame alignment by comparing opposite corners; if one corner sits off, adjust before cutting screen material. Account for glazing beads or hardware that may reduce usable space, and subtract any rebate depth when needed.
After establishing measurements, recheck to confirm consistency. This guarantees proper screen tension and long-lasting fit, preventing sag or gaps. With precise numbers, you’ll select a screen size that returns a clean, seamless look.
Install the New Screen: Step by Step
To install the new screen, you’ll start by preparing the frame so it’s square and clean.
Next, you’ll secure the spline tool and position the spline into the channel to hold the screen taut.
Keep each step steady, then trim excess material for a clean, durable fit.
Prepare the Frame
Install the new screen by ensuring the frame is clean, square, and free of burrs or rust. If the frame isn’t true, correct it now to prevent edge gaps and sash misalignment.
Focus on two quick prep tasks: frame reinforcement and paint touch ups, so the screen sits securely.
- Inspect corners for any looseness; clamp or nail joints as needed to restore rigidity.
- Apply light paint touch ups to expose bare metal or damaged wood, then dry thoroughly to avoid staining the new screen.
- Tighten mounting screws evenly, ensuring the frame stays square under tension.
- Clean the track and rebate, removing dust and debris that could trap the spline later.
With these steps done, you’re ready to install the screen without distortion.
Secure the Spline Tool
Now, set the spline tool in place and prepare to seat the new screen. Secure the tool firmly against the frame and confirm the tool’s edge is aligned with the groove.
You’ll guide the spline along the perimeter in a smooth, continuous motion, keeping steady pressure to avoid gouges. As you work, watch for gaps or loose corners; adjust your grip to maintain consistent tension.
If you encounter resistance, pause to realign and verify the groove is clean. Remember spline removal and spline replacement steps are part of this process, but you should minimize extra handling to prevent damage.
Once the frame is evenly pressed, finish by seating the last segment flush, then inspect the screen for tautness and proper seating before trimming excess spline.
Common Mistakes and Quick Fixes, Plus Maintenance Tips
Even small mistakes in measuring, cutting, or securing the frame can turn a simple screen replacement into a recurring problem; catching these early sets you up for a long-lasting fix. You’ll avoid repeat work by aligning spline grooves, trimming right, and testing tension before finalizing.
- Double-check dimensions before cutting, then recheck after fit.
- Use clean, taut screen material; skip over wrinkles that trap gaps.
- Seal edges with fresh spline and inspect corners for tight, even seating.
- Maintain screens by cleaning regularly and addressing gaps that invite pests.
Tip: for Screen cleaning, wash with mild soap and soft brush; Pest prevention relies on tight, intact mesh and proper frame sealing.
Frequently Asked Questions
How Long Does a Typical Screen Replacement Last?
A typical screen replacement lasts about 5 to 15 years, depending on use and climate. You should perform Screen cleaning and inspect for wear annually, and consider Frame repair if you notice loosening or gaps.
Can DIY Screen Replacement Affect Window Warranty?
When you replace a screen, you’ll trigger warranty implications if workmanship or materials fail, potentially void depending on manufacturer policies. You navigate this allegory like a shield, ensuring proper fit, approved components, and documented steps to protect warranty coverage.
Do Pets Cause Faster Screen Wear and Tear?
Pets can accelerate wear; they cause pet scratches and stress screen durability. You’ll see faster fraying where claws strike, so inspect regularly, trim nails, and reinforce frames to protect screen durability and extend life.
Are There Budget-Friendly Options Beyond Standard Screens?
Yes, consider alternative materials and DIY screen repair. You can use fiberglass or aluminum substitutes, reinforced mesh, or storm panels. DIY screen repair saves money; measure precisely, seal edges, and test airflow to guarantee durable, budget-friendly results.
How Should Screens Be Stored When Not in Use?
Like a quiet harbor, you store screens by cleaning first, then dry completely. You’ll keep them flat or in upright sleeves, labeled. Use screen cleaning, track every material option, and rotate stocks to prevent warping or mildew.
Conclusion
Replacing broken window screens boosts comfort and energy efficiency, while keeping bugs at bay. Choose the right mesh for your climate, measure carefully, and install with steady hands. Avoid common errors like neglecting frame corners or skipping a secure spline. Regular maintenance—clean quickly, inspect seals, and replace torn screens—extends life and performance. For instance, a DIY homeowner saved $150 by swapping a damaged screen in a single afternoon rather than hiring a pro. Quick fixes pay off.