

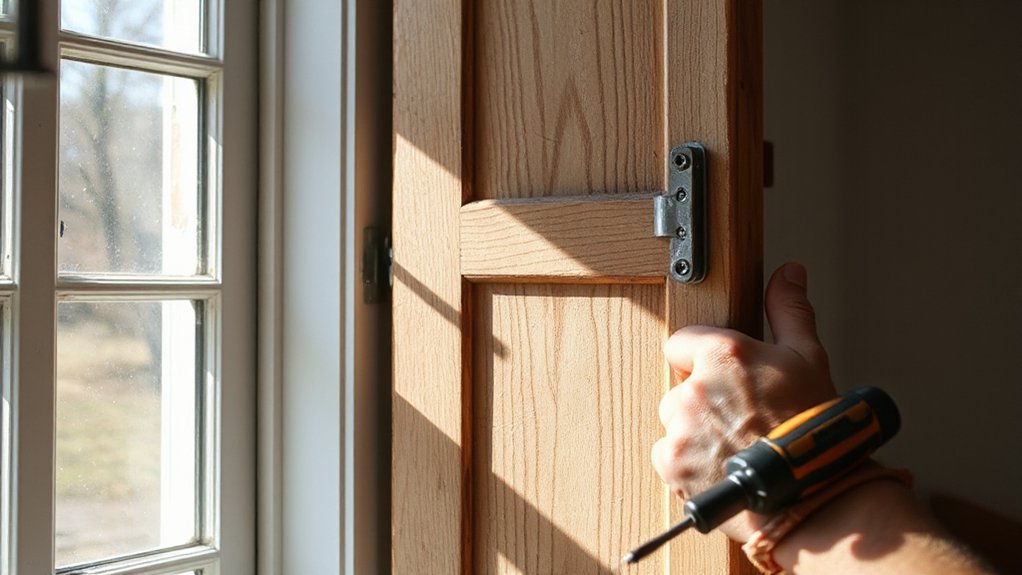

Identify your vertical sliding window type and frame (slider-in-frame, pocketed, fixed or movable sash), confirm frame material, and note any counterweights or balance systems. Gather a putty knife, flat screwdriver, needle-nose pliers, utility knife, gloves, glasses, and a dust mask. Safely release sash by disengaging balancers and stops, then lift or guide it out level. Detach tracks and hardware, document routing, and remove the sash for glass or frame replacement. When you’re ready for the next steps, you’ll be set to proceed.
Key Takeaways
- Identify if the window uses a slider-in-frame or pocketed design and note frame material (vinyl, aluminum, wood).
- Release sash locks and balance/stop mechanisms, then carefully lift or tilt the sash to disengage from the frame.
- Support the sash while sliding it upward, ensuring it remains level to prevent binding or glass damage.
- Detach top/bottom tracks and balancer components, documenting hardware routing before removal.
- Remove sash, glass, or frame components for repair, then reassemble and test operation after replacement.
Identify Your Vertical Sliding Window Type and Frame
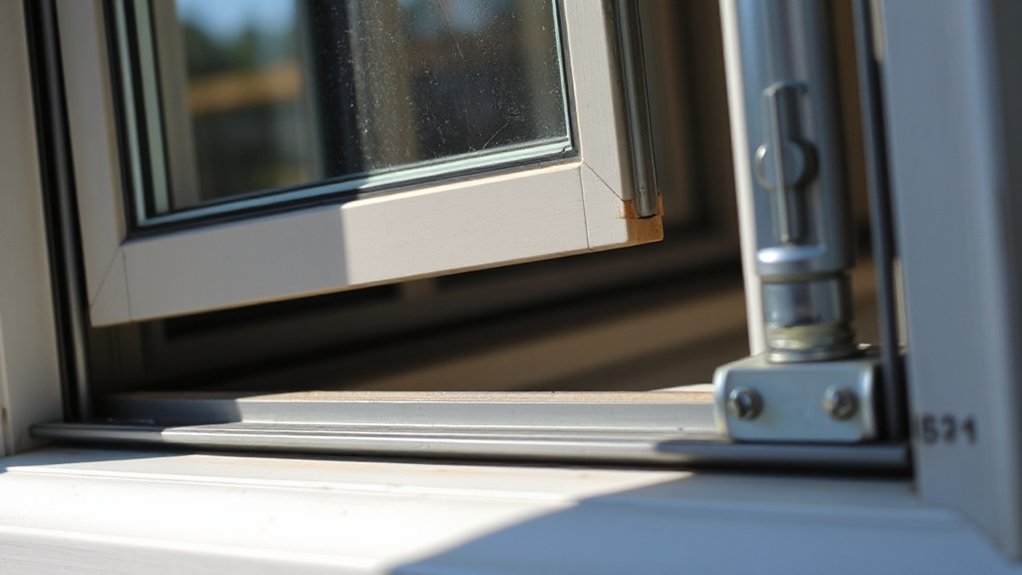
Identify the specific type of vertical sliding window you have and the frame it sits in. You’ll determine whether it’s a sliders-in-frame or a pocketed design, and note if the sash is fixed or moves freely.
Confirm the frame material (vinyl, aluminum, wood) and any counterweights or balance systems.
Check for integrated sash stops, pivots, or break-in tabs, and identify maintenance components that affect removal.
Consider window security features that restrict sash travel and how to disengage them safely.
Record ventilation options the unit offers, such as operable top and bottom sashes or side vents, to plan for airflow after removal.
This assessment prevents damage, guides tool choice, and keeps your workspace clear of unnecessary obstructions.
Gather Tools and Safety Gear for Sash Removal
To remove the sash safely, assemble the right tools and PPE before you start. Gather a putty knife, flat-head screwdriver, needle-nose pliers, and a utility knife for any glazing compound or paint. Have a utility blade sharp and retractable to avoid chipping.
Wear insulated gloves, safety glasses, and a dust mask; keep a hard surface nearby to protect glass edges. A vacuum or brush helps control debris.
Inspect for corrosion or frayed cords on hardware, and set a stable ladder or step stool with a helper if needed.
Plan cleaning techniques for residue after removal, and consider replacement options for worn hardware before reinstalling.
Keep labels or notes on part positions to streamline reassembly and prevent misalignment.
Release the Sash From the Frame (Balancers and Stops)
Release the sash from the frame by disengaging the balancers and stopping mechanisms first. You’ll locate the balance guides and stops, then release any tension while keeping hands clear of the track.
With the sash supported, back out or lift the locking cam or sash lock to free the vertical movement. If the window uses a spring-loaded balance, gently release the hook or retainer to prevent sudden drop.
Check for window locking before any further movement; confirm all locking pins are disengaged.
Once free, guide the sash slowly up and out of the frame, keeping it level to avoid binding.
After removal, inspect tracks and lubricate with light sash lubrication if needed before reinstall.
Detach Tracks, Balancers, and Hardware Safely
With the sash removed, detach tracks, balancers, and hardware by working methodically from top to bottom to prevent sudden shifts. Begin by loosening mounting screws securing the top track to the frame, then support the sash side while you slide the track free.
If a spring or balance cord resists, photograph its routing before release to guide reassembly. Carefully detach the balancer shoe from the sash carrier, keeping fingers clear of springs.
Label or bank bolts and keepers as you remove them to avoid mix-ups during reinstallation. Remove any retaining clips or jamb guides, then lift the hardware assembly away as a unit.
Inspect all components for wear, note any misalignment, and document for Frame repair and future Window hardware servicing. Return to a safe, flat surface for inspection.
Remove the Sash for Glass or Frame Replacement
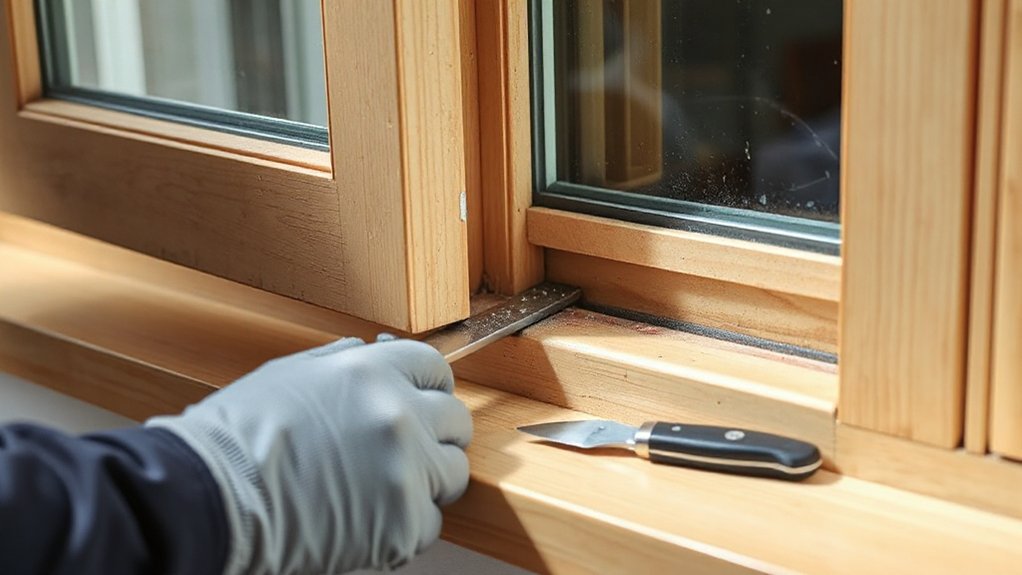
To remove the sash for glass or frame replacement, start by securing the window and removing any stops or fasteners that hold it in place.
Lift the sash evenly, then tilt or slide it out of the frame as per your model’s design, keeping hands clear of glass edges.
Inspect the sash and frame contact points for wear and note any adjustments needed for reinstallation.
Remove Sash Carefully
Carefully remove the sash to access the glass or frame components. You’ll detach sash stops, then disengage balance systems without forcing parts.
Inspect decorative hardware for corrosion or wear; replace or service as needed before removal proceeds.
Support the sash with one hand while releasing screw-fastened pivots or clips with the other, keeping fingers clear of the window tracks.
Slide the sash upward to clear bottom guides, then tilt and extract it from the frame carefully.
Maintain alignment of the sash rails to avoid binding on reinstallation.
Note window insulation considerations: avoid gaps around the sash during handling to preserve thermal efficiency.
Store the unit upright to prevent twisting, and label components for accurate reassembly.
Verify clearances and smooth travel before proceeding to glass or frame replacement.
Glass or Frame Replacement
Before you start glass or frame replacement, remove the sash as you did earlier to free access and prevent binding. You’ll expose the window opening and identify obstruction points, then inspect for warping, misalignment, or seized hardware.
Assess window frame materials to determine proper handling, fastener types, and compatible sealants. For glass replacement techniques, detach glazing beads or use a controlled pressure tool to release stubborn panes without frame damage.
Support the glass with padding and guide it straight out to avoid chipping. Replace with identical thickness and tempered or laminated options as specified, ensuring reproducible edge seals.
Reinstall beads or retainer strips, recheck squareness, and test smooth operation. Finish with proper weatherstripping, recaulk any joints, and verify alignment for best performance.
Inspect, Clean, and Plan Reassembly or Disposal
How can you verify the window’s condition before proceeding? Begin by inspecting the sash, frame, and hardware for wear, corrosion, cracks, or bent tracks.
Clean the interior surfaces with a damp cloth to remove dust and debris. Then check for smooth operation by sliding the sash up and down.
Note any binding, uneven gaps, or degraded seals that could affect reassembly. Decide whether components are reusable or need disposal, documenting part numbers and measurements for replacement.
For clean-up, collect fasteners and save compatible parts to support window maintenance if you reassemble.
If reusing components, plan frame repair or reinforcements as needed, and test after reinstallation.
Dispose of damaged parts per local codes, and label remaining hardware for future maintenance.
Frequently Asked Questions
Can You Remove the Sash Without Removing the Window From the Wall?
Yes, you can. Sash removal is possible with wall preservation; carefully loosen fasteners, tilt sash, disengage hinges, and raise it slightly. Confirm structural support stays intact, verify stops and balance springs, then guide sash out through the opening.
What Hazards Could Cause Glass to Shatter During Removal?
Glass safety risks include impact, edge damage, and improper supports that can cause sudden shattering; stay alert to hazard awareness and use PPE. By the way, you’ll want to secure the pane and minimize vibrations—don’t underestimate this!
How to Replace Broken Balance Clips After Detaching the Sash?
Balance clip replacement requires you to align new clips, then secure with screws during sash detachment techniques. You’ll verify proper tension, test glide, and guarantee balanced operation before reinstalling the sash and reseating glazing.
Are There Universal Tools That Fit All Vertical Sliders?
Universal tools don’t fit all vertical sliders; you’ll need model-specific fittings. Start by identifying your slider’s brand, then check compatibility guides. If universal tools exist, use them cautiously, ensuring snug engagement to avoid bending channels or damaging sills.
How to Dispose of Old Aluminum and Glass Safely?
You should sort and recycle aluminum and glass, using eco friendly disposal methods. You’ll strip components, protect yourself, and place materials in designated recycling streams, then contact local facilities for aluminum recycling requirements to maximize reuse and minimize waste.
Conclusion
You’ve identified your window type, gathered the right tools, and released the sash with controlled, deliberate motions. As you detach tracks and balancers, think of safety as your compass and precision as your guide. With the sash free, inspect and plan—either replace glass or frame, or seal the old with purpose. Reassembly becomes choreography: methodical, predictable, almost mechanical. When you’re done, admire a job cleanly done, like a door opening to a new, brighter view.



