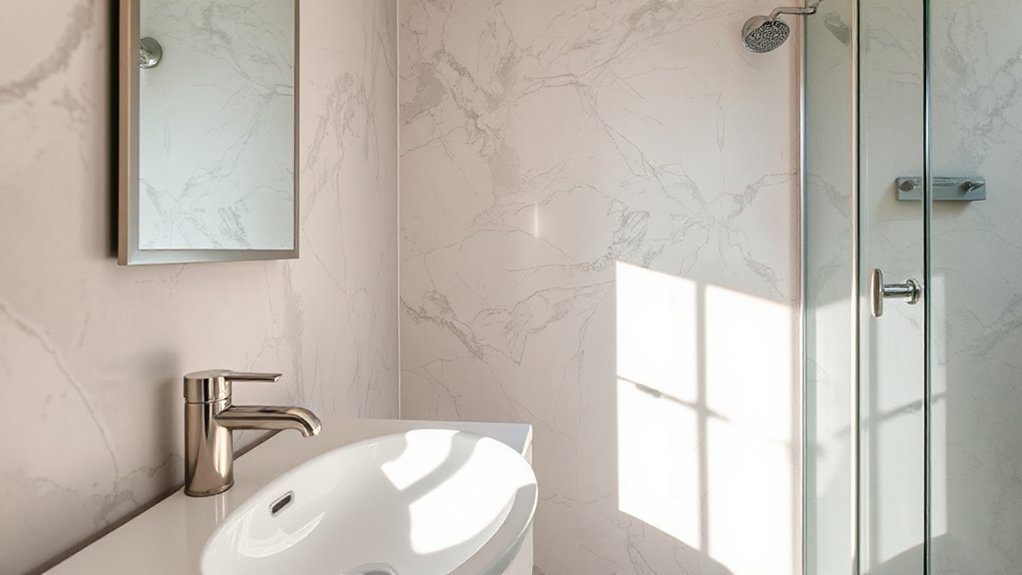

Removable wallpaper works well in bathrooms because many options are moisture-tolerant and wipeable, so you get stylish finishes without damaging painted walls. Choose peel-and-stick varieties with strong, residue-free adhesive and prints that hide minor moisture blooms. Prep is key—clean, dry, and smooth walls, vent during installation, and measure carefully. Apply from the center outward and smooth out bubbles. For removal, score lightly and mist with warm water; you’ll see how easy it is to refresh spaces like ceilings or nooks—plus more tips ahead.
Key Takeaways
- Choose moisture-resistant peel-and-stick wallpaper with durable adhesive and wipeable finishes for bathroom humidity and easy cleaning.
- Prepare walls by cleaning, drying, lightly sanding glossy areas, and testing bond strength before full application.
- Apply with reference lines, smooth from center outward, and use a squeegee to prevent bubbles for seamless seams.
- Ensure proper ventilation during and after installation, and inspect for moisture, leaks, and mold around sinks and vanities.
- Plan long-term maintenance and removal: re-wet to release adhesive, score small sections, and remove without damaging painted walls.
Why Removable Wallpaper Works in Bathrooms
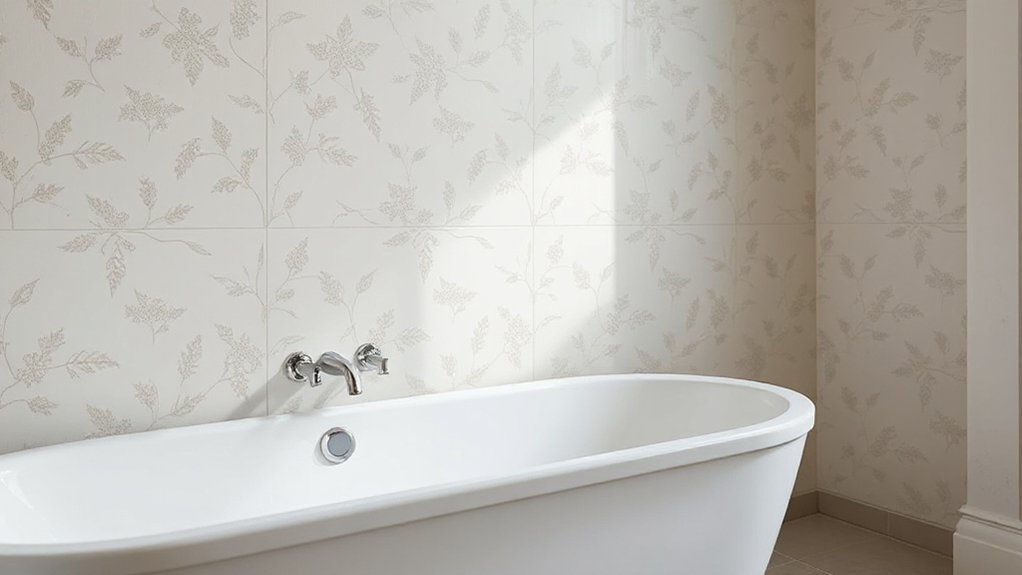
Removable wallpaper works in bathrooms because it’s designed to handle moisture better than traditional papers and paints. You’ll notice that its adhesive and substrate resist peeling when humidity spikes, making maintenance simpler.
This type of wallcovering tolerates routine temperature shifts without cracking or warping, so you won’t fight constant touch-ups. You gain flexibility when you want a fresh look, as removal leaves no residue or damage to painted walls.
For practicality, select patterns and finishes that suit damp environments and wipe clean easily. Vintage patterns bring a timeless feel without long-term commitment, while bold colors inject energy into small spaces.
The combination delivers durability, ease of installation, and refreshed aesthetics, helping you maintain a clean, stylish bathroom with minimal downtime.
Choose Moisture-Resistant Peel-and-Stick Wallpapers for Bathrooms
Check adhesive types; Eco friendly adhesives are a plus, but guarantee they grip well on bathroom walls without residue. Consider patterns and textures that disguise minor moisture blooms or water droplets.
Vintage patterns can add character while remaining timeless, but verify print durability against steam exposure. Opt for wipeable finishes to simplify cleaning and maintenance.
Measure accurately, account for seams, and choose a single cohesive color palette to prevent pattern overload. Finally, confirm the peel-and-stick variant is designed for vertical application on painted or sealed surfaces.
Prep Steps for a Flawless Bathroom Peel-and-Stick Installation
Before you apply, start with thorough surface prep and choose the right primer to boost adhesion. I’ll walk you through cleaning, smoothing, and priming.
Plus, I’ll give you tips on selecting adhesive for your wall type. With these basics sorted, you’ll set up a strong foundation for a flawless peel-and-stick install.
Surface Preparation Essentials
To guarantee a flawless bathroom peel-and-stick install, start with a meticulous surface prep routine: clean, dry, and flat is non-negotiable. You’ll assess walls for texture, gloss, and contaminants, then scrub with a mild detergent, rinse, and let dry completely.
If you encounter soap scum, mineral deposits, or paint residue, remove them with appropriate cleaners and a plastic scraper, avoiding damage. Sand high-gloss areas lightly to promote adhesion, wipe away dust, and ensure a damp-free environment before application.
Informed by historical trends and cultural influences, choose a wall surface that aligns with the tile and fixture style to avoid future peeling.
Mask outlets and fixtures, and test a small section with the adhesive before full installation to confirm bond and consistency.
Keep temperature steady and follow manufacturer guidelines.
Primer and Adhesive Tips
With the wall prepped, it’s time to address primer and adhesive stability to guarantee a clean peel-and-stick bond. Begin by choosing a high-quality, water-based primer designed for bathroom moisture and mold resistance; this improves adhesion on glossy or nonporous surfaces. Allow full curing per manufacturer instructions before applying wallpaper.
For adhesives, opt for a removable, fabric-backed or vinyl adhesive labeled suitable for bathrooms, ensuring easy removal without wall damage. Apply a thin, even coat of primer and let it dry completely to prevent peeling edges.
When selecting products, consider historical trends toward durable, low-odor formulas and eco-friendly options that minimize volatile organic compounds. Test a small area first, press firmly, and roll from the center outward to reduce air bubbles.
Surface Suitability: Walls, Tile, and Behind Vanities
Your wallpaper picks should start with where you’re applying it: assess wall options, note tile compatibility, and plan for spaces behind vanities.
For walls, choose smooth, primed surfaces and confirm moisture tolerance.
For tile, look for compatible textures and grout lines that won’t trap moisture.
Behind vanities, address uneven backing and potential moisture exposure so you can prep correctly and avoid lifts later.
Wall Surface Options
Choosing the right wall surface is essential for removable wallpaper in bathrooms because humidity and heat can affect adhesion and longevity. You’ll want surfaces that are smooth, clean, and stable.
Plain walls with a solid plaster or drywall base, properly sealed, accept peel-and-stick better than textured or crumbling surfaces. If you have painted walls, verify the paint is current and well-adhered before installation.
For tile, you can apply over sealed, glossy surfaces with the right adhesive backing or use a compatible primer before layering.
Behind vanities, inspect for moisture damage and fix leaks to prevent future issues.
Prioritize bathroom ventilation and mold prevention by maintaining airflow and addressing any damp spots promptly to protect your wallpaper investment.
Tile Compatibility Guide
Tiles bring unique considerations for removable wallpaper in bathrooms. You’ll want to verify tile surfaces tolerate adhesives without damage and that grout lines don’t show through patterns. For best results, follow a simple compatibility checklist:
- Assess tile texture and glaze—smooth, sealed surfaces work best for clean removal.
- Check grout, caulk, and joints—bare, recessed, or porous areas may trap moisture and affect adhesion.
- Plan color coordination and pattern density—busy tiles require calmer wallpaper to avoid visual clutter.
Wallpaper trends show easy remove-and-replace options, but you must prep edges and seams so the wallpaper sits flush.
If you’re applying behind vanities, guarantee moisture barriers are intact. Use a primer suited for tile, and test a small patch first to confirm adhesion and removal ease.
Behind Vanities Prep
Start with a moisture check: 5–7% humidity is ideal, and install a vented exhaust to suppress damp pockets.
Inspect behind-vanity cavities for leaks, mold, or damp wood, repairing as needed before any adhesive touches the surface.
If tile backsplashes exist, seal grout to prevent moisture creep behind wallpaper edges.
Choose wallpaper with strong peel-and-stick adhesion and wipeable surfaces for bathroom life.
Plan color coordination by pairing vintage patterns with solid tones that echo fixtures and cabinetry.
Measure carefully around plumbing cutouts, and test a small patch behind the vanity first.
This prep protects longevity and preserves aesthetic integrity.
Pattern and Color to Elevate Small Bathrooms
Pattern and color are your best tools for making a small bathroom feel bigger and more polished when using removable wallpaper. You’ll use scale, contrast, and subtle hues to open the space without overwhelming it.
Opt for light, cool tones to reflect light and create depth, then select a pattern with a fine repeat to avoid visual clutter. Coordinate with practical hardware and finishes to keep the eye moving.
1) Choose a large-scale pattern on one feature wall to create a focal point without crowding.
2) Use a pale background with a restrained accent color for balance and brightness.
3) Pair with bright, efficient bathroom lighting and solid ventilation solutions to maintain the look.
This approach keeps the room feeling airy, functional, and cohesive.
Apply Without Bubbles: Clear Steps and Tips
To prevent bubbles, start with a clean, dry wall and align the wallpaper edges before smoothing.
Use firm, even pressure and a smoothing tool to work from the center outward, paying attention to air pockets as you go.
For best results, keep the surface tacky enough to slide slightly during positioning, then set it firmly to achieve a bubble-free finish.
Smoothing Techniques Essentials
Smoothing techniques are essential for a flawless bathroom wallpaper install, and they start long before the adhesive goes on. You set the tone with clean walls, inspect for defects, and plan your layout to match wallpaper patterns without awkward joins. Use steady pressure as you level to avoid trapping air, and keep fluidity seamless where panels meet.
Ready your tools and test adhesive formulas on a hidden edge to avoid surprises. Remember that patience reduces touch-ups and bubbles later.
- Mark reference lines to guide alignment and cutting.
- Apply even pressure with a smoothing tool from center outward.
- Recheck panels after set time, adjusting edges as needed.
Efficient smoothing minimizes waste, improves adhesion, and showcases wallpaper patterns with confidence.
Bubble-Free Application Tips
After prepping your walls, you’re ready to apply wallpaper without catching air pockets. Start by aligning the top edge with the ceiling line, then smooth downward with a firm but even pressure. Work from the center outward to push bubbles toward the edges, using a clean squeegee or credit card.
If a bubble forms, prick it gently with a pin and press flat. Keep adhesive evenly distributed at the seams to prevent lifting.
For a professional finish, choose color coordination that enhances bathroom lighting and tones. Pattern selection matters, so match repeat direction to your wall length and fixture placement.
Recheck corners as you go, applying steady pressure to avoid puckering. Allow recommended drying time before trim removal and cleaning.
Maintaining Removable Wallpaper in Humid Bathrooms
- Make sure your exhaust fan runs during showers and for 20 minutes after, choosing a model rated for the room size.
- Wipe down walls after hot, steamy use to remove condensation before it dries.
- Check seams monthly for signs of bubbling, and reseal any exposed edges with the adhesive recommended by the wallpaper maker.
With proper ventilation and routine checks, you minimize moisture buildup and preserve color fidelity. Use a mildew-resistant cleaner as needed to sustain a clean, durable surface.
Remove Wallpaper Without Damage
To remove wallpaper without damage, start by using steady, patient techniques rather than brute force. You’ll preserve painted surfaces, backing, and adhesives by working methodically.
Score small sections lightly with a utility knife only where wallpaper isn’t fully adhered, then mist with warm water or a green cleaner that’s designed for walls. Let it sit briefly, then lift the edge with a plastic scraper, keeping steady pressure to avoid gouges.
Work in panels, not rows, to minimize tugging on seams. If adhesive resists, re-wet and pause again.
Historical context reminds you that older papers used stronger glues, while cultural influences guide choosing eco-friendly solutions today.
Finally, blot dry and inspect the surface before redecoration to prevent replaying damage.
Cost Breakdown: Materials, Tools, and Time
When budgeting for removable wallpaper in bathrooms, start with a clear tally of three core costs: materials, tools, and time. You’ll consider Historical trends to gauge value and durability, and favor eco friendly materials to minimize impact.
- Materials: choose peel-and-stick or removal-ready wallpaper, plus primers and sealants.
- Tools: squeegee, utility knife, level, and a soft brush for seams.
- Time: factor prep, application, and cure, plus potential touch-ups.
Choosing economical options without sacrificing quality helps you stay on budget. Eco friendly materials often cost a bit more upfront but reduce waste and exposure to solvents.
Track your purchases, estimate labor hours, and build a conservative contingency to avoid overrun.
Design Ideas: Feature Walls, Ceilings, and Nooks
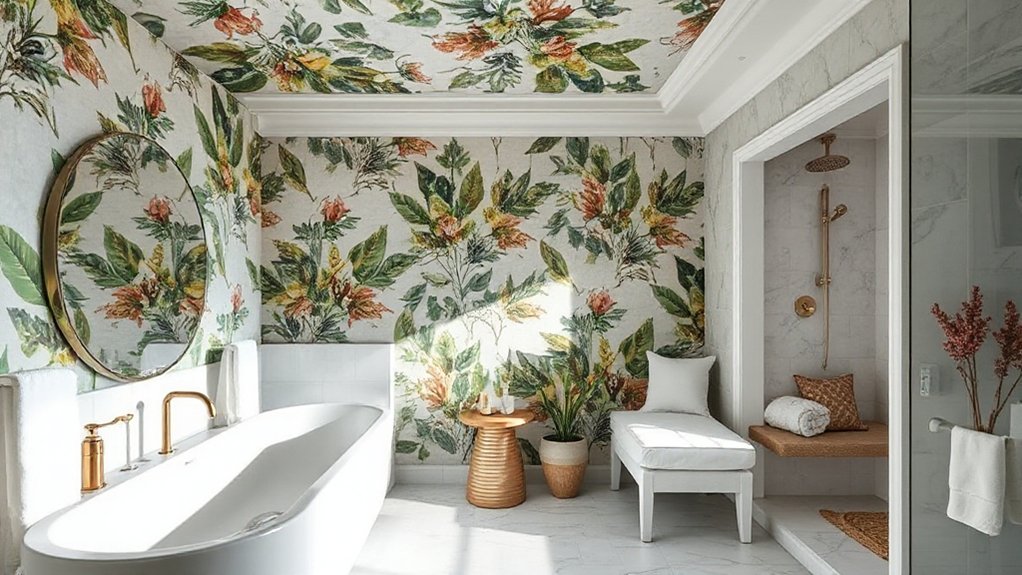
Feature walls, ceilings, and nooks offer bold, budget-friendly ways to elevate a bathroom with removable wallpaper. You can create a focal wall behind the vanity or tub, using a pattern that complements your fixtures and tile.
For ceilings, choose light, airy designs to visually expand the space, or go dark for a dramatic canopy effect.
Nooks—shelves, alcoves, or recessed panels—benefit from subtle textures that add depth without overwhelming nearby surfaces.
Remember to plan for practicalities: guarantee bathroom lighting highlights the design and avoids glare, and coordinate with ventilation systems to prevent moisture buildup.
Opt for wallpapers with a vinyl or laminated finish for durability in damp zones, and seal edges to reduce peel risk.
Maintain clean, even seams for a polished look.
Renters’ Quick, Reversible Design Swaps
Removable wallpaper is a smart, reversible solution for renters who want style without commitment. You don’t have to paint or commit to permanent fixtures; you can swap looks as trends shift, or as rooms change functions.
To maximize impact, pair swaps with practical updates.
- Update Bathroom lighting: choose fixtures that highlight color and texture without structural changes.
- Tackle ventilation solutions: guarantee good airflow to keep wallpaper pristine and prevent moisture buildup.
- Layer accents: add towels, rugs, and mirrors that echo the new wallpaper for cohesive impact.
This approach keeps you flexible, affordable, and stylish. You’ll protect walls, maintain landlord goodwill, and enjoy fresh aesthetics on a schedule that suits you.
Troubleshooting Common Issues and Fixes
If you want reliable results from removable wallpaper in bathrooms, start with common issues and practical fixes you can implement quickly.
First, peeling edges? Recut loose corners and reapply with a light tapping pressure, then seal edges with a clear adhesive.
Bubbling? Lift nearby sections, press from the center, smooth toward the edges, and avoid air pockets by using a plastic smoother.
Misalignment? Undo the affected strip and reseat after cleaning the wall surface for better adhesion.
Poor removal? Use a warm cloth to loosen adhesive before peeling slowly.
Humidity problems? Allow the room to vent during install and cure, preventing adhesive failure.
For long-term success, confirm wallpaper installation supports easy design coordination and routine maintenance.
Frequently Asked Questions
Can Removable Wallpaper Resist Bathroom Steam Long-Term?
Yes, removable wallpaper can resist bathroom steam long-term if you choose moisture-resistant material and guarantee proper installation. It maintains moisture resistance when you avoid excess humidity, and adhesive durability stays strong with sealing edges and ventilation.
Which Finishes Look Best in Small Bathrooms?
Small bathrooms shine with light neutrals or airy pastels, plus glossy accents. You’ll love high-contrast trim for depth, and soft marble-inspired patterns. Design patterns and color coordination guide you to visually expand space and keep it cohesive.
How to Cover Seams Near Fixtures Neatly?
You’ll achieve neat seams near fixtures with precise seam alignment and careful trimming. Cut panels to fit around outlets and faucets, then press firmly. Use matching adhesive and patience for flawless fixture coverage, preventing gaps and peeling.
Is There a Risk of Mold Under the Wallpaper?
Yes, there’s potential risk, so you should watch for moisture and mold. You’ll minimize issues via mold prevention tactics, guarantee proper ventilation, and choose durable, waterproof material. With care, wallpaper durability stays strong and surfaces stay dry.
Can Renters Reuse Wallpaper After Removal?
Yes, you can reuse wallpaper after removal, but check for damage. If you’re a renter, consider wallpaper removal quality, moisture impact, and potential adhesive residue; assess renter considerations and whether reuse aligns with your landlord’s policies.
Conclusion
Removable wallpaper in bathrooms is a smart, practical upgrade—easy to install, swap, and maintain. With moisture-resistant peel-and-stick options, you can refresh walls, ceilings, or nooks without committing to paint. Prep matters: clean, dry, and prime spots where tiles or vanities sit, and choose surfaces that tolerate moisture. If a seam peels, fix it promptly; replace stubborn damp patches. Think feature walls and reversible renter-friendly accents. Quick, confident design wins—like spotting a steampunk teapot in a modern flat.