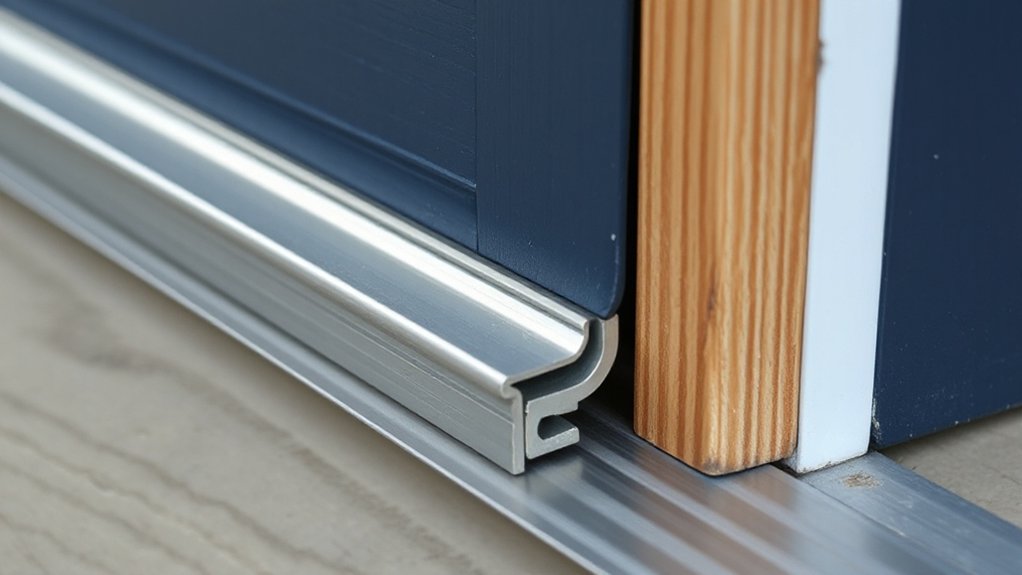

Weatherstripping exterior doors cuts drafts, lowers energy bills, and reduces noise by sealing gaps around the door frame. Choose the right material for your climate—silicone for hot or humid regions, closed-cell foam for dry or cold areas, or EPDM rubber for moisture resistance. Measure gaps at the top, sides, and bottom, then tailor your installation with the right profile for sidelights, thresholds, and jambs. With proper prep and adjustments, you’ll seal tightly and last longer—keep going to learn more.
Key Takeaways
- Weatherstripping reduces drafts and energy loss, improving comfort and HVAC efficiency for exterior doors.
- Choose materials (foam, rubber/silicone, vinyl, or metal inserts) based on climate and door type for best seals.
- Proper measurement, door fit checks, and surface prep ensure effective installation and long-lasting seals.
- Use appropriate strips around sidelights, thresholds, and jambs to prevent heat loss and wind intrusion.
- Regular inspection, cleaning, and maintenance extend seal life and preserve door performance.
How Weatherstripping Reduces Drafts, Bills, and Noise
Weatherstripping is one of the simplest, most effective ways to cut drafts, lower energy bills, and quiet noise around exterior doors. You’ll feel the difference as soon as you seal gaps at the threshold and trim edges.
By blocking air leaks, you reduce heat loss in winter and heat gain in summer, so your HVAC runs less and stays on a steadier cycle. This straightforward step also minimizes street-noise intrusion and door rattling, improving comfort without costly upgrades.
Consider Historical weatherproofing perspectives to understand long-term practices and evolving materials. You’ll also weigh environmental impact when choosing materials and installation methods, prioritizing durable, low-VOC options that minimize waste.
With precise application, you gain efficiency, reliability, and quieter, more predictable indoor conditions.
Key Weatherstripping Types and Where They Shine
Understanding the main weatherstripping materials helps you pick the right fit for your door type and climate.
We’ll look at how materials differ, what doors they suit, and how performance varies from mild to extreme conditions.
This starts a practical compare-and-contrast so you can choose confidently for long-term drafts and energy savings.
Weatherstripping Materials Overview
There are several common weatherstripping materials, each suited to different door types and climate conditions, so choosing the right one matters. You’ll balance durability, compression, and ease of installation, while honoring Historical weatherproofing traditions and exploring Innovative materials shaping today’s options.
Consider these options:
1) Felt: simple, cheap, but less durable in cold drafts.
2) Foams (open-cell or closed-cell): versatile, easy to cut, good sealing at gaps.
3) Rubber or silicone: resilient, long-lasting, handles weather shifts well.
4) Vinyl or vinyl-clad options: affordable, low maintenance, decent seal, variety of profiles.
Pick based on door clearance, traffic, and seasonal shifts. Expect better comfort, reduced drafts, and fewer energy penalties when you match material to your climate and door design.
Door Type Compatibility
Which weatherstripping types shine on which door types? You’ll match door types with the right solution for a tight seal and smooth operation.
For flush or paneled interior doors, door hinge jams and rail tracks benefit from vinyl or silicone door sweeps that compress evenly.
Meanwhile, door bottom thresholds pair with tubular weatherstripping to bridge gaps.
For exterior doors with metal or composite cores, you want sturdy vinyl foam tape around the door frame and a magnetic or compression weatherstrip near the hinge side, ensuring the door stays aligned and doesn’t sag.
If your door uses a lock mechanism, consider a compatible astragal or self-adhesive bulb seal to preserve latch function.
Choose products rated for exterior wear and test door closure after installation.
Performance Across Climates
Different climates stress weatherstrips in distinct ways, so you’ll want to pick types that perform reliably where you live. Across climates, some materials shine in daily blocking and longevity, while others excel at sealing during seasonal shifts.
To guide your choice, consider these patterns:
1) Door sweeps with rigid aluminum cores for stability in high wind zones
2) Vinyl or rubber bulbs that compress well as indoor humidity fluctuates
3) Flexible foam tapes that fill irregular gaps but may require re‑sealing over time
4) Weatherstripping with metal inserts that resist warping in extreme heat or cold
Prioritize products that maintain a tight seal during seasonal transitions, and verify compatibility with your door’s swing and threshold.
This keeps interior comfort steady and energy costs predictable.
Pick the Right Material for Your Climate
Choosing the right material for weatherstripping depends on your climate: hot, cold, humid, or arid.
In hot climates, choose flexible silicone or silicone-foam hybrids that resist UV degradation and stay pliable.
For cold environments, opt for polyurethane or santoprene that compress well and retain memory after freezing.
Humidity calls for EPDM rubber or silicone with moisture resistance to prevent mold and sticking.
Arid regions benefit from closed-cell foams that resist cracking from dryness and temperature swings.
Consider color options to blend with trim, not distract from curb appeal.
Assess installation tools you’ll actually use: a utility knife, straight edge, and a caulk or sealing gun.
Match density to door gaps for a tight seal, then test smooth operation without binding.
Assess Your Door and Gap Sizes Before Buying
Start by measuring your gap sizes at the door frame and along the sill, so you know exactly what your weatherstripping needs to fill.
Check how the door fits in the jamb—watch for rubbing, sticking, or days when it sits too loosely.
With this data, you can select a kit that matches both the gap widths and the door’s clearance for a tight, efficient seal.
Measure Gap Sizes
Measure the gaps around your exterior door carefully before buying any weatherstripping. You’ll assess height, width, and the sides to determine what material and thickness you need. Precision prevents wasted products and drafts.
Here’s how to measure efficiently:
1) Remove any loose debris from the frame so readings are accurate.
2) Check top, middle, and bottom clearances for vertical gaps.
3) Probe hinge and strike areas for narrow, stubborn spaces.
4) Note any door warp or misalignment that affects fit.
Use your measurements to choose appropriate foam, rubber, or rigid seals. Proper gap sizing supports door decoration and security enhancements by reducing drafts and improving overall fit.
Accurate measurements save time, money, and effort.
Inspect Door Fit
To assess door fit, start by visually inspecting the gap uniformity around the entire door while inspecting the frame. You want consistent gaps at top, sides, and bottom; irregular gaps signal alignment or hinge issues.
Check for binding when you open and close the door, noting any friction or binding points that affect seal potential.
Measure the head and jamb clearances with a thin ruler or gauge, and compare to your door’s spec sheet.
Inspect hinge alignment; loose or sagging hinges can skew gaps and require door hinge maintenance before proceeding.
Consider the door’s condition: warped panels or swollen wood can alter fit.
If repainting, verify exterior paint durability won’t mask alignment problems.
Address adjustments first, then recheck gaps for a reliable seal.
Gather Tools and Materials You’ll Need for a DIY Install
Before you begin, gather these basics: a tape measure, a utility knife, a screwdriver (and a drill if you’ll need driver bits), a pry bar or putty knife, and masking or duct tape.
- Measuring tools and marking aids: precision matters for fit and seal.
- Cutting and fastening: blades, bits, screws, and a bit driver.
- Removal and prep: pry bar, putty knife, and protective tape for surfaces.
- Sealing essentials: weatherstripping materials, caulk, and a simple caulk.
Indoor humidity and exterior paint considerations influence material choice and prep steps, so select compatible weatherstripping profiles and finishes.
You’ll want surfaces clean and dry, with paint fully cured, to maximize adhesion and longevity.
Have a small flashlight on hand to check tight corners and margins.
Step-by-Step Weatherstripping for an Exterior Door
First, you’ll measure the door gaps to know exactly where air leaks sit.
Then, you’ll apply weatherstripping techniques in a precise, step-by-step order to seal those gaps.
This guarantees a snug fit and improved energy efficiency right from the first attempt.
Measure Door Gaps
How wide are your door gaps, and where are they most noticeable? You’ll measure at the top, middle, and bottom of the door to locate the widest spots. This helps you plan effective sealing without overdoing it.
- Look along the threshold and observe how daylight or drafts stream in.
- Check both sides near the door hinge and the opposite jamb for uneven gaps.
- Test along the weatherstripping contact points when the door is closed.
- Note gaps that vary with weather or humidity, signaling where to adjust.
Record findings and prepare materials. If a hinge or strike area shows rigidity, remove and inspect it.
Use weatherstrip adhesive only where panels press evenly, and avoid forcing sealant into the hinge area.
Apply Weatherstripping Techniques
Once you’ve identified the gaps, install the appropriate weatherstripping in stages to guarantee a snug fit across the door—start at the top, then mid, and finally the bottom, checking as you go for even contact with the doorframe.
Begin with a tight seal at the hinge side, then trim to fit without stretching.
Apply adhesive-backed foam or a T-style gasket where gaps are widest, and switch to door sweeps or vinyl for the threshold area.
Test by closing firmly and feeling for drafts; rebalance if needed. Maintain constant pressure until seals seat.
Weatherproofing tips: keep hinges lubricated and adjust as needed. Seasonal adjustments may require rechecking compression and resealing before cold snaps.
Troubleshooting Common Installation Hiccups
If you run into installation hiccups, start by rechecking the door and frame for dry-fit gaps, ensuring the door sits plumb and level before reapplying weatherstripping. You’ll address issues efficiently by inspecting hardware, cleaning surfaces, and correcting adhesive application, then reassess alignment.
- Check hinge alignment and adjust shims to restore plumb.
- Recut or reposition weatherstripping where compression is excessive or uneven.
- Tighten screws to reduce rattling and improve seal integrity.
- Test swing and seal at all edges, noting any persistent gaps.
Historical weather patterns inform timing for sealant curing and material choices; consider environmental impact when selecting materials, opting for low-emission products and recycled packaging.
Maintain documentation for future adjustments and energy performance.
Weatherstripping for Sidelights, Thresholds, and Jambs on Exterior Doors
Weatherstripping around sidelights, thresholds, and jambs demands careful attention to fit and durability, since these areas are common sources of drafts. You’ll want a tight seal at all contact points, not just the main door.
Start with sidelight insulation by choosing weatherstripping compatible with glass edges and metal frames, ensuring a snug fit without constricting operation.
For thresholds, opt for self-adhesive or screw-in seals that compress evenly when the door closes, delivering reliable threshold sealing without creating noise or drag.
Inspect jambs for gaps and install continuous weatherstripping along the full length to prevent heat loss.
Maintain hinges and strike plates so movement stays smooth. Keep joints clean, replace worn pieces promptly, and test with a draft check for lasting performance.
How to Measure and Replace Damaged Weatherstripping
To start, measure the door’s weatherstripping in one straight run along the frame, noting any gaps, compression points, and the type (foam, vinyl, or rubber) you’ll need to replace.
Then, follow these steps to replace damaged material efficiently:
- Remove old strip completely, clean residue, and save fasteners if reusable.
- Match new strip length to door rail, allowing slight excess for contact.
- Install steadily, sealing corners before midsections for even compression.
- Test closure, re-seat as needed, and trim excess for a snug fit.
This approach honors Historical weatherproofing and supports Eco friendly materials while delivering durable, cost-effective results.
You’ll improve energy efficiency and seal without overhauling the door.
DIY vs Pro: When to Save by Doing It Yourself or Hiring Help
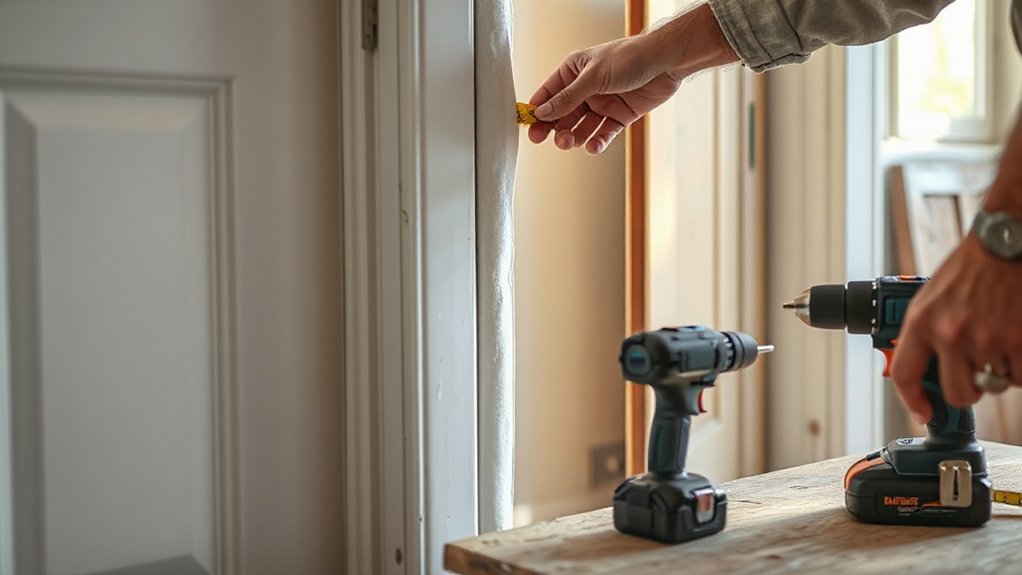
When you’ve measured and replaced the weatherstripping, you’re ready to decide whether to tackle the next step yourself or hire a pro. DIY makes sense for minor gaps, simple doors, and budget limits, especially if you’ve got time to learn and test.
If you notice drafts after a quick seal, you can save by doing it yourself and evaluating results with indoor ventilation in mind.
For complex doors, multiple sashes, or hardware changes, a pro delivers guaranteed fit and code compliance, often preventing callbacks.
Consider seasonal adjustments: in extreme climates, professional expertise can ensure peak performance year round.
Weigh cost, risk, and downtime against your confidence and tools, then choose the path that best preserves energy and comfort.
Maintenance Habits for Long-Lasting Seals
Regular upkeep keeps seals performing beyond the initial install. You’ll extend lifespan by adopting simple, repeatable habits that fit your routine and climate.
- Inspect monthly: check for gaps, tears, and compression with a steady press; note wear.
- Clean and lubricate: wipe frames, hinge areas, and pivots; use silicone-based lubricant on moving parts only.
- Clean seasonal storage: store seasonal weatherstripping components properly when not in use; label parts for quick reseal.
- Prevent pests: seal gaps with weatherstripping remains and gap guards; seal entry points to minimize intrusion and damage.
Consistency matters more than intensity, and proactive care reduces drafts, moisture intrusion, and maintenance costs.
Seasonal storage and pest prevention reinforce long-lasting seals you can trust year-round.
Frequently Asked Questions
How Often Should Weatherstripping Be Replaced on Exterior Doors?
You should replace weatherstripping every 5 to 10 years, or when you notice drafts, tears, or degraded seal. This door insulation maintenance keeps your home efficient, reducing drafts and energy loss. Inspect annually, replace as needed, maintain promptly.
Do Weatherstrips Affect Door Security or Lock Alignment?
Yes, weatherstrips can affect door security and lock alignment if gaps shift the door. They may interfere with latching, misalign strike plates, or create leverage. Check alignment after installing weatherstripping and adjust screws and hinges accordingly.
Can Weatherstripping Be Reused After Painting or Staining?
Yes, you can reuse weatherstripping after painting or staining, but check painting compatibility and reusability concerns first. Coincidence kicks in as you inspect; if compatible, you’ll save money, otherwise replace.
Are There Eco-Friendly or Recycled-Material Options Available?
Yes. You can choose eco friendly materials and recycled options for weatherstripping. Look for seals made from recycled rubber or silicone blends and natural fibers, and verify certifications. You’ll reduce waste while maintaining energy efficiency with durable, eco-conscious choices.
Do Weatherstrips Require Professional Certification or Testing?
No, weatherstrips don’t require professional certification or testing; you can DIY installation. Focus on proper fit and seal. This guarantees material durability, minimizes gaps, and improves energy efficiency without specialized credentials.
Conclusion
Weatherstripping your exterior doors is a smart, immediate fix you can tackle today. By sealing gaps, you’ll cut drafts, lower bills, and mute outside noise without overhauling your door. Start small with a simple sweep or adhesive strip, then tackle thresholds and jams if needed. Measure twice, cut once, and replace damaged seals promptly. Think of this upgrade as a shield—protecting comfort and efficiency, door by door, season after season. You’ve got this.