

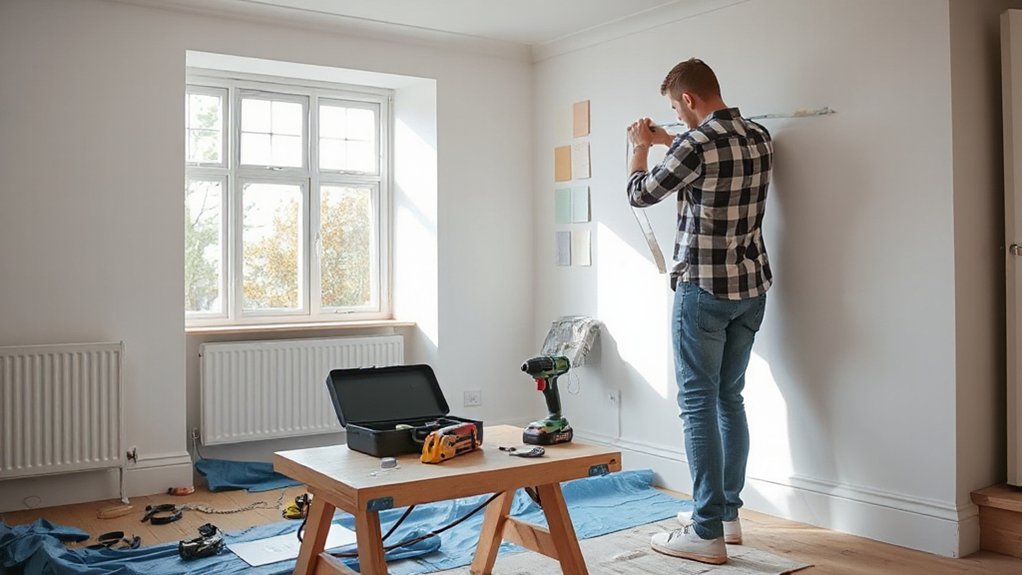

You’ll see real results from a weekend project, yet think how much remains undone. Start with quick, targeted fixes that pay off now, not later, and you’ll gain momentum for more ambitious tasks. You’ll want a clear plan: exterior tweaks like power-washing and fresh door paint, then a clean interior refresh with quick-dry paint and smart storage. Ready to prioritize tasks that balance cost, time, and impact, and push you toward the next improvement? Let’s begin with a practical checklist.
Key Takeaways
- Prioritize quick exterior fixes and curb appeal, such as sealing gaps, repainting doors, and adding energy-efficient garden lighting.
- Refresh walls and floors with durable, quick-dry tiles or peel-and-stick options for same-weekend results.
- Upgrade kitchens and bathrooms on a budget with easy tiling, affordable backsplashes, and slim storage solutions.
- Improve storage and lighting through wall-mounted racks, LED fixtures, and layered lighting for ambiance and practicality.
- Plan exterior color and finishes carefully, testing neutral bases and bold door accents under daylight for cohesive, durable results.
Weekend DIY: Quick, Budget-Friendly Fixes for UK Homes

If you’re tackling a weekend DIY, start with quick, budget-friendly fixes that deliver noticeable results without overhauling your space. You’ll gain momentum by prioritizing simple, high-impact tasks.
Begin with DIY plumbing tweaks: tighten fittings, seal minor leaks with affordable silicone, and replace worn washers to stop drips. Clean and insulate exposed pipes to reduce heat loss and frost risk.
For surfaces, swap out dated hardware and re-caulk where gaps appear, creating an immediate, cleaner finish. Choose sustainable materials when replacing components—pens, paints, and sealants with low VOCs help indoor air quality.
Reuse or repurpose where possible to cut waste, and measure twice before cuts to avoid waste. Schedule tasks logically, finish one area, then test for function before moving on.
Weekend Wall and Floor Refresh: Tiles and Paint That Fit a Weekend
A Weekend Wall and Floor Refresh pays off fast when you pick tiles and paint that suit a tight schedule. You’ll choose durable wall tiles with simple grout and quick-dry paint in neutral tones to reduce prep time and execution risk.
Prep surfaces, mask edges, and use a quality adhesive and sealer to prevent failures. Opt for 60–90 minute tile sets if you’re new, with a plan for reworking mistakes same day.
Finish with a satin or semi-gloss finish on walls for easy cleaning and a light-reflective floor to brighten the space.
- Match tile size to room scale for faster grouting
- Use peel-and-stick options for DIY convenience
- Pick low-odor paints with fast cure times
- Apply decorative accents and wall art after paint is dry
- Seal floors to protect while you decorate
Budget Kitchen Makeover: Backsplash Upgrade and Smart Storage Tweaks
With a tight budget, a backsplash upgrade and smart storage tweaks can deliver a fresh kitchen without a full remodel.
Start by selecting a backsplash that complements existing cabinets and countertops, aiming for a cost-effective material like ceramic or peel-and-stick options. Measure carefully, and plan a quick, straight pattern for ease of installation. Keep grout light to reduce cleanup and use a waterproof sealant for longevity.
For storage, install slim pull-out organizers in base units and add elevated shelf space above cabinets to free counter area.
Consider countertop replacement only if existing surfaces are heavily stained or damaged; otherwise, refresh with a quality cleaner and edge guards.
If appliances are dated, prioritize appliance upgrades that improve efficiency and storage compatibility.
Weekend Bathroom Upgrade: Simple Tiling and Lighting Improvements
Building on the budget-friendly mindset from the kitchen tweak, you can achieve a refreshed bathroom in a weekend by focusing on straightforward tiling changes and practical lighting upgrades.
Start with a simple, water-resistant tile plan, using light colors to brighten the space and influence perceived size.
Confirm proper Bathroom ventilation to prevent damp; install an efficient extract fan with a quiet run-time.
For Shower waterproofing, verify seals, re-seal joints, and use a waterproof membrane where needed.
Choose warm LED lighting and layered angles to reduce shadows.
Keep grout compact and sealed after set.
Maintain a clean, minimal edge profile to simplify maintenance and speed up work.
- Measure walls accurately and map tile layout
- Prep surfaces with primer and clean, dry substrate
- Use spacers for even grout lines
- Seal grout after curing
- Test ventilation and waterproofing efficiency
Storage and Lighting Upgrades: Practical Fixes to Brighten and Declutter

Start with clever storage solutions that maximise every inch of space, like wall-mounted units and under-stair organizers.
Brighten rooms with layered lighting—combine ambient, task, and accent sources to remove shadows and make areas feel larger.
As you declutter, implement simple organizing systems that keep essentials visible and easy to reach, so spaces stay neat with minimal effort.
Clever Storage Solutions
If you’re aiming to declutter and brighten a space, start with clever storage that makes everyday items easy to reach and impossible to leave out.
- Install wall-mounted racks for frequently used items to free shelf space.
- Use under-bed boxes with clear lids for seasonal belongings.
- Hang magnetic strips for tools, spices, or tiny hardware.
- Convert alcoves into slim pull-out pantry or mail stations.
- Integrate modular seating with hidden storage for garden furniture gear and indoor plants care.
Opt for labeled, uniform containers to speed tidying. Choose shallow, wide baskets for toys or chargers, and place a hook trio by the door for keys and bags.
Maintain order by a 5-minute nightly reset. This keeps clutter away from living zones and supports efficient cleaning.
Brighten With Lighting
Brighten your space by upgrading both lighting and storage, so rooms feel brighter without adding clutter. You’ll improve illumination by replacing inefficient bulbs with LED fixtures, which deliver higher lumens per watt and longer life.
Choose cool or daylight tones for work areas and warm tones for living spaces to maintain balanced ambience. Install layered lighting: a central ceiling light, task lighting over desks or counters, and ambient lamps to soften shadows.
Opt for dimmable fixtures to adapt brightness for tasks or relaxing evenings. Prioritize fixtures with good color rendering (CRI 90+). Use light-coloured lamp shades and reflective finishes to maximize diffusion.
Finally, hide cables and mount wall or ceiling fixtures to keep surfaces tidy and open.
Declutter And Organize
Decluttering and organizing is the fastest way to make a room feel brighter and more functional, especially when paired with smart lighting upgrades. You’ll gain immediate clarity, with minimal effort.
Focus on storage solutions that fit your space, then implement strict clutter control to keep surfaces clear. Create a simple system: designate zones, label bins, and review weekly. Use vertical space to maximize capacity without bulk.
- Assess every item for value and utility
- Group like items and store by frequency of use
- Invest in slim hangers, under-bed storage, and wall organizers
- Label everything for quick retrieval
- Schedule 10-minute daily tidy-ups to maintain order
Fast Curb Appeal Wins: Exterior Tasks You Can Finish This Weekend
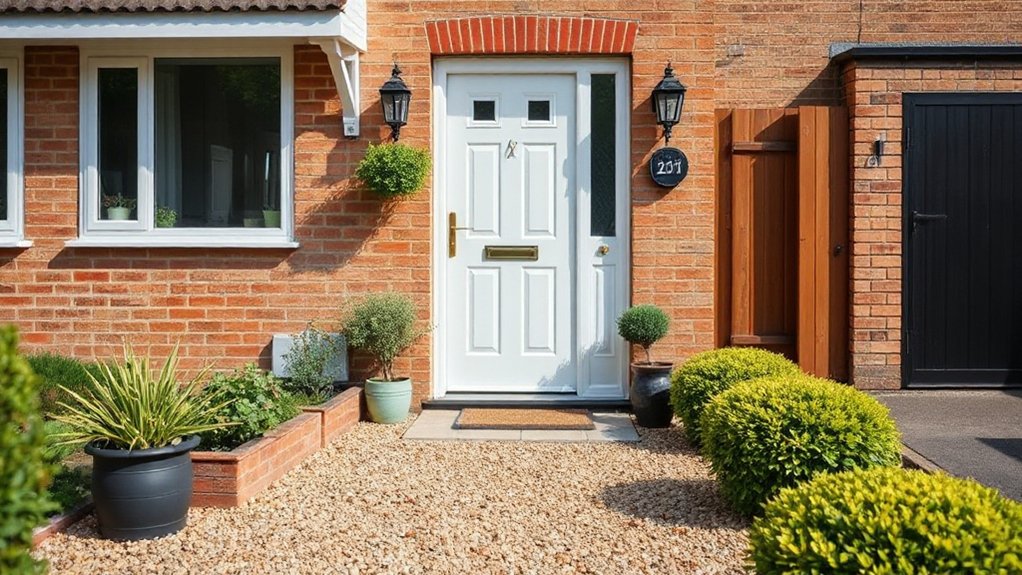
Start with quick exterior cleaning to remove grime, moss, and weeds so you can assess true curb appeal gains.
Consider a fresh paint color idea that’s within UK-appropriate palettes and complements your bricks or siding, applying it to doors or railings for high-impact contrast.
Add garden lighting boosts along paths and entry areas to extend the effect after dark, using warm whites and energy-efficient LEDs.
Exterior Cleaning Quick Wins
To boost curb appeal this weekend, start with a fast, high-impact exterior clean: power-wash or scrub siding, brickwork, and driveways to remove dirt, algae, and mildew. Then rinse thoroughly and let surfaces dry completely before evaluating any stubborn stains for targeted treatment.
- Schedule power washing for siding and brickwork first, then move to driveways.
- Use a stiff brush for stubborn moss on steps and paths.
- Prioritize window washing to boost light and appearance.
- Apply a diluted, non-abrasive cleaner to remove soot and vehicle residue.
- Rinse thoroughly and inspect for rinse lines or residue, repeat if needed.
Fresh Paint Color Ideas
Fresh paint can transform curb appeal in a single weekend, so choose color ideas that boost brightness, complement your trim and roof, and feel durable in your climate. Start with neutral bases—warm greys, creamy off-whites, or taupe—and target accents that pop without overwhelming.
For doors, test bold hues like navy, forest green, or brick red to create focal points. Consider color psychology: cooler tones feel calming, while warm tones read inviting; use this to influence entry mood and perceived home size.
For siding, select low-sheen finishes to minimize imperfections and wash cleanly. Paint finish options matter: eggshell or satin offer durability and washability, while matte hides flaws on textured surfaces.
Finally, sample patches, observe under daylight, and finalize within your weekend window.
Garden Lighting Boosts
Garden lighting can dramatically boost curb appeal in a weekend, so plan a simple sequence: anchor your design with a few well-placed outdoor lights, then adjust for safety and ambiance. You’ll improve visibility and deter intruders while creating inviting paths.
Choose low-energy fittings, aim downward, and keep cables neat to avoid trip hazards. Use warm color temperatures for garden lighting to enhance textures without glare, and consider solar options for quick setup.
Test timer schedules to balance security with ambiance, and store spare bulbs for quick swaps. Finally, document your layout for future tweaks and maintenance.
- Map entry points and focal plants with targeted LEDs
- Use warm whites to foster outdoor ambiance
- Prioritize path and step lighting for safety
- Hide cables, secure clips, and weatherproof connectors
- Consider solar or low-voltage options for ease
Frequently Asked Questions
What Permits or Permissions Might I Need for Weekend DIY in the UK?
For weekend DIY in the UK, you’ll need to check Building Regulations and Planning Permissions. You’ll typically avoid duties if exempt, but always verify exemptions, engage a qualified professional when unsure, and apply for permissions before starting any substantial changes.
How Do I Estimate if a Weekend Project Is Realistically Doable?
Reroute your project like a ship’s chart: estimate materials, time, and skill gaps. You’ll know if a weekend’s enough by honest Material selection and Budget planning, pacing tasks, and adjusting scope before you hoist sails. Prepare, then proceed.
Which Tools Are Essential for Quick, Beginner-Friendly Fixes?
Power tools and basic measurement skills are essential for quick, beginner-friendly fixes. You’ll start with a reliable drill, level, tape measure, and sponge for cleanup, then refine accuracy with a square and screwdriver bits as needed.
What Safety Steps Should I Follow for Electrical or Plumbing Tasks?
Before you start, respect the charge you carry—Electrical safety and Plumbing precautions matter. Always switch off power, test circuits, use GFCI, wear gloves, and seal leaks. Follow code, use approved fittings, and never improvise repairs.
How Can I Avoid Costly Mistakes on a Weekend Project?
Focus on material selection and budget planning to avoid costly mistakes. You should define scope, estimate costs, compare brands, and choose reliable suppliers. You’ll double-check dimensions and compatibility, plan contingencies, and document decisions for smoother, mistake-free weekend progress.
Conclusion
This weekend, you can finish practical upgrades that matter—fast. Power-wash the exterior, repaint a door, and add garden lighting for instant curb appeal. Inside, splash on quick-dry paint, mount storage, and swap to efficient LEDs. Seal a leak, swap hardware, and choose complementary finishes to unify spaces. Focus on small, achievable wins first; they compound into a noticeably refreshed home. Start now, stay steady, and watch your weekend work transform your whole house. You’ve got this.



