

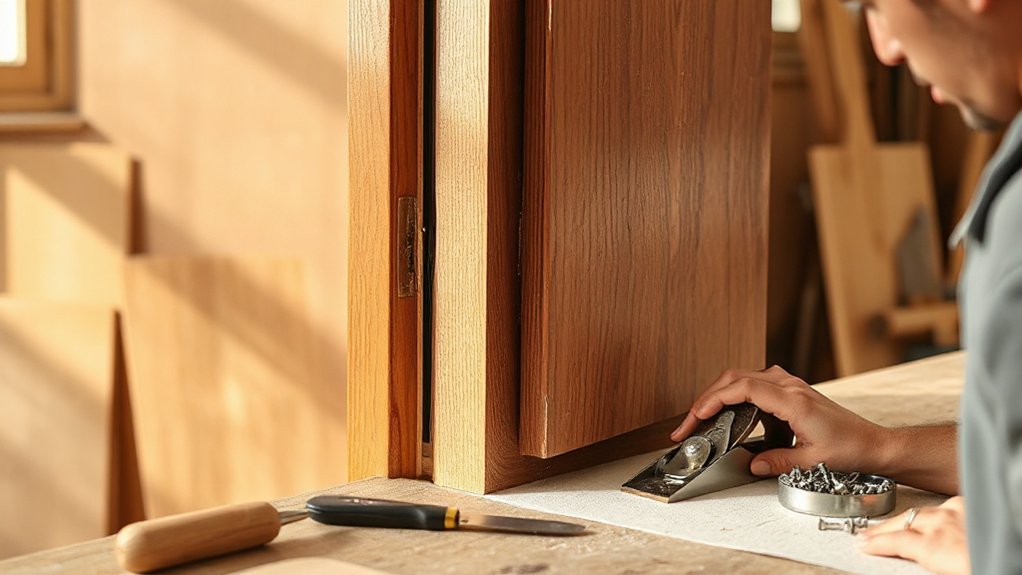

If your interior doors stick, start by tightening hinges and screws to stop sagging. Check alignment and gaps, then test the latch clearance at the strike plate. If rubbing persists, add thin shims or apply edge wax, and seal gaps with weatherstripping. For high spots, plane or sand carefully, then rehang and test again. Maintain stable humidity and sealant to prevent future binding. Want to learn more steps that keep doors smooth long-term? You’ll find them next.
Key Takeaways
- Diagnose binding by checking hinge alignment, gaps, and latch clearances, noting where the door rubs or sticks.
- Tighten loose screws, lubricate hinges, and replace worn hinge pins to reduce friction and improve swing.
- Planing or sanding high spots and adjusting mortises with shims or plaques to restore even clearance.
- Adjust the strike plate for proper latch alignment and ensure the door clears the frame when closed.
- Maintain stable humidity, seal gaps, and periodically inspect for warping or frame settling to prevent future sticking.
Why Interior Doors Bind (And How to Fix It Fast)
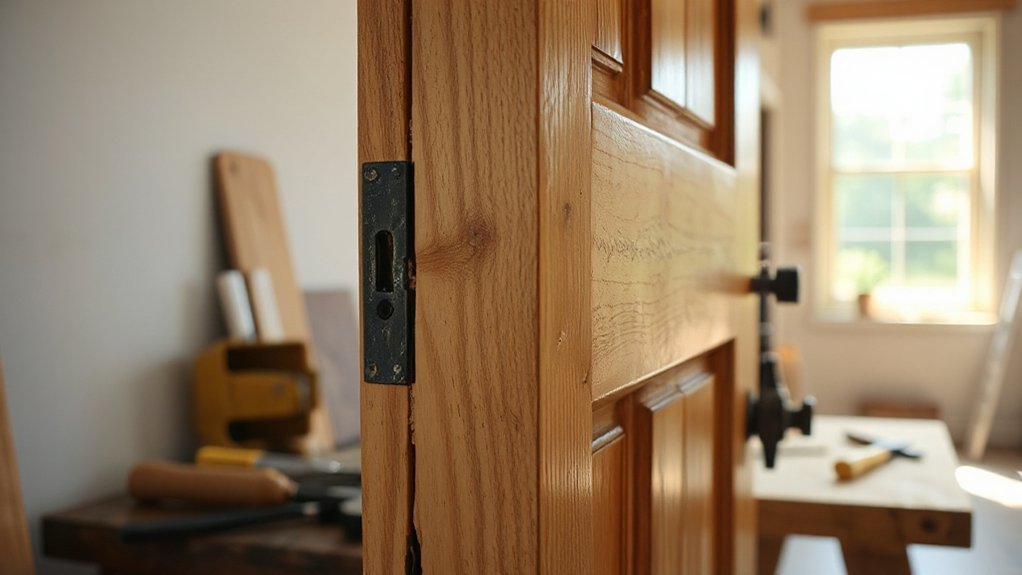
If a door sticks, the root cause is usually simple: either the frame or the door has warped, or the hinge or latch area is rubbing.
In most cases, you’ll fix it fast by identifying where the bind happens and adjusting just enough to clear the contact. Check alignment first: tighten loose hinges, then test swing.
If the door rubs at the latch side, plane or sand the high spot lightly, then repaint with a small touch-up to keep the finish uniform.
For doors that bind from humidity, you may need to slightly rehang or trim the hinge side and apply paint touch-up where edges were disturbed.
If issues persist, consider door lock troubleshooting to rule out misalignment of the strike plate and latch.
Quick 5-Minute Diagnostic Checks for Door Bind
Start with quick checks you can do in five minutes: inspect hinge alignment, look for gaps or hinge sag, and note any doors that rub before you open them.
Then test door sag level by tipping the door to see if it drags at the latch edge, and listen for binding as you swing it.
Finally, confirm latch clearance by opening and closing the door with the strike plate visible, ensuring the latch lines up cleanly with the strike on a smooth swing.
Inspect Hinge Alignment
Inspecting hinge alignment is a fast, practical check you can do in about five minutes to pinpoint door bind.
Start by closing the door and inspecting gaps along the hinge side. Look for uneven gaps, misalignment at the top or bottom, or the door rubbing the frame.
If the hinge pins look loose, tighten screws with a driver, but don’t overtighten.
With the door open, test whether the hinge screws hold solidly by gently tapping them—replace any stripped screws.
If the hinge still binds after mounting is square, consider hinge lubrication to reduce friction or plan for door hinge replacement if wear is evident.
Keep hinges clean and lubricated, and recheck the swing after each adjustment.
Check Door Sag Level
After checking hinge alignment, assess whether the door sits level in its frame. If it’s off, you’ll feel binding at the strike side or top edge. Quick checks save time: use a level on the door edge and header, note whether the gap dips unevenly, and confirm the frame isn’t twisting.
Small corrections now prevent bigger issues later and keep interior styling looking sharp with clean door decoration. If you must adjust, loosen hinge screws slightly, shim beneath hinges, then re-tighten. Recheck with the level, and test opening smoothly.
Addressing sag early maintains service life and aesthetic appeal.
- Assess level and note uneven gaps
- Use a level on door edge and header
- Check frame twist or distortion
- Shim hinges, then re-tighten
- Verify operation and maintain door decoration, interior styling
Test Latch Clearance
Ever wonder if the latch is the real bottleneck? Here’s a quick, practical test you can run in minutes.
Start with latch testing: close the door gently and observe how the latch drops into the strike plate. If it misses or binds, you may have misalignment or frame tension.
Next, perform a clearance measurement at the latch side by placing a thin feeler gauge or folded paper between the door edge and the strike plate jamb. Note the smallest consistent gap across top, middle, and bottom.
If gaps vary or are too tight, adjust the strike plate or hinge alignment, not the door, to free the latch. Repeat until the latch engages smoothly every time.
Tighten Hinges and Hardware for Immediate Relief
Tightening the hinges and hardware is the quickest fix for sticking interior doors. You’ll feel the door shift into proper alignment after a quick adjustment, then test the swing to confirm relief. Use a screwdriver to snug screws without over-tightening, which can strip wood or bow the frame. Check hinge alignment and replace worn pins if needed. Add a touch of decorative hardware to elevate interior design, while keeping function front and center.
- Inspect hinges for looseness and binding, then tighten accordingly.
- Swap worn pins or tighten screws in a crisscross pattern.
- Lubricate pivot points with a light, dry lubricant.
- Confirm doorway clearance across top and bottom gaps.
- Consider decorative hardware that complements interior design without compromising fit.
Align With Shims, Plaques, and Mortises
Shims, plaques, and mortises are time-saving tools for dialing in door alignment after you’ve tightened hinges. You’ll place shims at hinge gaps to fine-tune the door’s plane, then test open and close actions.
Use shims for precise vertical and lateral adjustments, focusing on preventing rubbing at the latch and strike plate. Plaque installation helps conceal and secure misaligned hinges, ensuring consistent gaps along the door’s edge.
When you position a plaque, confirm that screw holes line up without binding, and tighten uniformly to avoid skew. Check mortises by confirming hinge mortises sit flush with the door frame; deepen or clean as needed to prevent binding.
Re-check clearance after each adjustment, then test a full door swing and latch engagement for reliable operation.
Planing or Sanding the Door Face to Clear Obstructions
Start by checking door clearance to see where the rubbing occurs.
Lightly plane or sand the door face until you feel even contact, then recheck for smooth operation.
While you work, verify hinge alignment to prevent new obstructions.
Assess Door Clearance
Have you identified where the door brushes or sticks? Start by testing the swing with light pressure, noting high spots and gaps around the jamb. Compare the gap at the hinge side and latch side; uneven clearance signals a need to trim.
Before any work, consider door material and how it responds to planing or sanding, avoiding over-removal.
- Check alignment with the frame and hinges
- Inspect for swelling from humidity
- Mark obstructed areas with a pencil line
- Plan for minimal, controlled material removal
- Recheck the fit after each pass
Address clearance evenly, not just where it sticks. Small, deliberate adjustments prevent warping and damage to interior décor and keep the door operating smoothly.
Sand For Smoothness
To smooth the face of the door and clear obstructions, begin with a light planing pass or a cautious sanding: remove only the minimum material needed to reveal clean, even grains and a true, square edge. You want a flat, true surface that frees the door from binding without altering profiles.
Work in small increments, checking clearances after each pass. Use a sharp plane or fine-grit sandpaper (180–220) and keep strokes consistent across the face. Avoid gouges or over-sanding near edges.
After smoothing, test the door in the frame, paying attention to any contact points and the latch clearance. When you rehang, consider how door hardware and interior decor influence the look and feel, ensuring a balanced, functional result.
Check Hinges Alignment
Hinges misaligned can keep a door binding even after planing the face. If you suspect alignment issues, loosen the hinge screws and test door swing. Tighten screws in a star pattern to pull hinge plates against the jamb, then recheck clearance.
If gaps persist, remove the hinge pins and test the door on the frame with a straightedge. Fill any misalignment with thin shims behind the hinge to level the door edge. When you’re done, reattach and run the latch to confirm smooth operation.
Consider door hinge materials and installation surfaces; mismatched metals or soft framing can cause future binding. Aligning hinges also improves interior decor by ensuring a clean, even look.
- Verify hinge plane with a straightedge
- Tighten screws in a star pattern
- Use thin shims for leveling
- Check latch clearance
- Assess material compatibility
Reroute a Door: When It’s Necessary
Rerouting a door is sometimes the simplest fix when off-square—or when hardware misalignment, a deep-grooved hinge pocket, or a swollen frame keeps one door from closing smoothly.
You’ll first assess the door’s swing and draft, noting high spots and rubbing points. Mark the hinge locations precisely, then remove the door and trim the jamb or hinge mortises as needed with a straightedge and chisel.
Test-fit frequently, keeping alignment parallel to the frame and level across the top hinge. After shaving, reinstall the hinges and rehang the door, checking clearances at top, bottom, and latch.
When done, you’ll preserve doorway aesthetics and maintain interior decor while restoring smooth operation without overhauling the frame.
Adjust the Strike Plate and Latch for Smooth Closings
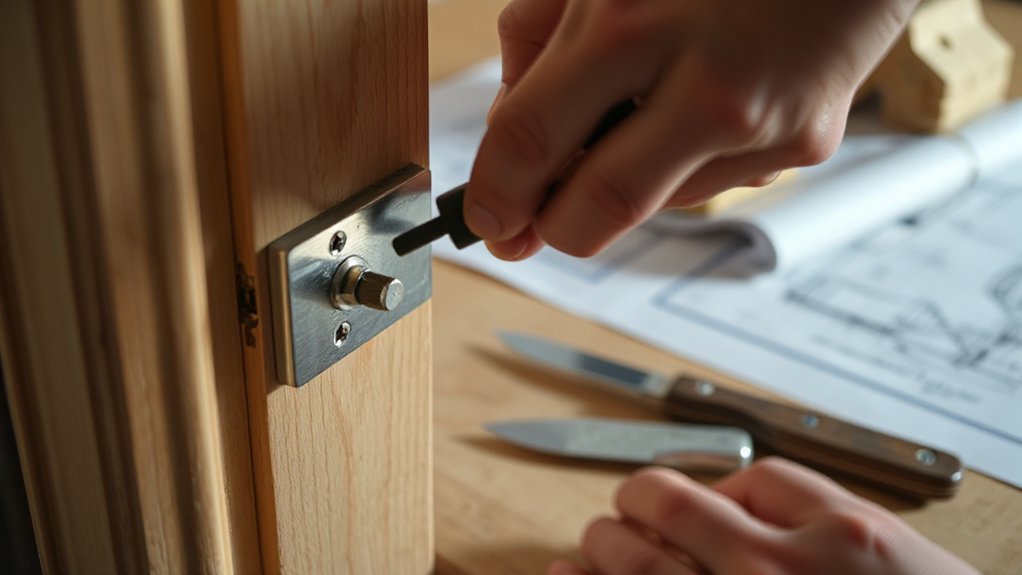
If the door still sticks after trimming the frame, focus on the strike plate and latch. You’ll tune both to achieve smooth closings, without replacing components.
Start with strike adjustment: loosen screws, nudging the plate briefly, then re-tighten to test. Align the latch with the strike opening, ensuring the bolt seats cleanly without resistance. If misalignment persists, bend the strike slightly in small increments for a precise fit.
Check latch engagement on the jamb edge; tighten screws evenly to prevent binding. Recheck door height with a level to verify even gaps. Repeat as needed until operable.
- Strike adjustment: tiny shim or slight plate bend
- Latch alignment: ensure bolt centers with strike
- Test pairing by closing softly
- Tighten screws evenly
- Reassess door swing after small tweaks
Weather and Humidity: Preventing Warping
Humidity can cause doors to swell in damp months and shrink when the air dries out, so you’ll want to monitor moisture levels year-round.
Keep doors racked to account for seasonal warping and seal gaps to prevent drafts that drive humidity changes.
Stay proactive with a hygrometer and simple adjustments to hinges and frames as needed.
Humidity Effects On Doors
When humidity swings, interior doors can warp, stick, or misalign, so you should address moisture levels before damage sets in. Humidity effects will show up as binding hinges, misaligned frames, and seasonal sticking, so monitor ambient moisture and door gaps regularly.
You can reduce risk with simple steps that protect interior moisture without overhauling your doors.
- Install a dehumidifier or improve ventilation in key areas
- Seal edges and gaps with proper weatherstripping
- Use classify-appropriate finishes to minimize moisture absorption
- Keep indoor humidity between 30% and 50%
- Schedule inspection after heavy rain or rapid temperature changes
Seasonal Warping Prevention
Seasonal warping can creep in when weather and humidity swing across the year, so keep a proactive stance as seasons shift. To prevent misalignment, inspect door frames and hinges at the start of each season, noting any gaps or binding.
Humidity control matters: keep relative humidity steady with dehumidifiers or humidifiers as needed, and use a quality interior finish that resists moisture. Choose doors and frames with rounded edges and proper clearances to accommodate seasonal expansion.
Use shims sparingly during adjustments and recheck after humidity changes. Regular maintenance preserves material resilience, reducing seasonal expansion effects that cause sticking.
If warping occurs, address it promptly by planing the door bottom or adjusting hardware, then re-evaluate humidity levels to sustain a smooth, functional fit.
Swap in Return-to-Seat Hinges and Adjusters

If you’re replacing worn hinges for a sticking interior door, swap in return-to-seat hinges and adjusters now to restore smooth operation. You’ll gain improved alignment, easier swing, and quieter closure, plus durable performance against future sticking. Install with the door off its frame, then rehang and test.
- return hinges improve seating and contact
- hinge adjusters fine-tune clearance quickly
- check both jamb and door edges for binding
- lubricate pivots sparingly after seating
- verify door closes without sticking or rubbing
This approach prioritizes precision over brute force, reduces binding, and simplifies future tweaks. Keep adjusters accessible for ongoing maintenance and resist over-torquing screws, which can warp the hinge or frame.
If the door still sticks, recheck square and level before proceeding.
Fix Gaps, Drafts, and Squeaks: Quick Triage
You’ll start by inspecting door gaps and tightening hinges right away to curb drafts and squeaks.
If you hear a creak, apply a quick fix to silence it promptly.
This quick triage sets a solid baseline before deeper adjustments.
Inspect Door Gaps Quickly
To quickly inspect door gaps, run your hand along the door frame and check for light showing around the edges, uneven reveals, or drafty spots. You’ll confirm where air leaks originate and how the frame interacts with the door.
- Look for pressed or chipped finishes that widen gaps
- Note daylight along the hinge side vs. latch side
- Feel for cold drafts near the top or bottom rail
- Check if weatherstripping is present and intact
- Plan quick fixes without overhauling the frame
Early observations point to the door frame and potential hinge lubrication needs. Address gaps with draft stoppers or weatherstripping, then lubricate hinges to reduce sticking and improve alignment.
Tighten Hinges Right Away
Hinges that are loose or misaligned are the quickest fix for sticking doors. You’ll start by tightening all hinge screws with a screwdriver, working from the top down.
If screws strip or don’t bite, remove the hinge, fill the screw holes with wood putty, let dry, then reinsert oversized screws or use anchors.
Check the door for binding at the strike plate and shim if needed to even the door gap.
For ongoing ease, apply hinge lubrication to the pin and interior hinge surfaces to reduce friction.
If hinges are worn beyond adjustment, Door hinge replacement is warranted to restore smooth operation.
After tightening, test the door several times, ensuring a clean swing without scraping or rubbing.
Silence Squeaks Promptly
Often a squeak isn’t about a loose hinge—it’s about gaps, drafts, or binding friction. You’ll silence it quickly by triaging the root cause and addressing it before it worsens. Focus on small, targeted fixes that keep your door looking sharp and aligned with your door aesthetics and interior decor.
- identify rubbing spots and apply thin shims or edge wax where needed
- tighten jams with precise shimming to stop binding without over-tightening
- seal gaps with weatherstripping to reduce drafts and noise
- lubricate hinge pins and pivots for smooth operation
- check door stop and frame alignment to preserve aesthetics
After you triage, test the swing. Your door should close quietly, maintain decor continuity, and stay true to its intended look.
Your Garage-Ready Toolkit for Door Repairs
A garage-ready toolkit makes door repairs faster and cleaner, so you’re not hunting for the right wrench when a sticking interior door needs love. You keep a compact set of basics: a screwdriver, hex/torque bits, pliers, a utility knife, sandpaper, a small triangle file, and a multi-meter if electronics matter.
Maintain a magnetic tray for screws and a labeled pouch for fasteners. Practice garage organization by grouping related tools, storing them in a dedicated box, and checking inventories after projects.
Prioritize tool maintenance: wipe blades, keep handles dry, lubricate hinges sparingly, and sharpen cutters as needed. Limit clutter to improve accuracy, and replace worn parts promptly.
With a reliable kit, you diagnose tight spots quickly and finish repairs with confidence.
Door-Planing: a Step-By-Step Guide From Edge to Frame
You’ll start door-planing by evaluating where the knife-edge of the door touches the frame and where the gap is uneven. Then you plane the edge progressively, checking clearance after each pass. Maintain a steady pace, keep the plane sharp, and don’t remove more material than needed. Recheck the hinge alignment and door hardware compatibility as you go.
- Inspect the hinge side for binding before removing material
- Take tiny passes and measure frequent gaps
- Swap hands to maintain control and prevent chatter
- Plan for paint touch up to disguise minor ridges
- Final check: guarantee smooth swing without rubbing on the latch
This approach minimizes adjustments, preserves stock, and yields reliable operation without overhauling the frame.
When to Call a Pro: Cost-Saving Signals
When you’re deciding whether to call a pro, look for cost-saving signals that justify expert help. If the repair involves warped framing, chronic sticking across multiple doors, or recurring gaps after adjustments, DIY may cost more than a pro’s estimate in the long run.
A professional can provide a precise cost analysis, account for hidden issues, and prevent future failures. Consider time, materials, and mistakes: improper hinge alignment, settled jambs, or moisture damage can snowball into costly fixes.
If you don’t have the right tools or experience, the DIY risks rise, making professional intervention prudent. For straightforward grinding or hinge tweaks, a quick consult might save time and money, delivering reliable results without wasted effort.
Pro-Tercourse Maintenance: Prevent Sticks Long-Term
Proactive maintenance keeps interior doors from sticking long after you’ve adjusted them. To prevent future binding, adopt simple routines that protect door trim and frame alignment. Regular checks catch shifting conditions before rubbing occurs, and timely fixes save you from bigger repairs.
Focus on clean hinges, proper latching, and stable door decoration that doesn’t crowd the frame. Good interior lighting helps you spot warps and gaps early, while consistent cleaning reduces grit buildup.
Keep humidity in range to avoid swelling, and reseal where weather exposure matters. Implement a quick quarterly checklist to stay ahead.
- Inspect hinges and screws; tighten or replace as needed
- Verify door clears frame with the door closed and latched
- Monitor gaps around edges for changes
- Maintain consistent interior lighting to reveal rises
- Clean surfaces and reapply sealant where required
Frequently Asked Questions
Can Door Binding Be Caused by Unsettled Framing?
Yes, door binding can be caused by framing settlement, which shifts the door frame. You’ll notice misalignment and binding as the framing settles, so check the door frame for twists, gaps, and uneven reveals before planing or shimming.
Do Weather-Stripping Changes Affect Door Sticking?
Weather-stripping changes can reduce door sticking by improving a door seal and draft prevention. You’ll notice better closure, less air seepage, and smoother operation as you adjust thresholds, seals, and sweeps for consistent, snug performance.
Can Door Stoppers Cause Alignment Issues?
Door stopper placement can cause alignment issues if misaligned or installed against the door edge, you’ll notice sticking. Use proper clearance and avoid decorative door stops that protrude too far; reposition or replace with compatible, flush-mounted options.
Do Paint or Stain Thickness Contribute to Binding?
Yes, paint thickness and stain consistency can cause binding. Check door gaps, then measure. If Paint thickness is uneven, plane the edge; if stain is too thick, lightly sand and recoat for smooth operation.
Is Door Hardware Reassembly Safer Than Full Replacement?
Like a careful craftsman, you assess first: door hardware reassembly is generally safer than full replacement. You address safety concerns, tighten components, verify alignment, and test function—avoiding unnecessary demolition while reducing risk to you and the door.
Conclusion
You’ve got this: fix it fast, save cash, sleep soundly. Sure, you’ll tighten, shim, plane, and recheck until doors glide. Diligence delivers durable doors, less drama, fewer jams. Plan, probe, and prune tiny troubles before they trip you up. Quick, quiet, quality results come from careful, consistent steps. Stay smart, stay steady, stay hands-on. Seal the deal with simple tweaks, smart scheduling, and a sprinkle of know-how. Your perfectly pressed, painless doorway awaits.



