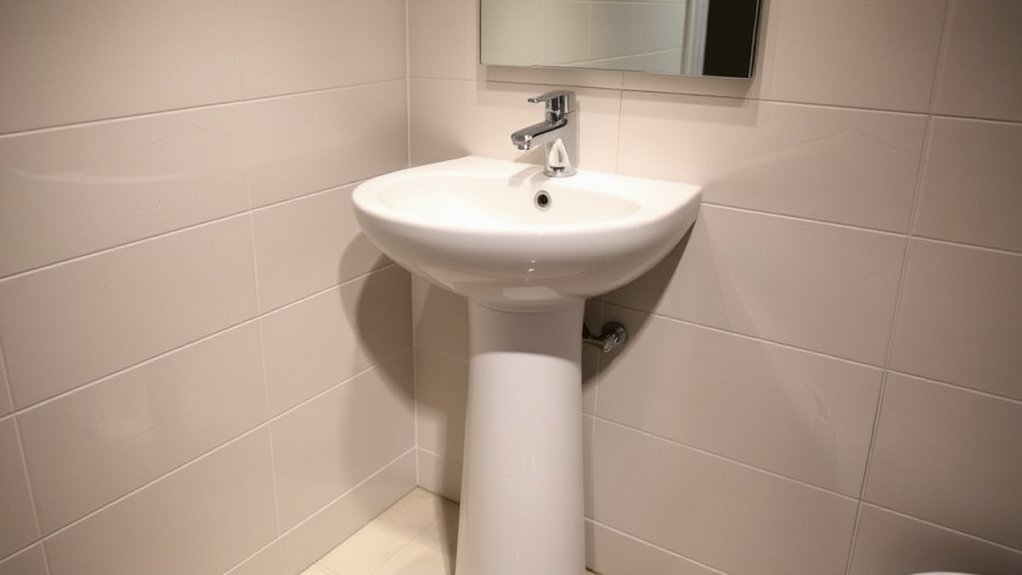

To install a pedestal sink in your ensuite, start by evaluating space, choosing a compatible pedestal and hardware, and planning plumbing routes. Rough-in the supply and drain lines, ensuring proper venting and minimal bends. Secure, center, and level the pedestal, then align plumbing to reduce stress and stabilize with shims. Connect water supply and drain, seal joints, and test for leaks. Finish with neat caulk and cleanup—and if you keep going, you’ll learn more tips and tricks.
Key Takeaways
- Plan layout and measurements, including alcove footprint, door swing, and fixture clearance, then select matching pedestal material and hardware.
- Map plumbing rough-in, venting, and waste slope; design for future access and minimal pipe bends.
- Center and secure the pedestal, ensure level alignment, stabilize with fasteners and shims, and seal contact points.
- Connect supply lines, drain, and shutoffs; test for leaks before finalizing connections and sealing joints.
- Perform final inspection, clean completed surfaces, and ensure all seals, caulk, and aesthetics are properly finished.
Assess Your Space for a Pedestal Sink
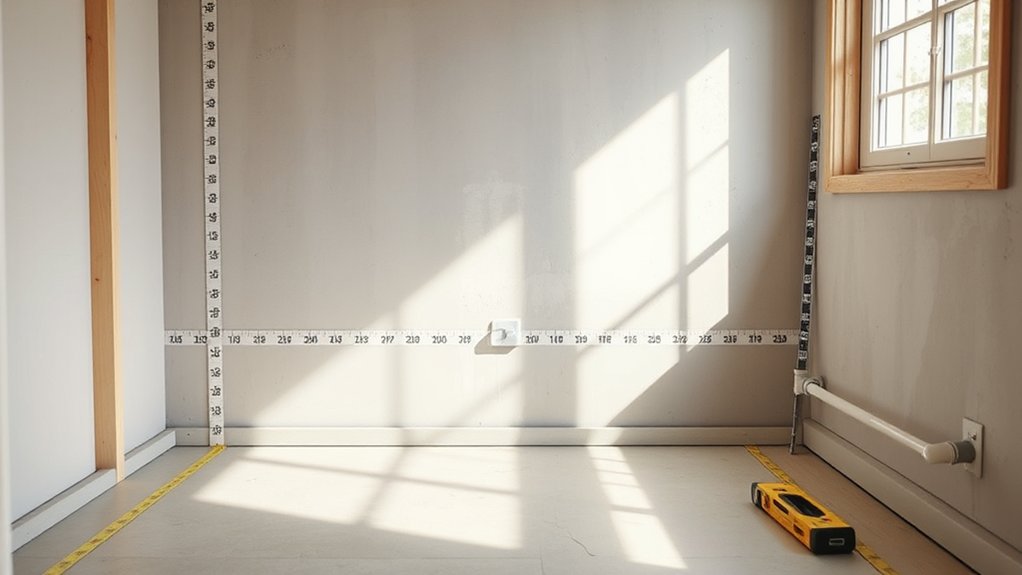
Before you buy or install a pedestal sink, measure the space carefully to guarantee it’ll fit with room to spare for plumbing, movement, and nearby fixtures. You’ll evaluate the alcove or wall footprint, door swing, and clearance to the mirror, cabinets, and toilet.
Note wall *progression*, stud locations, and potential vent paths that affect layout. Consider Decorative options that harmonize with your style while avoiding crowding.
Assess sightlines from entry and mirror height, ensuring comfortable use without obstruction. Material considerations matter: select a solid, water-resistant surface for durability and ease of cleaning.
Check floor levelness and the risk of moisture exposure, planning for base support and secure anchoring. Create a measurement checklist, verify with your contractor, and finalize a layout that supports plumbing access and functional clearance.
Choose the Right Pedestal and Hardware
With the right pedestal and hardware chosen, you’ll set the foundation for reliable function and clean lines. Start by matching Pedestal materials to your bathroom’s style and durability needs, whether ceramic, vitreous china, or porcelain enamel. Consider weight, mount type, and accessibility for maintenance.
Next, assess hardware compatibility: verify the pedestal’s mounting holes align with the sink’s basin, and confirm screw size, thread pitch, and bracket dimensions fit your vanity wall studs and floor anchoring. Choose a finish that resists corrosion and harmonizes with faucets and accessories.
Ascertain concealed hardware won’t interfere with plumbing or basin clearance. Prioritize stabilization: solid floor contact, level alignment, and secure wall brackets.
Finally, select a pedestal height that supports comfortable use and clean lines from multiple angles.
Plan Plumbing Routes and Rough-In
To plan plumbing routes and rough-in effectively, map precise paths for supply lines and a waste line that avoid existing framing and fixtures. Begin by locating studs, joists, and the nearest cold and hot supplies, plus the drain stack.
Plan steep, accessible slopes for the waste line, and verify venting requirements with code. Sketch layouts that minimize pipe bends and long horizontal runs, reducing potential clogs and future repairs.
Consider future access for maintenance, and guarantee shutoffs remain reachable. Design considerations include keeping lines behind the pedestal wall cavity, preserving cabinet space, and coordinating with electrical if needed.
Evaluate aesthetic options, such as concealing elbows with clean-mounted fixtures or coordinating pipe color and finish with the sink’s faucet.
Finalize connections, seal joints, and document measurements for a smooth install.
Install the Pedestal: Secure, Align, and Stabilize
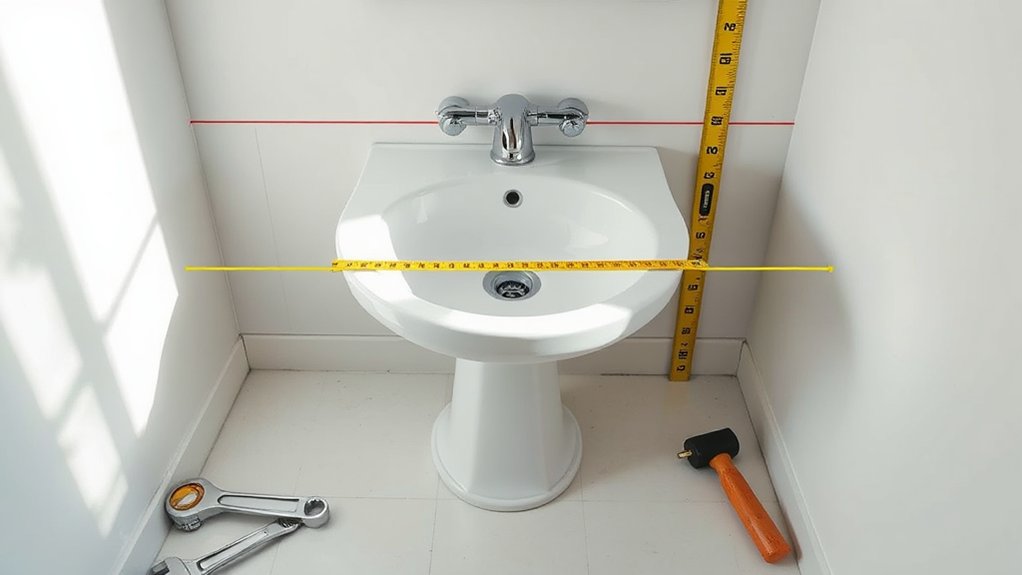
Center the pedestal and secure it per the mounting hardware, checking that it sits level against the wall.
Align the pedestal with the plumbing rough-ins so pipes don’t bind or stress joints.
Stabilize the base by tightening fasteners and shim as needed to prevent wobble.
Secure Pedestal Orientation
Secure the pedestal so it won’t shift during installation. Position the pedestal exactly where you want it, with the basin plumb and centered over the waste.
Use shims to level the base on an uneven subfloor, checking both front-to-back and side-to-side.
Tighten mounting bolts gradually, alternating sides to avoid torque that could tilt the sink.
Verify that the pedestal is vertical and stationary before proceeding.
Once aligned, apply a light bead of silicone at the contact points to seal against moisture and prevent movement from vibrations.
Check for any wobble by applying gentle pressure in all directions.
This guarantees pedestal maintenance over time and supports aesthetic enhancements by preserving clean lines and stable alignment.
Avoid over-tightening to minimize stress on the fixture.
Align With Plumbing
Align the pedestal with the rough-in by guiding the basin drain and supply lines into their corresponding openings, ensuring the pedestal sits squarely over the waste.
You should then snugly align the plumbing so it remains centered as you level the unit. Check that the faucet and pop-up drain clearance won’t clash with the pedestal’s profile, adjusting pipes as needed before final securing.
Keep the lines straight and avoid kinks, since misalignment can cause leaks or wobble. Recheck that the pedestal’s opening aligns with the waste and that the base seat is flat on the floor.
Decorative accents can be positioned to complement the sink without crowding the pipes. Consider aesthetic considerations when routing lines, maintaining clean exposure and accessible shutoffs.
Stabilize Mounting Base
To stabilize the mounting base, lock the pedestal to the rough-in after confirming the base sits flat and square. Then align the pedestal using shims as needed, checking that the back edge and legs sit evenly against the wall.
Tighten fasteners incrementally to avoid distortion, and recheck plumb and level.
Once secure, apply decorative accents to conceal gaps where the pedestal meets the wall, ensuring a clean, integrated look.
Verify plumbing clearances remain unobstructed by the pedestal body or mounting hardware.
Use appropriate pedestal materials to resist moisture and maintain stability over time.
Finally, test support by applying light downward pressure near the center of the pedestal to confirm it won’t wiggle.
- Confirm flat, square base
- Shim for alignment
- Tighten evenly
- Conceal with decorative accents
Connect Water Supply and Drain Lines Correctly
Connecting the water supply and drain lines correctly is essential to prevent leaks and guarantee the pedestal sink functions properly. You start by shutting off the main water valve and testing the pipes for leaks before you touch anything.
Attach the supply lines to the shutoff valves, ensuring tight, but not overtight, connections to avoid stripping threads. Use Teflon tape on threaded fittings and check for proper alignment to prevent cross-threading.
Seal the drain with plumber’s putty or a gasket, then thread the drain assembly into the waste pipe, tightening securely.
Verify water pressure is steady and consistent, adjusting as needed to prevent squirting or loss of flow.
Consider aesthetic considerations, ensuring supply lines are hidden or neatly bent to maintain a clean, unobtrusive look.
Seal, Test for Leaks, and Finish Neatly
Now you seal the connections securely and check for hidden gaps before you power on the water. Run the faucet, observe for drips, and tighten only as needed to avoid over-stressing joints.
Once it holds, finish neatly by caulking seams and wiping away excess sealant for a clean, professional look.
Seal Properly
After securing the pedestal and drain, you seal the connections with plumber’s sealant or PTFE tape as appropriate, then tighten all fittings firmly to prevent leaks.
Use caulking techniques that create a clean, continuous bead around the sink base and wall joint. Choose sealing materials compatible with your surfaces—epoxy or silicone caulk for bathrooms, silicone with mold inhibitors for damp areas.
Wipe excess immediately to avoid staining, and smooth the bead for a neat finish.
Inspect exposed threads and joints once dry, ensuring no gaps remain. Maintain a consistent gap between the sink lip and wall to prevent water intrusion.
This step finalizes plumbing connections and protects the install from future leaks and water damage.
- Use a clean, continuous caulk bead
- Apply the correct sealing materials for surfaces
- Wipe excess and smooth the bead
- Inspect joints after curing
Test For Leaks
Have you tested every connection for leaks yet? Begin by slowly filling the pedestal sink and watch for drips at the supply lines, waste fittings, and faucet connections. If you see any moisture, tighten fittings incrementally with the proper tools, then recheck.
Run water for several minutes, inspecting under the cabinet and behind the vanity for seepage or staining. Use a towel to catch small leaks and confirm they’re gone before leaving the area.
If a leak persists, reseal with appropriate plumber’s tape or sealant, and re-tighten connections after the seal sets. When finished, wipe surfaces to remove residue and address cosmetic touch ups.
Consider aesthetic considerations like matching caulk color and edge finishing to maintain a clean, professional look.
Frequently Asked Questions
How Do I Level the Pedestal for Uneven Subflooring?
To level the pedestal, you’ll shim the base on high spots and fill low areas with a leveling compound, then check plumb. Do Floor leveling, Subfloor repair as needed to prevent wobble and make certain sturdy, stable support.
Can I Reuse Existing Shut-Off Valves With a Pedestal?
Yes, you can reuse them if they’re compatible and seal well. Valve compatibility matters; check shut-off sizes and inlets. Reuse considerations include corrosion, clearance, and re-pressurizing test to guarantee leaks are eliminated.
What Height Is Optimal for a Pedestal Sink in a Small Ensuite?
The ideal pedestal sink height is about 32 to 34 inches. For a small ensuite, aim near 33 inches, ensuring comfortable clearance. You’ll manage sink installation and plumbing connections confidently, avoiding cramped reach and preserving cabinet space.
How Do I Prevent Wobbling After Tile Is Installed?
Once the tile’s set, your sink won’t wobble if you tighten brackets, add a level shim under the pedestal base, and check floor reinforcement. Sink stability comes from solid mounting and reinforced flooring before daily use.
Is a Wall-Mounted Mirror Compatible With a Pedestal Sink Setup?
A wall-mounted mirror can work with a pedestal sink, provided you account for mirror weight and clearance. Mirror compatibility hinges on proper wall mount considerations, ensuring secure anchoring, appropriate height, and gap alignment with the sink and faucet.
Conclusion
You’ve sized the space, picked the perfect pedestal, and planned the routes with precision. The install is secure, aligned, and stable, with water and waste lines connected correctly. Don’t skip the leak test or neat sealing—finish like a pro. If any misalignment surfaces, reset and tighten rather than force success. Think of it as a modern DIY “steam-powered” contraption—compact elegance meeting stubborn practicality, making your ensuite feel timeless, clean, and confidently functional.