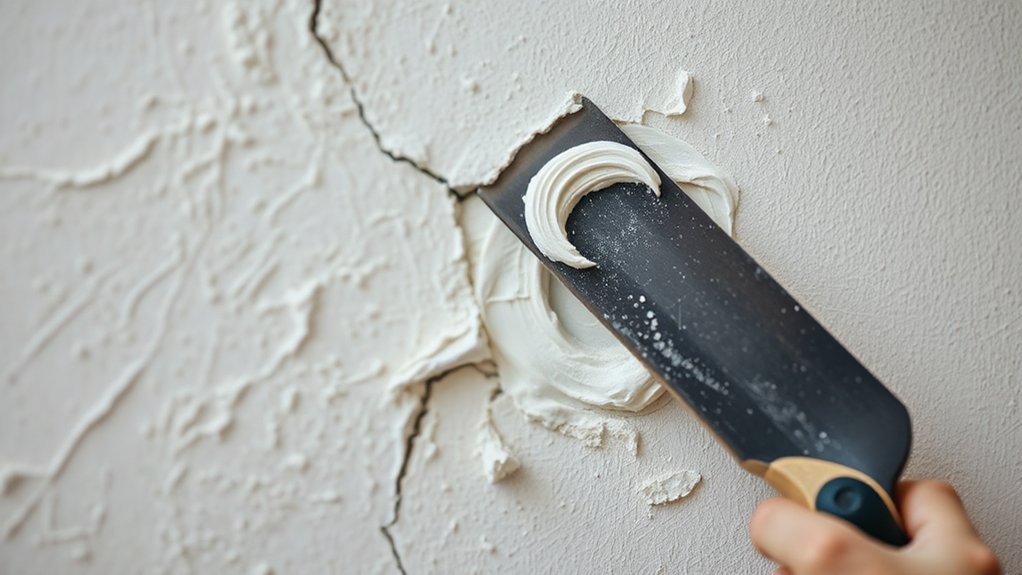

You start by diagnosing the crack’s cause: vertical for framing movement, horizontal for shear, and stair-step for settling. Prep thoroughly: remove loose plaster, vacuum cracks, dampen the area, apply a bonding agent, and prime with a thin coat of joint compound. Patch with a thin layer, embed mesh, then add wider coats, feather edges, and sand smooth. Finish with a skim coat to blend textures. With the right steps, you’ll master durable repairs and uncover advanced tips ahead.
Key Takeaways
- Identify crack cause: vertical = movement, horizontal = shear, stairs = settling, check for moisture or rot behind plaster.
- Prepare properly: remove loose material, dampen area, apply bonding agent, and prime with thin joint compound base.
- Patch method: apply thin patch, embed mesh, build with wider coats, feather edges, and allow thorough drying.
- Match materials and finish: use compatible lime/gypsum/cement patch, texture and paint to blend with surrounding wall.
- Prevent recurrences: monitor moisture and framing, stabilize with appropriate fasteners, and document repairs for long-term durability.
Primary Causes of Cracked Plaster: Quick Diagnosis
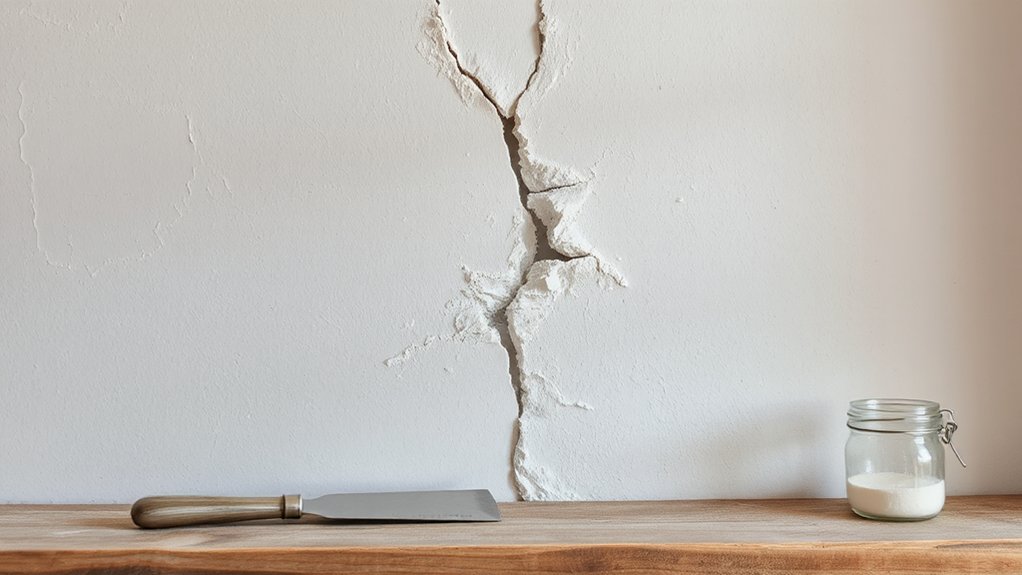
Cracked plaster usually points to a structural or moisture issue rather than a cosmetic defect. You determine causes by reading patterns: vertical cracks often trace to framing movement, horizontal cracks signal shear stress, and stair-step cracks suggest settling or poor lath adherence.
Water intrusion leaves widespread, mottled staining and hairline fractures that widen after freezes. Poor plastering technique or aging lath can produce hairline cracks that propagate with temperature changes.
Elevate your assessment with a moisture check, attic and exterior inspection, and look for plumbing leaks or roof damage. Historical preservation may constrain remedies, so prioritize minimally invasive, reversible fixes that respect the original fabric.
Consider aesthetic considerations when planning repairs, ensuring any retreatment preserves character while stabilizing the structure.
Choose Patching Materials and Tools for Cracked Plaster
When you patch plaster, start by selecting the right patch bonding agents to guarantee adhesion and long-term strength. Consider your patch materials based on the crack size and plaster type.
Then, match them with proper tooling and application techniques to minimize failure. Use the appropriate mix ratios, spackle or mortar as needed, and apply with steady pressure and even coverage for a seamless repair.
Patch Bonding Agents
Choosing the right patching materials and tools is crucial for durable plaster repairs; select bonding agents compatible with your plaster type and patching compound to guarantee a strong, lasting bond.
You’ll choose a bonding agent that suits the plaster’s porosity and the patching compound’s water content, ensuring uniform adhesion. Apply a thin, even coat as a surface primer to improve bonding strength and prevent bond failures at the surface.
For lime, gypsum, or cement-lime mixes, use compatible polymer-modified additives or plain bonding plaster as directed by manufacturer guidelines. Avoid overspreading, which can trap moisture.
Allow partial cure before applying patch material to achieve ideal surface priming and bonding strength. Inspect for tackiness and ensure the bonding layer is dry before mudding smooth.
Choosing Patch Materials
To patch plaster effectively, select materials and tools that match the plaster type, crack size, and moisture conditions. Begin with a patch compound suited to your plaster system—lime, gypsum, or cement-based—so it adheres without shrinking.
For hairline cracks, a skim coat with a compatible featherweight patch blend provides a smooth, durable finish. For larger gaps, use a base layer of lightweight reinforcing plaster, followed by a finishing mix.
Consider color matching early; choose compounds that accept paint or stain so you don’t chase tone after curing.
Always follow safety precautions: wear a dust mask, eye protection, and gloves, and ventilate the work area.
Store materials sealed to prevent moisture pickup and document batch numbers for consistent results.
Tooling And Application
Tools and patching materials must be matched to the plaster system and crack size, then used with care to guarantee a durable, seamless repair.
You choose patching materials that suit hairline, hairline to wide, or hollow-core cracks, favoring lime or gypsum-based blends compatible with original textures.
Prepare the crack by cleaning, dampening, and priming to prevent suction mismatches.
Apply a bonding agent if the substrate requires it, then bed a compatible patch material in thin layers, feathering edges smooth.
For larger repairs, build up in stages, embedding fiberglass mesh or scrim for stability, then cap with a final skim coat.
Tooling matters: use clean spatulas, flexible HA or metal trowels, and a damp sponge for a refined finish.
Decorative finishes and historical restoration considerations guide texture to preserve character.
Prepare the Surface for Patching
Before you patch, you must prepare the surface properly. You’ll create a clean, sound base that holds patching material and preserves finish. Begin by removing loose plaster and dust with a stiff brush, then vacuum cracks to expose the full depth.
Next, apply a bonding agent to glossy or sealed areas to improve adhesion. Then dampen the area lightly to reduce suction, preventing rapid drying.
Finally, level any hollows with a thin coat of joint compound, feathering edges for a seamless blend.
- Clear debris and dust
- Apply bonding agent
- Lightly dampen the surface
- Feather and prime for patching
This approach honors Decorative finishes and historical restoration, delivering a durable repair while maintaining authentic character.
Patch, Embed Mesh, and Feather Edges
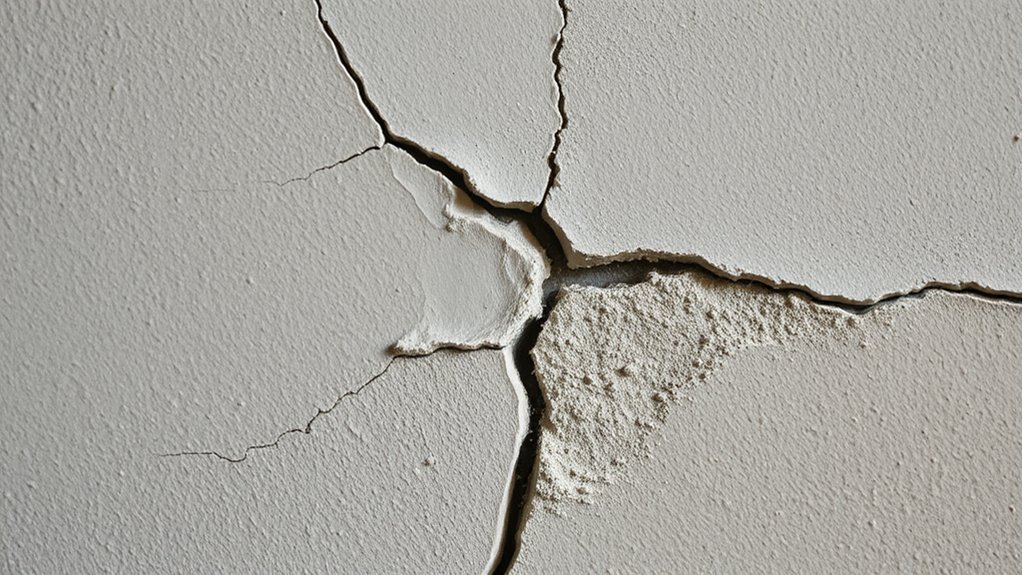
Once you’ve prepared the surface, apply a thin coat of joint compound over the hollow areas and cracks, then embed fiberglass or paper mesh into the wet patch to bridge the gaps. Press the mesh firmly and smooth, ensuring it lies flat with no bubbles.
Allow the patch to set, then apply a second, slightly wider coat, feathering outward beyond the repaired zone. Build thickness gradually to avoid sagging, re-embedding the mesh as needed for larger cracks.
When joints are secure, feather edges with light passes to blend into surrounding plaster. Sand lightly after drying to a smooth gradation.
This approach supports durable repairs aligned with decorative finishes and historical preservation, preserving texture while maintaining integrity. Finish with a precise, controlled skim coat as directed in the next step.
Skim Coat and Texture to Blend the Repair
After the patch has cured, skim coat the repair with a thinned joint compound to create a uniform surface and bridge any remaining ridges. You’ll want a feathered edge that disappears into the surrounding plaster, then center your effort on blending color and texture.
- Apply a thin coat, wait until tacky, then lightly sand for a smooth plane.
- Dart on a second pass with slightly more compound to flatten ridges without creating new ones.
- Assess color matching under room lighting, and adjust with a subtle tint if needed.
- Finish with controlled stippling or light knock-down to mimic original texture.
Color matching and finishing techniques determine how seamlessly the repair disappears.
Maintenance Tips to Prevent Future Cracks
You should inspect movement causes in your walls to catch nonstructural shifts before they crack plaster.
Use proper adhesives that match each repair and allow for seasonal movement without stressing the surface.
Schedule regular structural checks to catch evolving issues early and keep your plaster intact.
Inspect Movement Causes
Are uneven foundations or shifting framing the true culprits behind many plaster cracks, and can pinpointing movement save you from repeated repairs? You’ll identify root causes and act decisively.
- Examine the foundation for visible settling or cracks around corners and doors.
- Observe seasonal expansion and contraction patterns that stress framing and plaster.
- Check for moisture-driven movement from leaks or poor grading.
- Prioritize monitoring, documenting, and addressing movement before patching surfaces.
Address movement causes promptly to prevent recurring cracks, not just cosmetic fixes. Foundation settlement and seasonal expansion create recurring stress that compromises plaster integrity.
By tracking changes, you’ll time repairs to stabilize the structure and reduce future crack formation. Use precise measurements and consistent observations, then implement targeted fixes before re-plastering.
This proactive approach preserves alignment, minimizes repairs, and maintains long-term wall performance.
Use Proper Adhesives
Choose adhesives that are compatible with plaster and wood lurring materials, and avoid nail-driven or cement-based fasteners that can trap moisture and cause new cracks. You’ll want lightweight, flexible options that cure with minimal shrinkage, such as lime-based mortars or specialty plaster adhesives designed for coat systems.
Apply evenly to both surfaces, press firmly, and allow ample drying time before finishing. Use bonding agents only as recommended by manufacturers, avoiding over-application that can trap moisture behind the patch.
Check for matching expansion rates to prevent future separation. For final aesthetics, plan color matching and decorative finishes early, so the repair blends seamlessly.
If you’re aiming for a discrete repair, test a small area first and adjust adhesive choice to maintain uniform texture and sheen across the repaired section.
Regular Structural Checks
- Inspect all corners, seams, and plaster joints for gaps or displacement and address promptly.
- Check framing and drywall behind plaster for shifts, moisture, or rot, then stabilize with appropriate fasteners.
- Test moisture levels with a hygrometer; resolve leaks and improve drainage before deterioration occurs.
- Document findings and repairs, ensuring preservation standards, eco-conscious sourcing, and long-term durability.
Frequently Asked Questions
Can You Fix Cracks Without Removing Existing Plaster?
Yes, you can fix cracks without removing existing plaster. Apply mesh or fiber-recrete, seal seams, and skim with adhesive plaster. Use decorative finishes after addressing moisture prevention to maintain durability and prevent future cracking.
Are Lime-Based Plasters Better Than Portland Cement for Repairs?
A wise choice is choosing lime plaster over Portland cement for repairs. You’ll gain breathability and flexibility, reducing cracks. Lime plaster performs better in historic walls; use Cement repair only for non-historic patches where moisture isn’t an issue.
How Long Should Patched Plaster Cure Before Painting?
You should wait at least 24 to 48 hours for patched plaster to cure before painting. Do Painting prep, then surface cleaning, to guarantee adhesion and a smooth finish.
Do Hairline Cracks Indicate Structural Problems?
Yes, hairline cracks can signal structural issues, but often they’re not critical. Start with a structural assessment to gauge crack severity, then monitor progression. If signs worsen, consult a pro promptly; you’ll protect your home and peace of mind.
Is There a Difference Between Interior and Exterior Plaster Repairs?
Yes, there’s a difference: interior plaster repairs emphasize finish and moisture control, exterior require weatherproofing. You must prioritize surface preparation, material selection, crack sealing, and proper curing for each, using appropriate mixes and substrates.
Conclusion
Fixing plaster cracks isn’t guesswork—you’ve diagnosed the cause, chosen the right patching method, prepped the surface, embedded mesh, and feathered a seamless blend. Apply a skim coat, texture to match, and seal it to prevent future issues. Keep maintenance simple: monitor for new cracks after seasonal shifts and limit heavy loads nearby. You’ve got this—this pro approach levels the wall and restores durability, like a well-timed vintage repair, minus the drama of improvisation.