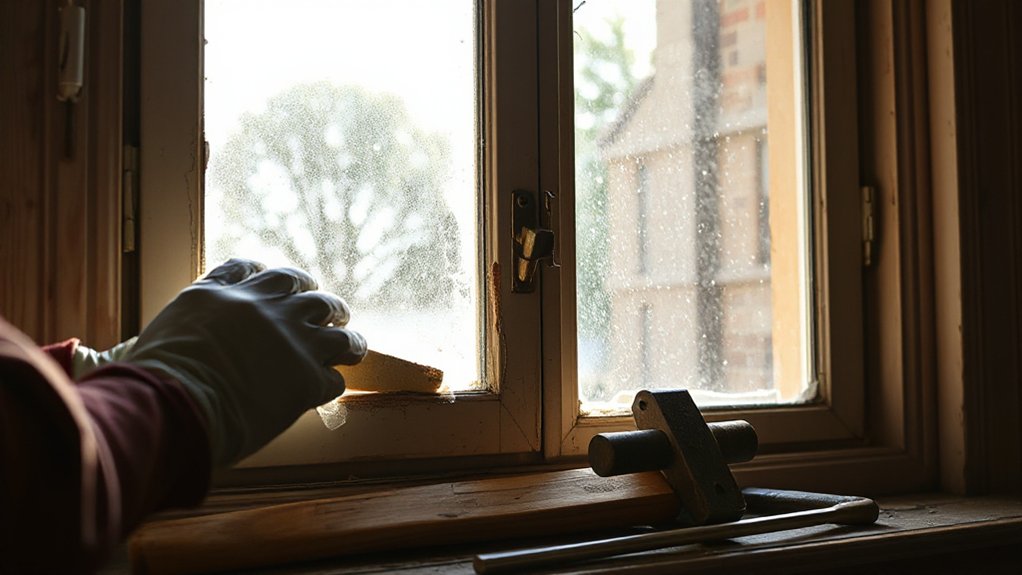

If your window sticks from the inside, start by checking for binding at the sash and glazing, then move to the tracks and sills for debris or warping. Use non-marring tools to loosen jams gently, avoiding force. Realign warped frames or misfitting sashes, then apply a light lubricant to moving joints. Test the operation slowly, re-seating and wiping away excess lubricant. If the issue persists, more steps may be needed to prevent future sticking. You’ll discover more steps below.
Key Takeaways
- Inspect the sash tracks for debris, clean with a soft brush, and wipe dry to reduce sticking.
- Gently test movement, noting resistance points; avoid forcing the sash to prevent frame damage.
- Loosen hinges or balances slightly with non-marring tools and recheck operation after each adjustment.
- Lightly moisten seals near the meeting lines and apply a small amount of silicone lubricant on the track.
- If sticking persists, stop and seek professional help for structural or glazing issues.
Start Here: Quick Diagnosis for a Stuck Window From Inside
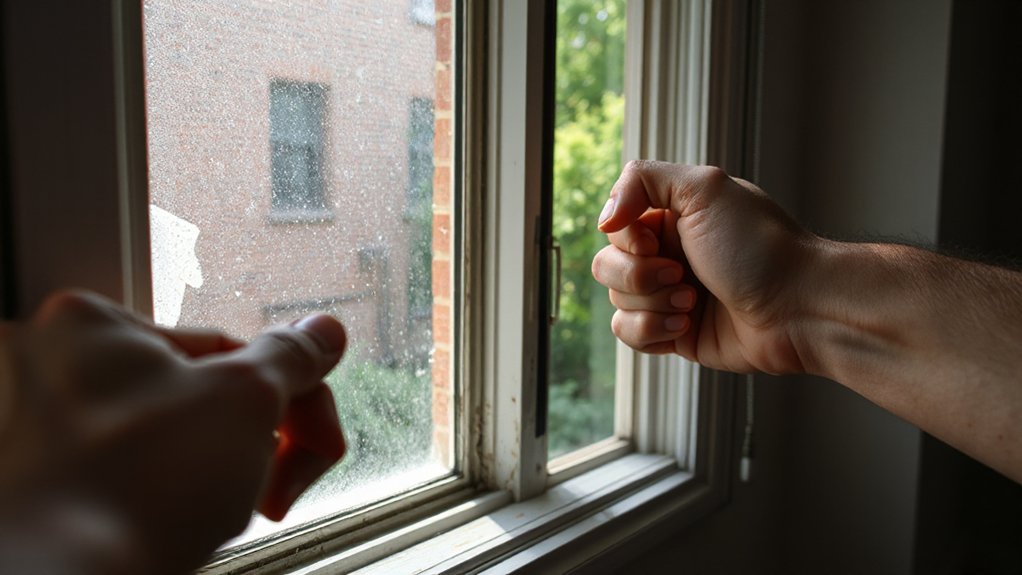
If your window won’t budge from the inside, start with a quick, systematic check to pinpoint the most likely cause.
Begin by confirming the sash is aligned in the frame and slides freely along the tracks. Inspect the seals and weatherstripping for warps, compression, or debris that could create binding. Move the sash slowly, listening for sticking points and feeling for uneven resistance.
Check the hinge or balance hardware for rust, bent pins, or loose screws. Note any misalignment between the window and sill, which can trap the sash.
Record observations as you go. This fast scan keeps you focused on practical causes, avoiding cosmetic concerns. Window aesthetics and decorative finishes matter later once you restore smooth operation.
Be prepared to adjust, clean, and recheck.
Check for Binding: Paint, Glaze, and Binding Sashes
You’ll want to check for binding caused by paint, glaze, or swollen sash materials before you chase more complex issues. Begin by inspecting the frame and sash for visible paint binding—stubborn coats or dried glaze can seize the meeting lines.
If you find paint binding, gently scrape along the seam with a plastic putty knife, keeping strokes light to avoid marring your trim.
Next, consider sash glazing; hardened glazing compound can glue the sash to the frame. Use a heat gun or warm, not hot, to soften the glazing, then ease the sash free with steady pressure.
Test movement after each adjustment. If resistance remains, recheck for subtle alignment flaws, ensuring the window returns to a plumb, square position without forcing.
Inspect Hardware: Locks, Latches, Balances, and Pivots
You’ll start by checking the lock mechanism to guarantee it clicks freely and isn’t sticking or obstructed.
Next, verify latch alignment so the keep roku (the strike plate) lines up with the latch when you close it, and note any misalignment.
Finally, inspect balances and pivots for smooth operation, noting any tight spots or looseness that could affect window closure.
Lock Mechanism Check
How solid is the lock mechanism holding the sash in place? You’ll assess core components first: the lock itself, the latch, and the pivot points.
Check for looseness, corrosion, or visible wear that might hinder engagement or retraction. Confirm the key compatibility; if the key doesn’t operate smoothly, the lock may bind rather than release.
Inspect the strike plate alignment and screw tightness, since misalignment can keep the sash from moving freely.
Exercise the locking and unlocking motions slowly, listening for gritty sounds or stalling. If movement is stiff, don’t force it; note whether the problem originates at the lock, the latch, or the pivots.
Document findings and plan targeted adjustments or professional service as needed.
Latch Alignment Tips
When inspecting latch alignment, start by checking how the latch engages the strike plate and whether the gaps around the sash are even. If misaligned, loosen screws slightly and re-seat the latch, then tighten in stages to avoid binding. Verify that the deadbolt or latch faceplate sits flush without rubbing.
Move to hinges and pivots—ensure pins are straight, free of burrs, and ride smoothly in their mortises. Test with multiple closes, noting any catching points and adjusting strike plate height or orientation as needed.
Consider decorative window styles, ensuring aesthetics don’t compromise function. In historical window restoration, preserve original hardware while achieving proper alignment by careful shimming and documenting every change for future maintenance.
Record results, then recheck gaps and lock operation after any adjustment.
Check Tracks and Sills: Debris and Warping
To start, inspect the window tracks and sills for debris, warping, or other obstructions, since these can prevent the sash from sliding smoothly. You’ll want to remove dust, hair, and grit with a soft brush, then wipe with a damp cloth and dry before testing movement.
Look for warped sills that bind the sash; gently run a level along the sill to confirm flatness, and note any high spots. If debris persists, vacate the track and apply a light, silicone-based lubricant along the entire length, avoiding overspray on glass.
Weatherproofing issues may reveal gaps or stiffness that trap dirt, while aesthetic considerations matter: a clean, aligned track improves appearance and operation.
Finally, verify that weatherstripping remains intact and seals properly after realignment.
Gently Loosen Jams: Safe Tools and Techniques
Loosen jams carefully using purposefully chosen tools and techniques, so you don’t damage the sash or frame. Begin by inspecting the jam to identify the obstruction, then select a non-marring tool set: plastic spatula, wooden probe, and a rubber mallet for gentle taps. Protect surrounding surfaces with a cloth.
Work from the outside edge of the sash toward the center, applying light, even pressure to coax the jam loose without bending hardware. If resistance persists, moisten the seal slightly with water or mild cleaner to reduce grip, then retry.
Breaks in the seal can reveal hidden grit; remove it with a dry brush. Once free, test smooth operation, wipe away residue, and consider light window cleaning for aesthetic improvements.
Avoid forceful prying; patience preserves function and longevity.
Fix Warped Frames and Realign Misfitting Sashes
Warped frames and misfitting sashes won’t correct themselves, so you’ll need a precise, step-by-step approach. You’ll inspect for binding gaps, then loosen hinges or screws as needed. Realigning sashes requires controlled pressure, gradual adjustments, and checking plumb with a level after each tweak.
1) Assess distortion: note which edges rub and where the gap narrows.
2) Loosen fasteners slightly, then nudge the frame with a non-marring tool to reduce bind.
3) Shim selectively at high-contact points to straighten alignment without overcorrecting.
4) Recheck operation, test opening and closing, and tighten screws firmly if alignment holds.
This routine targets Warped frames and Realigning sashes, restoring smooth movement without overhauling the window.
Seal, Lubricate, and Maintain to Prevent Sticking
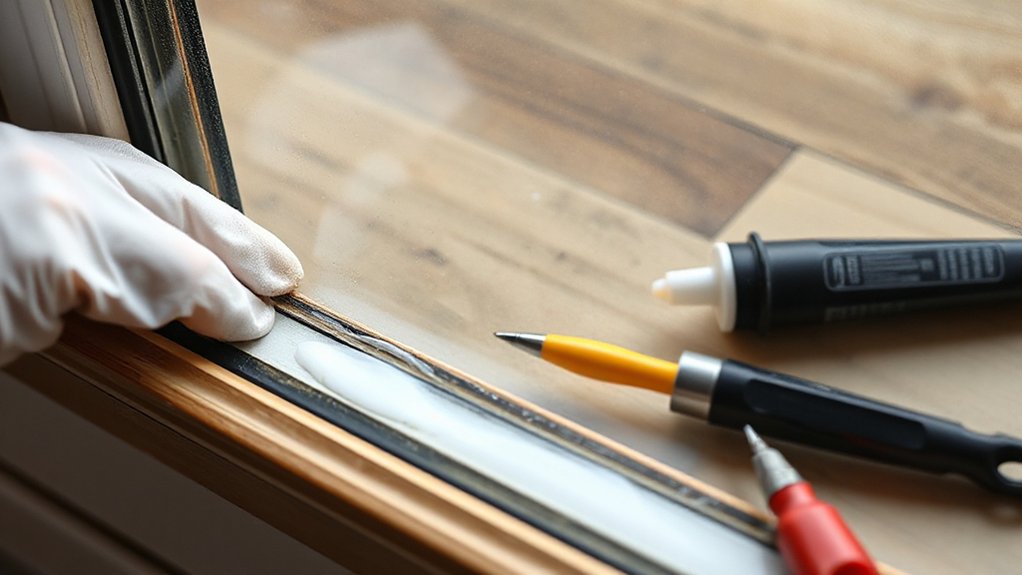
You’ll seal any gaps at the frame and joints to reduce drafts and sticking.
Next, you’ll lubricate moving joints with the right lubricant to keep smooth operation.
Finally, you’ll maintain a regular schedule—check seals, reapply lubricant, and address wear to prevent future sticking.
Seal Points For Gaps
To prevent sticking, start by sealing any gaps around the window and then keep the hardware moving smoothly with lubrication and regular maintenance. You’ll focus on seal points and gap filling to reduce air leakage and moisture intrusion that adsorb friction.
Identify where the sash meets the frame, and apply precise sealing to stop drafts before they drag on operation. Use firm, even pressure to seat weatherstripping without compressing it excessively.
- Inspect corners for persistent gaps and apply appropriate sealant or weatherstrip.
- Choose compatible materials (foam, silicone, or rubber) for the gap size.
- Press firmly so the seal points sit flush with the frame.
- Recheck alignment after installation to prevent future sticking.
Lubricate Moving Joints
With the gaps sealed and the frame stabilized, focus on the moving joints to keep operation smooth. Begin by inspecting hinges, pins, and tracks for wear or corrosion. Wipe away dust with a damp cloth, then dry thoroughly.
Apply a light lubricant—preferably a silicone or PTFE spray—directly to pivots and contact points, avoiding overspray onto weatherstrip. Work the window open and closed several times to distribute the lubricant evenly, wiping any excess as you go.
If sticks persist, remove and clean the hinge screws, then reapply lubricant. Keep joints clean during routine maintenance, because dirt builds resistance.
Schedule periodic lubrication to maintain performance, support window cleaning efforts, and preserve aesthetic enhancements while preventing sticking. Avoid heavy lubricants that attract grime or attract dust.
When to Stop and Call a Pro: Safety Red Flags and Escalation
There are clear safety signs when you should stop and call a pro: if the window shows any bowing, cracking, or signs of separating from the frame, cease attempts immediately. You’ll prioritize risk assessment over force, avoiding further damage and injury. When in doubt, seek professional help to prevent costly repairs or collapse.
1) Recognize obvious structural deformities, misalignment, or fastener failures that compromise load paths.
2) Notice persistent difficulty after gentle attempts, indicating hidden damage or warped sash components.
3) Observe unusual noises, loosened glazing beads, or drafts that imply failure of seals or framing integrity.
4) Escalate promptly if hinges, tracks, or balances reveal cracks, corrosion, or wear beyond DIY capability.
Safety hazards, professional help.
Quick Test: Verify Smooth Operation After Adjustments
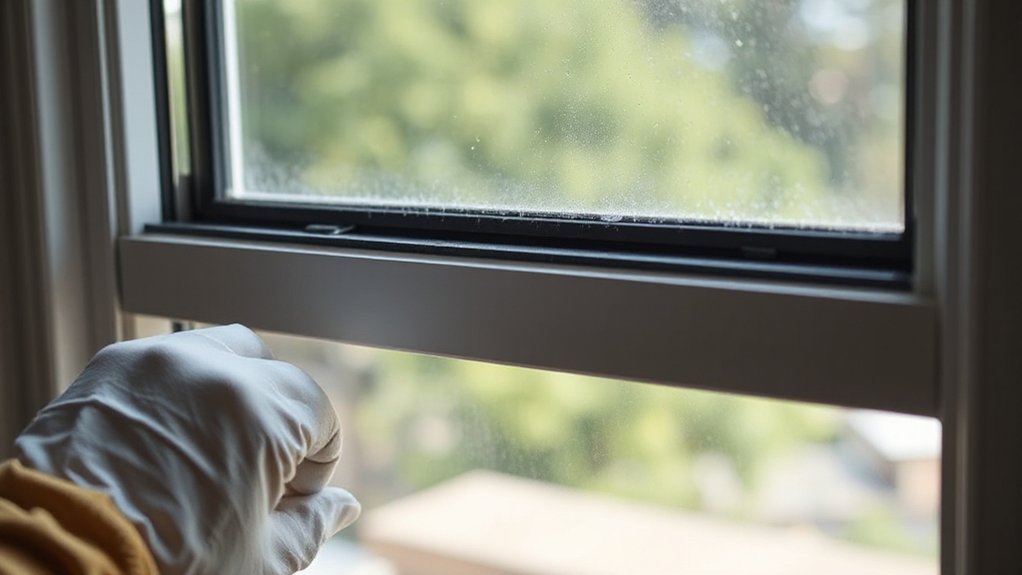
Now that you’ve made adjustments, give the window a quick functional check to confirm smooth operation.
You should cycle the sash slowly, listening for binding or grinding, and feel for even resistance across the travel.
Open and close from both the interior and exterior where possible, noting any sticking points or looseness.
If motion is smooth, resecure tracks with light, even pressure and wipe away debris as you go.
Confirm the latch engages firmly without forcing it, and test a few moderate openings to ensure consistent balance.
As a precaution, perform a final wipe to remove dirt during window cleaning, then inspect seals for gaps.
If movement remains rough, reassess alignment; consider glass replacement or professional help for persistent binding.
Frequently Asked Questions
Can Temperature Changes Cause Windows to Stick From Inside?
Yes, temperature changes can cause windows to stick from inside. You’ll notice thermal expansion and shifts in air pressure making sashes seize; inspect seals, vent air, and gently operate cranks to balance pressure and freedom of movement.
How Do I Test if a Sash Is Binding Without Removing It?
Sure thing: you test if a sash is binding by opening and closing firmly, feeling for resistance, then wobble the frame. Lubricate lightly with window lubrication and adjust sash alignment as needed, methodically, noting any sticking points.
Can Interior Moisture Swell Wood and Cause Sticking?
Yes, interior moisture can cause wood expansion and stickiness. Monitor for swelling, warping, or stiffness; address moisture sources, dry frames, and re-seal. Wood expansion may require planing, lubrication, or hardware adjustments to restore smooth operation and prevent further moisture damage.
Are Cosmetic Gaps a Sign of Misalignment or Binding?
Cosmetic gaps can indicate misalignment or binding, so inspect for sash tilt, hinge wear, or frame distortion. If gaps persist, measure clearances, adjust hardware, and seal with weatherstripping to address aesthetic issues without forcing movement.
What Is a Safe Lockout Procedure if the Window Won’T Open?
If you’re locked out, stay calm and follow a safe lockout: verify power, disable alarm if needed, and call a pro if you’re unsure. Use security cameras and window sensors to document access and guarantee security.
Conclusion
You’ve got this. By following these steps, you’ll diagnose the snag, Then loosen the jam without forcing it. Clean tracks, inspect balances, and lubricate where needed, all while monitoring for warps or misalignments. If you detect cracks, severe binding, or unsure parts, stop and call a pro. Think of it as tightening a bronze hinge: small, steady actions keep the whole window working—smooth, quiet, and trustworthy—like a well-oiled door in a quiet, sunlit room.