



Installing a new chandelier is doable with careful planning, accurate measurements, and safe wiring. Start by choosing a style that fits your room’s scale and ceiling height, then confirm clearance and mounting points before you buy. Turn off power at the breaker, remove the old fixture, and inspect the ceiling box. Set the mounting bracket, connect ground, neutral, and hot wires, and secure the canopy. Install bulbs and shades, test the switch, and perform a final safety check—more tips await.
Key Takeaways
- Plan style, size, and placement by measuring ceiling height, room scale, and clearance before choosing a chandelier.
- Turn off power, remove old fixture safely, and inspect the ceiling box for proper mounting support.
- Mount the fixture with a level, secure canopy, and ensure the ceiling box and hardware support the weight.
- Wire correctly: connect ground, neutral, and hot wires with proper connectors; verify no exposed conductors.
- Test operation at low power, then full settings, and perform final safety checks and maintenance scheduling.
Choosing the Right Chandelier Style for Your Room
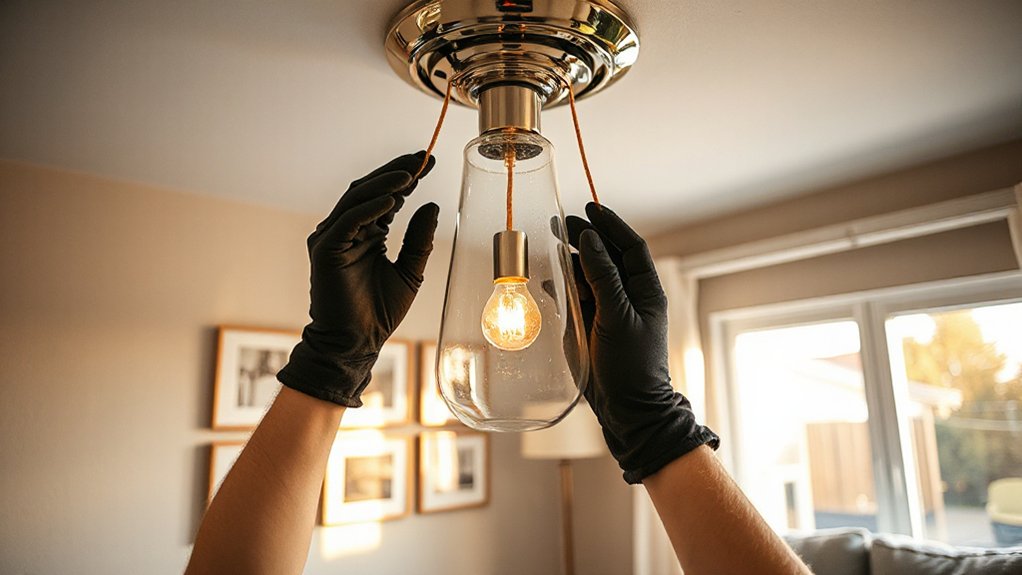
When choosing a chandelier style for your room, start by considering the room’s scale, ceiling height, and existing decor. You’ll balance size and silhouette to avoid overpowering or under‑lighting the space.
Choose a design that mirrors your architectural language—sleek modern lines for contemporary spaces or ornate details for traditional rooms. Decide how the fixture’s finish integrates with hardware, metals, and any other lighting you’re using.
If your ceiling is tall, a longer pendant or chandelier creates drama; in a low ceiling, opt for a compact, space‑savvy fixture.
Prioritize a shape that complements furniture layout and window treatments. The goal is choosing style that supports room harmony, delivering cohesive light and feel without clutter.
Check Your Ceiling Height and Clearance Before You Begin
Before you start, confirm your ceiling height and note any obstructions that could affect fixture placement.
Measure clearance above and around the intended location, and keep this in mind for height, headroom, and access.
Use these checks to guide your fixture choices and placement for safe, proportional lighting.
Ceiling Height Check
Make sure you’ve got enough headroom before you start: measure from the floor to the ceiling and account for any fixtures or ductwork that might hang down. This ceiling height check guarantees you select a fixture that fits without crowding the room or compromising accessibility.
Do a quick clearance measurement in the fixture area, noting the tallest point of any obstruction, such as fans, vents, or crown molding. Record the result in feet and inches for clarity.
If your measurement falls short of the fixture’s required height, pause and adjust placement or return a lower-profile option.
Use a level to confirm the mounting location isn’t skewed, and verify there’s ample space for installation tools.
Accurate ceiling height planning prevents surprises during wiring and final setup.
Clearance Measurement Tips
Clearance matters first, so start by checking your ceiling height and any obstructions before you lift a finger. Before you buy or install, measure from floor to ceiling at multiple points where the chandelier will hang, noting the lowest clearance. Remember doorways, fans, beams, and soffits can affect fitting space.
Compare your measurements against the fixture’s required drop and the room’s use; some spaces demand more headroom than others. When you evaluate light fixture styles, consider mounting options that optimize height without crowding the room.
Keep ceiling clearance considerations in mind for any venting or wiring, and plan for a safe path during installation. Document measurements for reference, ensuring the fixture will clear all furniture and occupants comfortably.
Fixture Placement Guide
Start by confirming your ceiling height and any obstructions against the plan you formed from clearance checks. This Fixture Placement Guide helps you translate that plan into safe, effective setup.
Verify the chandelier’s mounting location aligns with the room’s lighting design goals and stays clear of ceiling fixtures, vents, or beams. Check distance from walls to ensure balanced illumination and avoid glare on screens or artwork.
Consider line-of-sight and foot traffic—avoid low-hanging delays or accidental contact. Mark approximate hang height on a stud or ceiling box, then verify support compatibility and weight rating.
After hanging, test switch operation and adjust for maximum spread. Plan for future maintenance: accessible wiring, cleanable bulbs, and safe fixture maintenance routines to sustain performance and aesthetics.
Wiring Basics You Need Before You Start
You’ll start by prioritizing wiring safety, turning off the main power and using a tester before you touch any wires.
Know your circuit breaker setup so you can shut off the right circuit and prevent shocks or trips.
Grounding and neutral basics keep fixtures safe and prevent stray currents—stick to the standard color codes and connection practices.
Wiring Safety Essentials
Electrical work demands respect for safety. Before you touch wiring, power off at the main breaker and verify no voltage remains with a tester. Use proper PPE—gloves, eye protection, and insulated tools.
Identify your wires by color: black (hot), white (neutral), bare or green (ground). Keep circuits unbroken while you work, and avoid working in damp environments or on a ladder with metal tools.
Maintain clear, dry workspaces and label components as you go. Color coordination matters: match fixture leads to house conductors according to the wiring diagram, and reconnect grounds securely.
Material selection matters too; choose listed, grounded fixtures and use the correct mounting hardware. If you’re uncertain, consult a licensed electrician.
Circuit Breaker Awareness
Circuit breakers protect you and your home, so know which one controls each circuit before you work. Before you touch wiring, review Electrical codes and confirm proper circuit protection for lighting. This awareness helps prevent shocks and overloads.
- Identify the breaker panel label or use a tester to verify the correct breaker for the circuit.
- Turn the identified breaker fully off, then test the fixture location with a non-contact tester.
- Restore power only after you’ve completed your work and re-verify the circuit is safely protected.
Keep notes on which breaker corresponds to which room or fixture. If in doubt, consult a licensed electrician.
Following these steps minimizes risk and aligns with Electrical codes and circuit protection best practices.
Grounding and Neutral Basics
Neutral conductors stay isolated from the hot side and join at the neutral bus in the panel. When wiring, verify a continuous ground path and tighten connections to avoid arcing.
Match fixture grounding with house ground, and keep neutrals separate from hot conductors in junctions. Consider lighting design goals to guarantee safe, consistent operation, especially with dimmers or transformers.
Remember bulb types influence wattage and heat; use fixtures rated for your chosen bulbs and avoid overloading circuits. Always de-energize, double-check, and follow local code.
Pre-Install Electrical Safety Checks for Beginners
Before you touch any wires, take a few quick safety checks to protect yourself and your home. You’ll want clarity before you drill in. Focus on two core ideas first, then verify with your tests.
- Check power at the switch and at the fixture box using a non-contact tester or multimeter to confirm circuits are off.
- Inspect for any exposed conductors, damaged insulation, or signs of overheating in Electrical conduit and box connections.
- Confirm the circuit integrity with a basic circuit test to ensure no backfeed or unusual readings before you proceed.
These steps help prevent shocks and miswiring. Keep testing handy, and document results for future reference. Safety first, then install with confidence.
Tools and Materials for a Safe DIY Chandelier Install
To guarantee a safe, smooth installation, gather the right tools and materials before you start. You’ll need a basic tool set: voltage tester, sturdy ladder, needle-nose pliers, wire strippers, screwdriver assortment, and a level.
For wiring, have electrical tape, wire nuts, and twist-on connectors on hand, plus a compatible ceiling box if replacements are required. Choose hardware sized for your fixture’s weight and mounting plate, including screws, anchors, and a mounting bracket.
Use non-contact testers and a digital multimeter for accuracy. Keep a flashlight or headlamp for dim work areas.
Materials should align with Lighting design goals and confirm proper grounding. After installation, perform fixture maintenance checks: secure fasteners, clean optics, and verify dimmer compatibility.
Maintain clear workspace and label wires for future service.
Prepare the Ceiling Box and Mounting Bracket
If you haven’t already, turn off power at the breaker and remove the existing fixture to expose the ceiling box, then inspect the box for cracks or damage.
With the box ready, prepare the mounting bracket so it’s compatible with your chandelier’s canopy and support screws. This step ensures a solid, safe install and minimizes future ceiling repair needs, including paint touch up.
- Align the bracket with the ceiling joist, level it, and secure with appropriate screws.
- Attach the grounding conductor and ensure solid continuity to the fixture.
- Verify the box is securely fastened and can bear the weight of the new fixture.
Note: If you spot minor ceiling irregularities, plan a quick paint touch up after mounting the bracket to maintain a clean finish.
Remove the Old Fixture Without Causing Damage
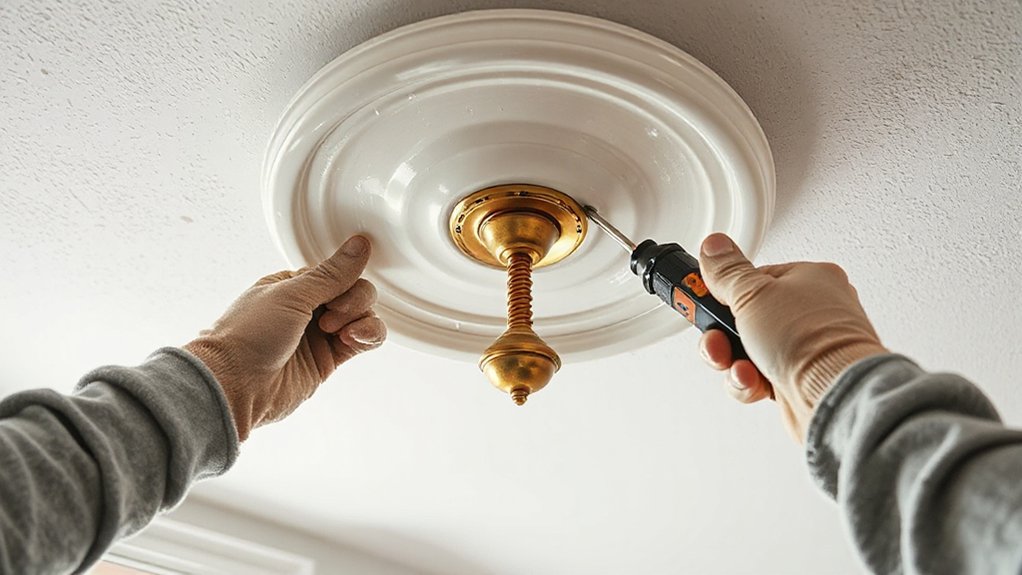
First, you’ll safely turn off the power at the breaker to prevent shocks.
Then remove the fixture by loosening mounting screws and disconnecting the wires, doing so gently to avoid twisting or pulling on the house wires.
Finally, protect walls and surfaces as you work to prevent marks, and set aside the old parts for proper disposal.
Safely Turn Off Power
Before you touch the fixture, switch off power at the breaker panel to cut the circuit and prevent shocks. Then verify no power at the switch with a tester before you proceed.
1) Protect yourself and nearby surfaces by lowering the chain and placing a drop cloth, avoiding metal contact.
2) Confirm the fixture is de-energized, then detach the glass or shade carefully and set it aside.
3) Plan for bulb replacement and light fixture cleaning after the secure removal, so you’re ready to reassemble without surprises.
Keep tools organized, work slowly, and avoid touching live conductors. This approach minimizes damage and makes the next steps smoother. If you notice scorch marks or loose wiring, pause and consult a professional. Stay practical, precise, and safe.
Loose Fixture Removal Steps
Start by confirming the power is off and the fixture is fully de-energized before you touch it.
With steady hands, loosen the canopy screws or finials, then lower the fixture slowly to avoid abrupt shifts.
If the wires are wrapped or taped, carefully undo the connections at the junction box, keeping track of colors and lengths for when you install the new unit.
Inspect the ceiling for any mounting plate cracks or loose screws and address them during ceiling preparation to prevent future damage.
Disconnect strain on the supply wires by guiding the fixture away from the box rather than yanking.
Place the old hardware aside and wipe the mounting area clean, ready for fresh connections and a secure, even rehang.
Prevent Wall/Damage Marks
To prevent wall or damage marks when removing the old fixture, support the fixture as you disconnect and keep it level as you lift it away from the mounting surface. This minimizes leverage that could chip paint or crack drywall. Use a piece of painter’s tape to secure nearby knobs, and keep your movements slow and controlled. Focus on wall protection and damage prevention by planning your grip before loosening screws.
- Hold the fixture firmly, disconnect wires with steady, even pressure, and lower it straight down.
- Move it away from the wall without twisting, then place it on a protected surface.
- Inspect the mounting area for marks or scuffs; wipe gently and treat any damage before installing the new unit.
Attach, Level, and Secure Your Chandelier
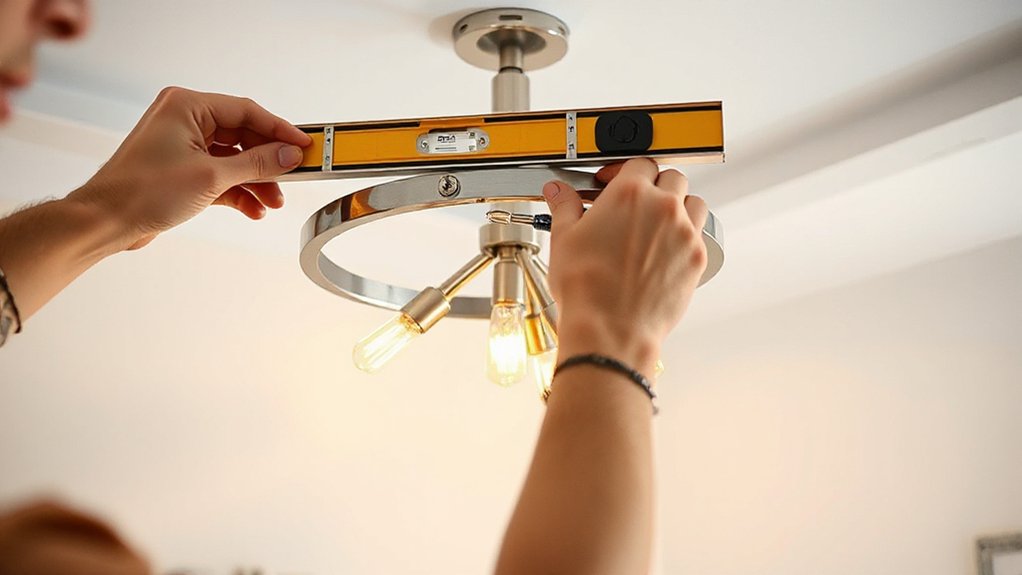
Ready to hang your chandelier? Start by attaching the canopy to the ceiling plate, aligning it with your support box. Verify the ceiling support totals the fixture weight you’ve calculated, and never exceed the rated capacity.
With the bracket secured, lift the chandelier and hook it onto the mount, keeping hands clear of live wires. Fine-tune level by adjusting the mounting screws or shims until the fixture sits平 and even from all sides.
Tighten the locking screws firmly, but avoid overtightening that could crack the canopy. Recheck alignment one final time, then gently push the fixture against the ceiling to seal gaps.
Confirm it’s steady by applying a light test tug—no movement should occur.
Connect Wiring: Grounding, Mounting, and Connections
Grounding is essential for safety, so start by turning off the circuit at the breaker and testing that the power is truly off. You’ll connect the fixture’s neutral and hot to the house wires, then attach the ground to the mounting bracket or box.
Follow wire color codes and secure every connection with the proper connectors, keeping twists tight and no exposed copper. Confirm the canopy and fixture mount are solid before restoring power.
- Verify all ground connections are continuous and bonded.
- Match wire color codes exactly, and cap unused conductors safely.
- Mount and secure the fixture, then test operation at a low setting.
With proper grounding, reliable connections, and careful mounting, you’ll finish safely and confidently.
Install Shades, Bulbs, and Finishing Touches
Now that the fixture is securely mounted and powered, it’s time to install shades, bulbs, and finish the look. Start with shade installation, aligning mounts and securing screws until snug. Check for even spacing and smooth rotation if applicable, then wipe any fingerprints from glass or metal.
For bulb replacement, use the correct wattage and type specified by the manufacturer. Hold bulbs gently by the base, not the glass, and twist until seated. Install LEDs where possible for longevity and color accuracy.
Recheck all connections and guarantee shades sit flush without wobble. Clean lines and consistent tone matter: adjust shade height if needed and verify that each bulb illuminates evenly. Finalize with a quick wipe-down and test illumination across dimmer settings.
Troubleshooting Common Chandelier Installation Issues
If you run into issues during chandelier installation, start by identifying the most evident symptom and prioritizing safety. Quick checks help you narrow the cause without derailing the project.
1) Verify power off and secure connections first—loose wires or grounding problems show up immediately.
2) Check bulb compatibility and socket type, ensuring correct wattage and base size to prevent flicker or dimming.
3) Reassess mounting alignment and hardware constraints; misalignment often causes wobble or strain on the fixture.
Practical steps you can take include testing each control separately and consulting manufacturer specs on Lighting design considerations.
If problems persist, re-evaluate wiring diagrams and fixture compatibility. Prioritize safe handling and document findings for future installations.
Final Safety Check and Aftercare for Your Chandelier
After finishing the installation checks, lock in safety by performing a final power-off test, confirming all connections, mounts, and supports are secure, and guarantee the fixture operates correctly.
Then, restore power and verify the light behaves as expected across all settings.
Inspect the ceiling canopy, screws, and junction box for any looseness, and listen for unusual noises once it’s on.
Keep maintenance tips in mind: wipe glass with a damp cloth, check bulbs every few months, and replace worn parts promptly.
Note aesthetic considerations too—align shade angles, balance chandeliers, and confirm cords aren’t snagged.
Regular cleaning reduces dust buildup and preserves shine.
Document any adjustments, and schedule periodic checks to prevent issues and extend the fixture’s life.
Frequently Asked Questions
Do Chandeliers Require a Ceiling Fan Circuit Hookup?
No, chandeliers don’t require a ceiling fan circuit hookup. You’ll wire for a dedicated light circuit and guarantee proper ceiling box support. Check Ceiling fan wiring and plan Light fixture placement before mounting, labeling wires and securing junctions.
How to Determine Transformer Compatibility for Low-Voltage Fixtures?
Transformer compatibility hinges on matching transformer output to fixture wattage and voltage. Check label specs, wattage, and conductor gauge. For low voltage wiring, verify transformer type, insulation rating, and secure connections before applying power.
Can I Install a Chandelier on a Dimmer Switch?
Yes, you can, but check dimmer compatibility and wiring requirements first. Confirm the chandelier supports dimming, use a compatible dimmer, and verify wiring gauge, switches, and load ratings to avoid flicker, buzzing, or overload.
What Height Is Ideal for a Dining Room Chandelier?
Aim for about 30–34 inches above your dining table, adjusting for ceiling height. Make sure chandelier placement keeps ample headroom and aligns with the table’s length. Consider ceiling height considerations to maintain proportional, balanced room aesthetics.
Are There Weight Limits for Ceiling Boxes?
You ask about safety: ceilings bear weight, so heed ceiling box reinforcement and weight capacity guidelines. You reinforce the box, follow manufacturer specs, and never exceed limits; your install stays steady, like a trusted anchor in a storm.
Conclusion
You’re almost done, and your new chandelier will transform the room—bright, elegant, and personal. If you’re worried about electrical work, remember: you don’t need to be a pro to do safe basics, but don’t skip the safety checks. If anything feels off, call an electrician. You’ll gain confidence with each step, from ceiling height to grounding. Stay focused, follow the steps, and enjoy the glow you created without compromising safety. Your space, beautifully finished.



