


Start with an in-depth audit of your current system: note furnace/boiler type, age, efficiency, recurring issues, and comfort gaps. Understand your climate, home size, and insulation, then perform a room‑by‑room heat load to size upgrades correctly. Decide between furnace, heat pump, or boiler based on fuel, ductwork, and long‑term goals. Prioritize leaks, insulation, and smart controls, then plan a phased rollout if needed. Ready to boost efficiency before the cold hits? You’ll learn more next.
Key Takeaways
- Conduct a quick home audit to assess current system age, efficiency, leaks, insulation gaps, and thermostat accuracy before upgrading.
- Calculate your heating load room by room to size a compatible furnace, boiler, or heat pump accurately.
- Prioritize sealing ducts, insulating spaces, and upgrading thermostats for immediate comfort and energy savings.
- Decide between in-home targeted improvements vs. a whole-house upgrade based on budget and home layout.
- Explore phased upgrades and available rebates or financing to plan a cost-effective, timely upgrade before cold weather.
Audit Your Current Heating System and Needs
To start, take stock of what you already have: identify current furnace or boiler type, age, efficiency rating, and any recurring issues like odd noises, uneven heating, or high bills.
Then map your needs: how many rooms require warmth, what zones you’d like to control, and whether you expect changes in occupancy or usage.
Assess energy conservation opportunities, such as insulation gaps, duct leaks, and sealant needs, since small fixes amplify efficiency.
Check your existing thermostat’s calibration and compatibility with upgrades.
Note system responsiveness, standby losses, and maintenance history to guide improvements.
Use this audit to set realistic goals for efficiency, cost savings, and comfort.
This informs whether to upgrade equipment or optimize with smarter controls and calibrated thermostats.
Understand Your Climate and Home Size
To start, you’ll assess how your climate affects heating needs and choose equipment rated for your typical seasonal conditions.
Then you’ll confirm your home size and layout to match capacity, efficiency, and zoning options.
Finally, you’ll consider seasonal demand factors like humidity, sunlight, and occupancy to refine your install plan.
Climate Considerations For Home
Understanding your climate and home size helps tailor a heating upgrade that fits how you live. Your climate dictates heating needs, efficiency targets, and equipment choices, so identify whether you face humid summers, cold snaps, or variable seasons.
Consider building tightness, insulation quality, and air leakage, since gaps ruin efficiency more than you expect. Urban insulation strategies can reduce heat loss in dense settings, where shared walls magnify performance benefits.
For larger homes, you’ll want scalable systems and zoning to avoid overheating unused spaces.
Solar integration can offset energy use when sun is abundant, lowering seasonal bills without sacrificing comfort.
Pair climate data with predictable occupancy to guide desired comfort levels, maintenance schedules, and warranty coverage—ensuring the upgrade remains reliable across all weather conditions.
Appropriate Home Size Assessment
Assess your home size in relation to your climate and heating needs. Accurate sizing guarantees efficiency, comfort, and fewer cold spots. Start with these checks:
- Measure floor area and ceiling height to estimate air volume you must heat.
- Note insulation levels and window quality; drafty areas waste energy and raise costs.
- Evaluate occupancy and appliance use to forecast heat gain and peak demand.
A practical approach keeps you focused on essentials: Home insulation and air quality. When you know the space you’re heating, you can select equipment with appropriate capacity, avoiding oversizing or undersizing.
Consider real-world usage patterns—habits, room-by-room comfort, and seasonal shifts—to refine your choice. Confidence grows as you align system size with climate realities, reducing runs and boosting efficiency.
This clarity translates into cleaner air, steadier temperatures, and lower utility bills.
Seasonal Heating Demand Factors
Seasonal heating demand hinges on both your climate and your home size, so start by mapping how outdoor temperatures and interior heat loss interact with the space you need to heat. You’ll gauge demand by analyzing typical winter lows for your area and your home’s layout, number of exposed walls, and ceiling height.
Then, consider how you heat and when you’ll need it most—early mornings, evenings, and during cold snaps. This is where energy conservation comes into play: prioritize reducing waste through targeted insulation techniques, seal gaps, and optimize thermostat setbacks.
Compare your insulation quality across walls, attic, and ducts; upgrades here often yield higher efficiency than oversized equipment. Finally, tailor a plan to your occupancy pattern and energy goals, ensuring comfort without overspending.
Furnace vs. Heat Pump vs. Boiler: Which Is Right?
When deciding between a furnace, a heat pump, or a boiler, start with your home’s climate, existing ductwork, and energy goals. Each option has a distinct role in energy conservation and environmental impact, so pick what aligns with your priorities.
Consider these factors:
1) Climate suitability and efficiency in your area
2) Duct or radiant systems and installation practicality
3) Long-term operating costs and maintenance
Furnaces excel in cold winters. Boilers anchor radiant heat, and heat pumps offer year-round comfort with high efficiency. If you value versatility and lower emissions, a heat pump paired with supplemental heat can shine.
For reliability in extreme cold, a gas furnace remains strong. Boilers minimize air leakage, while furnaces deliver rapid surface warmth. Your choice should balance comfort, energy goals, and practical constraints.
Compare Efficiency Ratings and Upfront Costs
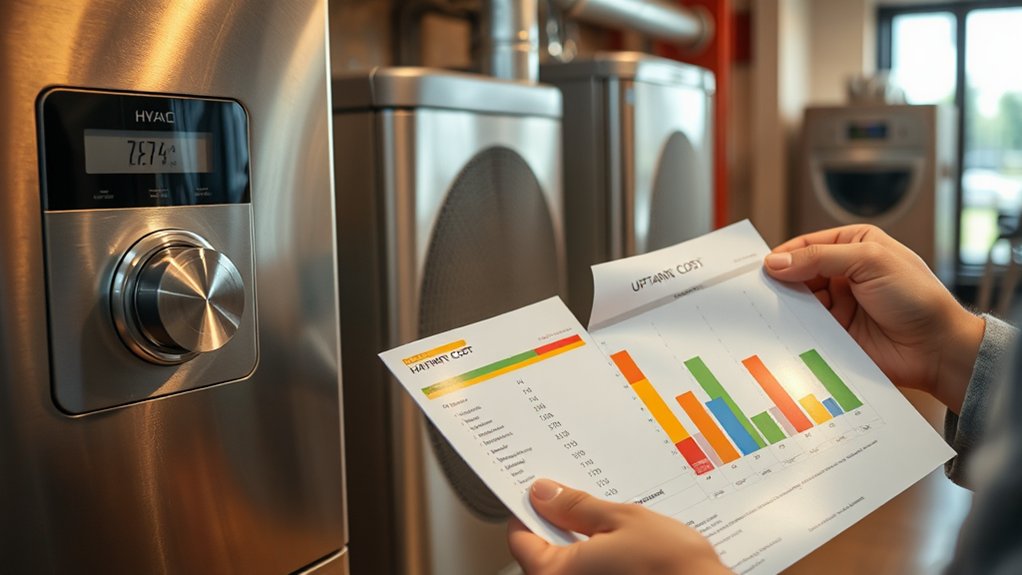
When you compare efficiency ratings, you’ll see long-term savings that can outweigh the upfront price.
Start with the efficiency metric, like AFUE or HSPF, and weigh it against installation costs and any rebates.
In short, balance immediate costs with projected energy savings to choose the most cost-effective option.
Efficiency Rating Basics
Efficiency ratings matter because they directly affect your heating costs over time. When you compare options, focus on what the numbers really mean for daily use and long-term reliability, not just sticker appeal. Look for clear labels and recognized benchmarks, like Energy certification, to verify performance. This helps you separate hype from facts and prevents overpaying for marginal gains.
1) Visualize efficiency as daily comfort: a tight envelope, steady warmth, minimal cycling.
2) Match ratings to climate: higher efficiency yields bigger savings where it’s coldest.
3) Check certification integrity: trusted programs prevent inflated claims and ensure consistency.
Use efficiency ratings as a quick screen, then verify with real-world performance data. Your goal is predictable warmth, lower bills, and proven reliability through Energy certification.
Upfront Cost Considerations
Upfront costs matter, so compare efficiency ratings directly against installation and long-term savings. You’ll want to balance equipment price with expected energy bills, maintenance, and replacement intervals.
Higher efficiency often reduces ongoing costs, but the initial premium may take years to recoup. Consider the system’s compatibility with your home insulation and ventilation systems—proper insulation can magnify efficiency gains, while poor ventilation can waste hot air.
Evaluate seasonal performance, load calculations, and potential rebates or financing options to lower the upfront impact. Don’t overlook installation complexity, warranty coverage, and contractor reliability.
Prioritize a sensible mix: a moderately efficient unit paired with improved insulation and smart controls can outperform a higher-priced model with gaps in sealing. Tailor choices to climate, house design, and budget realities.
Calculate Your Heating Load Before Upgrading
To upgrade wisely, you must start by calculating your heating load before you upgrade. Accurately sizing your system saves energy, supports energy conservation, and boosts comfort by matching capacity to needs.
Begin with a quick room-by-room assessment, note insulation gaps, and account for occupancy. Then apply a simple method to estimate heat loss and required output.
- Measure square footage and ceiling height to gauge volume.
- Check insulation levels, air leaks, and ventilation efficiency in key zones.
- Use a reputable load calculator or consult a pro for final confirmation.
Keep the goal clear: equipment that fits your actual load minimizes waste, improves efficiency, and reduces running costs. A precise load also guides better venting choices and uninterrupted, comfortable heating.
Budgeting for a Heating System Upgrade
A solid budgeting plan starts with your prior load assessment, so you know what size and type system you actually need. You’ll compare installed costs, efficiency ratings, and expected running expenses to identify true value, not just upfront price.
Prioritize options that deliver energy conservation benefits, like higher SEER or AFUE ratings, to reduce long-term bills.
Include installation, permits, and potential ductwork costs in your total. Build a contingency—unexpected repairs or delays can spike spend.
Consider financing, tax incentives, and utility rebates to lower out-of-pocket impact.
Plan for maintenance costs over the system’s life, not just the purchase.
Weigh environmental impact alongside performance; greener choices often save more over time.
Align your budget with climate needs, comfort goals, and your timeline.
In-Home vs. Whole-House Upgrades: What Fits You?
Considering your home’s layout and budget, you’ll weigh in-home fit options against a full-house upgrade to see which option aligns with your comfort and energy goals.
In-home upgrades offer targeted efficiency, while a whole-house approach can deliver uniform performance and future savings.
Start by evaluating your current system, insulation, and space, then compare the long-term benefits of each path to decide what fits you best.
In-Home Fit Options
When you’re choosing between in-home and whole-house upgrades, start by pinning down your immediate needs and budget. In-home fit options focus on practical, affordable tweaks you can do now without a full remodel.
Think efficiency gains from targeted fixes you can implement this season.
- Install a smart thermostat to optimize daily temps and reduce energy use.
- Seal ducts to minimize leaks and carry efficiency through every room.
- Upgrade or add efficient fans and vents for better air movement without heavy construction.
These steps deliver measurable comfort with minimal disruption. Prioritize options that fit your current system and home layout, and verify compatibility with existing equipment.
Smart thermostats and duct sealing offer immediate returns, smoother operation, and a clear path to higher overall efficiency without committing to a full-house overhaul.
Whole-House Upgrade Benefits
Whole-house upgrades deliver long-term comfort and savings by addressing the system as a whole, not just isolated fixes. When you upgrade an entire home, you optimize airflow, insulation compatibility, and equipment efficiency, reducing hotspots and cold spots. You’ll notice steadier temperatures, lower energy use, and fewer callbacks for imperfect fixes.
This approach prioritizes Energy efficiency across components, from the furnace or heat pump to ducts and vents, ensuring everything works in concert. You’ll also decrease energy waste, since the system isn’t compensating for mismatched parts.
Environmental impact matters too: fewer emissions, reduced resource use, and quieter operation. In contrast, piecemeal upgrades can create new inefficiencies.
If you value reliability, comfort, and long-term cost control, a whole-house plan typically serves you best.
Choose a System Based on Your Fuel Options
Choosing a heating system aligned with your fuel options starts with a clear inventory of what’s available and affordable. You’ll compare efficiency, reliability, and long-term costs across fuel types to pick a practical energy source for your home. Keep the decision grounded in real data, not hype.
- Fuel type: annually predictable costs, maintenance needs, and delivery availability.
- Energy source: local accessibility, environmental impact, and future scalability.
- System compatibility: existing ductwork, room-by-room comfort, and installation timelines.
With these checks, you’ll avoid chasing trends and lock in a solution that matches your budget and climate.
A well-chosen option minimizes cycles, reduces waste, and delivers steadier comfort year-round.
Plan a Phased Upgrade If Budget Is Tight
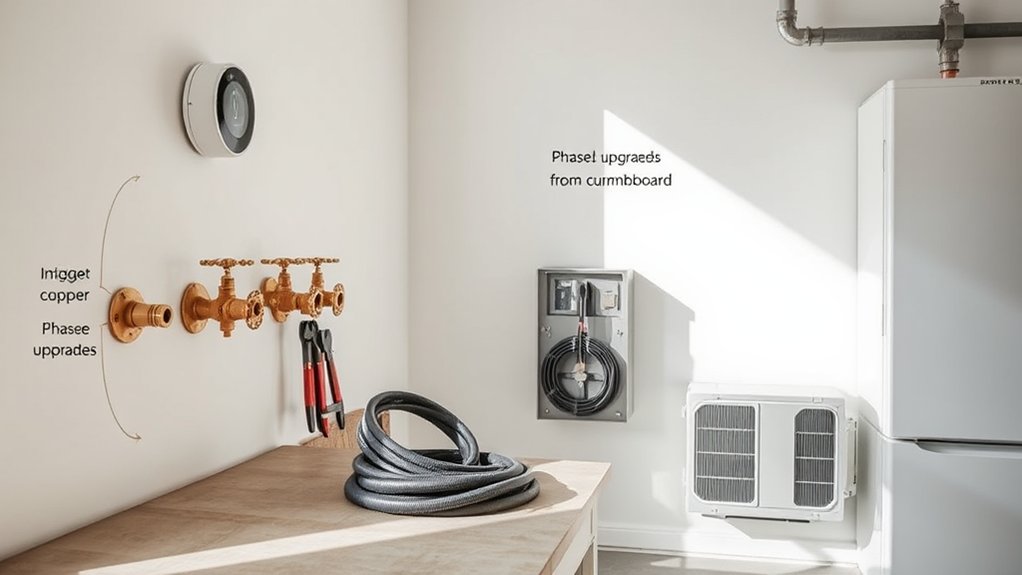
If budget is tight, map out a phased upgrade that focuses on essential fixes first.
Start with Stage Budget Planning to set clear costs, then prioritize essential upgrades that deliver immediate comfort and efficiency.
Create a phased Implementation Timeline that shows what to do now, next quarter, and the following season so you can progress confidently without overspending.
Stage Budget Planning
You don’t have to upgrade everything at once. Stage budget planning lets you pace improvements while saving enough for essentials. Think in tiers and align upgrades with return on investment and comfort gains. Your plan should be clear, actionable, and measurable.
- Prioritize high-impact fixes first, like sealing and insulation, then target the heating system itself.
- Allocate funds for energy efficient windows later, after core efficiency is established, to maximize comfort and savings.
- Explore long-term options such as Solar panel integration when current savings cover the upfront costs without straining cash flow.
Keep the focus tight on realistic milestones and track progress quarterly. A phased approach reduces risk and keeps you moving toward a warmer, more efficient home.
Prioritize Essential Upgrades
When budgets are tight, focus on essential upgrades first and plan a phased approach that targets the biggest comfort and savings wins. You’ll prioritize changes that improve efficiency without overhauling the whole system.
Start with high-impact quick fixes: sealing leaks, upgrading a thermostat, and ensuring proper airflow. Choose upgrades that enhance energy sources availability and reliability, so you don’t waste money on supports you’ll discard later.
Pair efficiency gains with cost-conscious choices that extend equipment longevity, such as proper sizing and routine maintenance. Avoid over-investing in features you don’t need now; reserve funds for future, strategic improvements.
Document a simple sequence: critical fixes, then mid-priority upgrades, and finally optional enhancements. This approach keeps comfort steady while you monitor performance and reset plans as budget allows.
Phased Implementation Timeline
A phased upgrade keeps your heating project manageable by outlining a clear, budget-friendly timeline. Break the work into small, doable steps so you don’t overspend or overwhelm your space. Start with high-impact, low-cost tasks that improve comfort now, then build toward bigger upgrades as funds allow. This approach keeps you in control and minimizes disruption to daily life. Focus on logistics, not just items.
- Assess core needs and prioritize fixes that yield immediate warmth and efficiency.
- Schedule installations seasonally to align with budget cycles and contractor availability.
- Integrate indoor plants and air quality considerations to support a healthier microclimate during the progression.
Schedule Professional Inspections and Duct Checks
Scheduling a professional inspection and duct check now can prevent costly surprises later. You’ll identify clogged filters, leaks, and improper sizing before they drain comfort or spike bills.
A technician will assess the furnace, heat exchanger, and blower, verifying airflow balance across rooms. They’ll map ductwork, pinpoint leaks, and test for pressure differentials, so you know where improvements matter most.
While you’re at it, inspect for energy efficient lighting implications and opportunities to reduce loads that affect system cycling. Also consider smart home integration: a properly rated system responds to occupancy and weather, optimizing performance without overworking equipment.
Schedule inspections before peak demand, keep warranties intact, and avoid after-season delays. A quick check becomes long-term reliability and lower maintenance costs.
Prioritize Ductwork and Air Leakage Fixes
Start with a quick ductwork assessment to identify hot spots, leaks, and loose connections.
Use air leakage reduction tactics like sealing joints, monitoring with a blower door test, and prioritizing the highest-usage zones.
Then plan sealing and insulation upgrades that prevent heat loss and improve overall system efficiency.
Ductwork Assessment Priorities
Prioritize ductwork and air leakage fixes now, because leaks waste energy and undermine comfort long before you heat the house. You’ll focus on spots that quietly drain heat and raise bills, starting with connections, seams, and joints. Inspect for crushed ducts and improper insulation, then map the path of airflow to target hotspots.
As you assess, remember practical steps that align with ongoing maintenance: Air filter maintenance keeps systems flowing smoothly, while ventilation improvements support balanced indoor air quality.
- Identify high-heat loss seams and fix with approved sealants or mastic, then recheck for tightness.
- Verify insulation around ducts, especially in unconditioned spaces, and upgrade where needed.
- Confirm return paths and airflow balance, adjusting dampers to optimize distribution.
Air Leakage Reduction Tactics
Focusing on air leakage now can dramatically cut heat loss and tighten comfort, especially in the ducts. You’ll start by tightening ductwork connections with approved mastic or foil tape, then seal obvious gaps around returns and supply boots.
Check for crushed lines and replace damaged sections quickly; a small leak can waste substantial heat. Prioritize duct insulation where accessible, aiming for R-6 to R-8 in colder climates, and run a quick blower test to identify stubborn leaks.
Consider window insulation for nearby drafts that siphon heat from the living space, especially near large openings or kinks in the duct path. Ventilation improvements can help balance incoming air without gusts, reducing pressure differences that drive leakage.
Keep these fixes tight and revisit after a season’s use.
Sealing And Insulation Upgrades
- Inspect every duct joint for gaps, then seal with mastic or metal tape for a durable, airtight seal.
- Add insulation around accessible ducts in unconditioned spaces to minimize heat transfer losses that waste energy.
- Test airflow and balance after work, ensuring uniform distribution and improved indoor air quality.
Focus on ductwork first, then address surrounding insulation. This improves thermostat settings predictability, lowers run times, and boosts comfort without chasing equipment upgrades.
Consider Smart Thermostats and Zoning
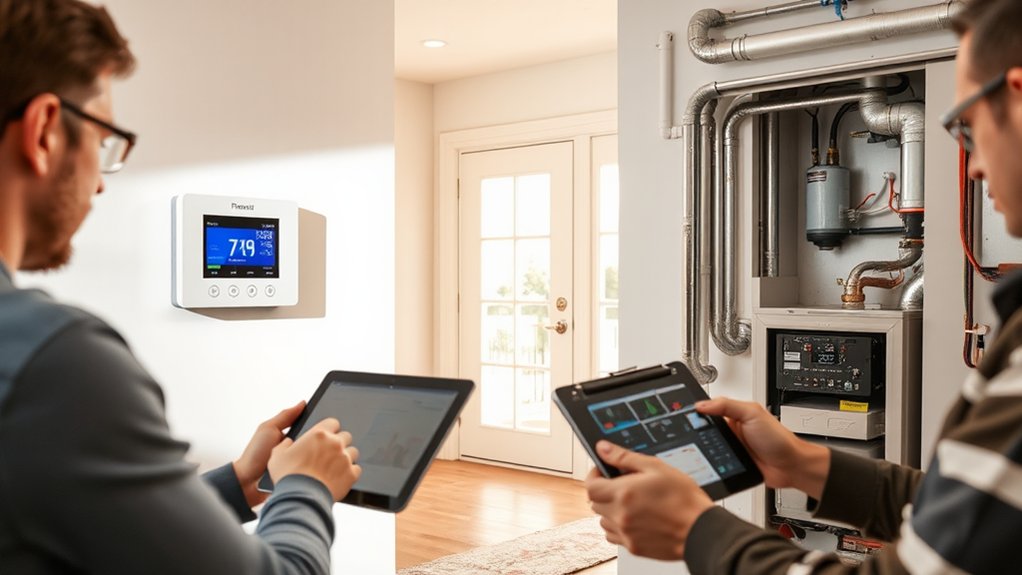
Smart thermostats and zoning can slash energy waste and keep your home comfortable as temperatures drop. You’ll gain precise control over daily scheduling, occupancy patterns, and outdoor conditions, so you don’t heat empty rooms.
Start by choosing a compatible smart thermostat that supports your system type and learning capabilities, then pair it with a reliable zoning system to separate upstairs from downstairs or living zones from hallways.
With intuitive apps, you’ll adjust heat in real time, create eco modes, and monitor energy use.
Implementing zoning reduces circulator runs and prevents overheating in unused spaces.
Confirm wiring, power, and Wi‑Fi reliability are solid for seamless updates.
This approach yields efficiency without sacrificing comfort during the season change.
Explore Rebates, Incentives, and Financing Options
Take advantage of rebates, incentives, and financing to offset upgrade costs and shorten payback time. You’ll map out value quickly by targeting approved programs and simple steps, not guesswork. Your approach should be practical and precise, focusing on tangible saving paths.
1) rebate programs: check local, state, and utility offerings, noting eligibility and claim deadlines.
2) incentives: look for manufacturer or efficiency certifications that reduce upfront costs or boost value at resale.
3) financing options: compare low-interest loans, deferred payment plans, and utility-backed financing to fit your budget.
Keep records organized: receipts, contractor notes, and confirmation IDs. Verify that equipment qualifies for rebates, and confirm required efficiency ratings before purchase.
Prioritize upgrades that maximize energy savings over time.
Understand Installation Timelines and Disruptions
Understanding installation timelines and potential disruptions is essential for staying on schedule and minimizing hassle. You’ll want a clear project window, with milestones for permits, delivery, and installation.
Confirm the contractor’s arrival times and any required access to utilities or living spaces. Expect short, focused work sessions and occasional agreed-upon interruptions for safety checks or material flushes.
Communicate any access constraints up front to avoid delays or rework. Plan for temporary comfort gaps, such as space heaters or alternative heat sources if needed.
Ask how the system’s energy efficiency will translate to faster payback and steadier indoor air quality.
Finally, document changes, warranties, and post-install testing to guarantee you meet performance expectations.
Maintenance Tactics That Extend Your New System’s Life
Regular maintenance is the best defense against unexpected breakdowns and costly repairs, so build a simple routine that fits your schedule and system type. You’ll keep performance steady, and your wallet happier, by prioritizing small, consistent actions.
- Check and replace filters monthly to protect air flow and indoor air quality, reducing strain on the unit.
- Schedule seasonal tune-ups to optimize efficiency, which supports energy conservation and lowers utility bills.
- Clear debris from outdoor components and ensure proper clearance, preventing overheating and extending life.
Adopt conservative settings and monitor performance signs, like unusual noises or cycling.
Safety Checks Before and After Install
Before you install, perform a quick safety check to prevent hazards and guarantee a solid foundation for your system. Start with a clear workspace, disconnect power, and verify gas lines or electrical connections are intact and leak-free. Check venting for obstructions and assure clearances meet manufacturer specs.
Inspect mounting surfaces, supports, and ductwork for signs of damage or corrosion. After install, test startup with a slow, controlled run; listen for abnormal noises and monitor for leaks or overheating.
Schedule safety inspections by a qualified technician to confirm proper venting, gas pressure, and electrical grounding. Maintain emergency preparedness by keeping a detector within reach and noting emergency shutoff locations.
Document all inspections, tests, and adjustments for future service. Prioritize concise, verifiable checks to reduce risk and downtime.
Prepare for Seasonal Shutdowns and Startups
As you prepare for seasonal shutdowns and startups, start with a quick, disciplined checklist to protect equipment and guarantee a smooth changeover between seasons. This is about preserving energy efficiency and clarifying Cost analysis so you don’t overspend.
- Inspect condensate lines and purge air to prevent pressure issues and drafts.
- Empty or drain unnecessary fluids, and seal access panels to avoid heat loss.
- Verify thermostat scheduling and zoning, ensuring seamless handovers and accurate energy use.
Post-Upgrade Performance Monitoring Tips
After upgrading your heating system, set up a concise monitoring routine to verify performance and catch issues early. Track key metrics daily for the first week: fuel or electricity consumption, indoor temperature consistency, and system cycling hours. Compare readings to manufacturer specs and your previous baseline to spot deviations quickly.
Use a programmable thermostat to log temperature trends and guarantee stages engage smoothly. Schedule a quick calibration check with a technician if readings drift or comfort isn’t uniform.
Emphasize energy efficiency by auditing duct leaks, filter condition, and blower performance each month. Document anomalies and perform a simple cost analysis to confirm expected savings are materializing.
Keep notes short, actionable, and revisable as seasons change.
Create a Simple, Long-Term Upgrade Plan
A simple, long-term upgrade plan keeps your heating system reliable and efficient without surprises. You’ll map milestones, assign budgets, and track performance so today’s choices pay off for years. Focus on energy efficient upgrades and consider alternative heating options as your needs evolve.
- Set a 5-year roadmap: prioritize equipment with high efficiency, insulation improvements, and smart controls that maximize savings.
- Budget realistically: allocate a dedicated fund for unexpected repairs and planned replacements, avoiding debt spikes.
- Establish review checkpoints: reassess usage, energy bills, and comfort levels every season to adjust priorities.
Keep documentation centralized, compare options from reputable brands, and review warranties. Clear criteria help you choose practical, durable upgrades you’ll actually use.
Frequently Asked Questions
How Long Does a Typical Heating Upgrade Take?
A typical heating upgrade takes a day or two, depending on system complexity. You’ll assess cost considerations, plan around energy efficiency gains, and schedule installations accordingly. You’ll compare options, coordinate permits, and guarantee proper venting and commissioning.
Will My Current Ducts Need Replacement or Cleaning?
If you notice dust or reduced airflow, you’ll likely need duct cleaning or replacement. Coincidentally, signs overlap: mold, leaks, or pests. You should evaluate ducts for cleaning and contemplate replacement if damage is extensive or airflow remains compromised.
Is a Gas Boiler Safer Than Electric Options?
A gas boiler can be safer if installed properly, but you weigh safety concerns and installation costs against electric options. You’ll need professional venting, carbon monoxide detection, and regular maintenance to minimize risks and maximize reliability.
Can a New System Fit Into Existing Wiring or Vents?
Yes, a new system can fit, but you must verify Wiring compatibility and Vent fitting first. Measure clearances, consult manuals, and have a pro assess ducting, vent paths, and electrical loads to guarantee safe, compliant installation.
Do Rebates Apply to Partial or Phased Upgrades?
Rebate eligibility often covers phased installation, but it varies by program. You should verify with your utility or state program, as some rebates require single-event upgrades while others allow partial improvements over time. Check deadlines and documentation requirements.
Conclusion
Upgrading your heating system pays off when you plan ahead and stay practical. You’ve checked needs, weighed options, and scoped costs, so you’re ready to choose wisely. With a proper load calculation, solid safety checks, and a simple maintenance routine, you’ll enjoy reliable comfort all winter. Think of it like a well-tuned engine: smooth, efficient, and dependable—ready to rise to any cold without coughing or sputtering. Stay proactive, monitor performance, and update as needed.



